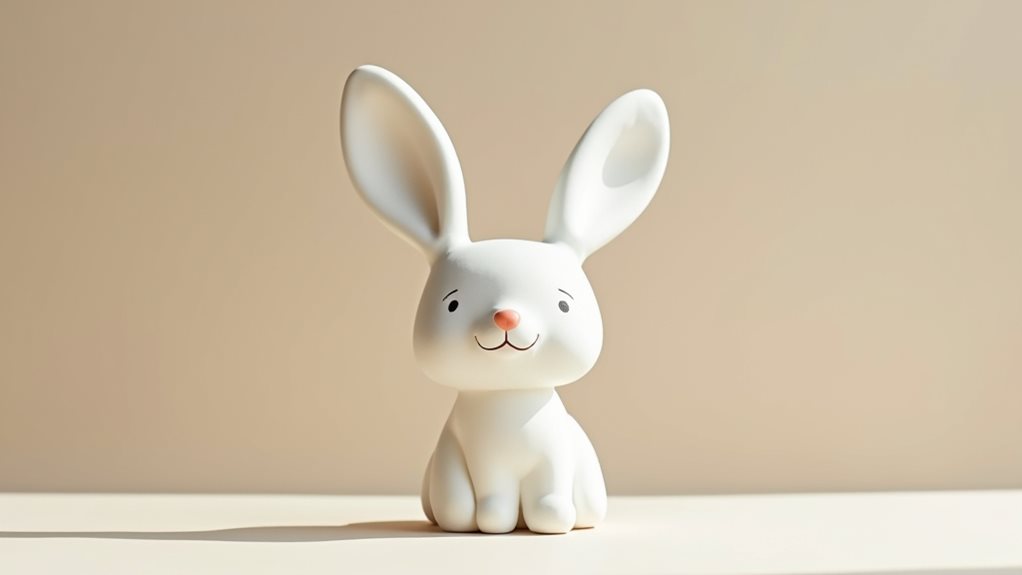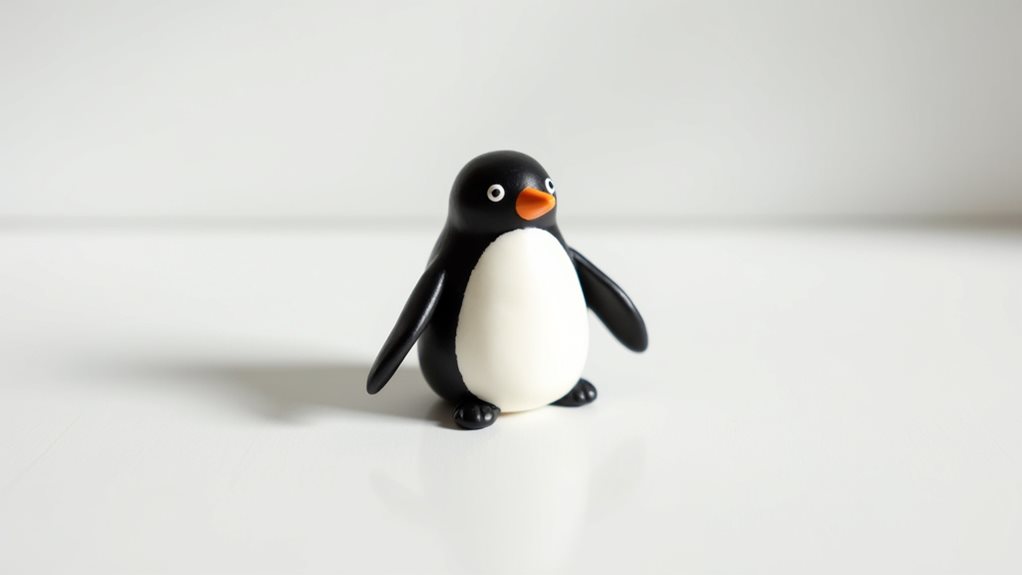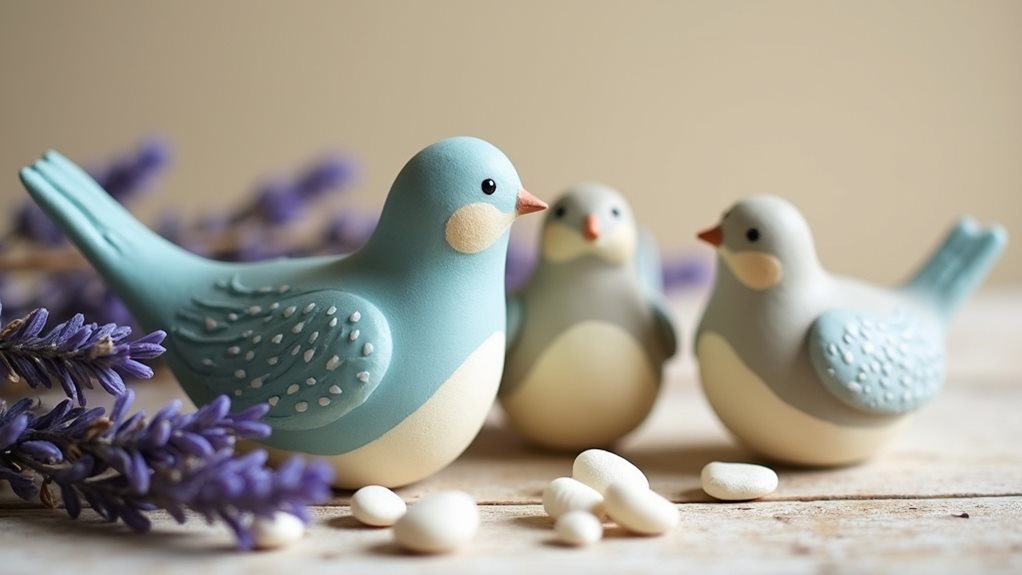
You’ll discover that creating a turtle figurine is more than just shaping clay into a simple form. This ancient art, practiced across cultures for centuries, combines technical skill with personal expression to produce unique pieces that carry both decorative and symbolic value. Whether you’re drawn to its representation of wisdom and longevity or simply appreciate its aesthetic appeal, crafting your own turtle figurine offers a journey into sculptural techniques that’ll transform raw materials into lasting art.
Key Takeaways
- Turtle figurines symbolize wisdom and longevity across cultures, particularly in Native American and Chinese traditions.
- Clay turtle figurines typically measure 4 inches across and can be crafted using air-dry clay and basic sculpting tools.
- Creating a turtle figurine involves shaping separate pieces for the body, shell, head, and limbs before assembly.
- Distinctive shell patterns and textures can be added using geometric designs and careful carving techniques.
- Turtle figurines require complete drying before painting with acrylics and sealing with a protective clear glaze.
History
While clay turtle figurines have delighted crafters for generations, their origins can be traced back to ancient civilizations where turtles held deep symbolic meaning.
You’ll find evidence of turtle-shaped clay art in Native American cultures, where they represented longevity and wisdom, while ancient Chinese artisans crafted them as symbols of stability and protection.
Throughout history, you’ve likely encountered turtle figurines in various forms, from ceremonial objects to decorative pieces.
In medieval Europe, you’d see them adorning architectural elements, while Japanese craftsmen incorporated them into netsuke toggles.
Today’s clay turtle figurines draw inspiration from these rich traditions, though you’ll notice they’ve evolved to embrace modern artistic techniques and materials.
You can now create your own piece that connects you to this enduring legacy of turtle-inspired craftsmanship.
Project
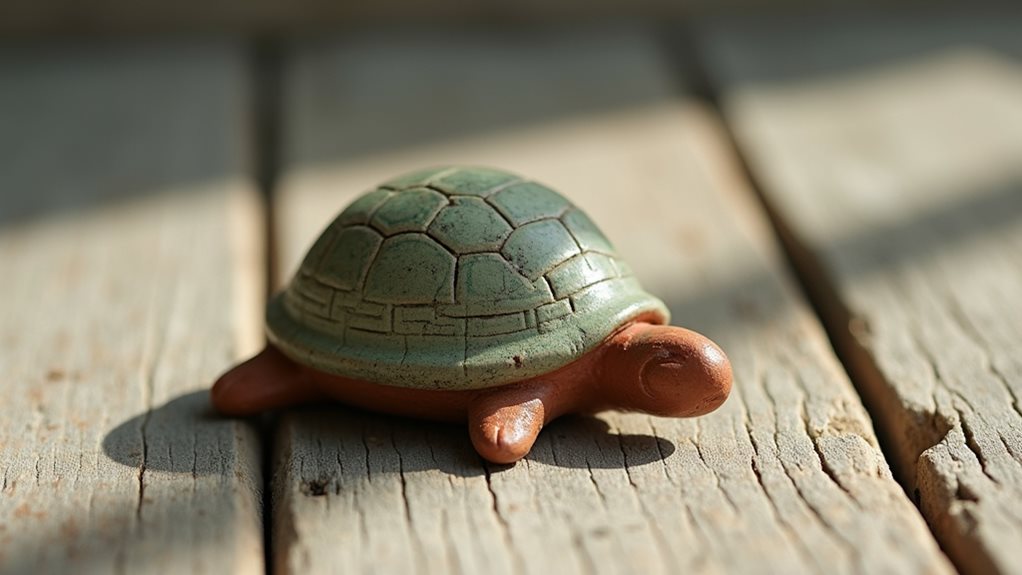
Creating a decorative clay turtle figurine provides an excellent introduction to basic sculpting techniques. The simple shapes and natural design elements make this project accessible for crafters of all skill levels while allowing room for personal artistic expression.
This charming turtle figurine measures approximately 4 inches (10 cm) across when complete and takes 2-3 hours to create. The finished piece makes a delightful addition to any shelf, desk, or windowsill, bringing a touch of handcrafted character to your space.
- Air dry clay – 8 oz (225g)
- Wooden sculpting tool or butter knife
- Small bowl of water
- Acrylic paint – 2-3 colors
- Small paintbrush – size 0-3
Divide the clay into two portions: 2/3 for the body and shell, 1/3 for appendages. Form the larger portion into a dome shape approximately 3 inches (7.5 cm) wide for the shell, flattening the bottom slightly. Create four equal-sized balls for legs, shape a small triangle for the head, and roll a tiny piece for the tail.
Score all connection points with your tool, apply water sparingly, and firmly attach each piece to the body. Using your sculpting tool, create a geometric pattern across the shell’s surface by pressing lightly to make intersecting lines. Allow the entire piece to dry completely for 24-48 hours before painting with your chosen colors.
When working with air dry clay, maintain slightly damp hands throughout the process, but avoid over-wetting the clay as this can compromise structural integrity. Work on a non-stick surface such as wax paper, and avoid moving the piece during the drying period.
Small cracks that appear during drying can be repaired using clay slip – a mixture of clay and water with a cream-like consistency. Store any unused clay in an airtight container to prevent premature drying.
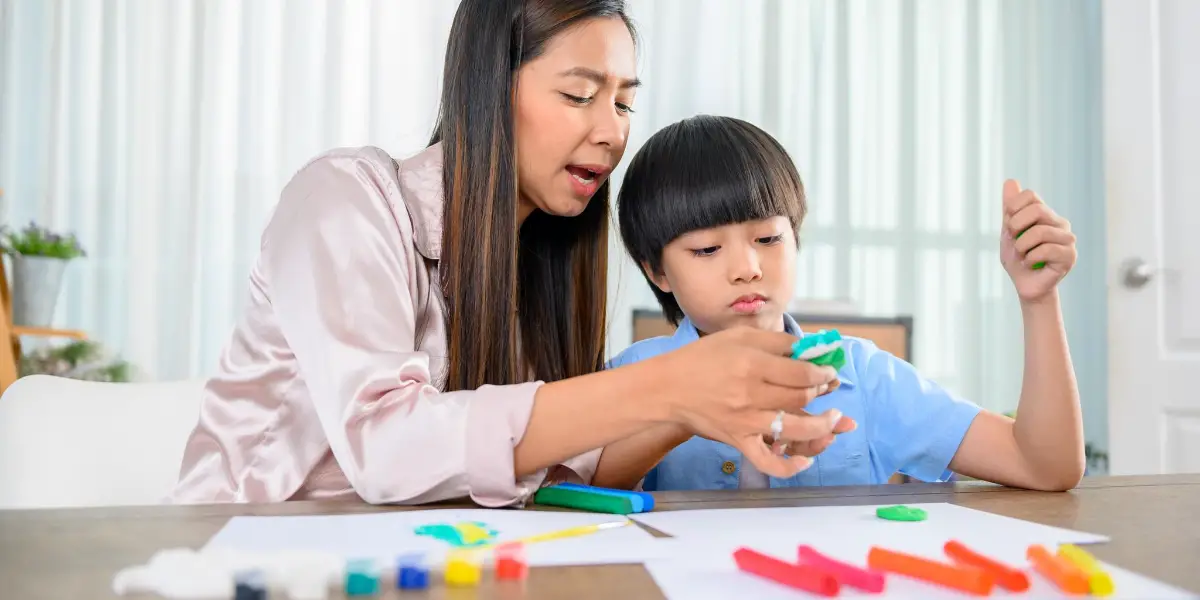
Project Steps
To create your clay turtle figurine, you’ll need to first gather essential supplies like air-dry clay, sculpting tools, and acrylic paints before dividing your clay into workable portions for the body, shell, head, and limbs.
Once you’ve shaped and assembled the basic form, you’ll add distinctive texturing to the shell using geometric patterns that bring your turtle to life.
After allowing your sculpture to dry completely, you’ll finish your creation by painting it with your chosen colors and sealing it with a protective clear glaze for lasting beauty.
Step 1. Assemble Clay Sculpting Supplies
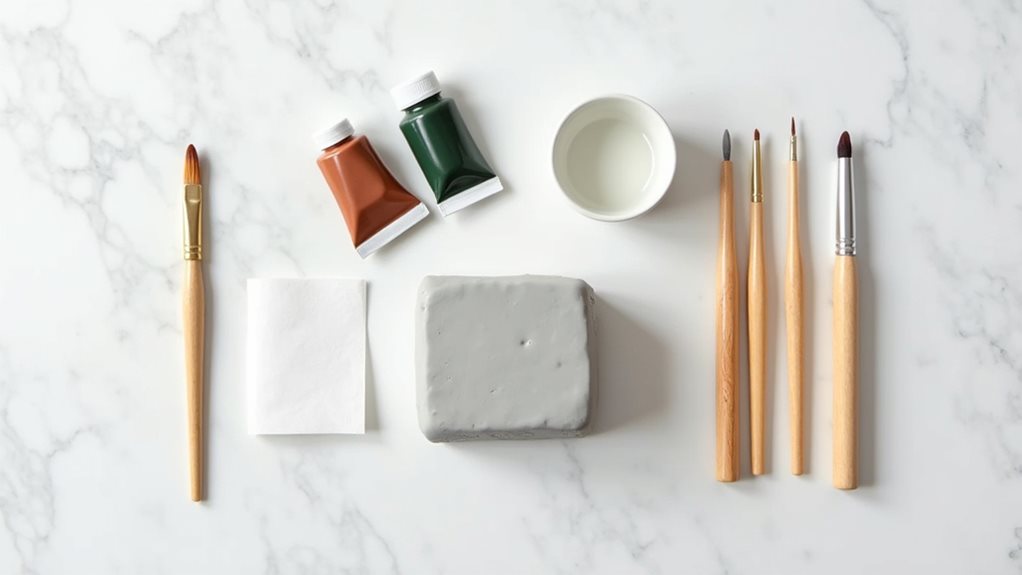
Every successful clay turtle project begins with gathering the right supplies.
You’ll need 8 ounces of air-dry clay, which provides enough material for a small figurine while allowing room for practice or mistakes. Select a wooden sculpting tool or butter knife for carving details, and keep a small bowl of water nearby for smoothing surfaces and joining pieces.
For decorating your finished piece, you’ll want to choose 2-3 colors of acrylic paint that complement each other, along with a fine-tipped paintbrush (size 0-3) for adding precise details.
Don’t forget to prepare your workspace with wax paper or a non-stick mat to prevent the clay from sticking. Having all these materials ready before you start will ensure a smooth, uninterrupted crafting experience.
Step 2. Separate and Shape Clay Portions
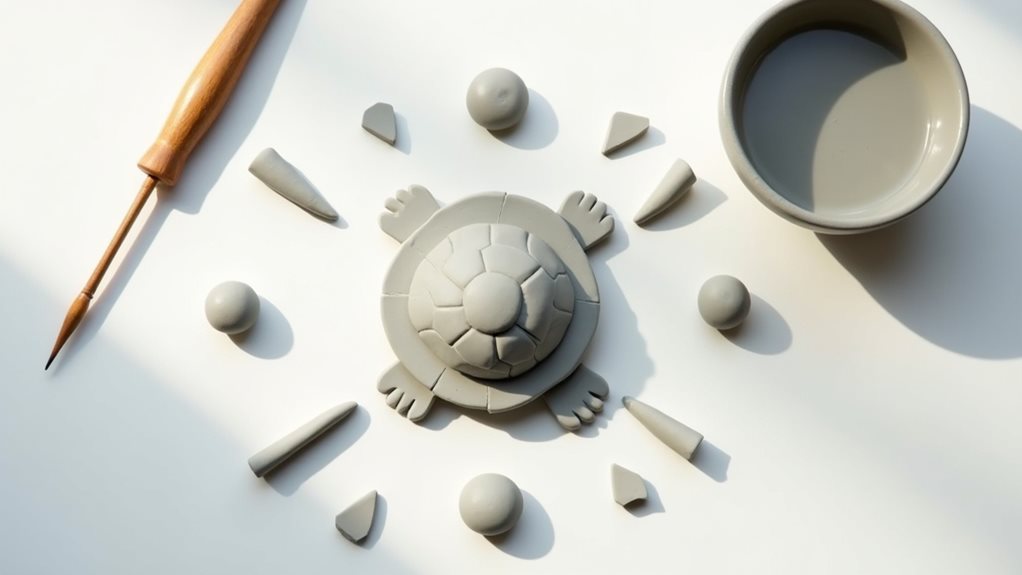
Once you’ve gathered your supplies, begin the turtle-making process by dividing your clay into precise portions for each body part. Set aside approximately two-thirds of your clay for the shell and body, while reserving the remaining third for the head, legs, and tail.
Take the larger portion and roll it between your palms to form a smooth dome shape for the shell.
Next, divide the smaller portion into six equal pieces: one for the head, one for the tail, and four for the legs. Shape the head piece into a small triangle, roll four balls for the legs, and form a tiny curved piece for the tail.
You’ll want each piece to be proportional to the shell’s size, ensuring your turtle maintains a balanced, natural appearance.
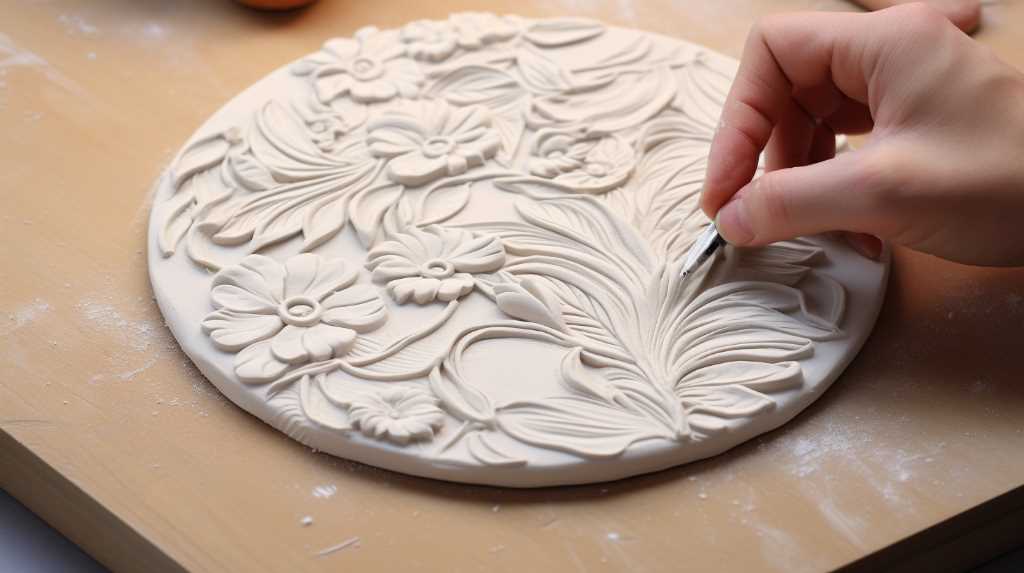
Step 3. Add Shell Texturing Details
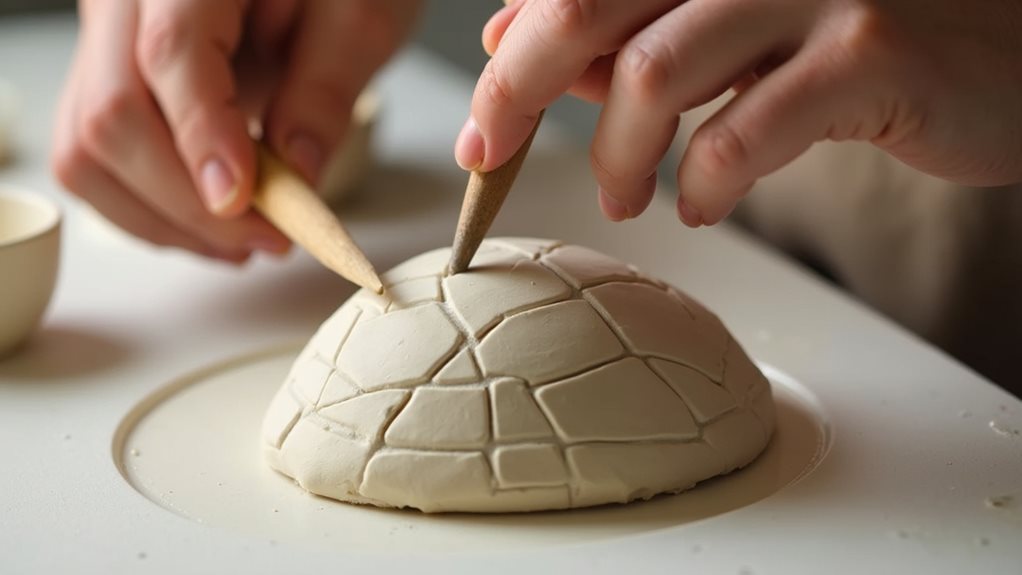
With your turtle’s basic form assembled, the shell presents an ideal canvas for creating distinctive texturing that brings your figurine to life. Using your sculpting tool, begin at the shell’s center and create a series of hexagonal or diamond-shaped patterns that radiate outward. Press firmly enough to make clear indentations, but don’t pierce through the clay.
For a more naturalistic appearance, vary the size and depth of your patterns slightly as you work toward the shell’s edges. You’ll want to divide the shell into approximately 12-15 segments, mimicking a real turtle’s scutes.
If you make a mistake, simply smooth the area with your finger and try again. Once you’re satisfied with the pattern, add subtle line details within each segment to create additional texture and depth.
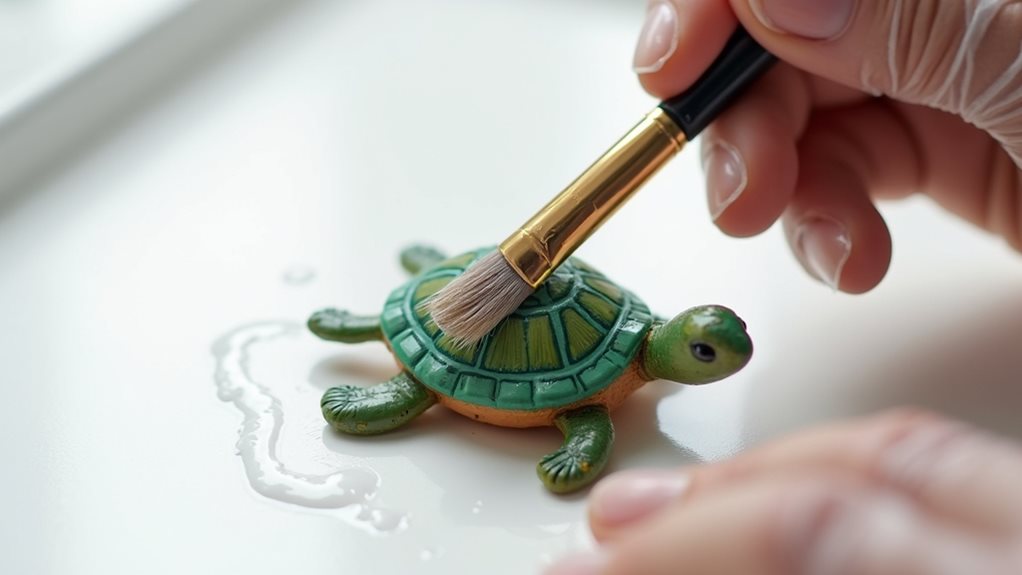
Step 4. Paint With Selected Colors
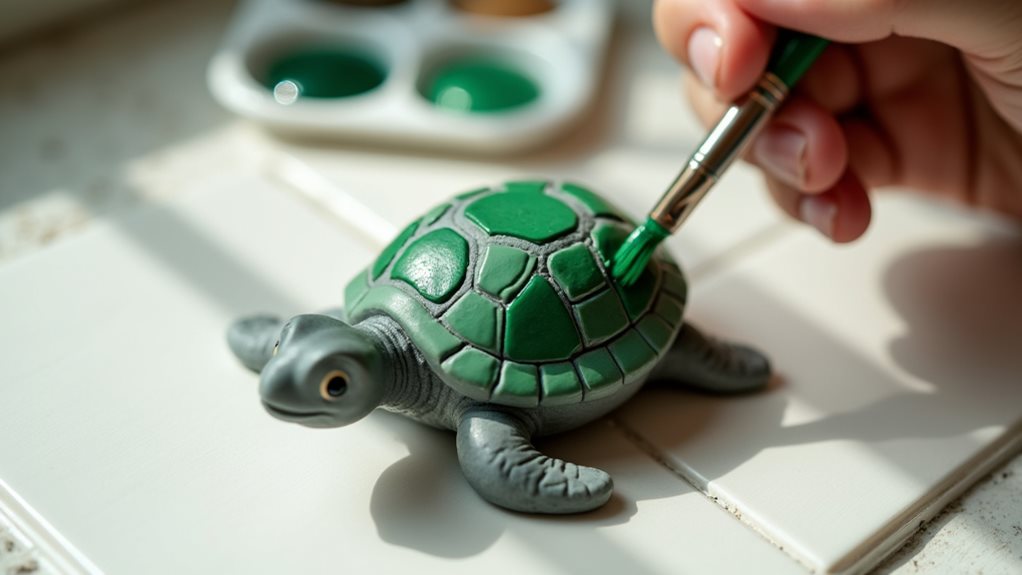
After your turtle figurine has dried completely, prepare your workspace with newspaper or a protective covering before beginning the painting process.
Start by applying a base coat in your chosen primary color, ensuring even coverage across the entire surface. Let this layer dry for 15-20 minutes.
Next, use your detail brush to add contrasting colors to specific features: paint the shell pattern you’ve created, highlight the turtle’s face, and define the legs and tail.
You’ll want to apply two thin coats rather than one thick layer to achieve smooth, professional-looking results. Once you’re satisfied with the color application, allow the paint to dry thoroughly for 2-3 hours.
If you’d like to protect your finished piece, apply a clear acrylic sealer after all paint has completely dried.
Step 5. Seal With Clear Glaze
The final protective step for your turtle figurine involves applying a clear acrylic glaze, which will enhance its durability and create an attractive sheen.
You’ll want to work in a well-ventilated area and place your painted turtle on a sheet of wax paper before beginning the glazing process.
Apply the first coat of glaze using smooth, even strokes, ensuring you’ve covered all surfaces, including the underside of the shell and small details like the legs and head.
Allow this layer to dry completely for about 30 minutes. Once it’s dry to the touch, apply a second coat for maximum protection and shine.
After the final coat has dried for 24 hours, your turtle figurine will be ready to display, featuring a professional finish that’ll protect your artwork for years to come.
Final Thoughts
Creating your own clay turtle figurine provides a delightful way to explore basic sculpting techniques while developing patience and attention to detail.
You’ll discover that each step builds upon the last, transforming simple shapes into a charming piece of art that reflects your personal style.
As you complete this project, you’ll gain confidence in working with clay and develop skills that you can apply to future crafting endeavors.
Don’t be discouraged if your first attempt isn’t perfect – each turtle will have its own unique character.
Remember to take photos of your creation before and after painting, as you’ll be amazed at how far you’ve come.
With practice, you’ll find yourself ready to tackle more complex sculpting projects while cherishing your handmade turtle as a reminder of where your artistic journey began.