Just as a rainbow transforms a dreary sky into a canvas of natural wonder, you’ll discover how air dry clay can elevate your crafting into a vibrant art form. You’re about to embark on a journey that combines simple materials with creative expression, turning basic clay into a charming home accent that captures the magic of prismatic colors. Whether you’re a novice crafter or seasoned artist, this project promises to unlock your creative potential while teaching essential clay-working techniques.
Key Takeaways
- Air dry clay rainbows require 16 oz of clay, acrylic paints, brushes, a rolling pin, and clear sealant for a complete project.
- Create five progressively smaller clay arches, score the connecting points, and use water as adhesive to join them together.
- Paint each arch in traditional rainbow colors using two coats of acrylic paint, then seal with protective spray coating.
- Let clay dry completely between steps, typically 24-48 hours, to prevent cracking or warping of the final piece.
- Add decorative elements like clouds or stars to personalize the rainbow, making it suitable for home decor or gifts.
History
Clay crafting’s rich legacy stretches back thousands of years, with decorative clay rainbows emerging as a popular form of artistic expression during the 1960s and 1970s counterculture movement.
You’ll find that these colorful creations became symbols of peace, hope, and unity during an era of social change, adorning everything from pottery to wall hangings.
The evolution of air dry clay in the late 20th century revolutionized how you can approach rainbow crafting at home.
Unlike traditional ceramic clay that requires kiln firing, this modern medium lets you create lasting decorative pieces without specialized equipment.
While indigenous cultures had long used natural air-drying clay for ceremonial objects, today’s synthetic versions offer improved durability and versatility, making rainbow crafting accessible to artists of all skill levels.
Project
A handmade air dry clay rainbow brings vibrant color and whimsical charm to any space while being an accessible craft project for crafters of all skill levels. The simple yet striking design makes it perfect for shelf displays, window decorations, or as a meaningful handmade gift that represents hope and optimism.
This versatile project allows for creative expression through personalized color choices and size variations, while requiring minimal materials and no specialized equipment. Air dry clay is an ideal medium for this craft, as it can be easily shaped and adjusted until achieving the perfect rainbow form, without the need for kiln firing or complex techniques.
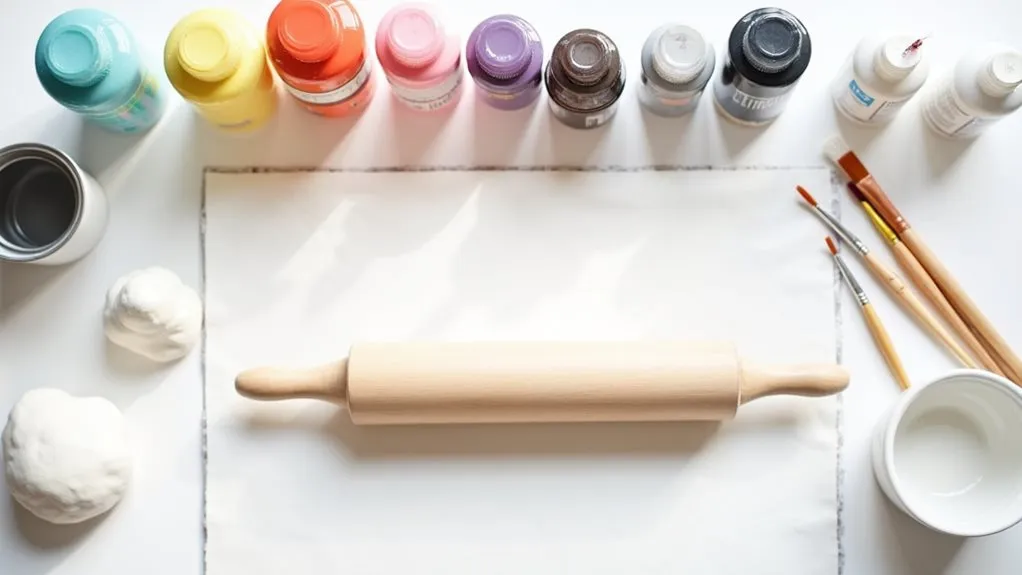
- White air dry clay (16 oz/450g)
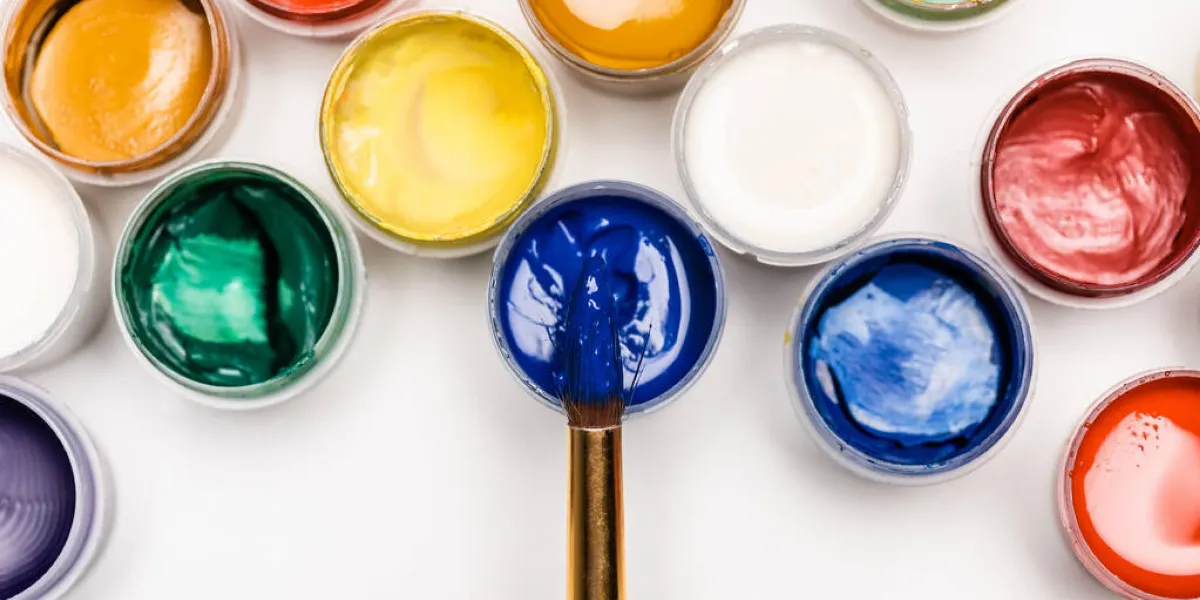
- Acrylic paint set (rainbow colors)
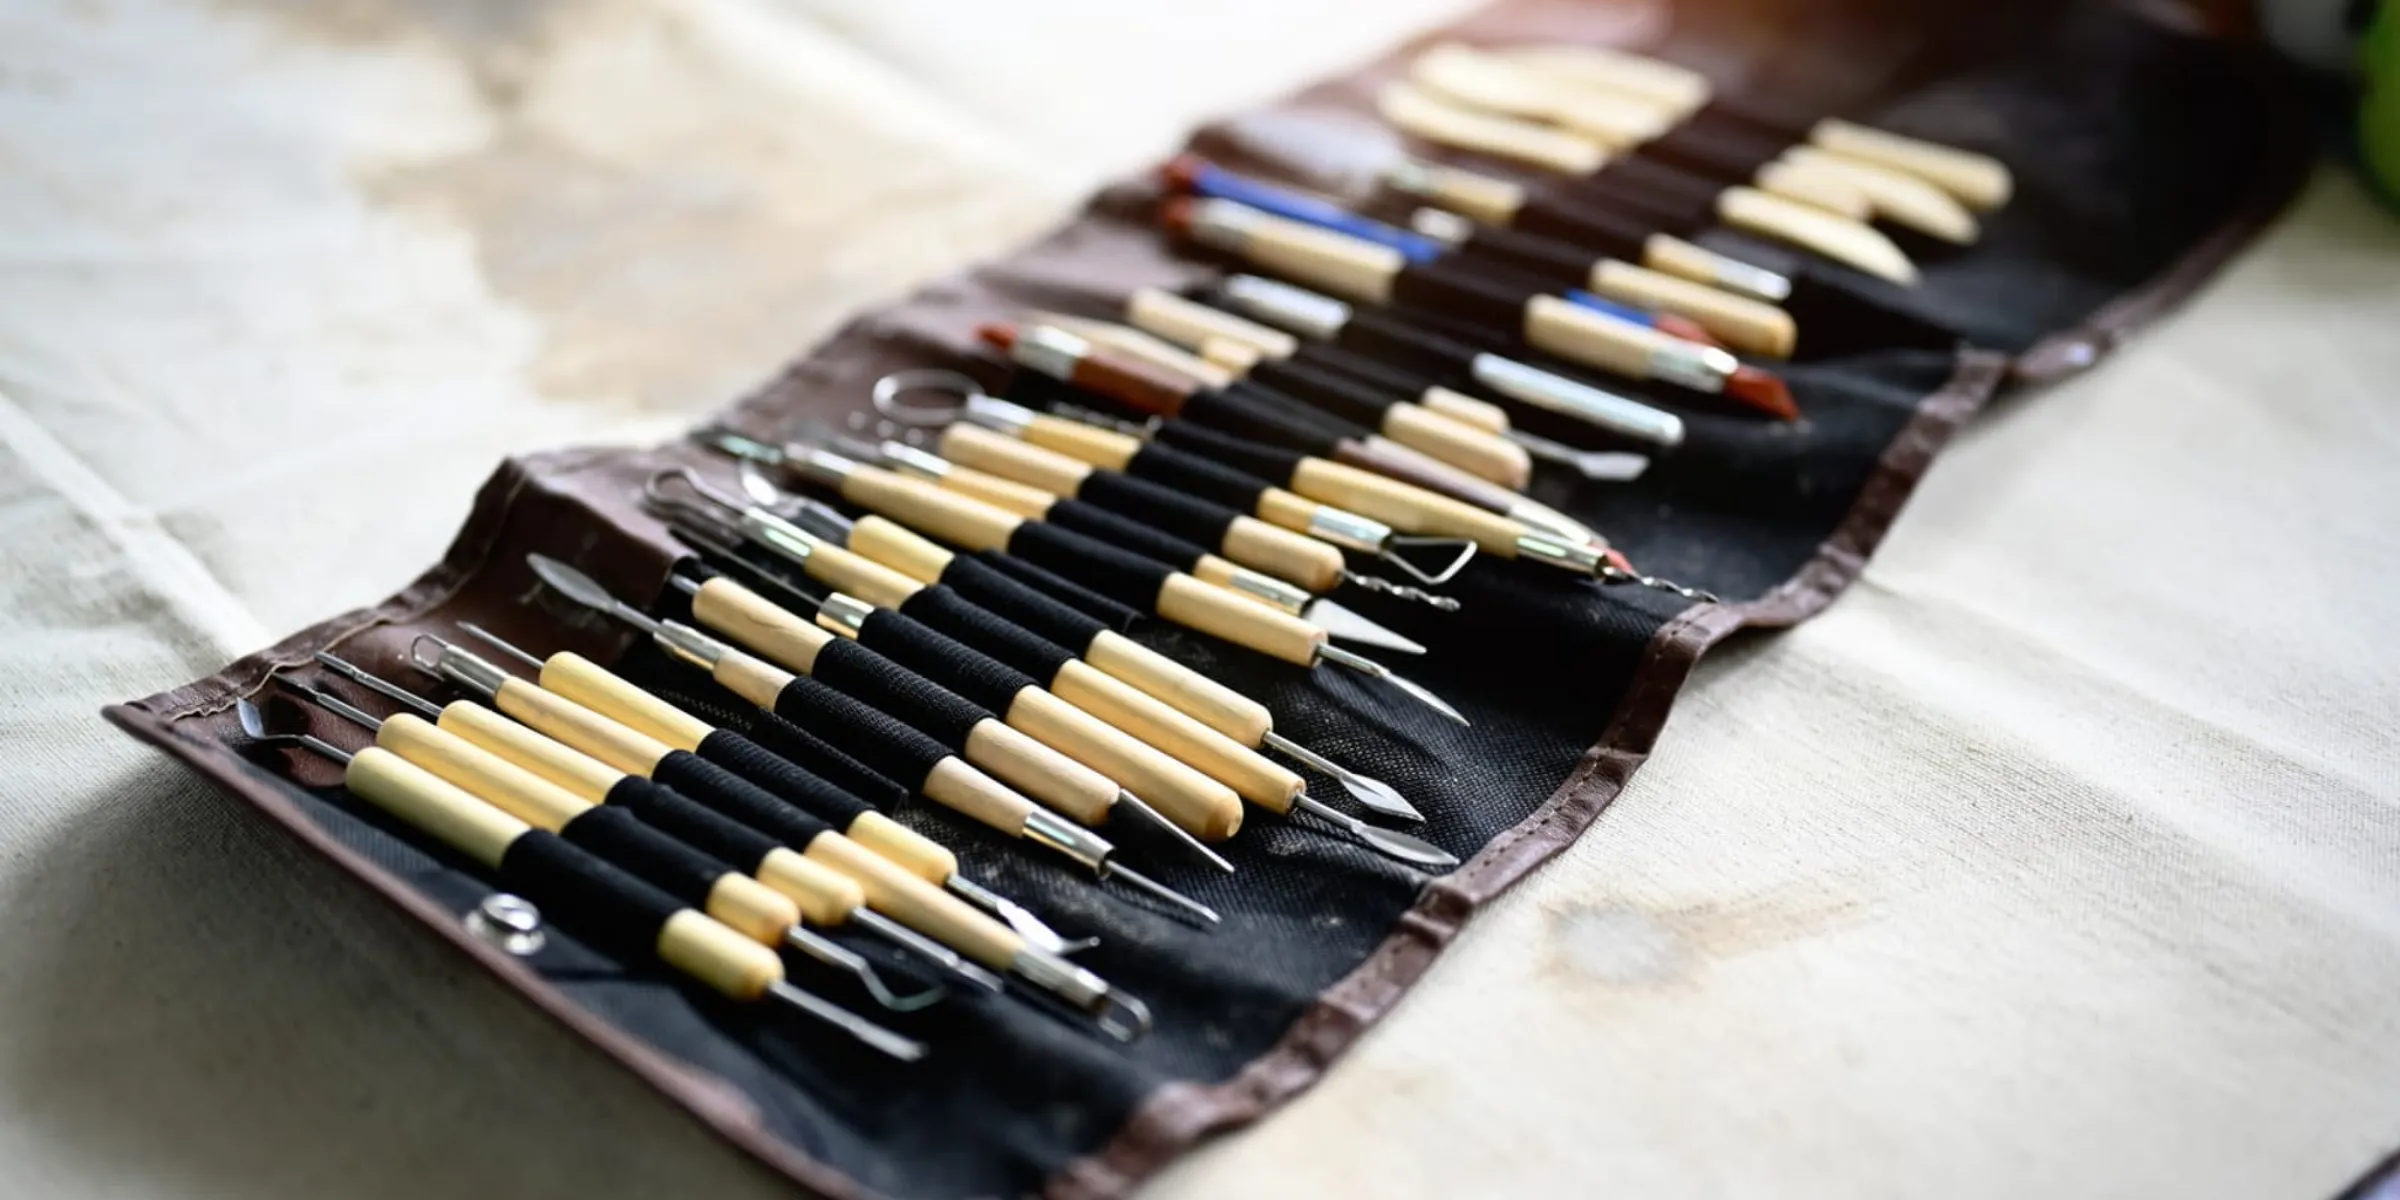
- Paint brushes (1-inch/25mm flat brush)
- Rolling pin (6-inch/15cm length)
- Clear sealant spray
Begin by rolling the clay to 1/4 inch thickness using your rolling pin on a non-stick surface. Cut five progressively smaller arches, with the largest measuring approximately 6 inches wide. Score the connection points between arches using a craft tool or toothpick, then apply a small amount of water to join them together in the classic rainbow formation.
Allow the piece to dry completely for 24-48 hours before painting each arch in traditional rainbow colors, and finish with two light coats of clear sealant for protection.
Keep a small bowl of water nearby while working to smooth any rough edges and assist with joining pieces. Work in a well-ventilated area and protect your work surface with wax paper or a non-stick mat. If cracks develop during the drying process, create a slip by mixing clay with water to fill them.
Allow each paint color to dry thoroughly before moving on to the next arch, and ensure the piece is completely dry before applying the protective sealant.
Project Steps
You’ll want to begin this rainbow craft by gathering your supplies and setting up a clean, non-stick workspace with all materials within easy reach.
Next, you’ll create your rainbow’s structure by rolling out the clay, cutting five progressively smaller arches, and carefully connecting them using water as your adhesive.
After your clay has fully dried, you’ll paint each arch in vibrant rainbow colors and finish with a protective clear sealant to preserve your creation.
Step 1. Prepare Workspace and Materials
Successful crafting begins with a properly organized workspace and readily accessible materials.
First, clear a flat, smooth surface and cover it with wax paper to prevent the clay from sticking. You’ll want to gather all your supplies within arm’s reach: air dry clay, rolling pin, paint brushes, acrylic paints, and a small bowl of water.
Before you start working with the clay, ensure you’ve got proper lighting and ventilation in your workspace.
Remove any jewelry that might catch on the clay, and put on an apron or old clothes that you don’t mind getting messy.
Open your clay package and check its consistency – it should be soft and pliable. If it’s slightly hard, knead it gently until it becomes workable.
Step 2. Roll and Cut Clay Arches
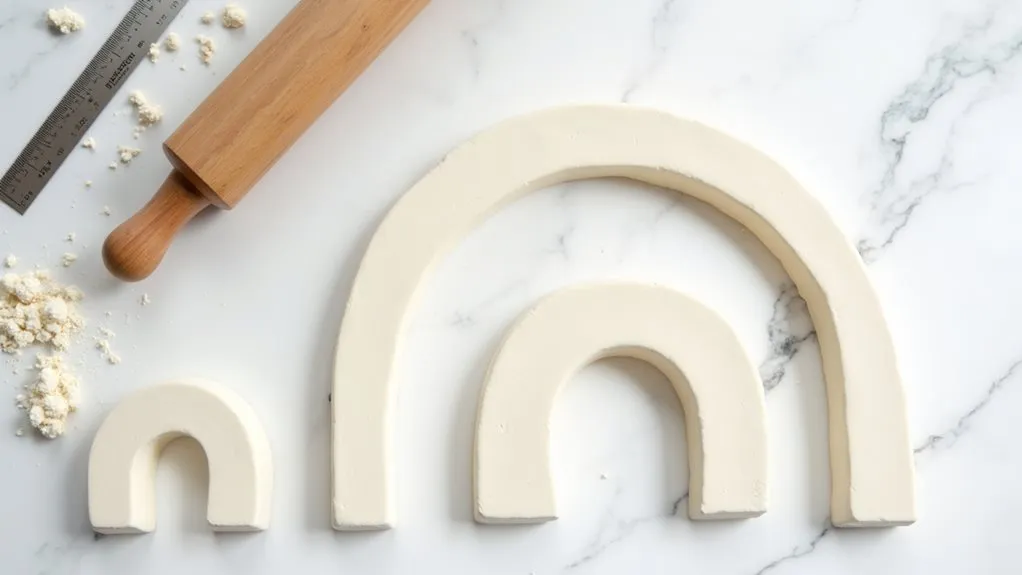
Begin by dividing your clay into five equal portions, each slightly larger than what you’ll need for the final arches.
Roll each portion into a ball, then use your rolling pin to flatten them to a uniform 1/4-inch thickness on your wax paper surface.
Starting with the largest arch, measure and cut a 6-inch wide curved rainbow shape. For each subsequent arch, reduce the width by approximately 3/4 inch while maintaining the same curved profile.
You’ll want to work quickly but precisely, keeping the clay workable by covering unused portions with plastic wrap. If you make a mistake, don’t worry – simply roll the clay back into a ball and start again.
Use your water bowl to smooth any rough edges as you cut, ensuring each arch has clean, defined lines.
Step 3. Connect Arches With Water
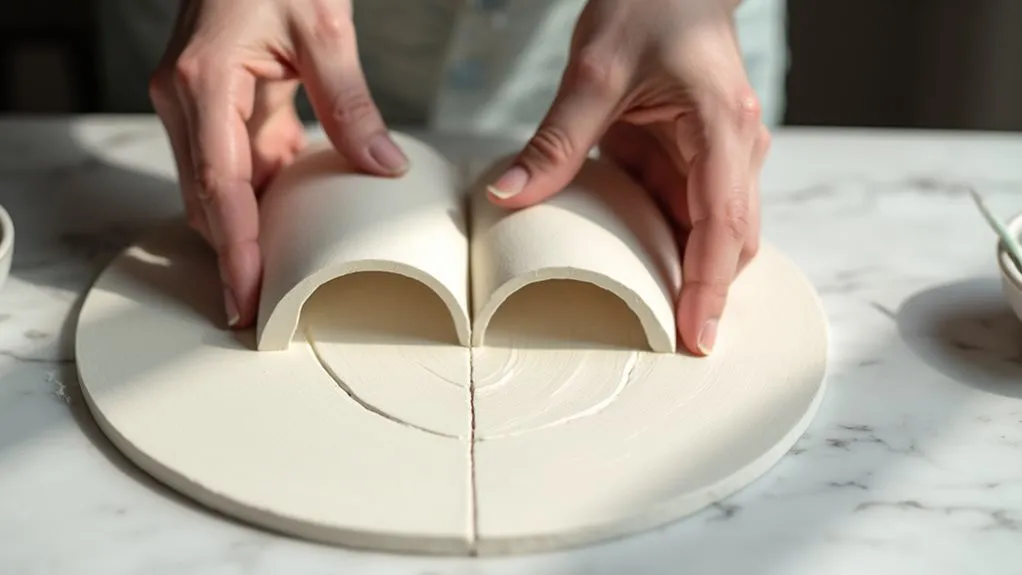
With the clay arches cut and ready, the assembly process brings your rainbow to life through proper scoring and connecting techniques.
Using a toothpick or sculpting tool, score the surfaces where your arches will connect by making crisscross patterns on both pieces that’ll touch.
Dip your finger in water and gently moisten the scored areas, being careful not to oversaturate the clay.
Press the arches together firmly, starting with the largest arch at the bottom and working your way up to the smallest. You’ll want to smooth the seams where the pieces meet using light pressure from your fingertip.
If any gaps appear, create a small amount of slip by mixing clay with water, then use this mixture to fill the spaces between arches.
Step 4. Paint Each Rainbow Band
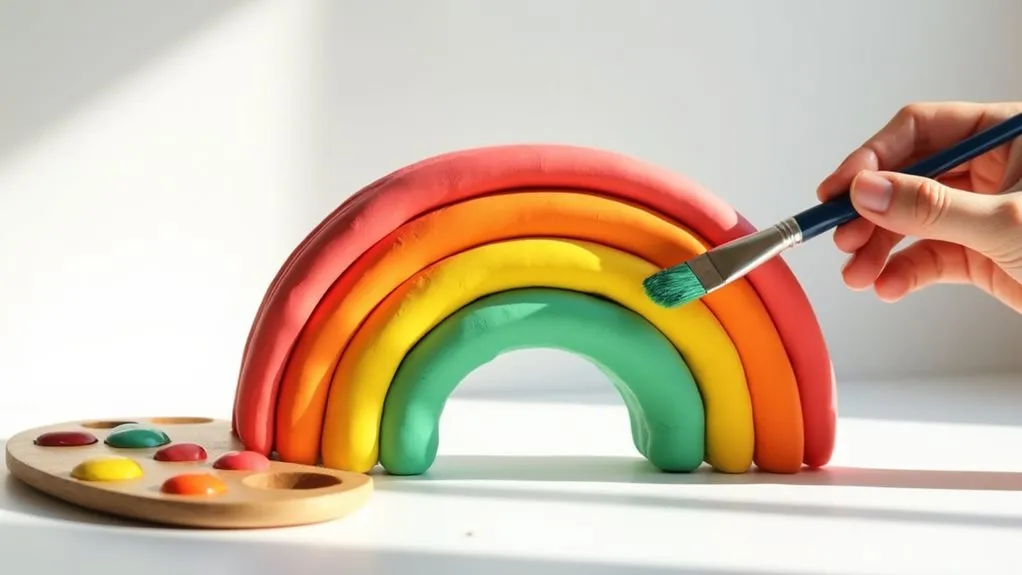
Five distinct rainbow bands await your artistic touch, starting with the largest arch and working upward to create a vibrant spectrum of color.
Begin with red paint on the bottom arch, applying even strokes with your flat brush to ensure consistent coverage. Move to orange for the second band, followed by yellow, green, and finally blue for the topmost arch.
You’ll want to paint each section with two coats, allowing the first layer to dry completely before adding the second.
Take care to maintain clean lines between colors, using precise brush strokes along the edges where arches meet. If you accidentally overlap colors, wait for the paint to dry, then carefully apply an additional coat to cover any mistakes.
Work in good lighting to ensure your colors remain true to traditional rainbow hues.
Step 5. Apply Clear Protective Sealant
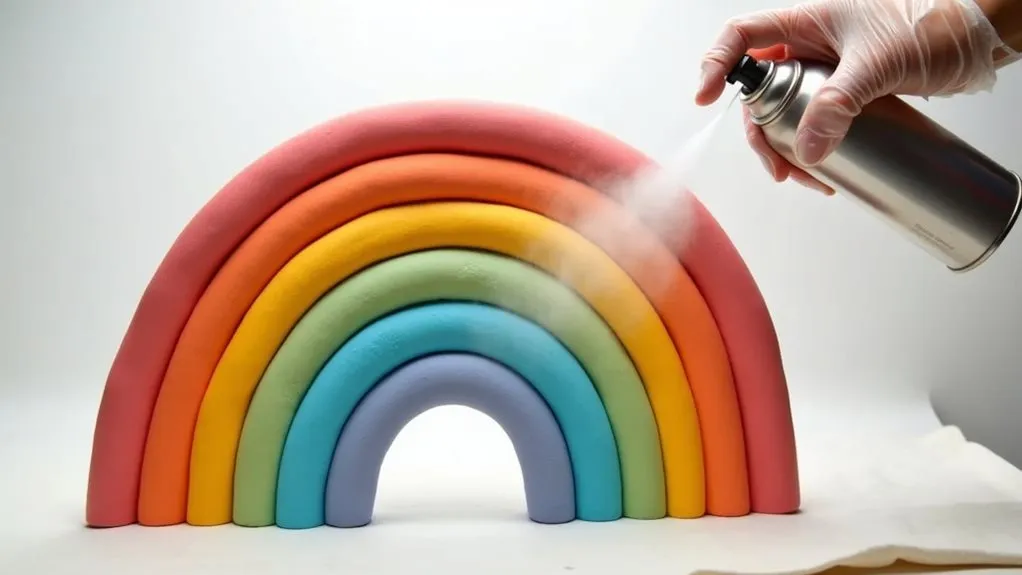
Once your rainbow’s painted bands have thoroughly dried, you’ll need to protect your creation with a clear protective sealant that guards against dust, moisture, and general wear.
Working in a well-ventilated area, preferably outdoors or near an open window, hold the sealant spray can about 12 inches away from your rainbow’s surface.
Apply the first coat using steady, even strokes that slightly overlap, ensuring you don’t miss any spots. Let this initial layer dry completely for 30 minutes before applying a second coat.
This double-layer application will provide optimal protection while creating a professional-looking finish that enhances your rainbow’s colors.
After the final coat, allow your piece to cure undisturbed for 24 hours before handling or displaying it.
Final Thoughts
While creating an air dry clay rainbow requires patience and attention to detail, you’ll find the end result brings lasting joy and satisfaction to your craft collection.
This project serves as an excellent introduction to working with air dry clay, teaching valuable skills you can apply to future crafting endeavors.
Remember that each rainbow will be unique, reflecting your personal artistic touch through subtle variations in arch sizes and color choices.
Don’t be discouraged if your first attempt isn’t perfect – crafting skills develop with practice.
You can experiment with different sizes, add embellishments like clouds or stars, or create multiple rainbows to form a striking wall display.
Whether you’re keeping it for yourself or giving it as a gift, your handcrafted rainbow will serve as a cheerful reminder of creativity and accomplishment.