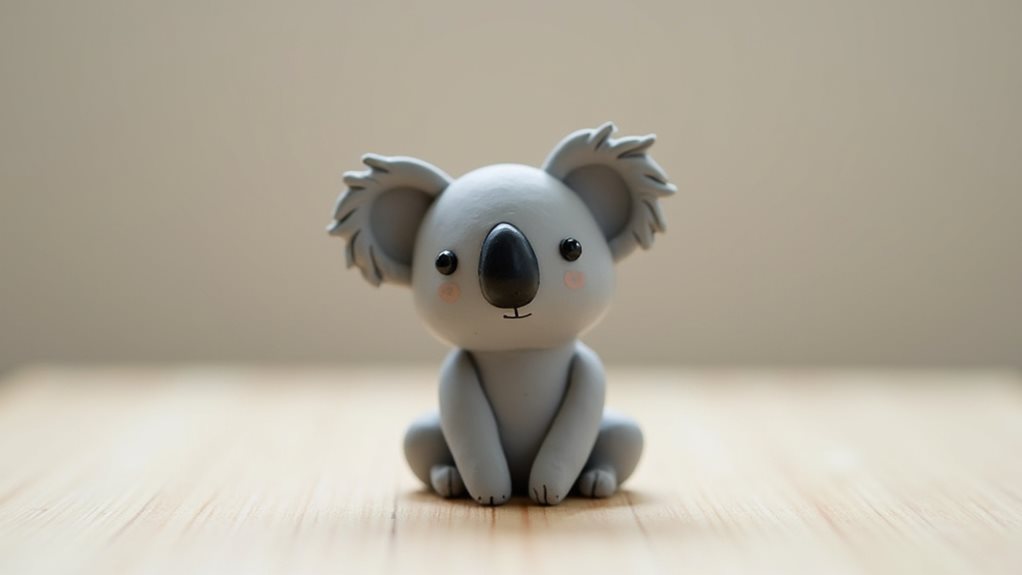
Just as you’re seeking a creative outlet that combines artistic expression with manageable scale, panda miniatures have emerged as an ideal craft project. You’ll find these charming clay sculptures offer the perfect balance of challenge and accessibility, requiring only basic materials and a few hours of focused attention. If you’re curious about transforming simple air-dry clay into an adorable desk companion that captures the essence of these beloved bears, you’re about to discover a rewarding new hobby.
Key Takeaways
- Miniature panda sculptures typically measure 2 inches tall and are crafted using air-dry clay in black and white colors.
- Creating miniature pandas requires basic materials: white clay, black clay, sculpting tools, water, and clear acrylic sealer.
- The sculpting process involves shaping two main forms: an elongated egg body and spherical head, then adding facial features and limbs.
- Air-dry clay miniature pandas need 24-48 hours to dry completely and should be sealed with acrylic for protection.
- Modern panda miniatures gained widespread popularity in the 1970s following China’s panda diplomacy with international zoos.
History
While miniature clay sculpting dates back thousands of years to ancient civilizations, the modern practice of creating small panda figurines gained popularity during the 1970s when China’s gifting of giant pandas to foreign zoos sparked worldwide fascination with these beloved creatures.
You’ll find that crafters initially used traditional materials like porcelain and wood to create panda miniatures, but the introduction of air-dry clay in the 1960s revolutionized the hobby.
This new medium offered you more flexibility and required no kiln firing, making it accessible to home crafters. The trend of creating panda miniatures continued to grow through craft fairs and DIY movements of the 1980s and 1990s, leading to today’s thriving community of miniature animal sculptors who share techniques and inspiration online.
Project
Creating a miniature panda from air dry clay combines artistic expression with the joy of crafting a charming decorative piece. This small sculpture measures approximately 2 inches (5 cm) tall and serves as an ideal desk companion, handmade gift, or addition to a collection of handcrafted animals.
This beginner-friendly project requires minimal tools and basic sculpting techniques, making it perfect for both adults and children. The entire project can be completed in one sitting, allowing crafters to see their creation come to life quickly while learning fundamental clay-working skills.
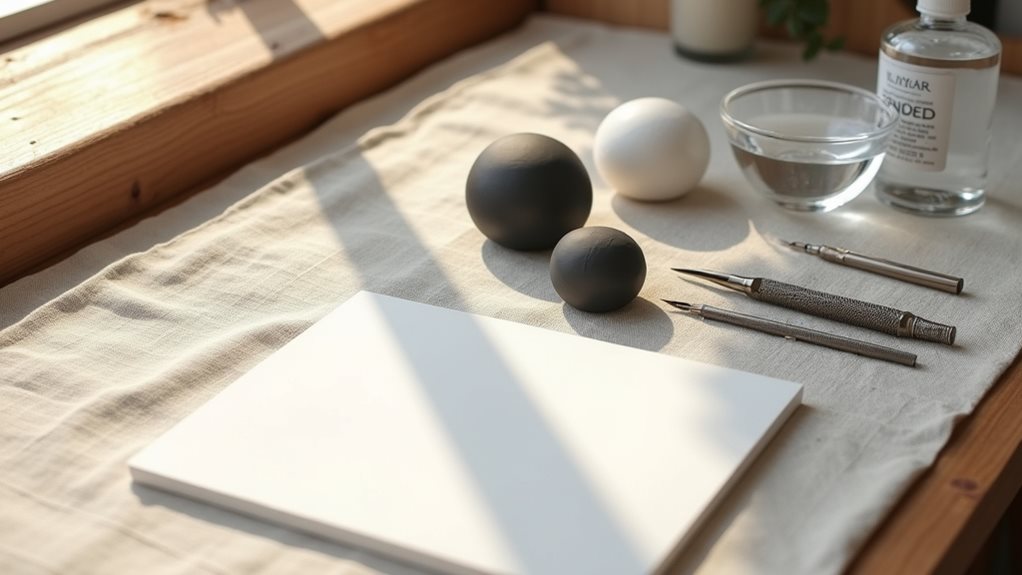
Materials:
- White air dry clay (4 oz / 113 g)
- Black air dry clay (2 oz / 56 g)
- Sculpting tool or toothpick
- Small cup of water (4 oz / 118 ml)
- Clear acrylic sealer (2 oz / 59 ml)
Begin by forming two white clay balls for the body and head, joining them with a small amount of water. Shape the body into an egg form and the head into a sphere. Create four black oval shapes for the ears and eye patches, attaching them with water.
Add two tiny white balls for eyes and four small cylinders for legs. Use your sculpting tool to create fur-like texture across the surface. Form a small black nose and position it in the center of the face. Allow the piece to dry completely for 24-48 hours before applying sealer.
When working with the clay, maintain slightly damp hands to prevent sticking, but avoid over-wetting the clay. Work on a non-porous surface like glass or plastic, and ensure all pieces are securely attached with water.
If any cracks appear during drying, fill them with a mixture of clay and water. Keep unused clay in an airtight container to maintain freshness, and work in a moderate temperature environment to prevent uneven drying.
Project Steps
Let’s guide you through creating your miniature panda, starting with gathering your white and black air dry clay, sculpting tools, water, and sealer.
You’ll begin by shaping the main body forms and attaching key features like eyes and ears, before moving on to the limbs and adding textural details for that distinctive panda look.
Once you’ve completed the sculpting process, you’ll need to let your creation dry thoroughly for 24-48 hours before applying a protective sealer to ensure its longevity.
Step 1. Gather Required Materials Together
Before diving into the panda creation process, you’ll need to gather all essential materials in one workspace. Start by collecting both white and black air dry clay, ensuring you have 4 ounces of white and 2 ounces of black for proper proportions.
You’ll also need basic tools: a sculpting tool or toothpick for adding details, a small cup of water for connecting clay pieces, and clear acrylic sealer for the finishing touch.
Set up your work area on a smooth, non-porous surface, and keep paper towels nearby for clean-up. If you’re working on a wooden table, protect it with a plastic mat or wax paper.
Remember to bring your clay to room temperature if it’s been stored in a cool place, as this will make it more pliable and easier to work with.
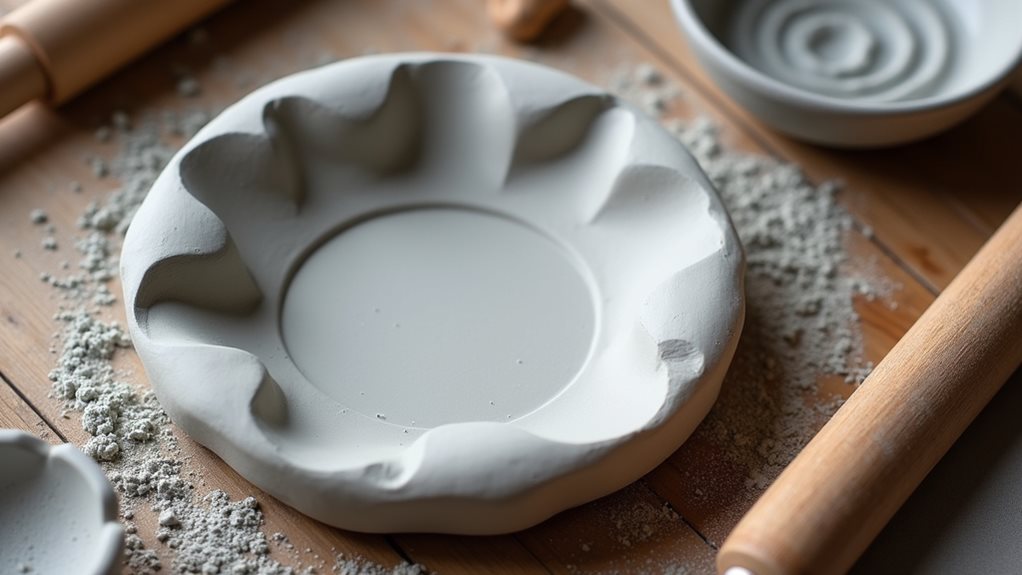
Step 2. Shape Main Clay Forms

The foundation of your miniature panda begins with two essential clay forms: the body and head.
Start by pulling off a golf ball-sized piece of white clay for the body and a slightly smaller piece for the head. Roll each piece between your palms until they’re smooth and round, then shape the body into an elongated egg form while keeping the head spherical.
You’ll want the body to be about twice the size of the head for proper proportions.
Press your finger gently into the center of the body piece to create a slight indentation where the head will attach. Moisten both connection points with a small amount of water, then firmly press the head onto the body, smoothing the seam with your fingertip to create a seamless join.
Step 3. Add Eye and Ear Details
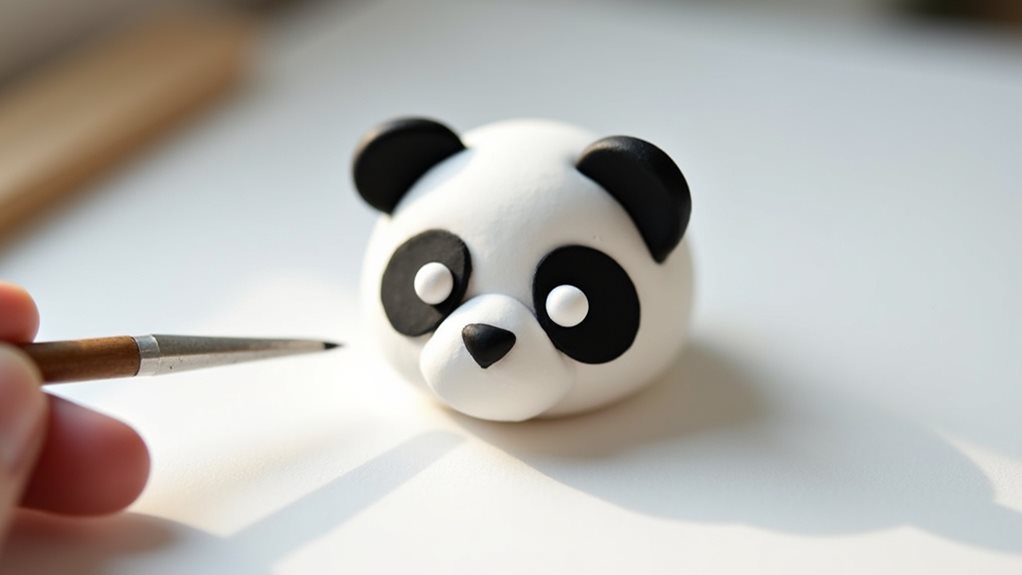
Moving on to the panda’s facial features, you’ll need small portions of both black and white clay to create expressive eyes and distinctive ears.
Form two small black ovals for the eye patches, gently pressing them onto the face with a drop of water to secure them. Roll two tiny white spheres for the eyes, placing them centered within the black patches, then add minuscule black dots for pupils using your sculpting tool.
For the ears, shape two black oval pieces and flatten them slightly, keeping them proportional to the head size. Position these at the top of the head, angling them slightly outward for that characteristic panda look.
Smooth the edges where the ears meet the head using your damp finger, ensuring they’re firmly attached and naturally integrated into the sculpture.
Step 4. Add Limbs and Texturing
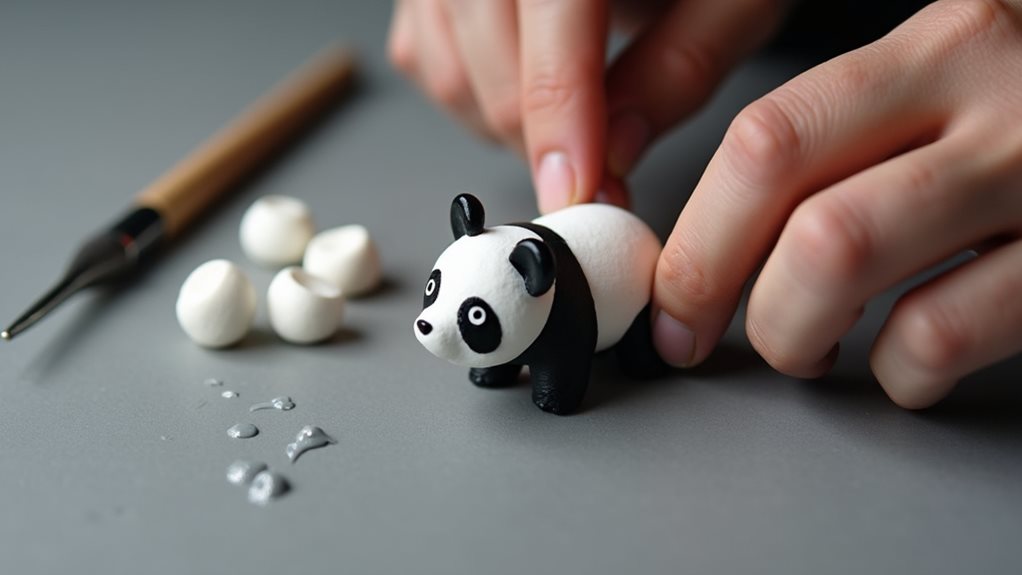
Sculpting the panda’s limbs begins with rolling four small clay cylinders of equal size, each about half an inch long and a quarter-inch thick.
Attach these cylinders to the panda’s body by moistening the connection points with water, positioning them symmetrically to create the legs and arms. Press gently to ensure secure bonding.
Now it’s time to add texture to your panda’s surface. Using a sculpting tool or toothpick, create gentle indentations across the body in a crosshatch pattern to simulate fur.
Work in small sections, varying the direction of your strokes to achieve a natural look. Don’t press too deeply – you’re aiming for subtle texture rather than deep grooves.
Pay special attention to the limbs, creating shorter strokes that follow the natural direction of a panda’s fur growth.
Step 5. Let Dry and Seal
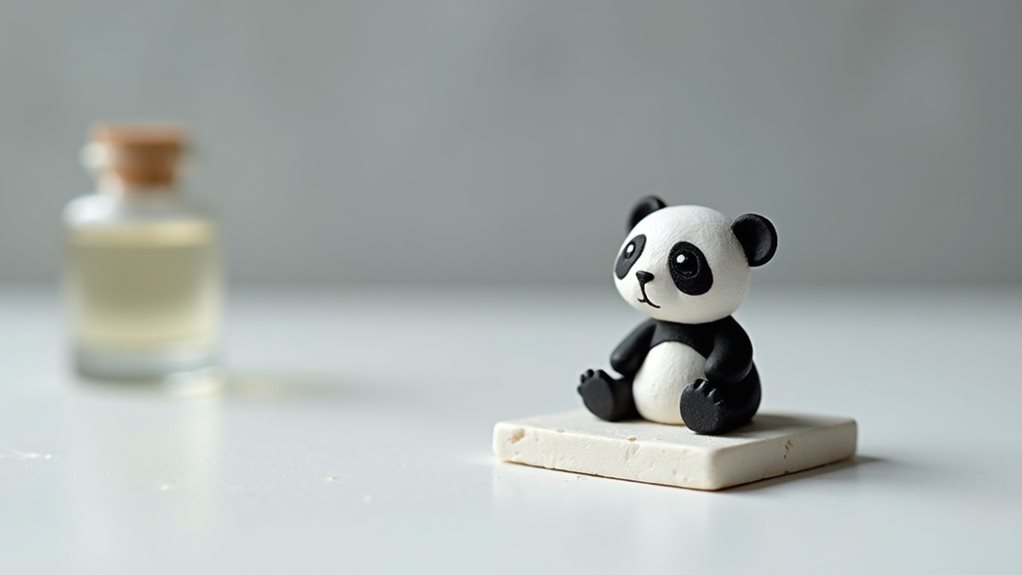
Once you’ve completed texturing your panda sculpture, place it in a dry, well-ventilated area away from direct sunlight for 24-48 hours to ensure thorough drying.
During this time, don’t move or handle the piece, as it’ll be delicate until fully hardened. Check for any cracks that might develop during the drying process.
After your panda has dried completely, you’ll need to protect it with a clear acrylic sealer.
Apply two thin coats using even brush strokes, allowing each layer to dry for 30 minutes. The sealer will protect your creation from moisture and dust while giving it a subtle sheen.
You can now display your miniature panda or give it as a gift, knowing it’ll maintain its charm for years to come.
Final Thoughts
Creating a miniature panda from air dry clay offers a rewarding introduction to sculpting while helping you develop essential clay-working techniques.
You’ll discover how working with different shapes and textures builds your confidence in handling clay, preparing you for more complex projects in the future.
As you complete your panda, you’ll notice how each step contributes to your understanding of proportion, balance, and detail work.
Don’t worry if your first attempt isn’t perfect – sculpting takes practice, and each piece you create will show improvement.
Remember to photograph your work before gifting it, and consider making multiple pandas with slight variations to develop your style.
You’ve now gained valuable experience in basic clay sculpture that you can apply to countless other projects.