Creating an owl sculpture isn’t just a craft project—it’s your gateway to channeling the wisdom of ancient civilizations through art. You’ll discover how these majestic birds have captivated artists for millennia, serving as powerful symbols in cultures worldwide. Whether you’re working with air-dry clay or traditional ceramics, you’ll learn to transform simple materials into a striking piece that captures the owl’s mysterious essence. Let’s explore how you can bring your own unique vision to this timeless art form.
Key Takeaways
- Owl sculptures represent wisdom and protection in art history, from ancient Egyptian artifacts to modern decorative pieces.
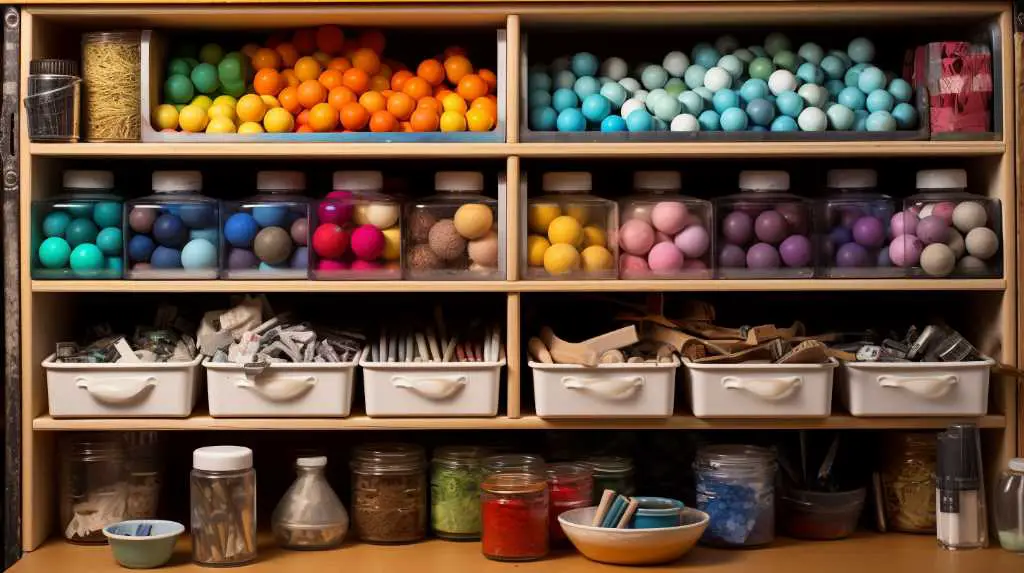
- Basic materials needed include air-dry clay, sculpting tools, water, a flat surface, and acrylic paints for finishing.
- The sculpting process involves shaping clay into three main parts: body (egg form), head (facial features), and stable base.
- Proper techniques include maintaining damp hands while working, smoothing cracks with water, and allowing 24-48 hours drying time.
- Paint finished sculptures with brown or gray base coats, add feather details, and seal with clear acrylic varnish for protection.
History
While clay sculptures have existed since ancient civilizations, the art of creating owl figures holds particular significance across many cultures.
You’ll find owl sculptures dating back to ancient Egypt, where they represented wisdom and protection, while Greek artisans frequently depicted the owl as Athena’s sacred companion in their pottery and sculptures.
In Native American cultures, you’ll discover clay owl sculptures played important roles in spiritual ceremonies and storytelling traditions.
The Pueblo people, particularly skilled in ceramics, created owl effigies that served both decorative and ceremonial purposes.
During the Arts and Crafts movement of the late 19th century, owl sculptures gained popularity as decorative elements in homes, and you’ll notice this trend has continued into modern times with various interpretations in contemporary ceramics and sculpture.
Project
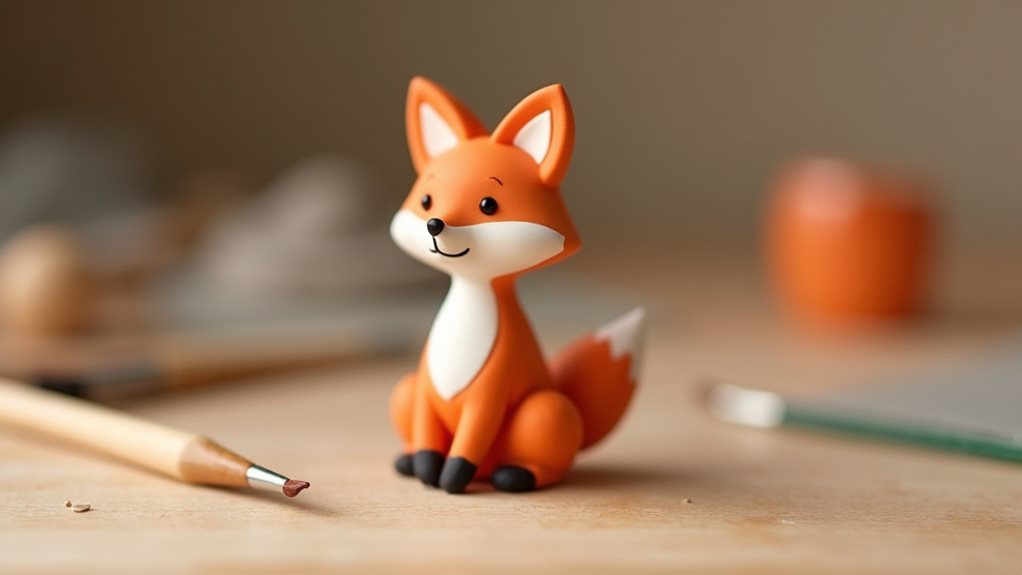
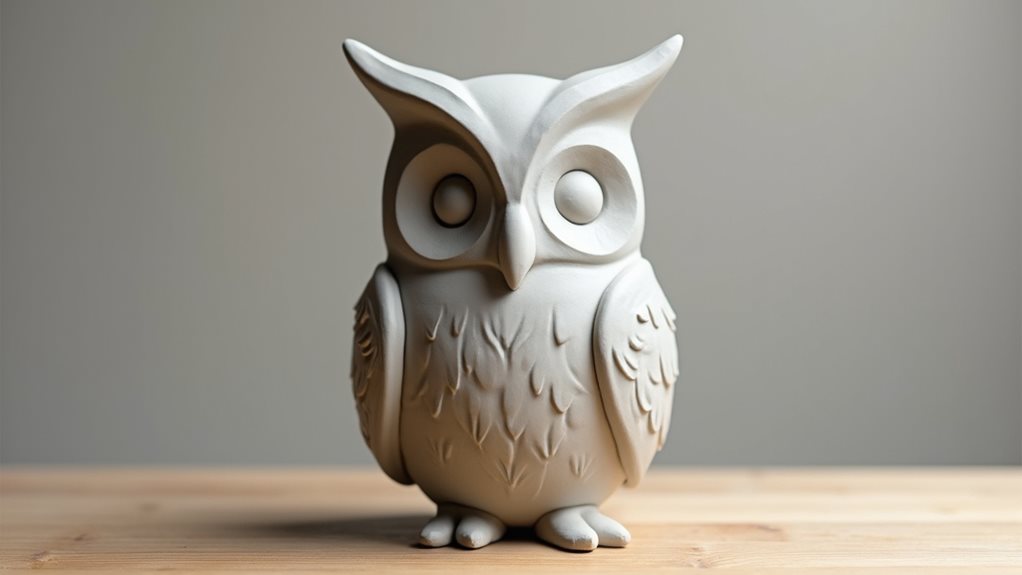
Crafting an owl sculpture from air dry clay provides a perfect introduction to three-dimensional art while allowing creative expression through a beloved woodland creature. The simple shapes and basic techniques make this project approachable for beginners, yet the final result carries timeless charm that can enhance any space.
The project centers around creating distinct owl features using fundamental sculpting methods like pinching, pressing, and texturing. By focusing on the owl’s characteristic round body and expressive face, crafters can achieve a recognizable bird form while developing essential clay-working skills.
- Air dry clay (8 oz / 225g)
- Wooden sculpting tool or butter knife
- Small bowl of water (4 oz / 120ml)
- Flat work surface (12″ x 12″ / 30cm x 30cm minimum)
- Acrylic paint set (basic colors)
Divide the clay into three portions: a large 5 oz (140g) ball for the body and two 1.5 oz (42g) balls for the head and base. Shape the body portion into an egg form and flatten one end to create a stable base. Form the head by shaping one of the smaller portions into a sphere and gently pressing it onto the body’s upper section.
Create the facial features by making two thumb impressions for eyes, pinching a small triangle for the beak, and adding texture lines around the eye areas. Form wings by pressing curved lines into the body’s sides, then create feet by rolling two small pieces of clay and attaching them to the base. Allow the sculpture to dry completely for 24-48 hours before painting.
When working with air dry clay, maintain slightly damp hands to prevent the clay from sticking while avoiding oversaturation. Work on a non-stick surface and keep the sculpture stationary during the drying process to prevent warping or cracking.
If cracks appear during sculpting, smooth them with a small amount of water applied with fingertips. Consider making the sculpture approximately 10% larger than desired, as air dry clay typically shrinks during the drying process.
Project Steps
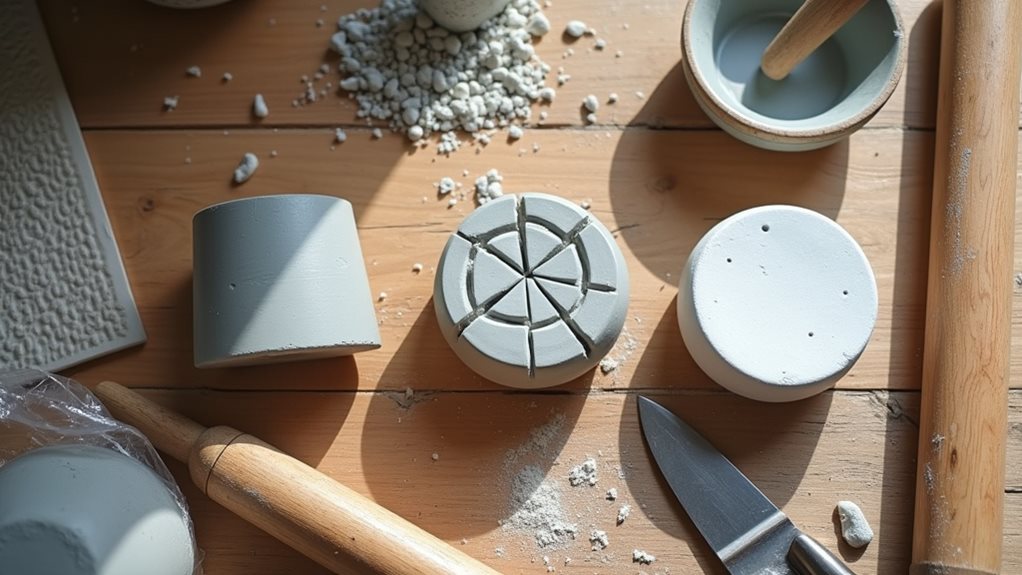
Begin your owl sculpture by dividing your clay into three distinct portions: a large ball for the body and two smaller, equal-sized balls for the head and base.
You’ll shape the body into an egg form, create facial features with thumb indentations for eyes and a pinched triangle for the beak, and add curved wing details to the sides.
Once you’ve completed the basic form and allowed it to dry thoroughly, you’ll bring your owl to life with acrylic paints in your chosen colors.
Step 1. Divide Clay Into Portions
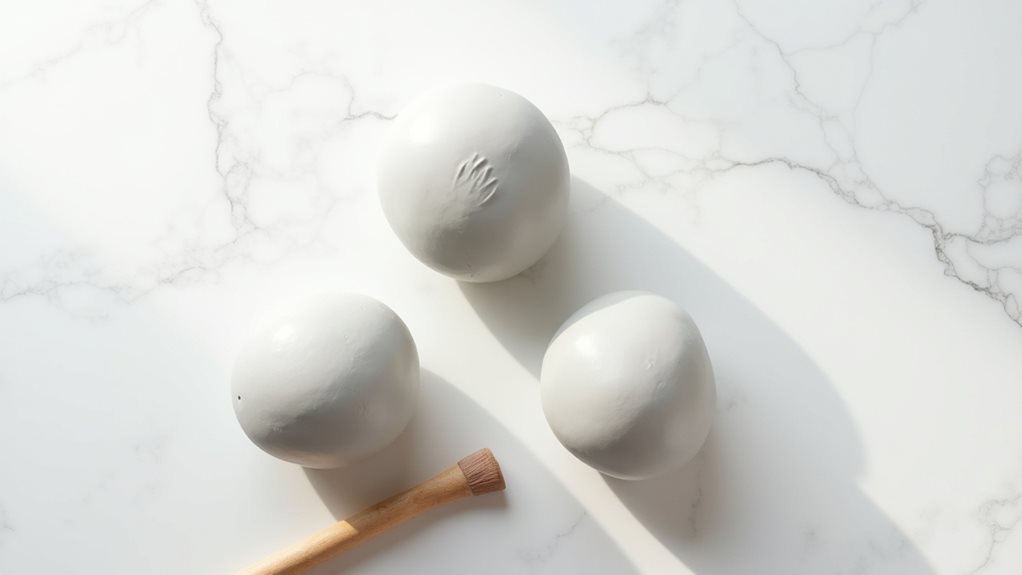
The first critical step in creating your owl sculpture requires dividing your clay into three distinct portions.
You’ll need a large portion of approximately 5 ounces (140g) for the body, which will form the main structure of your owl.
Set aside two smaller, equal-sized portions of about 1.5 ounces (42g) each – one for the head and another for the base.
Before you begin dividing, knead the clay thoroughly to ensure it’s pliable and free of air bubbles.
If you don’t have a scale, you can estimate the proportions by dividing your clay block into thirds, then splitting one of the thirds in half.
Remember to keep any unused portions wrapped in plastic while you’re working to prevent them from drying out.
Step 2. Shape Egg-Like Body
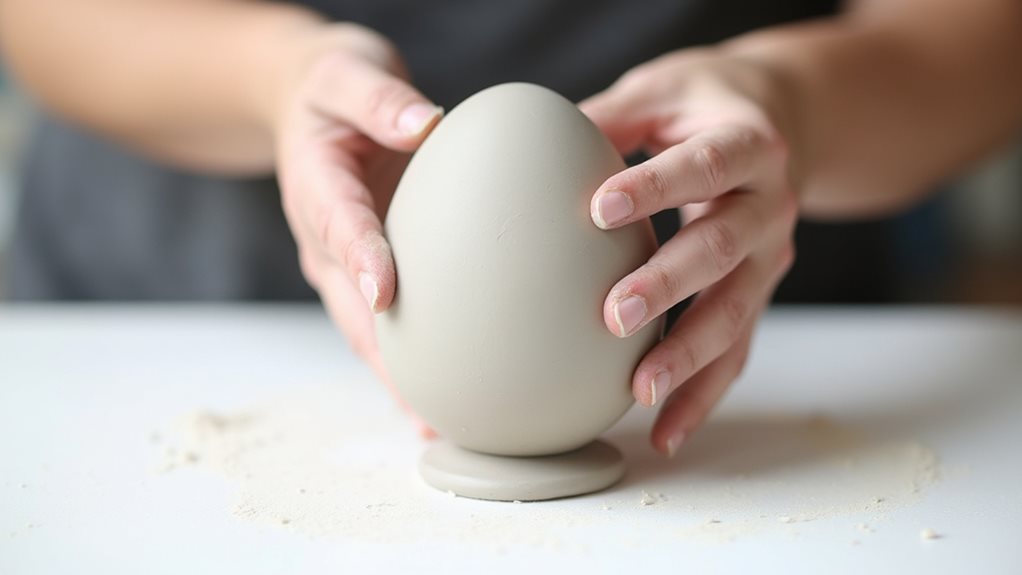
After preparing your clay portions, shaping the owl’s body forms the foundation of your sculpture.
Take the largest portion of clay (5 oz) and begin rolling it between your palms, gradually transforming it into an elongated sphere. As you work, apply gentle pressure to create a distinctive egg shape, with one end slightly wider than the other.
Once you’ve achieved the basic egg form, carefully flatten the bottom to create a stable base for your owl. You’ll want the sculpture to stand upright without tipping over.
Smooth any rough spots or inconsistencies with your fingertips, maintaining the egg’s natural curves. If you notice any cracks forming while you work, lightly dampen your fingers with water and gently smooth the surface until it’s even.
Step 3. Create Owl Head Features
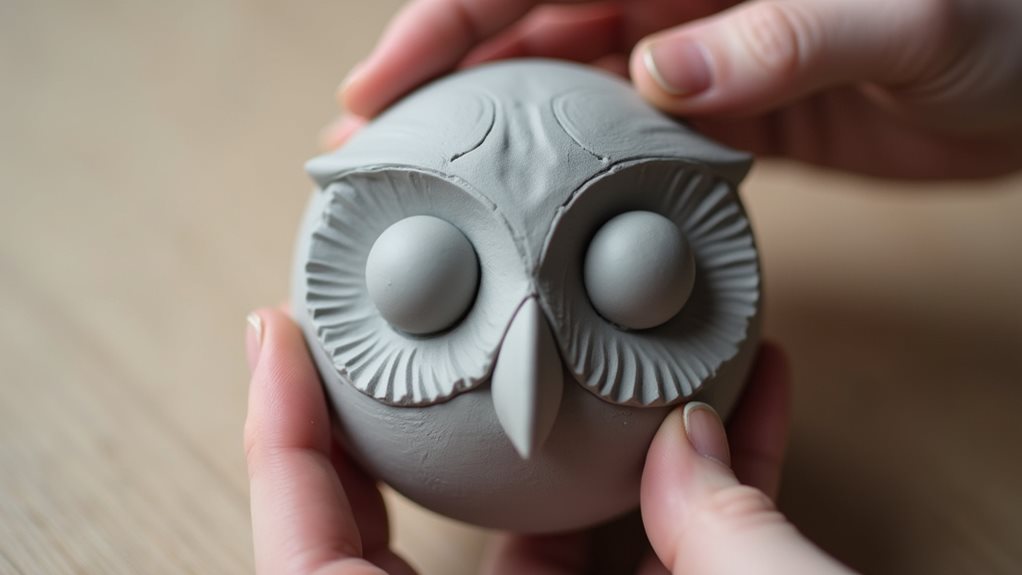
Shaping an owl’s distinctive facial features starts with pressing two deep thumb indentations into the clay head for the characteristic eyes.
Around each indentation, use your fingertip to create a circular ridge that forms the owl’s eye sockets. Next, pinch a small triangular shape between and slightly below the eyes to form the beak, gently pulling it forward to create dimension.
To add realistic detail, score fine lines radiating outward from the eyes using your sculpting tool.
You’ll want to create subtle feather textures by pressing curved lines that extend from the center of the face toward the outer edges.
Finally, add two small clay balls for the pupils, pressing them firmly into the eye indentations, and smooth any rough edges with a damp finger.
Step 4. Add Curved Wing Details
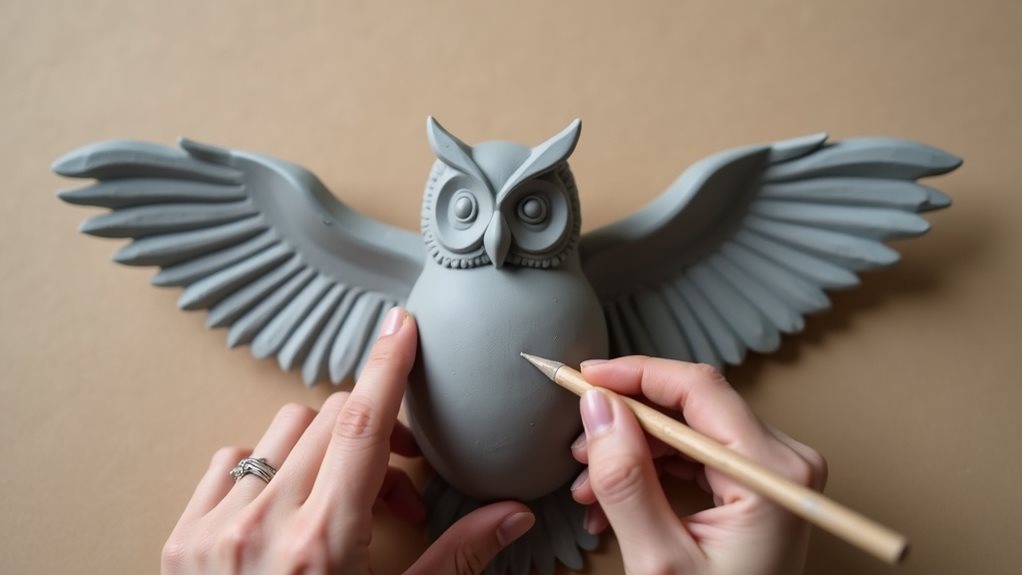
Moving from the owl’s expressive face, wings become your next artistic focus, defining the sculpture’s overall silhouette.
Using your sculpting tool, gently press curved lines into both sides of the owl’s body, creating wing shapes that flow naturally from shoulder to tail. Start at the top of each side, applying firm but careful pressure to achieve clean, sweeping arcs that taper toward the bottom.
Add texture and depth by scoring additional curved lines within each wing, working from the outside edge inward. You’ll want to create 3-4 parallel curves to suggest layered feathers.
Don’t press too deeply – these lines should be subtle enough to catch light without compromising the clay’s structural integrity. If needed, smooth any rough edges with slightly dampened fingertips.
Step 5. Paint With Acrylic Colors
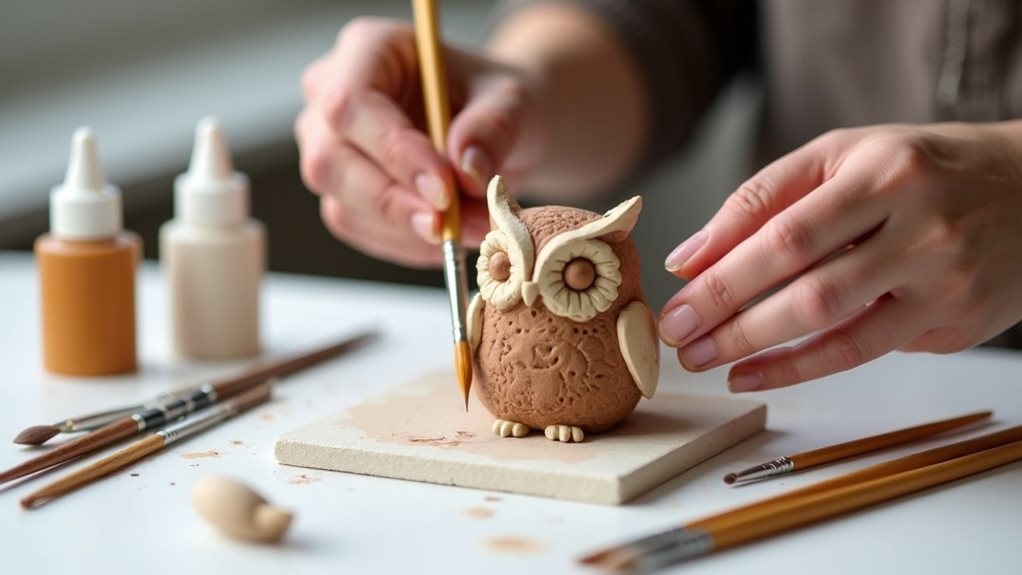
Once your owl sculpture has completely dried, transform it with acrylic paints to bring its personality to life. Start by applying a base coat of brown or gray paint across the entire sculpture, ensuring even coverage.
Let this layer dry for 30 minutes before adding details.
Next, use darker shades to define the wings, facial features, and feet. Paint the eyes with white circles first, then add black centers and yellow rings around them for a realistic effect.
You’ll want to create subtle feather textures by dry-brushing lighter shades over the base coat in gentle, downward strokes.
Finally, seal your painted owl with a clear acrylic varnish to protect the colors and add a professional finish. Allow the varnish to dry completely before displaying your creation.
Final Thoughts
Creating an owl sculpture from air dry clay provides a rewarding experience that’ll help you develop fundamental sculpting skills while producing a charming piece of art.
As you’ve learned through this project, patience and attention to detail are essential for achieving the best results, from properly proportioning the clay sections to carefully crafting each distinctive feature.
Remember that every owl sculpture you create will be unique, reflecting your personal artistic touch.
Don’t be discouraged if your first attempt isn’t perfect – sculpting skills improve with practice.
You’ll find that each new piece builds upon the techniques you’ve mastered, allowing you to experiment with different expressions, poses, and decorative elements.
Consider displaying your finished owl in a special place where it can inspire you to continue exploring your creative potential.