In a world where miniature gardening has exploded into a billion-dollar phenomenon, you’ll find that succulent pots offer an enchanting gateway to this green-thumbed passion. You’re about to discover how these tiny vessels, often no larger than a coffee cup, can transform your living space into a miniature desert oasis. Whether you’re a seasoned plant enthusiast or just starting out, these charming containers hold the key to creating your own perfectly scaled botanical wonderland.
Key Takeaways
- Miniature succulent pots require drainage holes and proper wall thickness to maintain plant health and prevent structural issues.
- Air-dry clay offers an accessible material for creating custom miniature pots at home without specialized equipment.
- Pots should be 3-4 inches in diameter and 1/4 inch thick to provide adequate space for small succulent growth.
- Sealing pots with clear acrylic enhances durability and protects against moisture while maintaining their decorative appeal.
- These small containers originated in ancient civilizations but gained modern popularity during the indoor gardening boom of the 1950s.
History
While the art of crafting miniature pots dates back thousands of years to ancient civilizations, the specific trend of creating tiny succulent containers gained momentum during the mid-20th century alongside the growing popularity of indoor gardening.
You’ll find that the earliest examples of miniature containers were discovered in Egyptian tombs, where they held precious oils and ceremonial items.
In the 1950s and 1960s, you’d see these small pots emerge as perfect vessels for the burgeoning houseplant movement, particularly as succulents became prized for their compact size and low maintenance needs.
The development of air-dry clay in the 1970s revolutionized home crafting, allowing you to create custom pots without the need for kilns or specialized equipment.
Project
Creating miniature succulent pots from air dry clay offers a rewarding way to craft personalized planters that complement any home décor style.
These handmade containers provide the perfect home for small desert plants while allowing crafters to express their creativity through unique designs, patterns, and textures.
The project can be completed in one afternoon and requires no special equipment or previous experience, making it an ideal introduction to working with air dry clay.
The finished pots serve both functional and decorative purposes, bringing life to any space while showcasing your handcrafted artwork.
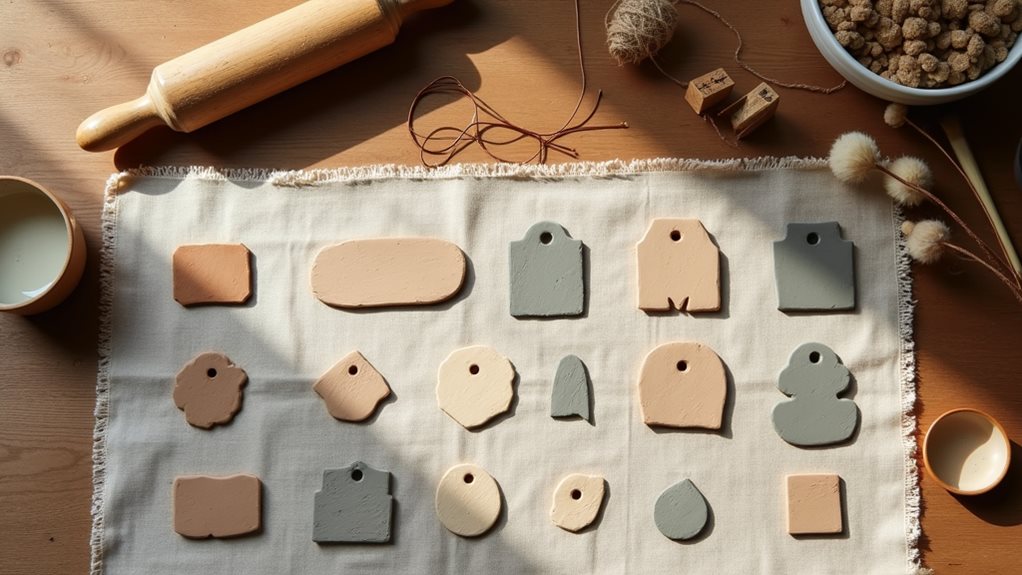
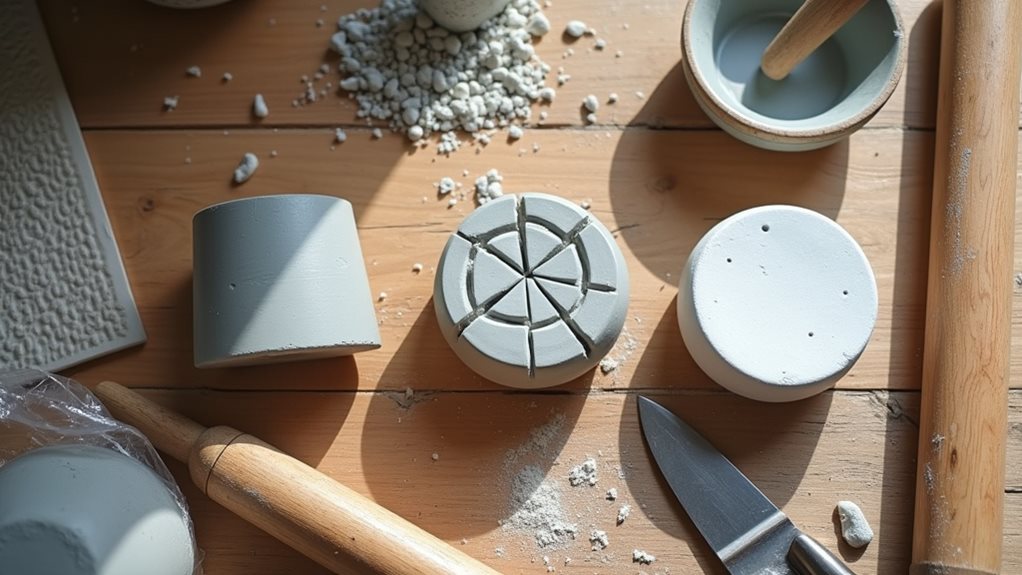
Materials:
- Air dry clay (8 oz / 225g)
- Rolling pin (6-8 inches / 15-20 cm)
- Craft knife or plastic needle tool
- Small bowl of water (4 oz / 120 ml)
- Smooth work surface (12×12 inches / 30×30 cm)
Start by thoroughly kneading the clay until it becomes soft and pliable, then roll it out to a 1/4 inch (6mm) thickness using the rolling pin.
Cut a circle measuring 3-4 inches (7.5-10 cm) for the base, then create strips for the walls.
Attach the walls to the base using water as a binding agent, smoothing all seams with your fingers.
Using the craft knife, pierce several drainage holes in the bottom of the pot, then add desired textures or patterns to the exterior surface.
Allow the finished pot to dry completely for 24-48 hours.
When working with air dry clay, always keep unused portions wrapped in plastic to prevent drying out.
Work on a non-stick surface and clean all tools immediately after use, as dried clay becomes difficult to remove.
Avoid creating walls thinner than 1/4 inch (6mm) to prevent cracking during the drying process.
For added durability, consider applying a clear acrylic sealer to the fully dried pot before use with plants.
Project Steps
To create your miniature succulent pot, you’ll first knead the clay until it’s completely pliable and then roll it to a quarter-inch thickness using smooth, even strokes.
Next, carefully cut and shape your pot pieces, joining the walls to the base with a small amount of water while smoothing all seams with your fingertips.
Finally, don’t forget to add several drainage holes to the bottom of your pot using a craft knife, ensuring they’re evenly spaced and properly sized for adequate water flow.
Step 1. Knead Clay Until Soft
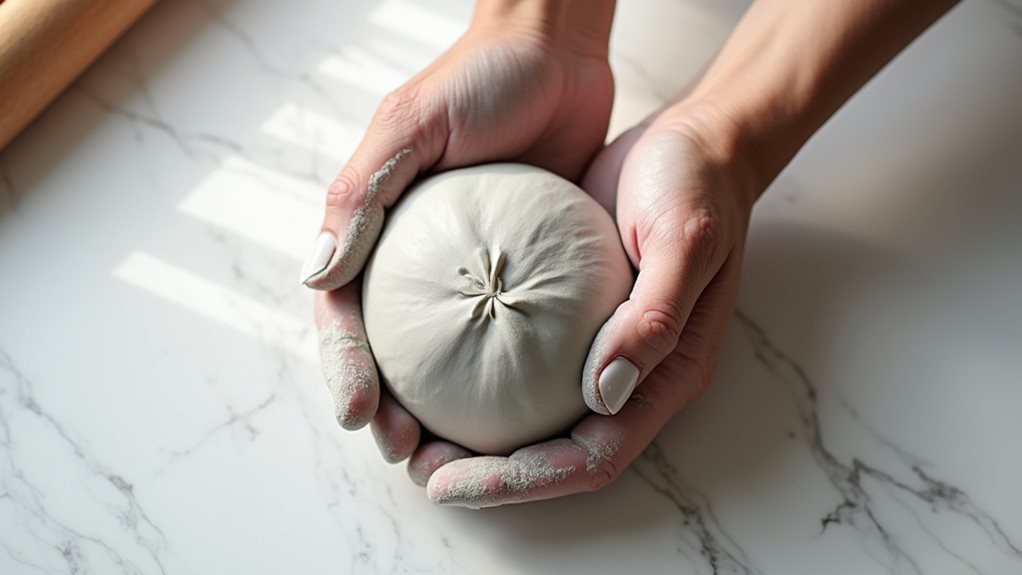
The first essential step in crafting miniature succulent pots requires proper clay preparation through thorough kneading.
You’ll need to work the clay between your palms and fingers for about 3-5 minutes until it becomes soft and pliable. While kneading, you’ll notice the clay’s texture becoming smoother and more uniform, making it easier to shape.
If you’re working with cold clay, warm it up by rolling it between your hands to increase its malleability.
When the clay feels consistently soft throughout and doesn’t show any hard spots or air pockets, you’ll know it’s ready for the next step.
Don’t rush this process, as properly kneaded clay will be much easier to work with and will result in stronger, more durable pots.
Step 2. Roll Clay to Thickness
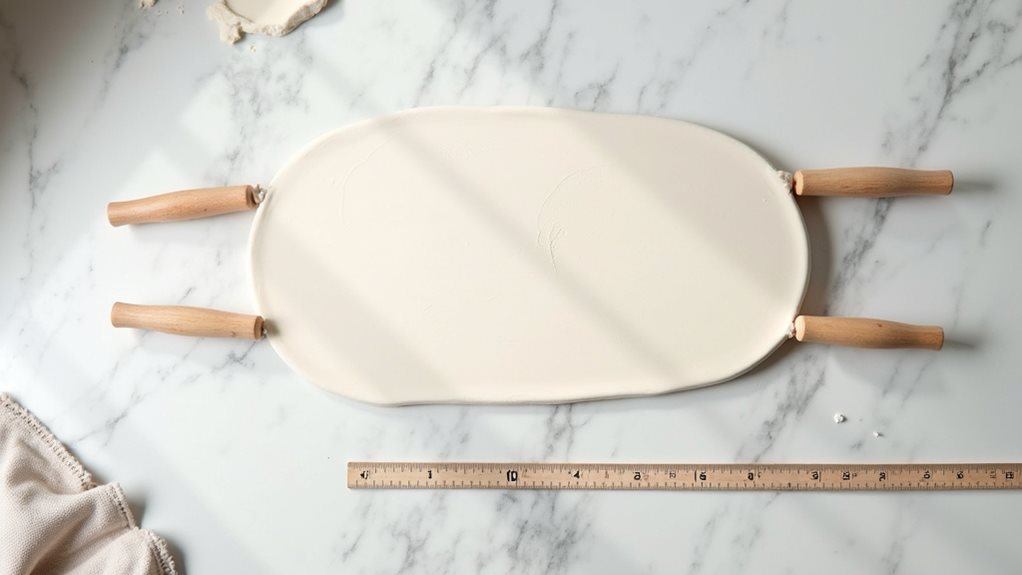
Place your prepared clay on a smooth, non-stick surface, then reach for your rolling pin to begin the critical thickness-rolling phase of your miniature pot project.
Starting from the center, roll outward in steady, even strokes, applying consistent pressure to achieve uniform thickness throughout the clay.
You’ll want to roll the clay to approximately 1/4 inch (6mm) thickness, which provides enough stability for your pot while maintaining a delicate appearance.
If you’re unsure about the measurement, use a ruler to check various spots across your rolled clay. Should you notice any uneven areas, focus your rolling on those specific sections until they match the desired thickness.
Remember to rotate the clay occasionally as you work, ensuring that you’re creating an evenly distributed surface for your pot’s construction.
Step 3. Cut and Shape Pot Pieces
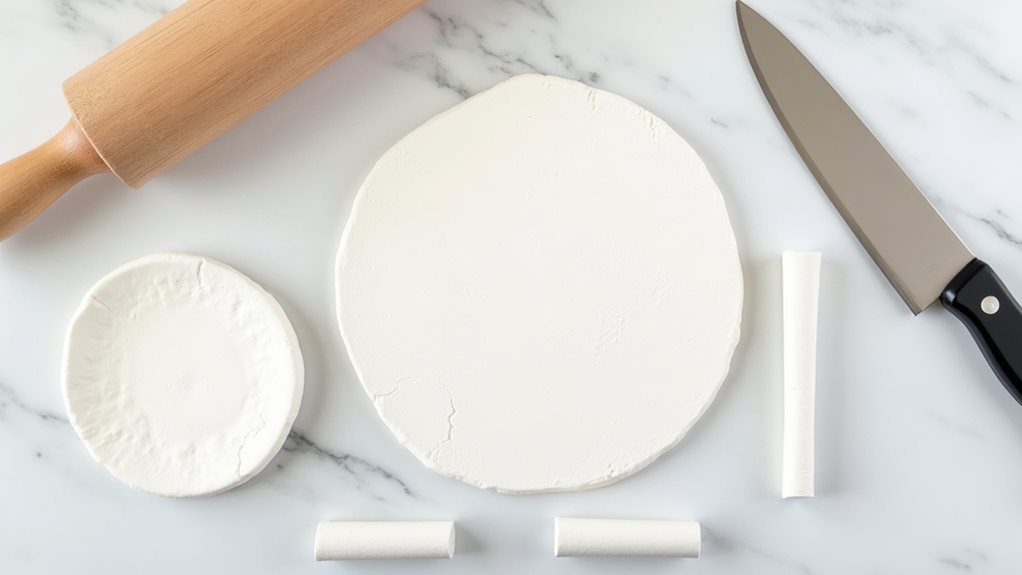
Start your pot creation by cutting essential pieces from your rolled clay using precise measurements and clean lines.
Using a craft knife, cut a circle that’s 3-4 inches in diameter for the base, then cut a rectangular strip that’s long enough to form your pot’s walls. You’ll want the strip to be about 2-3 inches tall, depending on your desired pot height.
Shape the rectangular strip into a cylinder that matches your base’s circumference, ensuring the ends meet cleanly.
Score both the bottom edge of your wall piece and the perimeter of your base using crisscross patterns with your knife. Apply a small amount of water to these scored areas before joining them together, then smooth the seams with your fingers until they’re nearly invisible.
Step 4. Join Pieces With Water
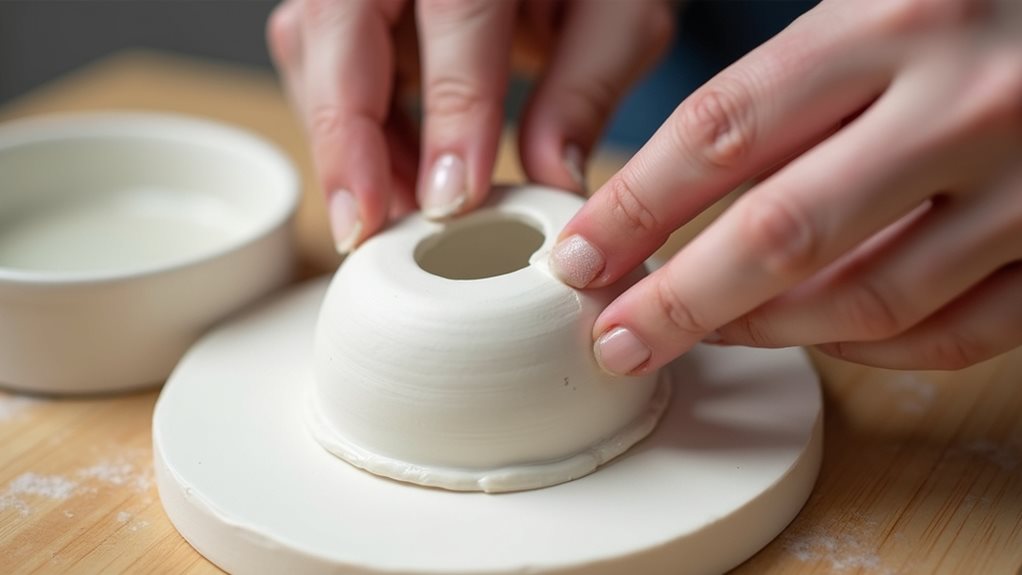
After scoring both clay pieces, dip your finger in water and gently apply a thin, even coating to the marked areas you’ll be joining together.
Press the moistened surfaces firmly against each other, ensuring complete contact between the base and walls of your pot. You’ll need to hold the pieces in place for about 30 seconds to allow initial bonding.
Smooth the seams where the pieces meet by running your slightly dampened finger along the joints, both inside and outside the pot.
This technique, called slipping, helps create a seamless connection between the clay sections. If you notice any gaps or weak spots, apply a small amount of clay mixed with water to reinforce these areas, then smooth the surface again until you’re satisfied with the connection.
Step 5. Create Drainage Holes Carefully
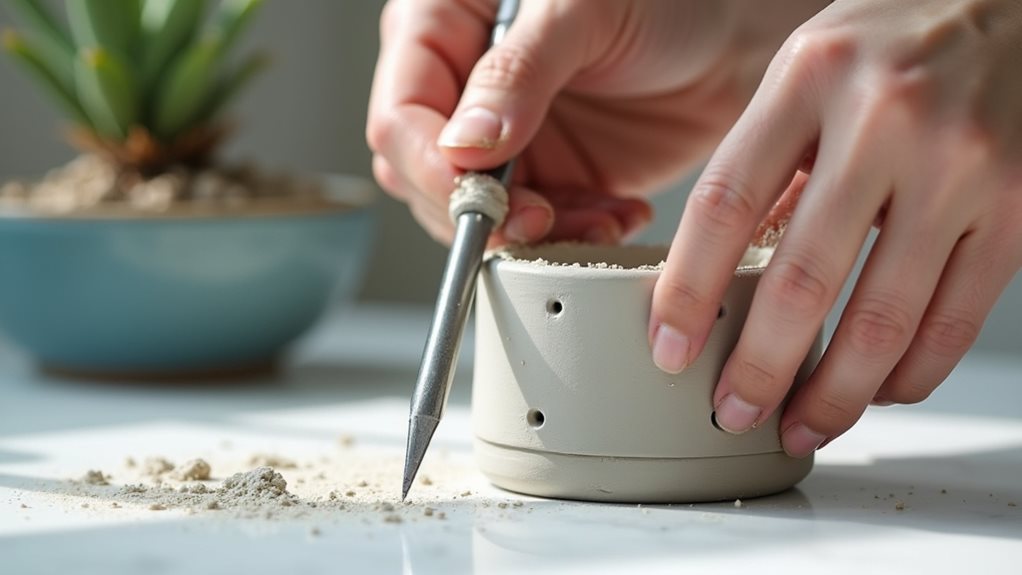
Proper drainage holes prove essential for your succulent’s health and longevity in these handcrafted clay pots.
Using your craft knife or needle tool, carefully pierce three to four evenly-spaced holes in the base, each approximately 1/4 inch (6mm) in diameter. Work from the inside of the pot outward, applying steady pressure while rotating the tool to create clean openings.
Don’t rush this process, as rough or hastily made holes can cause the clay to crack during drying.
If you’re working with a larger pot, you’ll want to add more drainage points, spacing them about 1 inch (2.5cm) apart.
After creating the holes, gently smooth any rough edges with your fingertip to ensure proper water flow and prevent soil from clogging the openings.
Final Thoughts
Creating miniature succulent pots from air dry clay offers a rewarding blend of artistry and functionality that you’ll cherish for years to come.
As you perfect your technique, you’ll discover endless possibilities for customizing these charming containers with unique textures, patterns, and designs that reflect your personal style.
Remember to maintain proper thickness in your pot walls, create adequate drainage holes, and allow sufficient drying time before use.
While these handcrafted planters aren’t waterproof, you can extend their lifespan by applying a clear acrylic sealer once they’re completely dry.
With proper care and attention to detail during the creation process, your miniature clay pots will provide an ideal home for your tiny succulents while adding a distinctive decorative touch to any space.