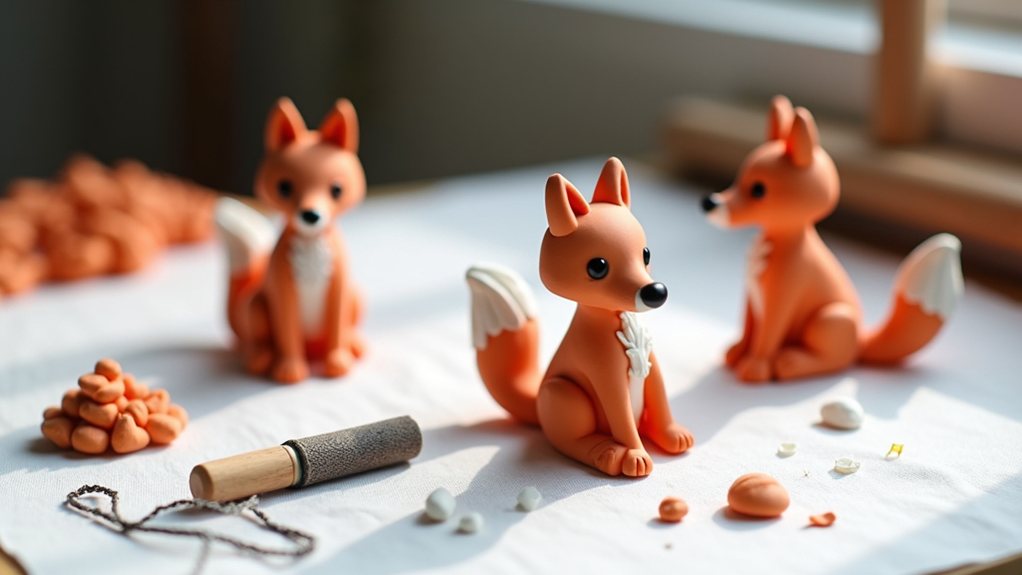
You don’t need professional sculpting skills to create charming air dry clay foxes. By understanding how to portion, shape, and attach each component—from the oval body to the tapered tail—you’ll develop a solid foundation for this craft. The real challenge comes when you’re adding those crucial facial details that bring your fox to life, so let’s explore the specific techniques that’ll make your creation truly stand out.
Key Takeaways
- Divide air dry clay into three portions: body (60g), head (35g), and tail (25g) for balanced proportions.
- Shape the head as a flattened sphere, use a round tool for eye indentations, and attach pointed ears.
- Dampen a wire brush with water and press firmly to securely join the head and tail to the body.
- Mark nostrils with a needle tool after 24 hours, then compress air pockets throughout to prevent cracking.
- Paint eyes and mouth details with black acrylic after the fox dries completely in a warm, dry location.
History
Air dry clay didn’t emerge from a single inventor’s laboratory but rather evolved through collaborative experimentation across the twentieth century, as multiple craft developers and researchers worked to create a moldable material that’d harden without a kiln.
Early formulations originated in Argentina, where innovators combined cornstarch and glue to develop cold porcelain clay. European and American craft labs subsequently refined polymer alternatives, while others mixed cellulose fibers into traditional clay to produce paper clay variants.
These parallel developments culminated in a breakthrough when researchers discovered that combining household ingredients—glue, starch, and plasticizer—produced self-hardening clay suitable for home use. This innovation eliminated the kiln requirement entirely, transforming clay crafting from a specialized activity into an accessible hobby you could pursue in your own space. Modern brands have continued refining these formulas to enhance softness, durability, and vibrant results, making air dry clay a creative staple for contemporary artists and hobbyists.
Project
Air dry clay foxes make delightful decorative pieces that require no kiln access, making them perfect for crafters of all skill levels. These charming sculptures can be displayed on shelves, used as cake toppers, or transformed into wearable accessories like earrings and charms. Whether you’re creating a single fox or a collection of them, air dry clay offers flexibility and ease of use that allows you to focus on sculpting details and bringing your fox design to life.
This project combines simple hand-building techniques with basic shaping to produce realistic fox forms. The modular construction method—creating the head, body, and tail separately before assembly—ensures proportional accuracy and makes the sculpting process more manageable. Even beginners can achieve impressive results by following fundamental compression and pressing techniques that secure each component firmly in place. Pinching off clay for individual parts helps maintain consistent proportions throughout the sculpture.
Materials Needed:
- Air dry clay (approximately 100-150 grams / 3.5-5.3 oz per fox)
- Orange and white clay or acrylic paint for coloring
- Clay craft tools and a round clay tool for detailing
- Wire brush and water for joining pieces
- Black markers or black clay for facial features
Instructions:
Divide your orange clay into three portions: one large section for the body (approximately 60 grams / 2.1 oz), one medium section for the head (approximately 35 grams / 1.2 oz), and one smaller section for the tail (approximately 25 grams / 0.9 oz).
Roll the body portion into an oval shape, compress it firmly to remove air pockets, and gently taper it toward the rear.
Form the head by rolling a sphere and flattening it slightly at the front; use the round clay tool to create eye indentations and add small clay pieces for pointed ears.
Create the tail by rolling a long, thin cone and gradually thin sections of it to insert white clay tips; bend the tail into a curved position before attaching it to the body.
Dampen your wire brush in water and use it to glue each component together by pressing firmly, ensuring the head connects securely to the front of the body and the tail attaches at the rear.
Add final details by using black markers or black clay to define the eyes, nose, and mouth, then allow the entire sculpture to air dry completely according to the clay manufacturer’s instructions.
Extra Tips:
Pay close attention to compression throughout the sculpting process, as air pockets trapped within the clay can cause cracking or warping during drying.
If you notice any visible cracks forming as the clay dries, you can seal them by gently smoothing water-dampened clay over the affected area.
Test your wire brush technique on scrap clay before assembling your fox to understand how much moisture creates the strongest bond without oversaturating the pieces.
For faster drying, position your finished fox in a warm, dry location away from direct sunlight, which can cause uneven drying and potential distortion of the final form.
Project Steps
You’ll begin by rolling your orange clay into a smooth ball, then flatten it strategically to form the fox’s distinctive head shape.
Next, you’ll create the characteristic pointed ear shapes from small clay pieces and attach them securely to the top of the head, blending the edges for a seamless appearance.
Finally, you’ll add the clay nose and sculpt the eyes and mouth details using black clay or a permanent marker, bringing your fox’s face to life with personality and dimension. To prevent your finished fox from exploding in the kiln, use a tool handle to hollow out the interior and compress any trapped air pockets that could expand during firing.
Step 1. Roll Clay Into Ball
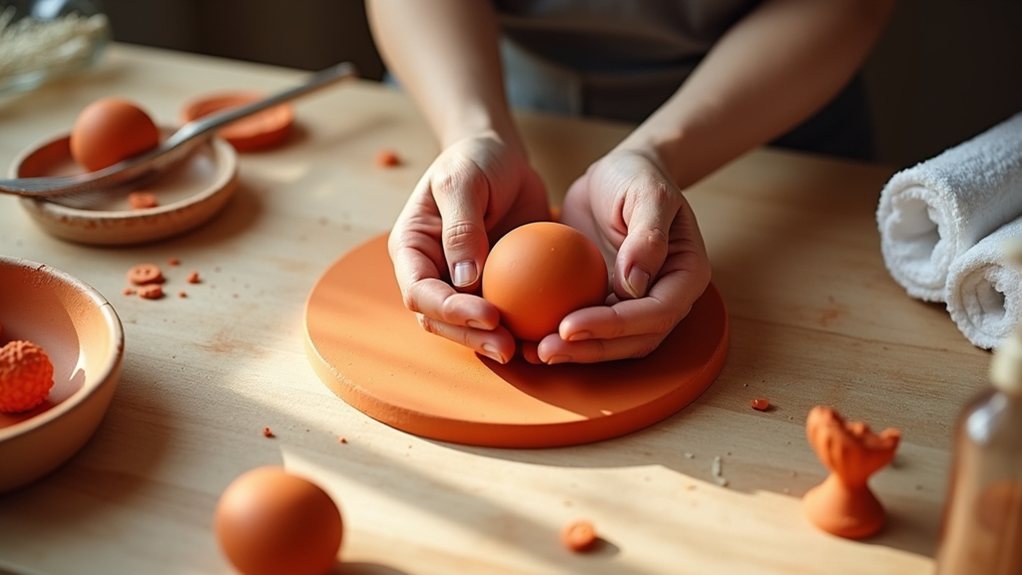
Starting with your selected air dry clay block, begin by rounding out any sharp corners in the palm of your hand, then squeeze the clay between both hands to push those corners in further, being careful not to overhandle the material since excessive manipulation can cause it to dry out prematurely. If you notice fine cracks appearing, spray a light mist of water onto the surface.
Once you’ve prepared the clay, roll it gently between your palms to create a sphere-like shape without air pockets. Roll with controlled pressure to maintain the clay’s moisture content, and avoid excessive rolling that could cause drying. Keep the ball turning regularly during formation to ensure even distribution of moisture throughout the sphere.
Aim for a smooth, balanced ball that matches the size of other balls you’re creating for your fox project, ensuring symmetry throughout your finished piece.
Step 2. Flatten Into Fox Head
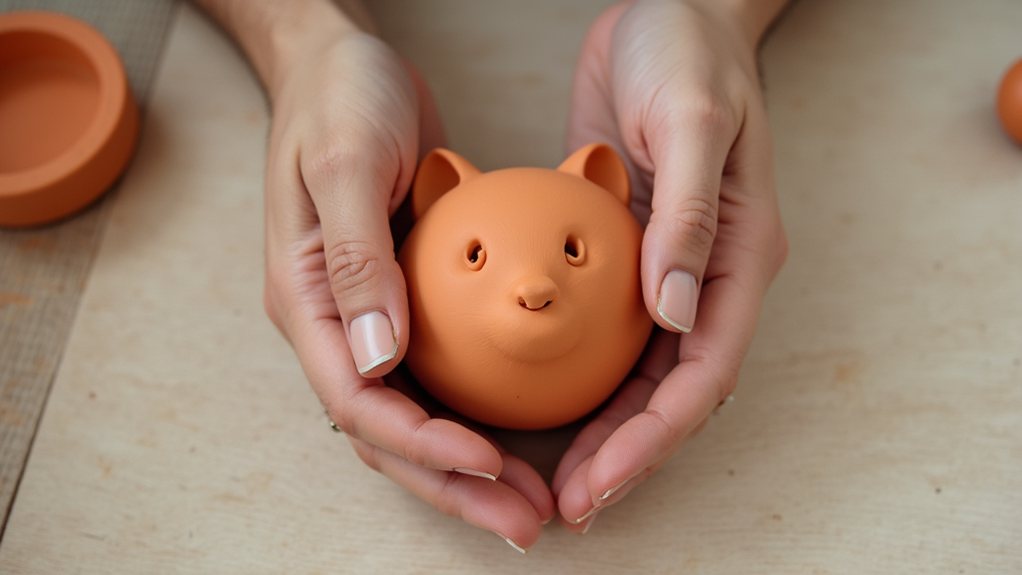
Once your clay ball’s prepared and ready, it’s time to transform it into your fox’s distinctive head by flattening and shaping it into the characteristic proportions that’ll make your creation recognizable.
Pinch and taper the lower portion to create a narrower neck area, then roll the clay back and forth at an angle to develop a triangular sideways profile. This technique establishes the fox-like appearance you’re aiming for.
Broaden the shoulders while continuing to narrow toward the neck, maintaining a lopsided oval shape throughout. This distinctive head proportion is essential for achieving authentic fox characteristics. Smooth your clay with a damp fingertip to remove any fingerprints and creases that may have formed during shaping.
Work deliberately, adjusting as needed to ensure proper facial positioning before moving forward with additional details and attachments.
Step 3. Create Pointed Ear Shapes
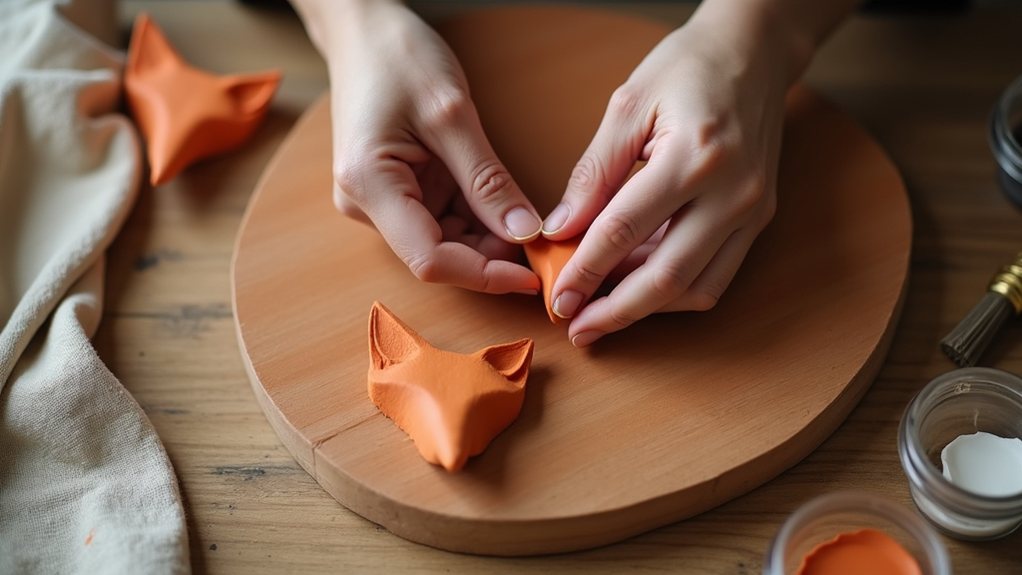
With your fox’s head properly formed and shaped, it’s time to craft the distinctive pointed ears that’ll complete its recognizable silhouette.
Start by shaping two small pieces of orange clay into triangular forms, the geometric foundation for fox ears.
Before you begin, soften your clay thoroughly to ensure proper malleability and prevent cracking during the air-drying process.
Press the clay between your fingertips to define the ear contours and establish sharp pointed tips.
Compress the clay thoroughly, eliminating any air pockets that could cause expansion or rupture as it dries.
This compression step proves essential for structural integrity. For added detail and dimension, use a small ball tool to create a recessed middle line down each ear after shaping.
Once you’ve created both ears with consistent size and shape, you’re prepared to attach them securely to your fox’s head structure.
Step 4. Add Clay Nose Details
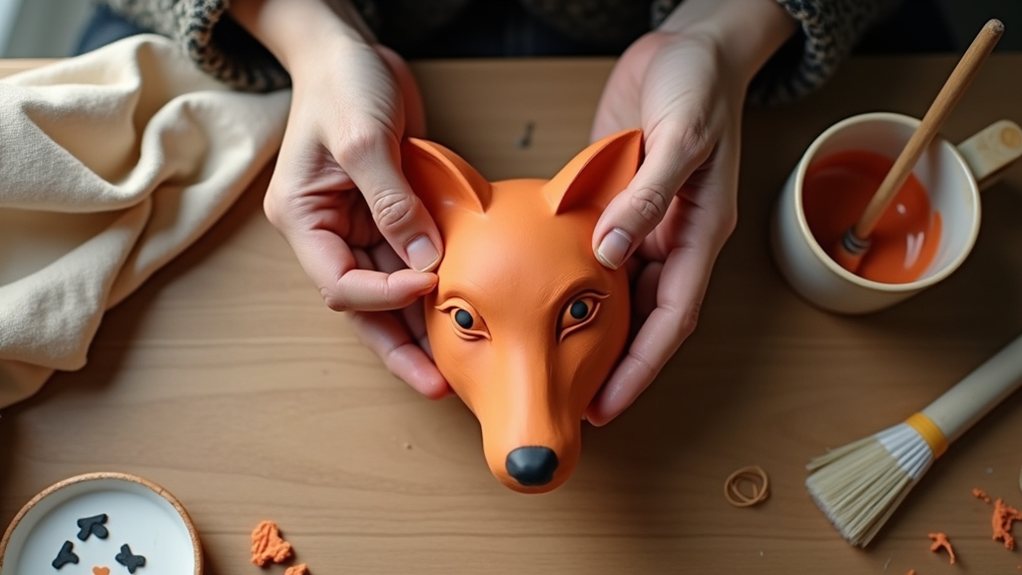
Now that you’ve secured your fox’s ears, you’ll shape and attach the nose—a crucial feature that gives your clay fox its characteristic pointed snout and expressive face. Roll a small clay piece into a fat teardrop shape, then cut a 3 mm slab matching this form.
Extend the peak forward from your head clay to create that narrow fox nose, forming a lopsided triangle base while compressing air pockets. Score both the nose’s back and face surface, apply thick clay slip generously, then press the nose firmly onto the face. Allow the slip to firm before blending edges smoothly into the head structure. Mark the nostrils with a needle tool to add realistic definition to your fox’s nose.
After 24 hours, pierce small holes through the nose with a needle tool to ensure even drying and prevent cracks.
Step 5. Add Eyes and Mouth
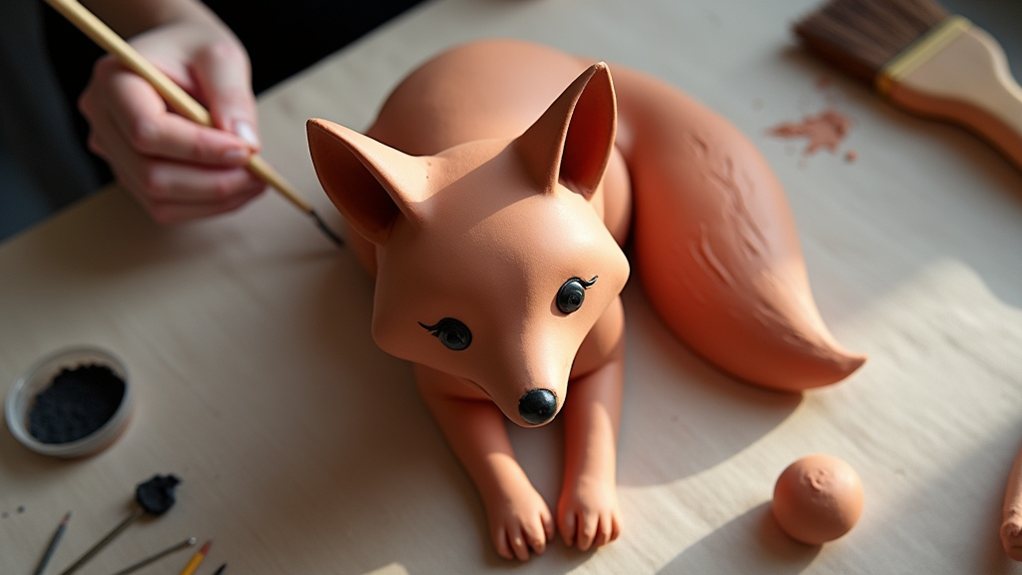
Your fox’s expressive face truly comes alive when you add the eyes and mouth, which transform it from a simple clay form into a recognizable character with personality and depth.
Start by creating eyeballs from small clay balls, cutting each in half with a spatula to form the lower eyelid. For wet clay, make a slit with a ball tool, ream it slightly wider, then insert your eye piece and close around it with a damp finger. Build up the eyelid with additional clay. Remember that doll eyes have backing designed for fabric applications, so ensure the backing sits flush against the clay surface for secure placement.
If your fox is already dry, drill a hole instead, insert the eye, and secure it with glue if necessary. After drying completely, paint eyes and mouth details with black acrylic, using a sculpture tool to create subtle mouth indents and cheek exaggerations that blend seamlessly into your fox’s face.
Final Thoughts
Creating air dry clay foxes can be a rewarding experience that builds your sculpting confidence and artistic skills, even though your first attempts may not perfectly match commercial examples or your initial vision.
You’ve learned essential techniques—from sculpting fundamentals to finishing details—that transform simple clay into charming figurines.
Remember that practice refines your hand-building abilities and helps you master smoother shapes and more precise features. The step-by-step process of sketching, painting, and adding fine details with pens ensures that even imperfect linework contributes to your piece’s unique personality.
Each fox you create teaches you something valuable about proportions, textures, and securing attachments properly.
Your varnished pieces become durable display items that showcase your progress.
Don’t hesitate to experiment with customizations like different colors, poses, and sizes.
Continue building your skills with each project, and you’ll discover that your results improve significantly over time.