Just as woodland sprites have captivated imaginations for centuries, you’ll discover that crafting fairy homes from air dry clay offers a perfect blend of artistry and whimsy. You’ll need basic tools and materials to transform simple clay into enchanting miniature dwellings, complete with tiny doors, windows, and decorative elements. Whether you’re a beginner or experienced crafter, these magical creations can bring charm to your garden or indoor space, and the techniques you’ll learn will unlock endless possibilities for future projects.
Key Takeaways
- Air dry clay fairy homes are miniature decorative dwellings crafted from clay that hardens naturally without baking or firing.
- Basic tools needed include air dry clay, a rolling pin, craft knife, clear acrylic sealer, and small paintbrush.
- Create walls and roof by rolling clay to quarter-inch thickness, then add details like windows and doors before assembly.
- Allow fairy homes to dry for 48 hours undisturbed, then apply multiple protective coats of clear sealer.
- Fairy homes serve as unique garden decorations or indoor displays, reflecting personal creativity and whimsical design preferences.
History
While fairy houses have enchanted people for centuries through folklore and literature, the craft of creating miniature dwellings from air dry clay emerged in the late 20th century alongside the rise of DIY culture and garden art.
You’ll find that these whimsical creations draw inspiration from traditional European fairy tales, where tiny magical beings lived in hollow trees, mushrooms, and flower-covered cottages.
In the 1990s, when air dry clay became widely available to hobbyists, crafters began experimenting with this versatile medium to create weather-resistant fairy homes.
The trend gained momentum through craft fairs, garden shows, and early online communities, where artists shared techniques and designs.
Today, you’ll see these charming creations featured in garden centers, craft stores, and social media platforms, inspiring new generations of creative minds.
Project
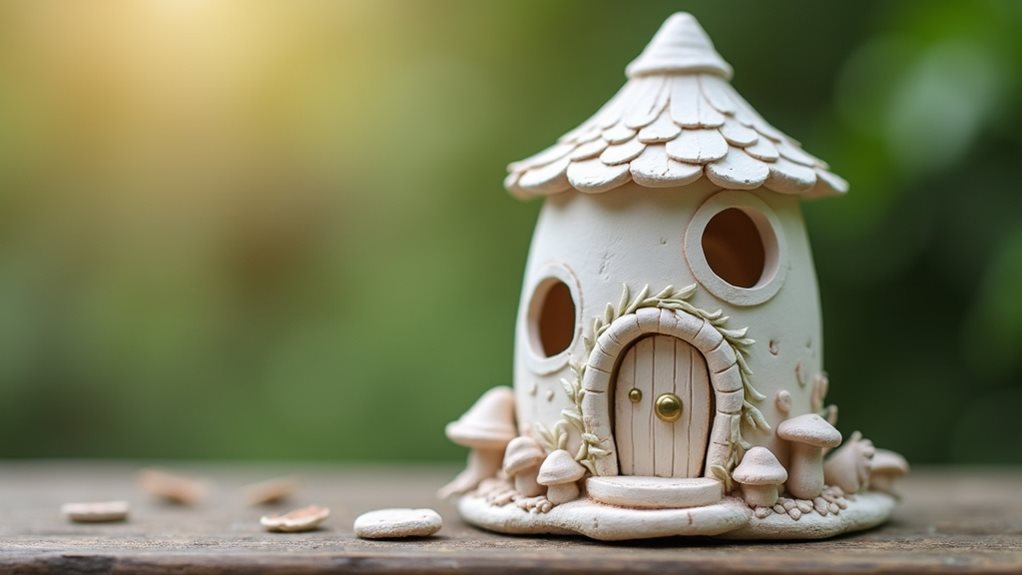
Creating whimsical fairy homes from air dry clay opens up a world of magical possibilities, allowing crafters to design enchanting miniature dwellings that bring a touch of fantasy to any space. These delightful structures can be customized with unique architectural details, from tiny windows and doors to textured walls and decorative elements that make each creation one-of-a-kind.
These petite clay houses serve as perfect decorative pieces for garden spaces, indoor shelves, or windowsills, bringing joy to both the creator and viewers alike. The project is suitable for crafters of all skill levels, requiring only basic sculpting techniques while offering endless opportunities for creative expression through the addition of personalized details and natural-inspired elements.
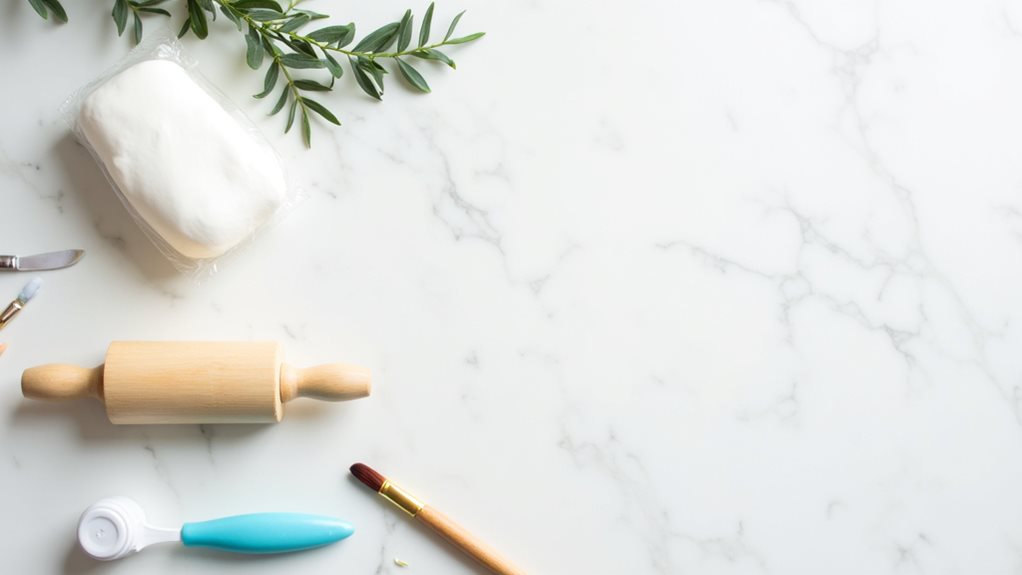
- Air dry clay (1 pound/450g)
- Rolling pin (6-inch/15cm length)
- Plastic knife or craft knife
- Clear acrylic sealer (4oz/120ml)
- Small paintbrush (1-inch/25mm width)
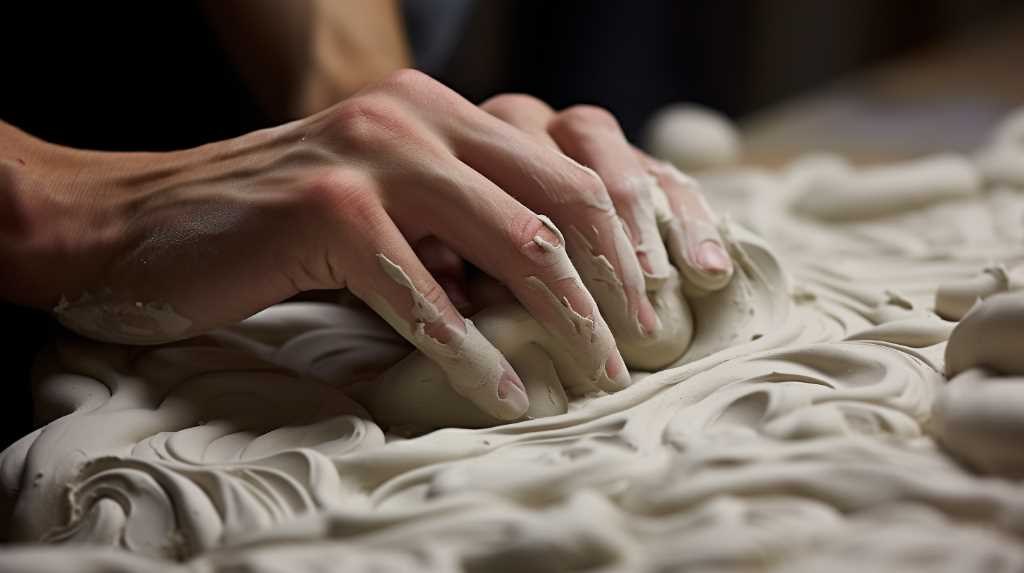
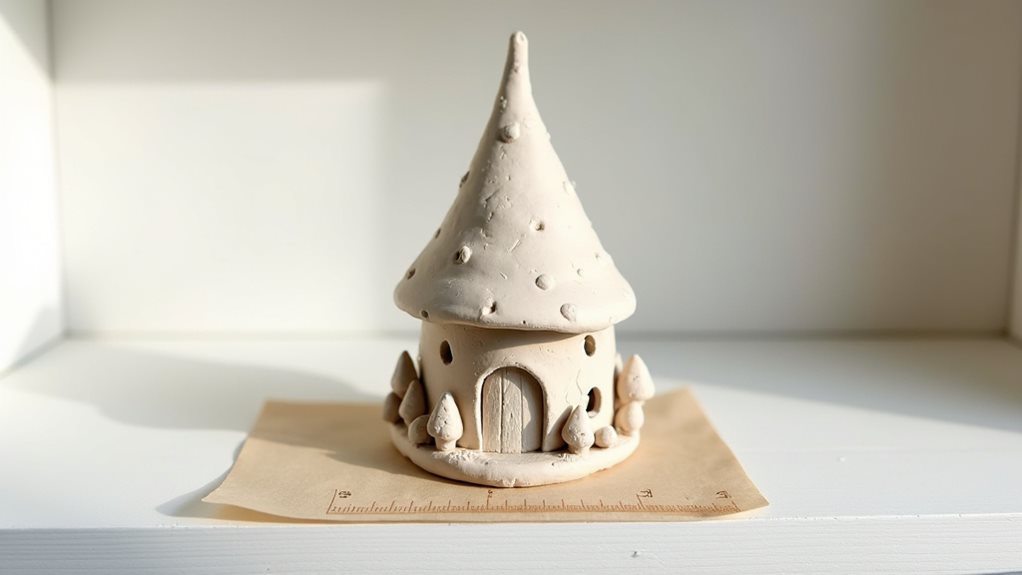
Begin by rolling the clay to a 1/4 inch (6mm) thickness using the rolling pin on a non-stick surface. Form the base structure by creating a 6-inch (15cm) cylinder, then add a conical roof by shaping a circular piece of clay into a point. Score and slip the joining areas with water, then add architectural details such as windows, doors, and texture using the knife and paintbrush handle.
Create small decorative elements like mushrooms, stepping stones, or leaf patterns around the base, then allow the entire structure to dry undisturbed for 24-48 hours before applying two coats of sealer.
When working with air dry clay, maintain consistent thickness throughout the structure to ensure even drying and prevent warping. Keep clay covered when not in use to prevent premature drying, and work in sections to maintain better control over the details. Use minimal water when joining pieces, as excess moisture can weaken the structure and extend drying time.
Rotate the piece periodically during the drying process to ensure all areas dry evenly, and avoid placing in direct sunlight which can cause cracking.
Project Steps
You’ll want to begin your fairy home project by gathering your clay and tools, including a rolling pin and knife for shaping the basic structure.
Once you’ve rolled the clay to proper thickness, you can craft the walls and roof while adding charming details like windows, doors, and textural elements that give your creation personality.
After letting your fairy home dry completely for 48 hours, you’ll finish by applying multiple protective coats of clear sealer to ensure your creation withstands display conditions.
Step 1. Gather Clay and Tools First
A successful fairy house project begins with organizing your essential materials and workspace. You’ll need one pound of air dry clay as your primary medium, along with a 6-inch rolling pin for creating even surfaces.
Select a plastic or craft knife for cutting and detailing, and gather a 1-inch paintbrush for texturing and smoothing your creation.
Don’t forget to prepare your work surface with wax paper to prevent sticking, and keep a small bowl of water nearby for joining pieces. You’ll also want to have your clear acrylic sealer ready for the finishing touches, though you won’t need it until after the drying period.
Remember to choose a workspace that’s well-ventilated and where your fairy house can remain undisturbed while it dries for up to 48 hours.
Step 2. Roll Clay Into Shape
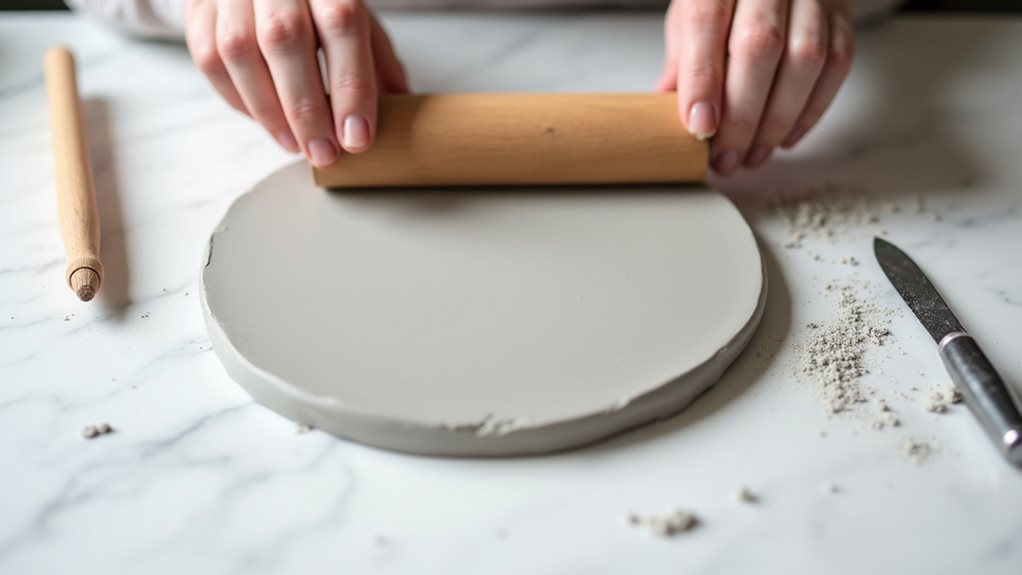
Begin your fairy house construction by rolling out a smooth, even sheet of clay to a quarter-inch thickness, using steady pressure with your rolling pin across the surface.
Measure and cut your clay into rectangles that’ll form the walls of your fairy home, ensuring they’re tall enough to create your desired height. You’ll want to score the edges where pieces will join together, using light cross-hatched lines.
For the cylindrical structure, carefully wrap your clay around a paper towel roll, gently pressing the seam together after scoring and moistening both edges.
Shape your cone roof by rolling out a circle, then cutting a wedge from it – similar to making a paper cone.
Once you’ve formed the basic structure, smooth all surfaces with your fingertips to eliminate any unwanted texture or marks.
Step 3. Create Decorative Details First
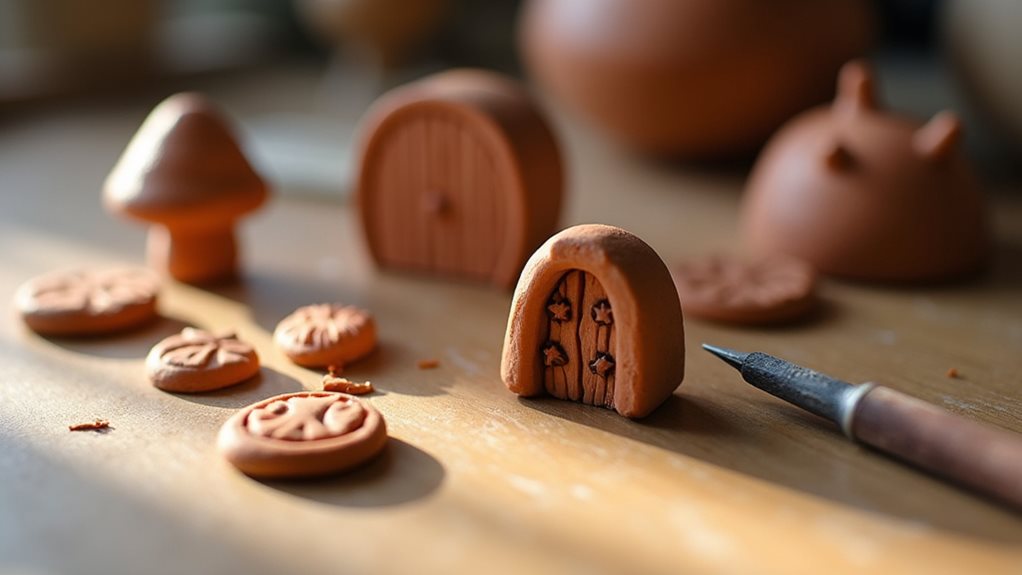
Crafting decorative details before assembling the main structure ensures you’ll have complete creative control over your fairy home’s embellishments.
Start by creating small doors, windows, and shutters using thin clay slabs, then carefully score patterns into them while they’re still pliable. You’ll want to fashion tiny doorknobs, window boxes, and stepping stones that you can set aside for later attachment.
Next, prepare textural elements like roof tiles, brick patterns, or stone-like surfaces using various tools to press designs into clay pieces.
Don’t forget to make whimsical accents such as mushrooms, vines, or leaves that you’ll incorporate around the base and walls. These pre-made elements will be easier to handle and position once they’re partially dried, making the final assembly much more manageable.
Step 4. Let Dry 48 Hours
Once you’ve completed all the decorative elements and assembled your fairy home, proper drying time becomes crucial for ensuring structural integrity.
Place your creation in a well-ventilated area away from direct sunlight, and let it dry for a full 48 hours before handling. You’ll notice the clay gradually becoming lighter in color as moisture evaporates.
During the drying period, rotate your fairy home every 8-12 hours to prevent warping and ensure even drying throughout the structure.
If you’re working in a humid environment, you may need to extend the drying time by an additional 24 hours. Don’t attempt to speed up the process with artificial heat, as this can cause cracking.
Once your piece feels completely firm and cool to the touch, it’s ready for sealing.
Step 5. Seal With Protective Coating

After your fairy home has fully dried, applying a protective sealer becomes essential for preserving your creation and protecting it from moisture damage.
Using your 1-inch paintbrush, apply a thin, even coat of clear acrylic sealer to the entire surface, making sure to cover all exposed areas, including crevices and detailed features.
Allow the first coat to dry completely for 2-3 hours, then apply a second coat, working in the opposite direction of your initial application to ensure thorough coverage.
If you’re planning to place your fairy home outdoors, you’ll want to add a third coat for extra protection against the elements.
Once the final coat has dried, your fairy home will be resistant to moisture and ready for display, whether indoors or in your garden.
Final Thoughts
Building fairy homes from air dry clay isn’t just about creating decorative pieces – it’s an opportunity to express your creativity while developing valuable sculpting skills. As you practice this craft, you’ll discover techniques for working with different textures, learn proper drying methods, and gain confidence in your artistic abilities.
Remember that each fairy home you create will be unique, reflecting your personal style and imagination. Don’t be discouraged if your first attempts aren’t perfect – sculpting skills improve with practice.
You’ll find that these charming creations make wonderful gifts, garden decorations, or indoor displays. Whether you’re crafting alone or sharing this activity with others, the process of building miniature fairy dwellings offers a rewarding way to connect with your artistic side while producing lasting pieces of whimsical art.