Just as ancient craftsmen preserved stories in miniature clay tablets, you’ll discover that creating an elephant miniature connects you to a rich artistic legacy spanning centuries. Whether you’re drawn to the Victorian-era fascination with exotic wildlife or the spiritual symbolism of elephants in various cultures, this project offers more than just a creative outlet. You’ll uncover the techniques that transform simple air-dry clay into a detailed sculpture while developing skills that transfer to countless other artistic endeavors.
Key Takeaways
- Miniature clay elephants became popular collectibles during the Victorian era as decorative items for curio cabinets.
- A beginner-friendly miniature elephant can be crafted using air dry clay, measuring approximately 3 inches in height.
- Creating miniature elephants requires basic materials including clay, sculpting tools, water, and acrylic paint for finishing.
- Key sculpting techniques involve forming separate pieces for body, head, trunk, and legs before joining them securely.
- Finished miniature elephants should be sealed, painted, and stored away from moisture and direct sunlight for preservation.
History
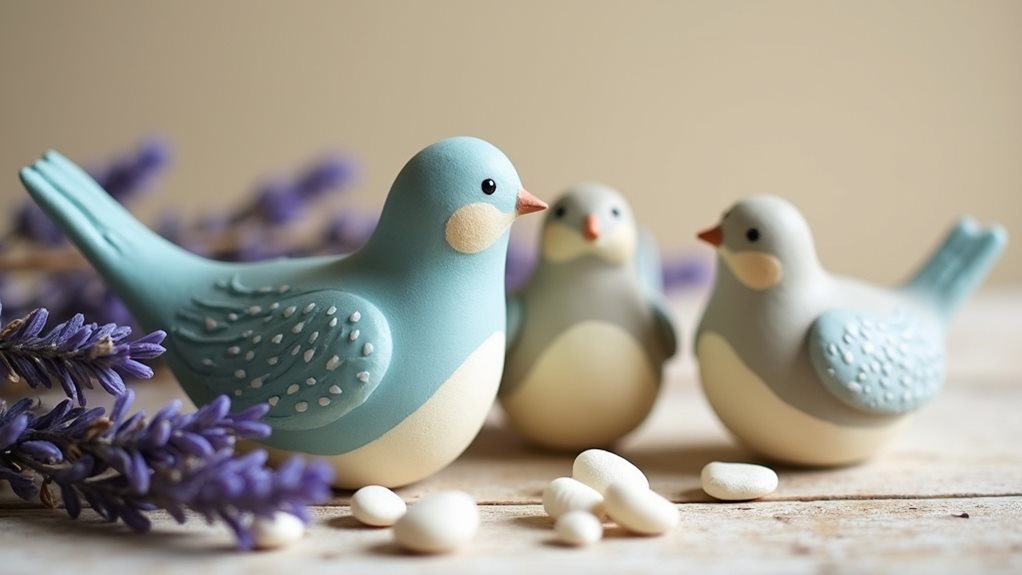
While clay sculpture dates back thousands of years, miniature clay elephants gained popularity during the Victorian era when collectors sought detailed representations of exotic animals for their curio cabinets.
You’ll find that these small sculptures became particularly treasured after European travelers returned from Asia and Africa with stories of magnificent elephants they’d encountered.
During the early 20th century, you’d often see miniature elephants crafted from various materials displayed in homes as symbols of good luck and wisdom.
Today’s air dry clay techniques draw from this rich history, though you’re now able to create these pieces more easily than your Victorian predecessors, who typically worked with porcelain and needed access to kilns.
You’ll notice that modern crafters continue to embrace this tradition while adding their own contemporary artistic interpretations.
Project
Crafting a miniature elephant from air dry clay offers a delightful introduction to sculpting while creating a charming decorative piece. This small-scale project requires minimal supplies and provides an excellent opportunity to develop fundamental sculpting techniques that can be applied to future clay endeavors.
The finished elephant miniature serves as an enchanting display piece for any room, measuring approximately 3 inches in height when complete. Working with air dry clay eliminates the need for specialized equipment like kilns, making this project accessible to crafters of all skill levels while still achieving professional-looking results.
- Air dry clay (4 oz / 113g)
- Wooden sculpting tool or toothpick
- Small bowl of water (4 oz / 120ml)
- Smooth work surface (8×8 inches / 20×20 cm)
- Acrylic paint (2 oz / 60ml)
Begin by conditioning the clay until pliable, then form two balls: one 2-inch ball for the body and a 1-inch ball for the head; score the connecting surfaces and use water as a binding agent to join these pieces.
Create four cylindrical legs with textured wrinkles, then fashion triangular ears and a trunk from smaller portions of clay; attach all elements using the scoring and wetting method, ensuring secure connections.
Add final details like eyes, toenails, and skin texture using your sculpting tool, then allow the piece to dry completely for 24-48 hours before applying paint.
Keep your clay workable by covering unused portions with plastic wrap and maintain a slightly damp work environment using a moist cloth nearby. Work in sections to prevent premature drying, and consider elevating your elephant on a small platform while crafting to ensure easier access to all sides.
After painting, apply a clear acrylic sealer for protection, and store the finished piece away from direct sunlight and high humidity to maintain its integrity over time.
Project Steps
You’ll start your miniature elephant by conditioning the clay in your hands until it’s workable, forming the basic body and head shapes before creating the trunk and ears that give your sculpture its characteristic elephant features.
Next, you’ll carefully shape and attach the legs while adding essential details like wrinkles and toenails, ensuring each part connects securely using the scoring and wetting method.
Once your elephant has fully dried for 24-48 hours, you’ll bring it to life with paint and protect your creation with a clear acrylic sealer.
Step 1. Condition Clay Until Workable
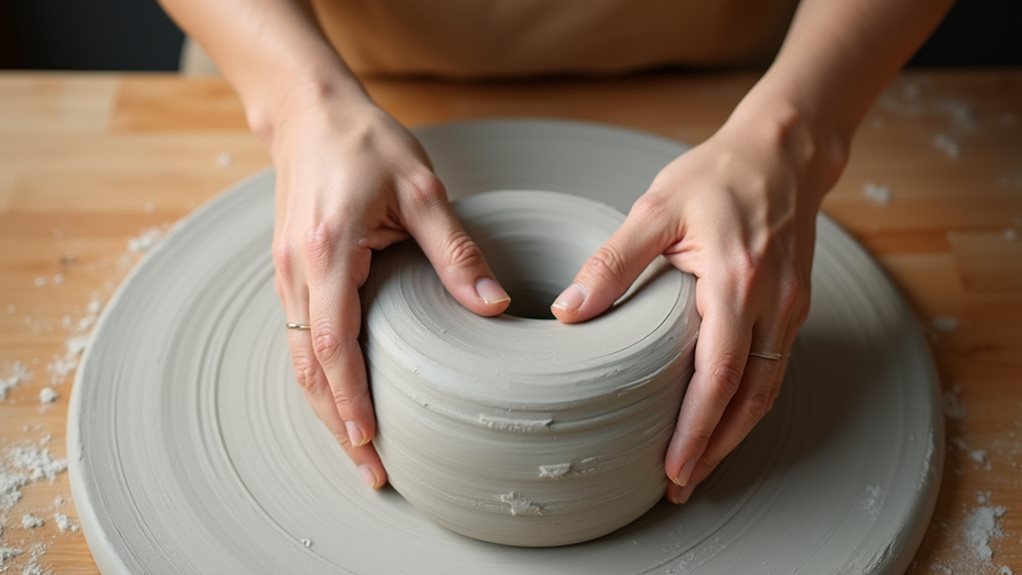
Before diving into the sculpting process, proper clay conditioning ensures your miniature elephant will have a strong foundation.
Take your 4-ounce portion of air dry clay and begin kneading it between your palms, applying steady pressure while working the material. You’ll notice the clay becoming more pliable as your hands’ warmth softens it.
Continue this conditioning process for about 3-5 minutes, or until the clay feels smooth and maintains its shape when rolled into a ball. If you encounter any hard spots or inconsistencies, focus on those areas with additional kneading.
While working the clay, it shouldn’t stick to your hands or crumble – if it’s too dry, lightly dampen your hands with water; if it’s too sticky, let it rest briefly on your work surface.
Step 2. Form Body and Head

The foundation of your miniature elephant begins with two essential shapes: a 2-inch ball for the body and a 1-inch ball for the head.
Roll the clay between your palms until you’ve achieved smooth, even spheres that feel firm yet pliable. Once you’re satisfied with their shapes, prepare the surfaces for joining by scoring both contact points with your sculpting tool, creating shallow crosshatch patterns.
Apply a small amount of water to both scored areas, then press the head firmly against the body at a slight angle.
You’ll want to position the head slightly forward, as this creates a more natural, lifelike pose. Smooth the seam where the pieces meet with your finger, being careful not to distort the basic shapes you’ve created.
Step 3. Shape Trunk and Ears
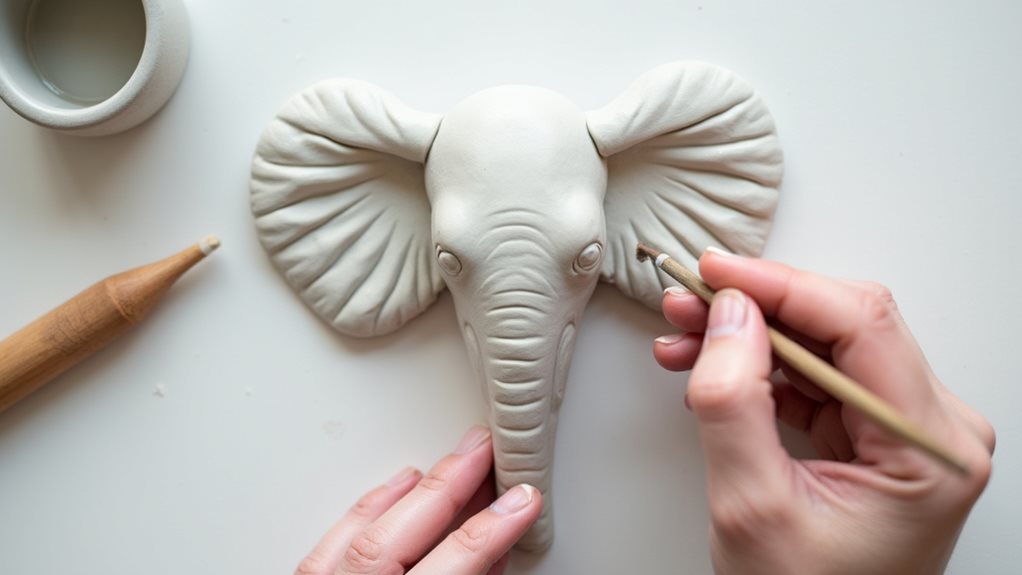
With your elephant’s body and head now firmly connected, shaping the trunk and ears will bring your miniature sculpture to life.
Roll a small piece of clay into a tapered cylinder about 1.5 inches long for the trunk, carefully bending it into a gentle curve. Score both the trunk’s base and the attachment point on the head, then dampen these areas with water before pressing them together firmly.
For the ears, flatten two small clay portions into triangular shapes, approximately 1 inch wide at their bases. Create natural-looking curves by gently bending the edges outward, then add subtle texture using your sculpting tool.
After scoring and dampening both the ears and sides of the head, attach them at slight angles, ensuring they’re positioned symmetrically to capture your elephant’s characteristic appearance.
Step 4. Create and Attach Legs
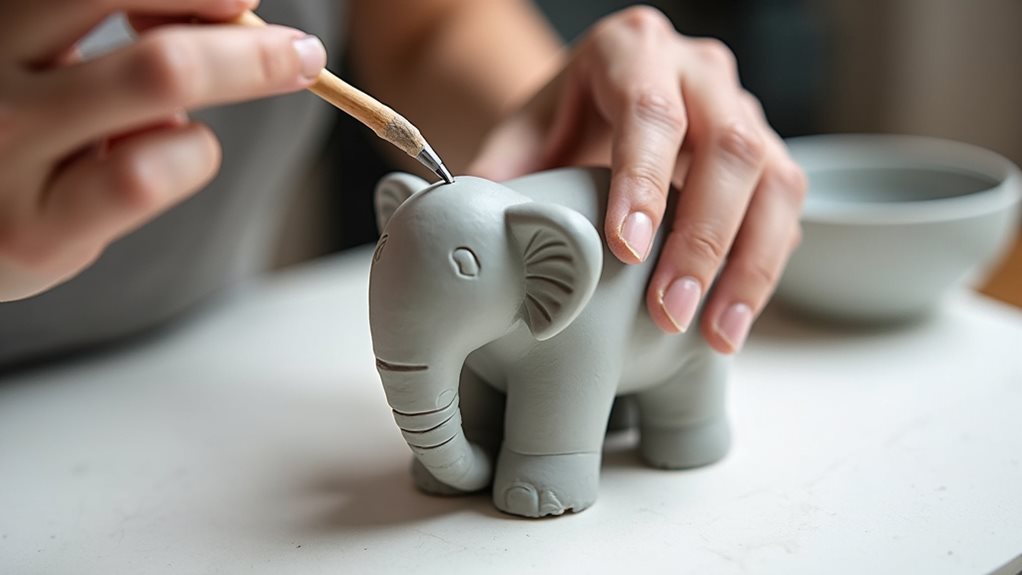
Rolling four equal portions of clay marks the beginning of creating your elephant’s sturdy legs. Shape each portion into a cylinder about 1 inch long, tapering them slightly at one end to create a natural leg form.
You’ll want to add subtle texture lines to mimic an elephant’s wrinkled skin. Score both ends of each leg where they’ll connect to the body, then dampen these areas with water using your fingertip.
Press each leg firmly against the body’s underside, holding for several seconds to ensure proper adhesion. Position the front legs slightly forward and the back legs angled toward the rear for a natural stance.
Use your sculpting tool to blend the connecting points smoothly, creating a seamless transition between the legs and body.
Step 5. Add Paint and Sealer
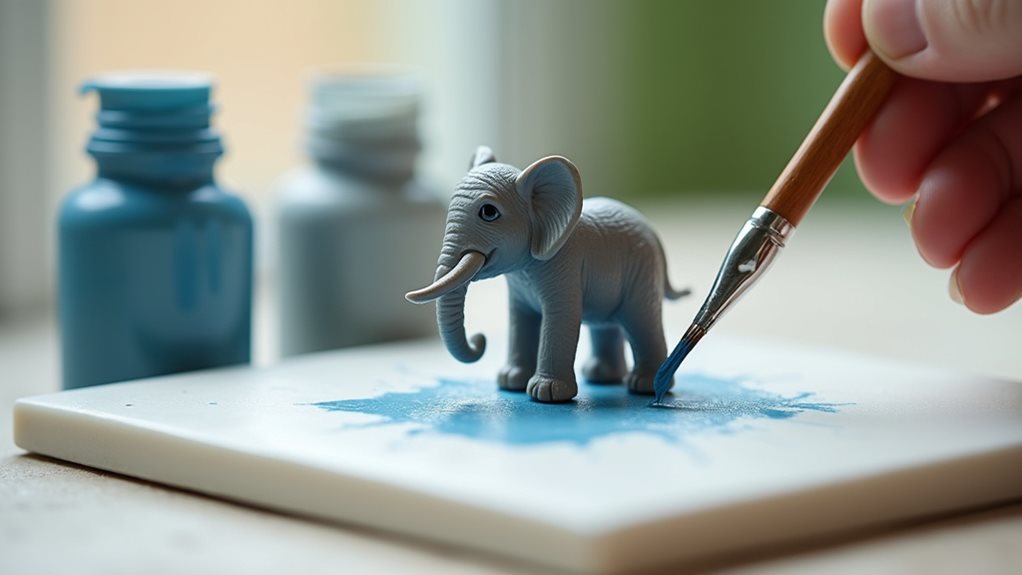
Once your clay elephant has dried completely, start applying thin layers of acrylic paint to bring your miniature creation to life.
You’ll want to begin with a base coat of gray or brown, allowing each layer to dry before adding additional coats for depth and coverage.
Don’t forget to paint the small details like toenails, eyes, and inner ears with contrasting colors.
After the paint has thoroughly dried, you’ll need to protect your work with a clear acrylic sealer.
Apply two thin coats of sealer, letting the first coat dry completely before adding the second.
This protective layer will help preserve your elephant’s colors and prevent the clay from absorbing moisture over time.
Make sure you’re working in a well-ventilated area when applying both paint and sealer.
Final Thoughts
Creating a miniature elephant from air dry clay provides an excellent starting point for developing your sculpting skills while producing a charming decorative piece you’ll treasure.
As you’ve learned through this project, patience and attention to detail can transform simple clay into a delightful sculpture that captures the essence of these magnificent creatures.
You’ll find that the techniques you’ve mastered here, such as scoring, joining, and texturing, will serve you well in future clay projects.
Remember to store your finished elephant in a stable environment away from moisture and direct sunlight to preserve its beauty.
Don’t hesitate to experiment with different colors and patterns when painting future pieces, as each creation can reflect your unique artistic vision and growing confidence in clay sculpting.