When you’re exploring the art of candle holder creation, you’ll discover a perfect blend of functionality and aesthetic appeal. From ancient stone vessels to modern ceramic designs, these practical items have evolved into essential decorative elements that can transform any space. Whether you’re interested in crafting your own unique pieces or selecting the perfect ready-made holders, understanding their history and design principles will help you make informed choices that enhance your home’s ambiance.
Key Takeaways
- Candle holders serve both functional and decorative purposes, dating back to 4500 BCE when ancient Egyptians used stone vessels for lighting.
- Modern candle holders come in various materials including metal, glass, ceramic, and wood, each offering different aesthetic and safety features.
- The size and style of candle holders should match the type of candle being used, from tea lights to tapers.
- Proper candle holder placement requires consideration of heat resistance, stability, and surrounding flammable materials for safety.
- DIY clay candle holders offer a personalized touch to home decor and can be crafted using air-dry clay without specialized equipment.
History
While candle holders have existed since ancient times, their evolution spans thousands of years of human civilization, with the earliest examples dating back to 4500 BCE in ancient Egypt.
You’ll find that these early holders were simple stone vessels filled with animal fat and wicks made from plant fibers. As civilizations advanced, you’d see more sophisticated designs emerging in ancient Rome and Greece, where bronze and ceramic holders became popular among wealthy citizens.
During the Middle Ages, you’d discover elaborate church candlesticks crafted from precious metals, while common households used simple wooden or iron holders.
By the 18th century, you’ll notice that candle holders had become status symbols, with aristocrats displaying ornate silver and crystal designs.
Today’s holders reflect this rich heritage while incorporating modern materials and contemporary aesthetics.
Project
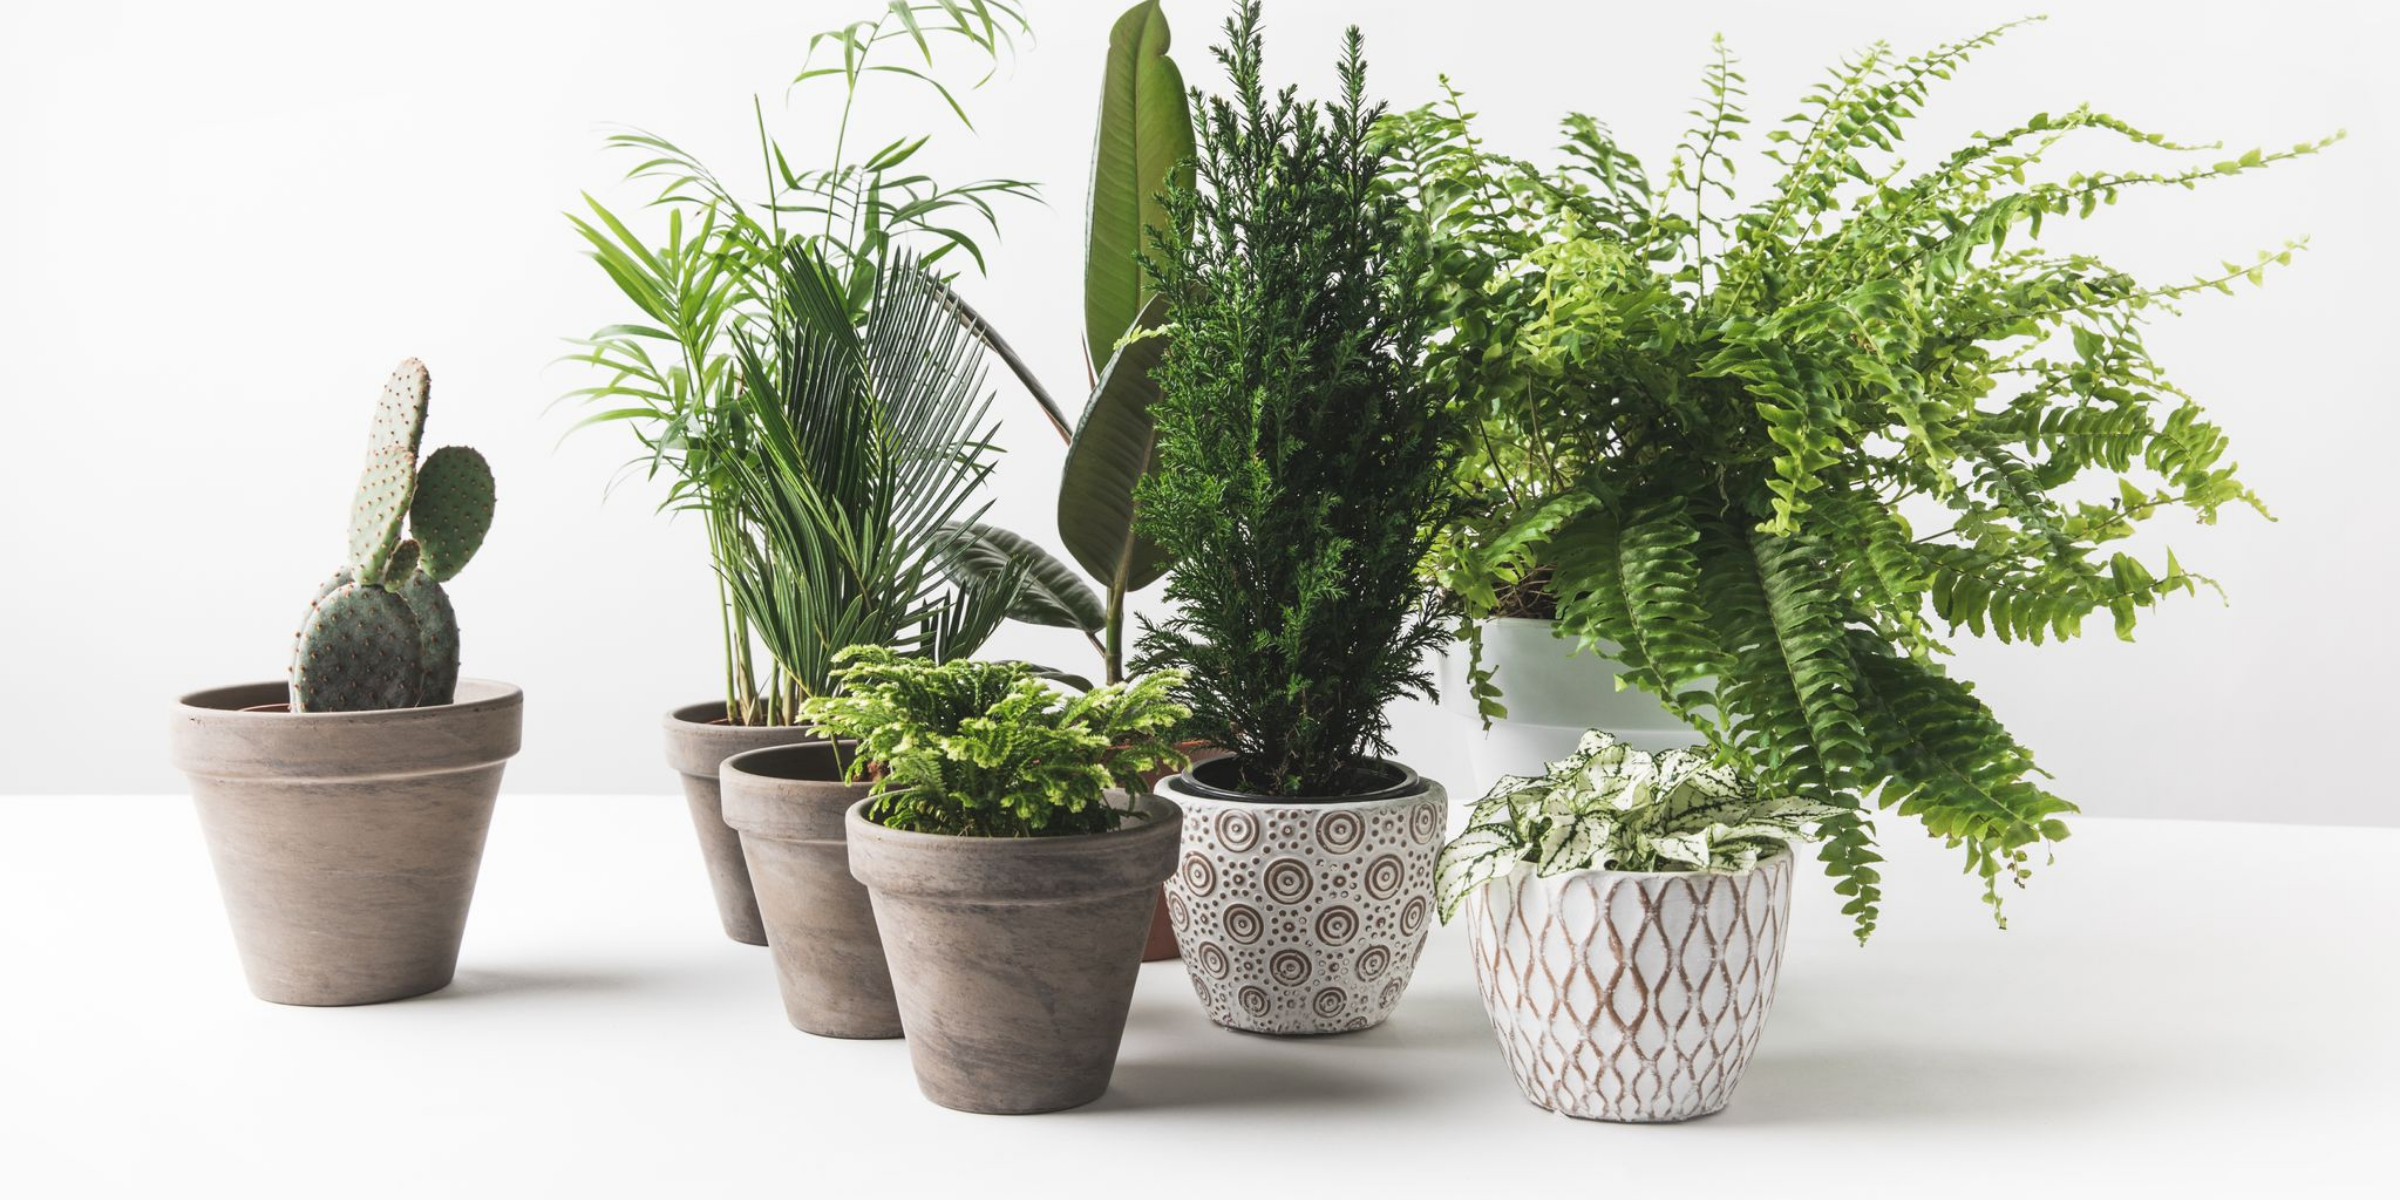
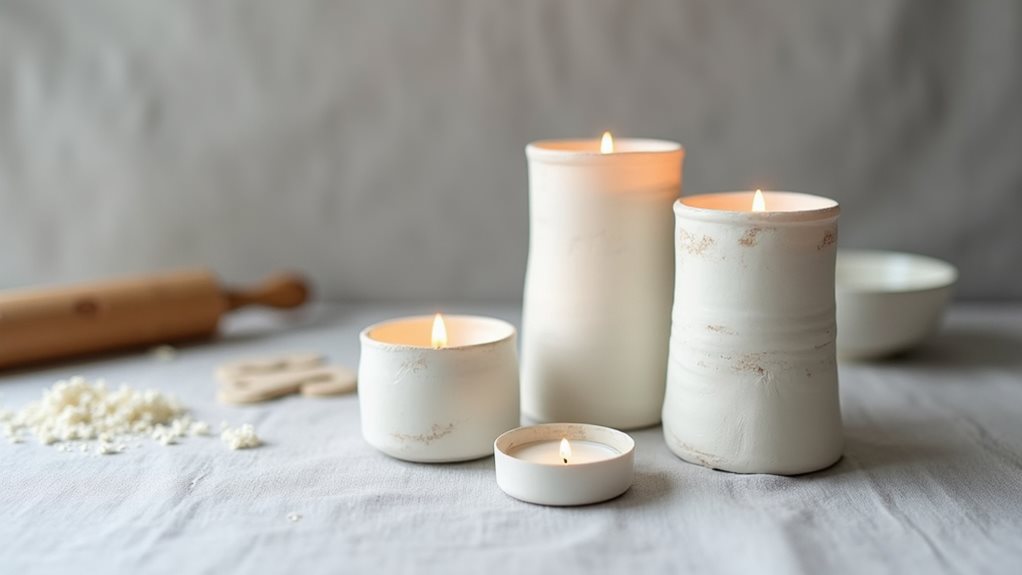
Creating your own clay candle holders is a rewarding DIY project that transforms basic materials into elegant home decor pieces. These handcrafted holders add warmth and character to any room while providing a safe, stable platform for your favorite candles.
Air dry clay candle holders are perfect for crafters of all skill levels, requiring no specialized equipment or kiln firing. The project can be completed in a single afternoon, though you’ll need to allow adequate drying time before putting your holders to use. The finished pieces have a beautiful organic quality that works well with both contemporary and traditional decor styles.
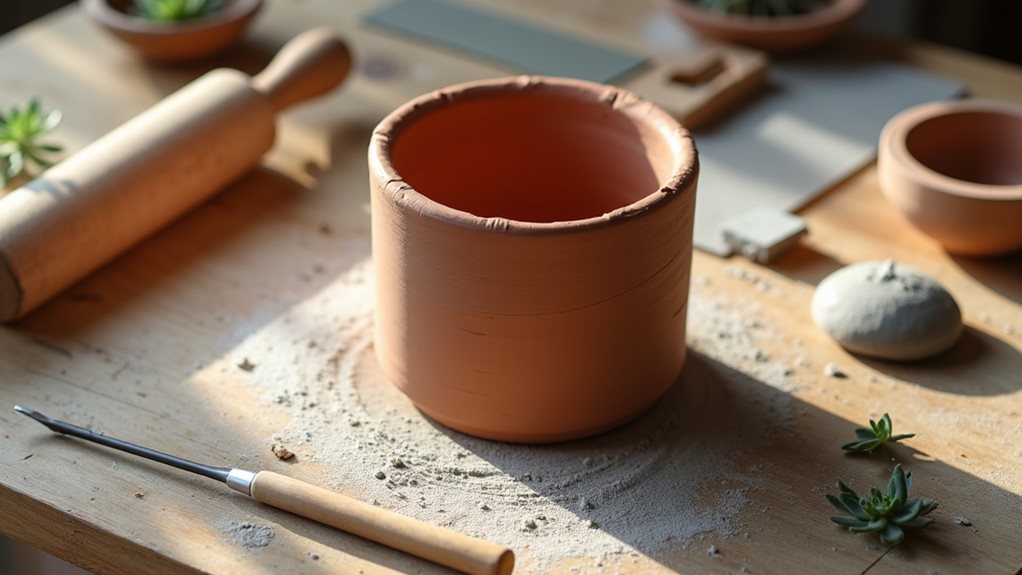
- Air dry clay (1 pound/450g)
- Rolling pin (6-8 inches/15-20cm)
- Tea light candle for size reference
- Sharp knife or clay cutting tool
- Bowl of water (8 oz/240ml)
Begin by conditioning the clay through kneading until it becomes soft and pliable. Roll it out to a 1/4 inch (6mm) thickness and cut a circular base approximately 4 inches (10cm) in diameter. Next, create a strip of clay 12 inches (30cm) long and 2 inches (5cm) high for the walls. Score both pieces where they’ll join, apply water to the scored areas, and carefully attach the strip to the base, forming a cylinder.
Smooth all seams with your fingers and allow the piece to dry completely for 24-48 hours. Work on a non-stick surface such as parchment paper or a plastic craft mat to prevent the clay from sticking. Keep your hands slightly damp but not wet while working with the clay, as too much water can weaken the structure.
If small cracks appear during drying, repair them with a clay slip made from clay mixed with a small amount of water. Before using your finished holder, ensure it’s completely dry and test it with a candle to verify stability and proper fit.
Project Steps
Before you begin crafting your clay candle holder, lay out a non-stick work surface and thoroughly knead your clay until it’s soft and pliable.
Once your clay is ready, roll it out to your desired thickness using steady, even pressure with your rolling pin. Then cut a precise circle for your base and carefully wrap a clay cylinder around it.
You’ll create a professional-looking holder by scoring both pieces where they’ll meet, dampening the scored areas with water, and firmly pressing them together to form a secure bond.
Step 1. Prepare Non-Stick Work Surface
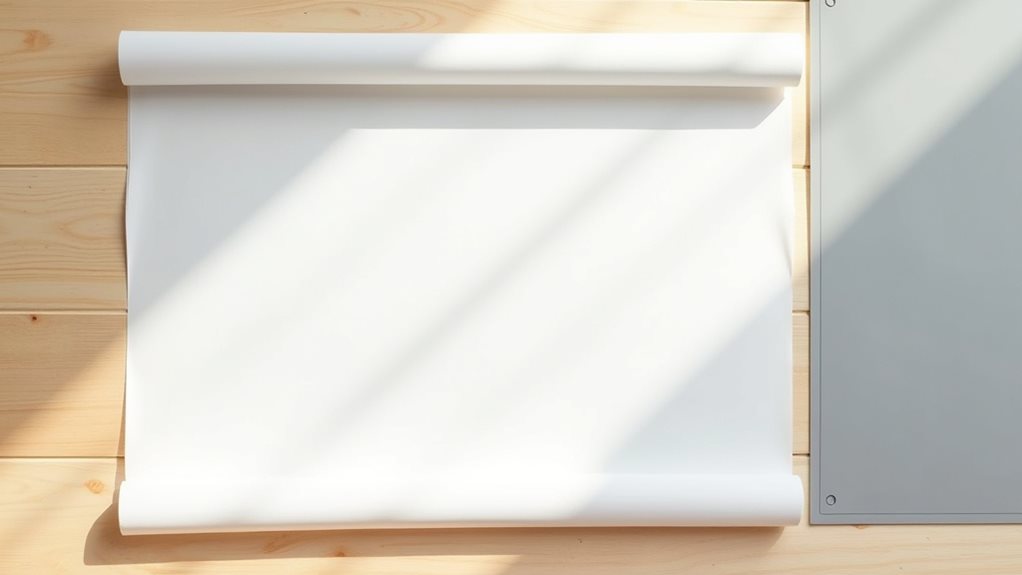
Set up your workspace by laying down a piece of wax paper or parchment paper on a smooth, flat surface, ensuring you’ve got enough room to roll and shape your clay.
The non-stick surface will prevent your clay from adhering to your work area and make cleanup much easier once you’re finished crafting.
You’ll want to position your workspace near clean water access, as you’ll need to keep your hands slightly damp during the clay-working process.
If you don’t have wax or parchment paper available, you can use a plastic craft mat or even a large plastic cutting board.
Just make sure the surface is completely clean and free from any debris that could get embedded in your clay while you’re working.
Step 2. Knead Clay Until Soft
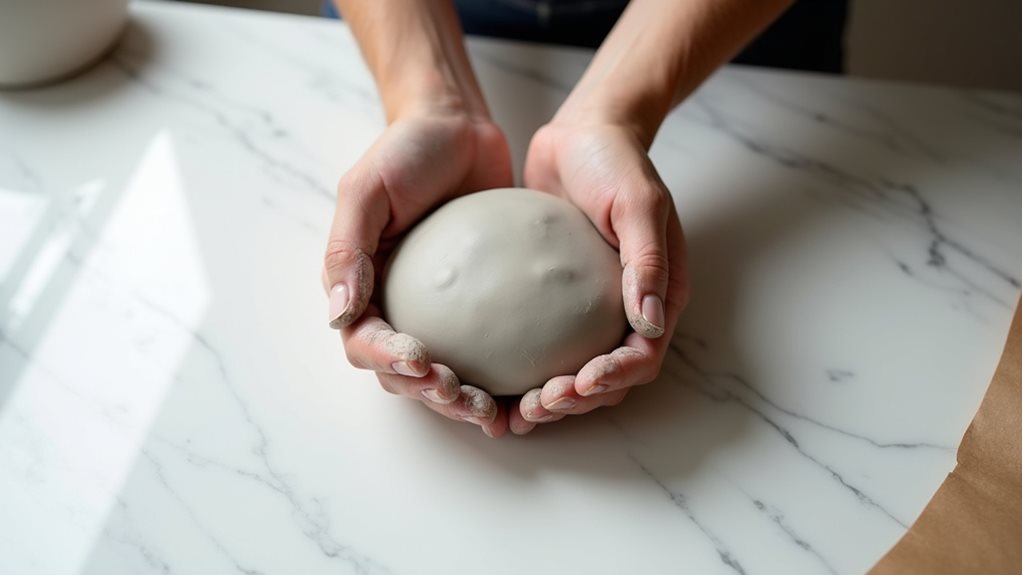
Take your block of air-dry clay and begin working it between your palms, applying firm, steady pressure to make the material more pliable. Continue kneading for about five minutes, pressing the clay against your work surface and folding it repeatedly to remove any air bubbles or inconsistencies in the texture.
You’ll know the clay is ready when it feels smooth, warm, and consistently soft throughout. If you notice the clay becoming too dry during this process, dampen your hands slightly with water from your bowl, but don’t oversaturate the material.
Press your finger into the clay – it should leave a clear impression without sticking or crumbling. This thorough kneading ensures your final candle holder will be strong and less likely to crack while drying.
Step 3. Roll Clay to Thickness
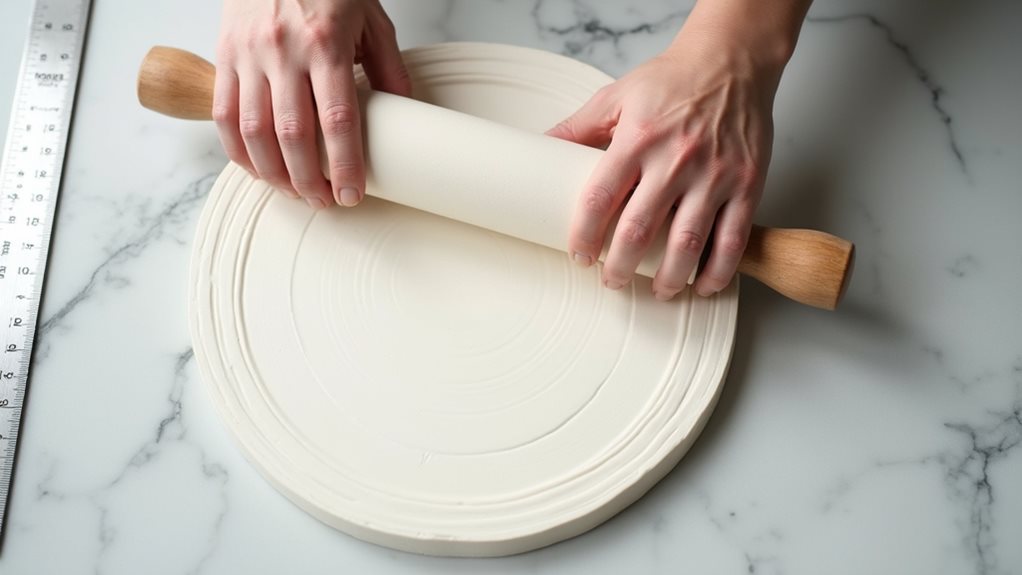
Once your clay reaches the ideal consistency, position a rolling pin at the center of your prepared clay mass.
Apply even pressure as you roll outward from the center, working in different directions to maintain uniform thickness. You’ll want to achieve approximately 1/4 inch thickness throughout your piece.
Check your progress frequently by gently pressing the side of your tea light candle into the clay to ensure you’ve got enough depth for your holder.
If you notice any areas that are too thick or uneven, continue rolling until you achieve consistency.
Don’t worry if the edges aren’t perfectly smooth yet – you’ll trim those later.
For best results, lift and rotate your clay occasionally to prevent it from sticking to your work surface, and keep your rolling pin lightly dusted with clay powder.
Step 4. Cut Clay Circle Base
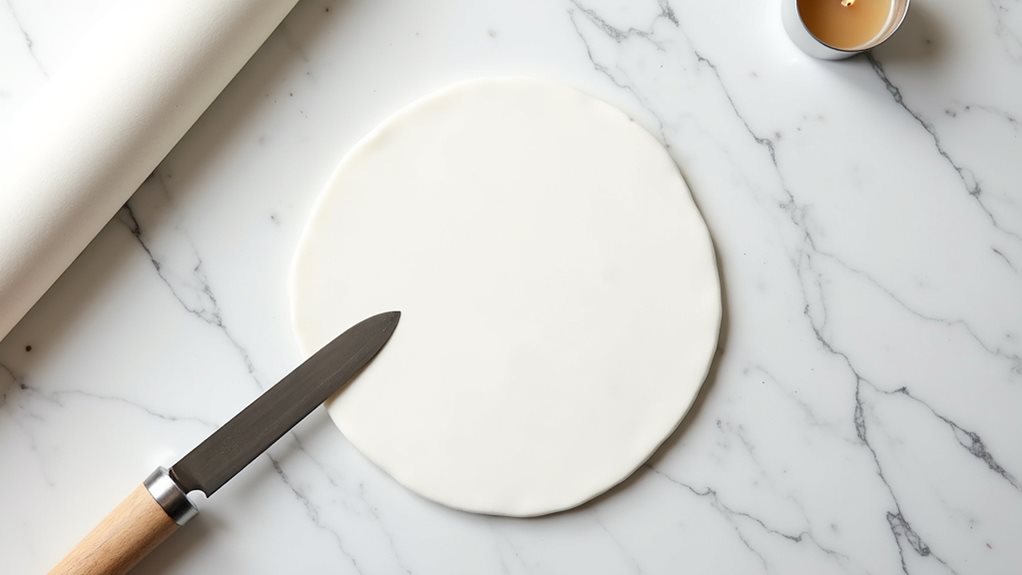
Placing your tea light candle on the rolled clay provides a perfect guide for measuring your circular base.
Position the candle in the center of your rolled clay, then trace a circle approximately 2 inches larger than the candle’s diameter. You’ll need this extra space to ensure stability for your finished holder.
Using your knife or clay cutting tool, carefully cut along the traced line with steady, even pressure. If you don’t have a perfectly round template, you can use a small bowl or cup as a guide.
Once you’ve cut the circle, gently lift it from your work surface using a flat tool or spatula to avoid distorting the shape.
Check that your base is level and smooth any rough edges with your fingertips before moving on to the next step.
Step 5. Wrap Clay Cylinder Around Base
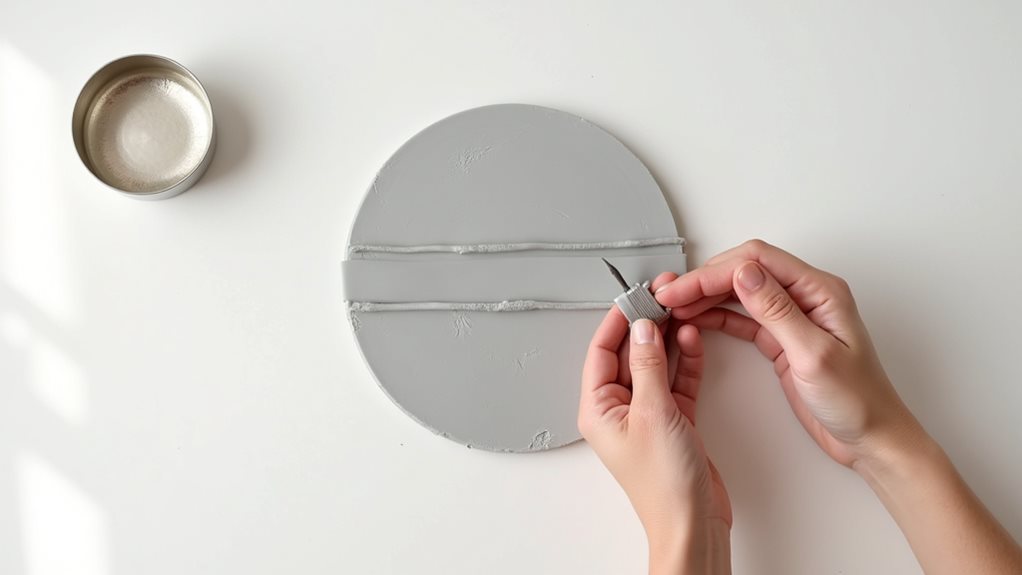
Crafting the cylindrical wall of your candle holder begins with measuring and cutting a rectangular strip of clay approximately 12 inches long and 2 inches high.
Using your fingertips, gently score a crosshatch pattern along one long edge of the strip and around the perimeter of your base circle where they’ll connect.
Dampen both scored areas with water, then carefully wrap the strip around the base circle, joining the ends to form a cylinder.
Press firmly where the scored sections meet to ensure a strong bond. You’ll want to smooth the seams both inside and out with your fingers, paying special attention to the joint between the wall and base.
If needed, add small amounts of clay to fill any gaps, then blend until seamless.
Final Thoughts
Success in creating your own candle holders depends on patience and attention to detail throughout the creative process.
You’ll find that allowing adequate drying time and maintaining consistent wall thickness will prevent unwanted cracks and ensure your holder’s durability. Remember to position your candle holder in a safe location, away from flammable materials and drafts.
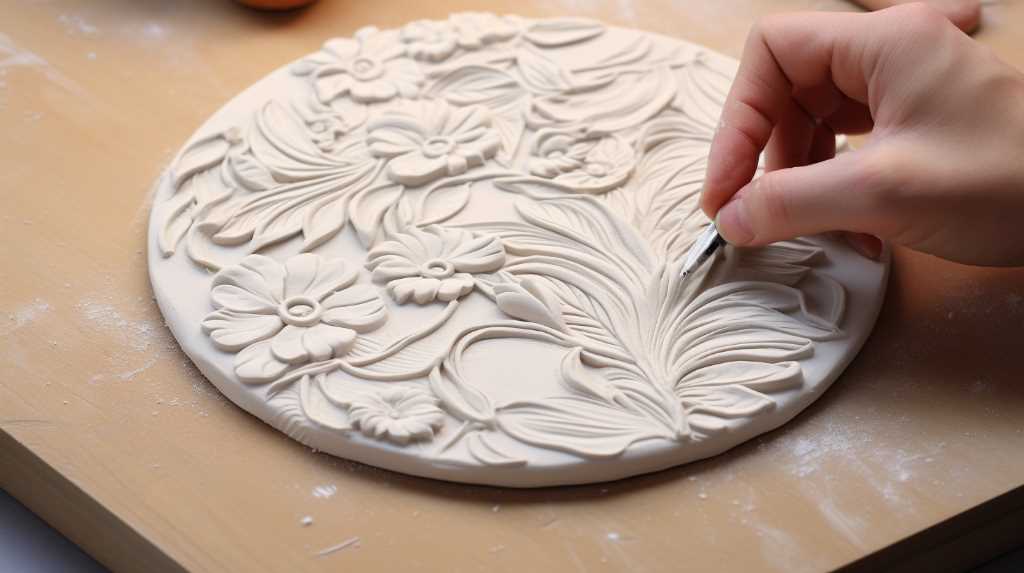
Once you’ve mastered the basic cylinder design, you can experiment with different shapes, sizes, and decorative elements.
Consider adding texture with various tools, incorporating carved patterns, or exploring different clay colors to match your decor.
Don’t forget to seal your finished piece with a clear, non-toxic sealant if you plan to place it in areas where it might encounter moisture.
With practice, you’ll develop the confidence to create unique pieces that reflect your personal style.