Nearly 99.9% of calico cats are female due to a fascinating genetic quirk involving the X chromosome. You’ll discover that these tri-colored felines aren’t actually a specific breed, but rather showcase a distinct coat pattern that can appear in numerous cat breeds. Whether you’re considering adopting one or simply want to understand these unique creatures better, there’s much more to learn about their genetics, personality traits, and the centuries-old myths surrounding them.
Key Takeaways
- Calico cats are known for their distinctive tri-colored coat pattern, typically featuring white, black, and orange patches throughout their fur.
- Almost all calico cats are female due to the genetic link between coat color and the X chromosome.
- The term “calico” comes from a type of patterned fabric, reflecting the patchwork appearance of these cats’ coats.
- Calico cats are not a specific breed but rather a color pattern that can occur in many different cat breeds.
- In Japanese culture, calico cats are considered lucky symbols and are often represented by the “Maneki-neko” lucky cat figurines.
History
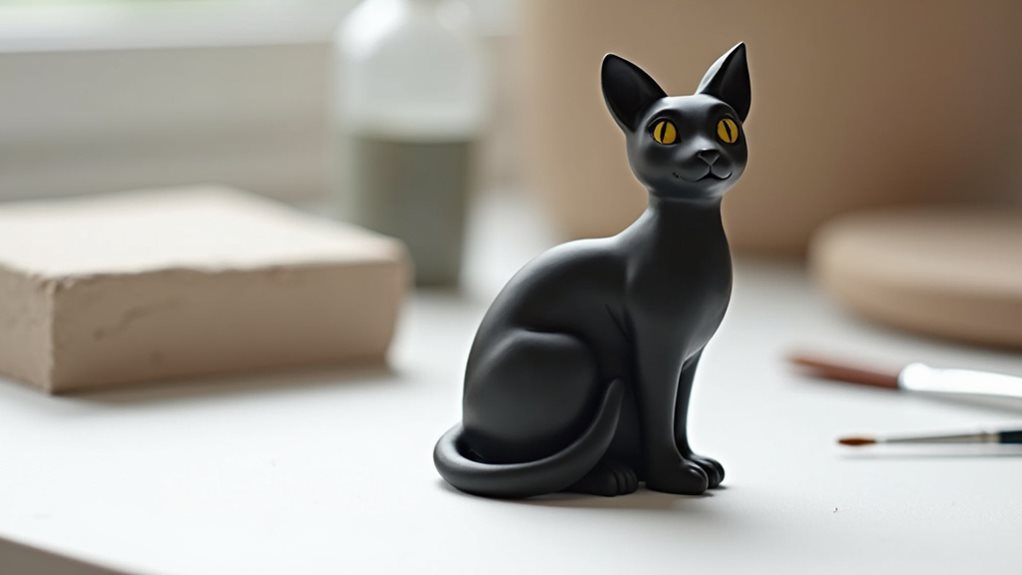
Although the exact origins of calico cat crafting remain unclear, this artistic tradition gained significant popularity during the 1960s craft movement when air-dry clay became widely available to home crafters.
You’ll find that early clay artisans initially focused on creating simple, solid-colored cat figures before experimenting with the distinctive tri-colored patterns that define calico cats.
Throughout the 1970s and ’80s, crafters developed various techniques to capture the unique patchwork appearance of calico cats, including textured surfaces and layered painting methods.
If you’re exploring this craft today, you’re building upon decades of artistic innovation that’s helped perfect the representation of these beloved felines.
The evolution of air-dry clay formulas has made it easier than ever to create detailed sculptures that maintain their integrity over time.
Project
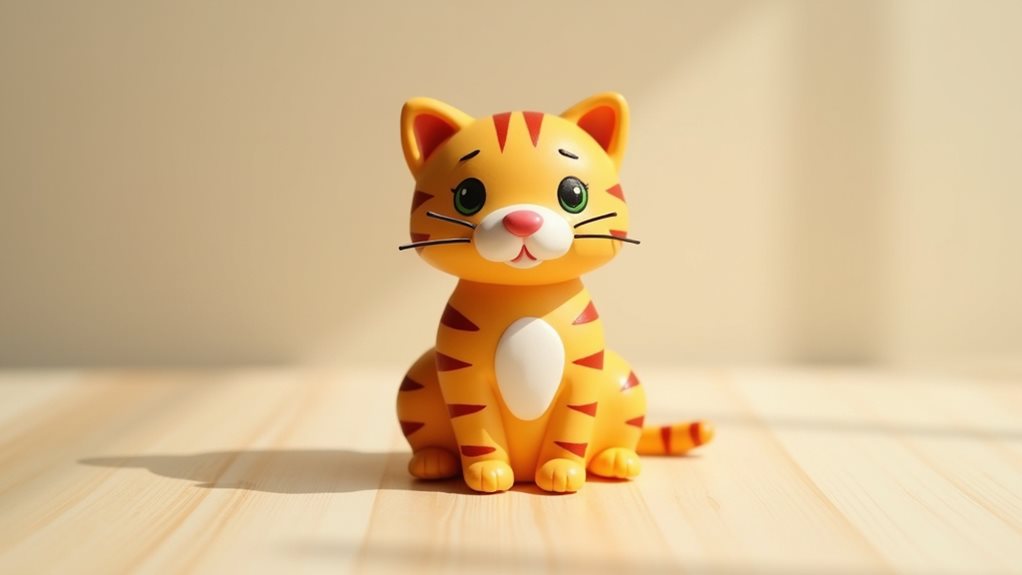
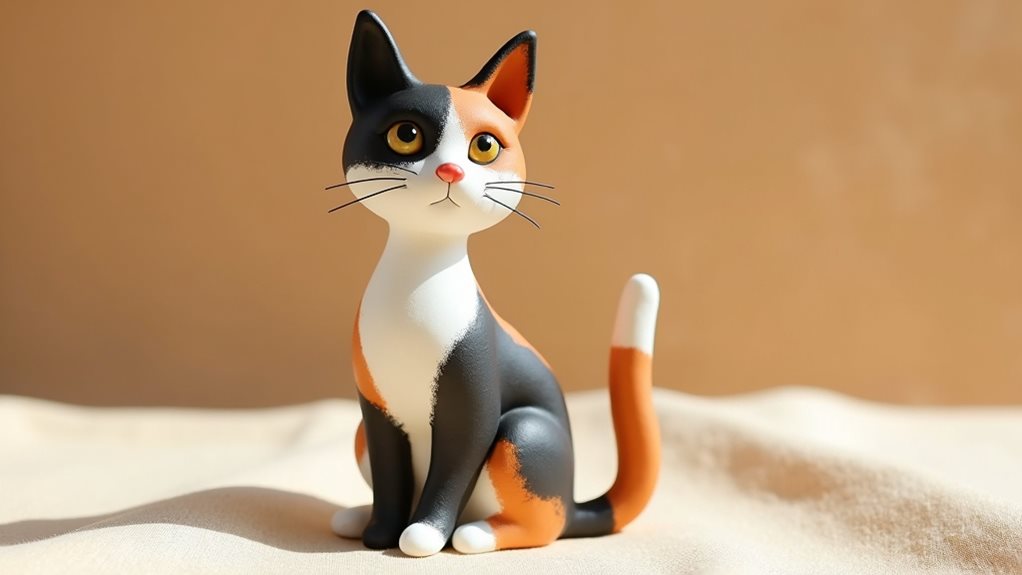
Creating a charming calico cat from air dry clay offers crafters a delightful way to capture the unique personality and distinctive coat patterns of these beloved felines. The project combines basic sculpting techniques with simple painting methods to produce a decorative piece that celebrates the tri-colored beauty of calico cats.
This beginner-friendly project focuses on constructing a sitting cat figure that showcases the characteristic orange, black, and white patches found on calico cats. The simplified design emphasizes the essential features of the cat while allowing crafters to develop fundamental clay modeling skills and explore creative color combinations.
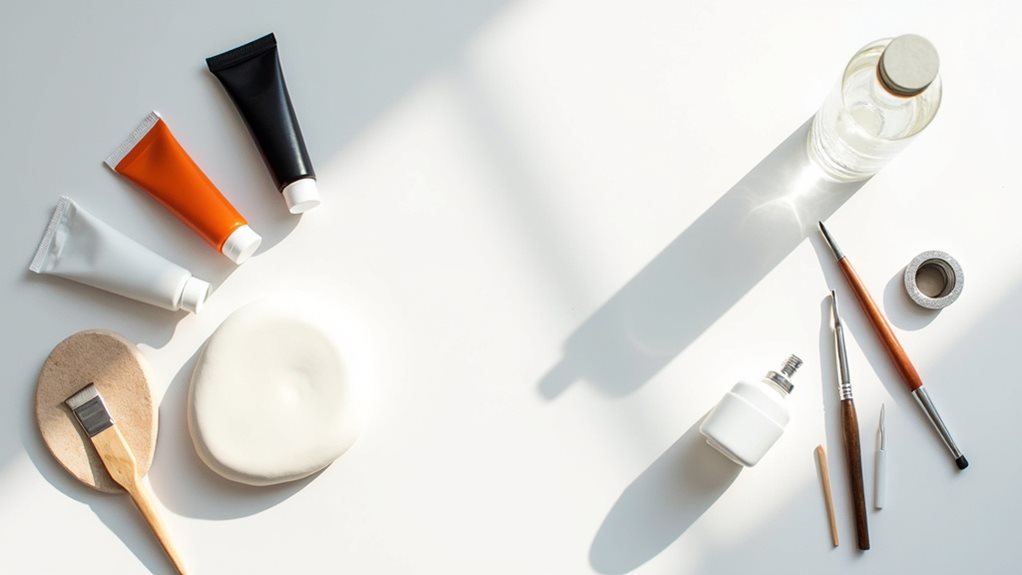
Materials needed:
- White air dry clay (8 oz / 225g)
- Acrylic paint (orange, black, white)
- Paint brushes (1 medium, 1 fine tip)
- Clear acrylic sealer (2 oz / 60ml)
- Sculpting tool or toothpick
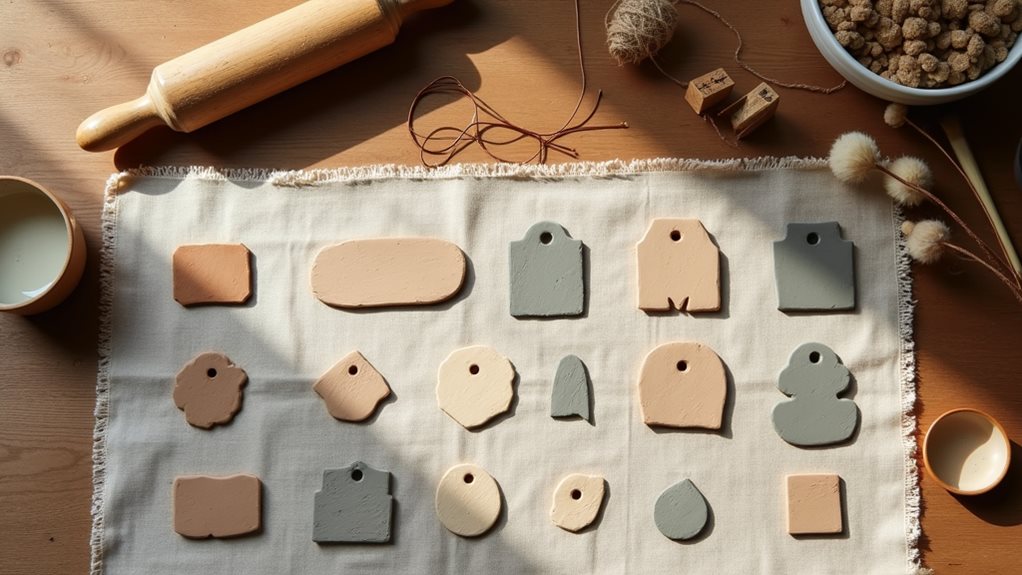
Begin by dividing the clay, using two-thirds to form an egg-shaped body and the remaining portion to create balls for the head, tail, and legs. Score connecting surfaces lightly and use water as adhesive to join pieces. Shape the cat into a sitting position with straight front paws and a curled tail, then add facial features using the sculpting tool to create pointed ears, almond eyes, and a triangular nose.
Create fur texture with gentle scratches across the surface and allow to dry completely for 24-48 hours before painting the calico patterns and applying sealer. Work in a moderate temperature environment to prevent the clay from drying too quickly, and keep hands slightly damp while sculpting to maintain smooth surfaces.
Ensure all parts are securely attached and no section exceeds 1 inch (2.5 cm) in thickness to prevent cracking during the drying process. When painting, apply the orange and black patches first, followed by white details, allowing each color to dry completely before adding the next. Wait at least 4-6 hours after painting before applying the final sealer coat.
Project Steps
To create your calico cat sculpture, you’ll need to gather air dry clay, acrylic paints, brushes, and sealer before forming the basic shapes of the body, head, legs, and tail.
Next, you’ll carefully sculpt the facial features and texturize the surface to represent fur, allowing sufficient drying time before adding the distinctive orange, black, and white calico patterns with paint.
Once the paint has completely dried, you’ll finish your project by applying a protective sealer to preserve your creation’s details and colors.
Step 1. Gather Needed Clay Supplies
Before diving into your calico cat sculpture, you’ll need to gather several essential supplies to ensure a successful project. Start with an 8-ounce package of white air dry clay, which provides enough material for a medium-sized cat figure while allowing room for practice or adjustments.
You’ll also need acrylic paints in orange, black, and white to create the distinctive calico pattern, along with two paintbrushes – one medium-sized for larger areas and a fine-tipped brush for detailed work.
Don’t forget a sculpting tool or toothpick for adding texture and facial features, plus a clear acrylic sealer to protect your finished piece. Having a non-stick work surface and plastic wrap on hand will help keep your clay fresh and prevent unwanted sticking during the creation process.
Step 2. Form Clay Into Shapes
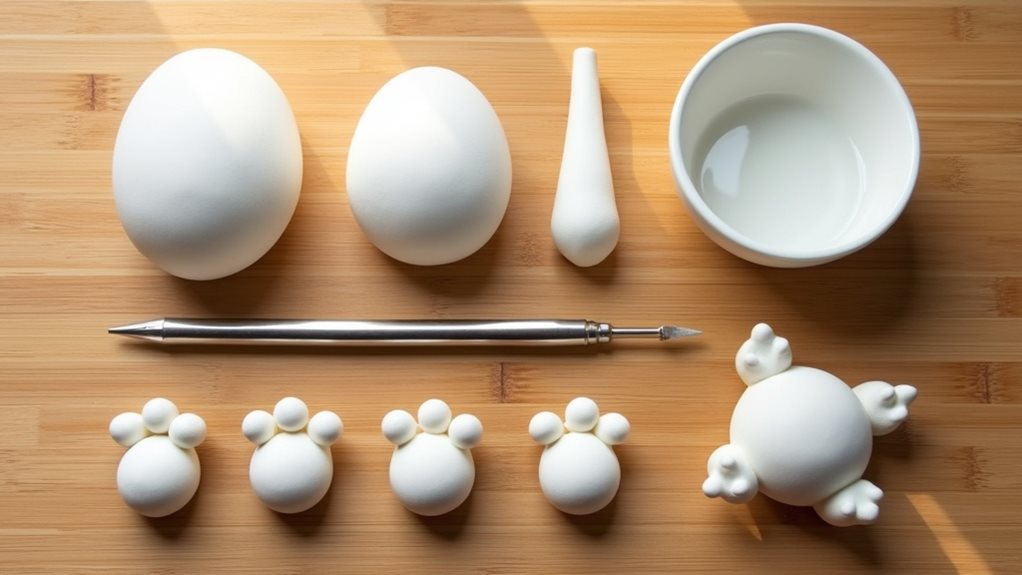
With your supplies ready and organized, it’s time to begin shaping your calico cat sculpture. Start by dividing your clay into proportional sections: two-thirds for the body and the remaining third for the head, legs, and tail.
Form the body section into an egg shape, then roll smaller balls for the other parts. Create the head by shaping a ball slightly smaller than a golf ball, adding triangular ears and pressing in facial features with your sculpting tool.
Attach the head to the body using light scoring and a small amount of water. Form four cylindrical legs and position them to create a sitting pose, then add a curved tail wrapping around the body.
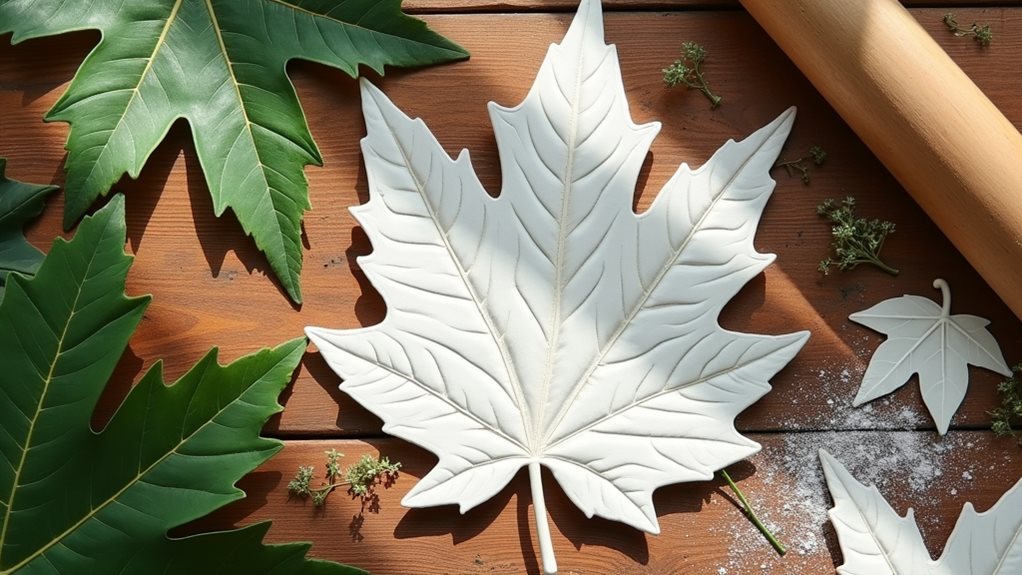
Use your tool to create subtle fur texture across the surface, making light scratches in varying directions.
Step 3. Add Detailed Facial Features
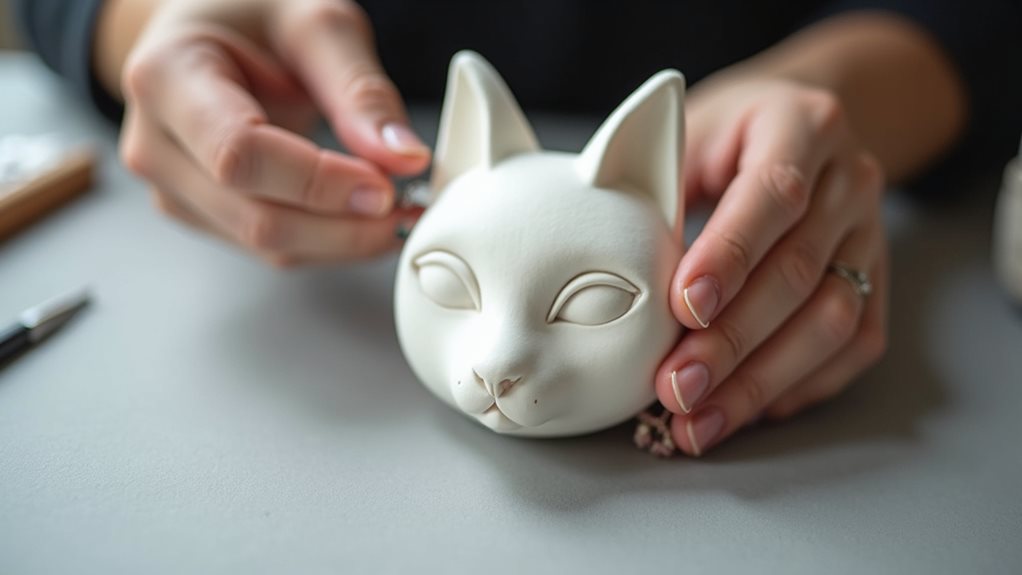
Creating your calico cat’s facial features requires careful attention to detail, as these elements will give your sculpture its distinctive feline personality.
Using your sculpting tool, gently carve two almond-shaped eyes positioned slightly angled towards the nose. Press the tool about 1/4 inch deep to create eye sockets, then add small clay balls for the pupils.
Shape a triangular nose by pressing a small piece of clay onto the center of the face, making sure it’s slightly raised. Create the mouth by drawing a subtle line below the nose, curving it slightly upward for a content expression.
Don’t forget to add the whiskers by making small indentations on either side of the nose. Finally, shape the ears into pointed triangles, angling them slightly outward for an alert appearance.
Step 4. Add Calico Paint Patterns
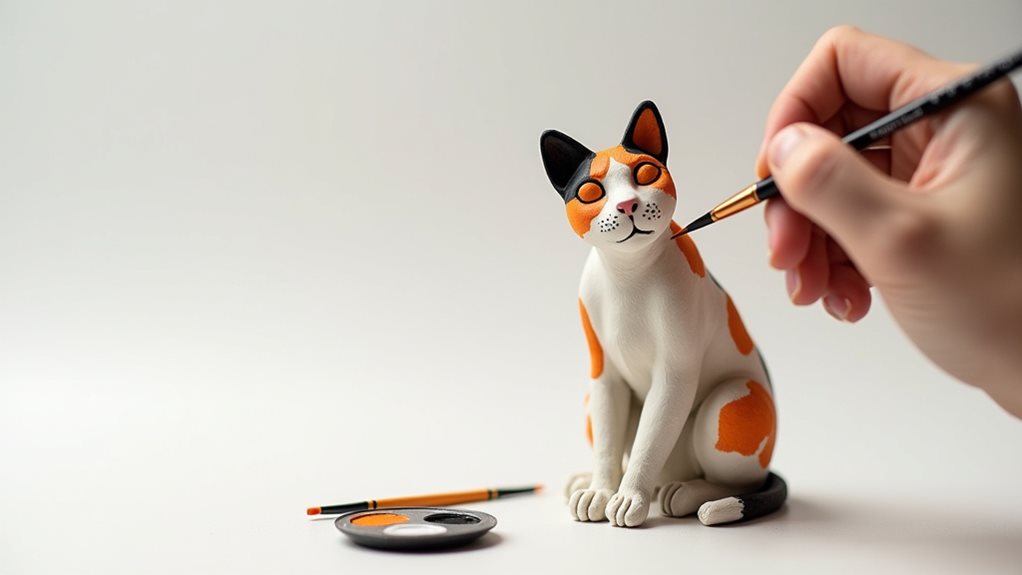
The distinctive tri-colored patterns of a calico cat require careful planning before applying paint to your clay sculpture.
Begin by sketching your intended pattern layout with a pencil, mapping where you’ll place the orange and black patches. Start with orange paint, creating irregular shapes across the body, legs, and face.
Once that’s dry, add black patches, ensuring they don’t completely overlap the orange areas. Leave adequate white spaces between colored sections to achieve the classic calico look.
Use your fine-tipped brush to add subtle variations within each colored patch, creating depth and texture. Don’t forget to paint small spots and speckles for authenticity.
Keep the face asymmetrical with different colored patches on each side, just like real calico cats. Let each color dry completely before adding the next to maintain crisp pattern edges.
Step 5. Apply Protective Sealer Spray
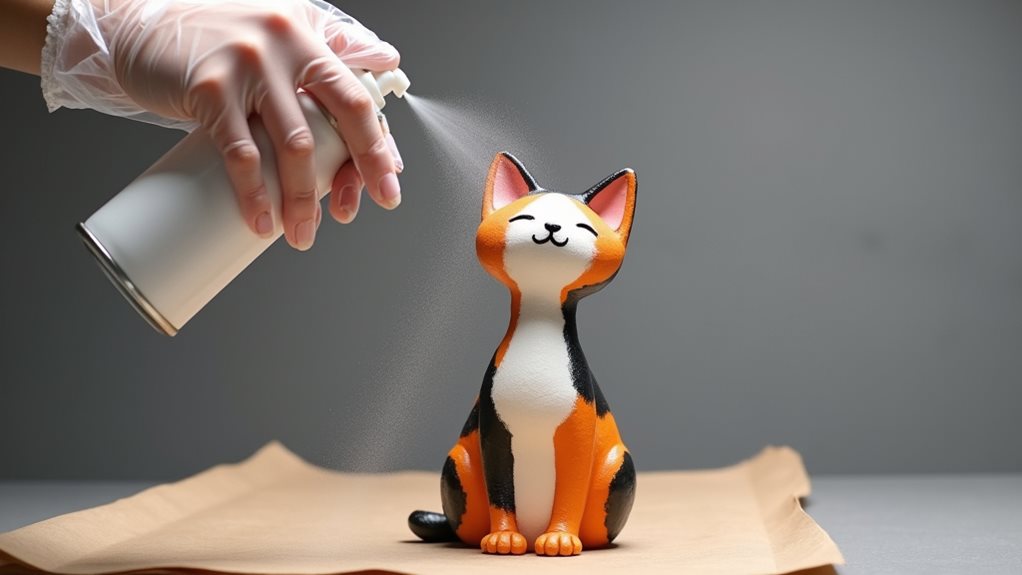
Once your painted calico cat has dried completely for at least 6 hours, you’ll need to protect your artwork with a clear acrylic sealer spray to prevent chipping and ensure long-term durability.
Take your sculpture outdoors or to a well-ventilated area, and place it on a sheet of newspaper or cardboard. Hold the sealer can about 12 inches away from your cat, spraying in smooth, even strokes to achieve consistent coverage.
You’ll want to apply two thin coats, allowing 30 minutes of drying time between each application. Be sure to rotate your sculpture and spray from different angles to coat all surfaces, including underneath any overhanging parts.
After the final coat, let your calico cat dry indoors for 24 hours before handling or displaying it.
Final Thoughts
While crafting a calico cat from air dry clay requires patience and attention to detail, you’ll find the end result deeply rewarding as your unique feline sculpture becomes a cherished decorative piece.
Remember to take your time with each step, particularly when creating the distinctive tri-colored pattern that makes calico cats so special.
Don’t be discouraged if your first attempt isn’t perfect – each sculpture offers valuable learning opportunities to improve your technique.
As you gain confidence working with air dry clay, you’ll discover that this project serves as an excellent foundation for more complex animal sculptures.
Consider displaying your finished calico cat in a place where it won’t be accidentally knocked over, allowing others to appreciate your artistic achievement.