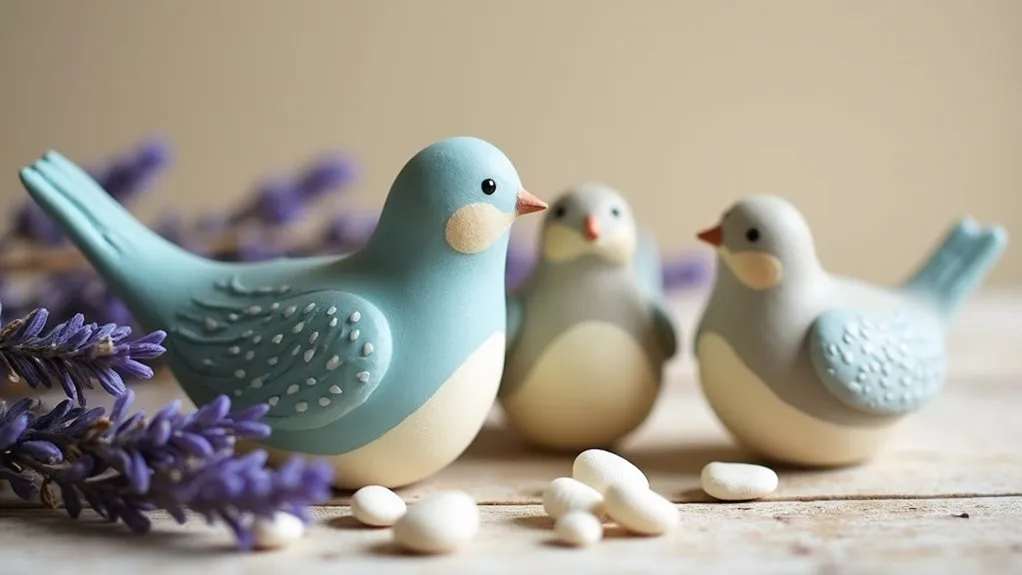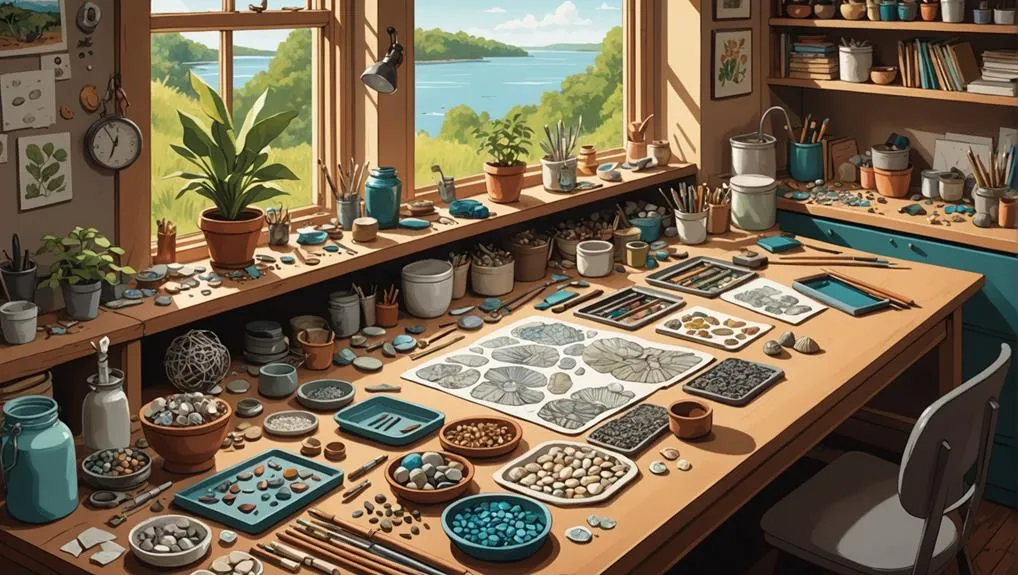
You’ll discover that creating air dry clay beads opens up endless possibilities for unique jewelry design. This accessible craft combines ancient techniques with modern materials, allowing you to shape and personalize each piece without specialized equipment. Whether you’re drawn to minimalist designs or intricate patterns, these versatile beads serve as the perfect canvas for your creativity. Let’s explore how you can transform simple clay into stunning wearable art.
Key Takeaways
- Air dry clay beads require basic supplies like clay, skewer, sealer, sandpaper, and rolling pin for creation at home.
- Shape clay into desired bead forms, pierce holes while pliable, and allow 24-48 hours for complete drying.
- Apply clear sealant after drying to protect beads from moisture and enhance their durability for jewelry making.
- Experiment with colors, textures, and layering techniques to create unique bead designs without needing a kiln.
- Proper workspace preparation with wax paper or parchment paper prevents clay from sticking to surfaces during crafting.
History
Clay bead crafting dates back thousands of years, though the development of air dry clay has revolutionized this ancient art form for modern crafters.
You’ll find evidence of clay beads in archaeological sites from ancient Egypt, where they were used for jewelry and religious ceremonies, to prehistoric European settlements where they served as trading currency.
In the 1950s, manufacturers developed the first commercial air dry clay formulas, making this craft more accessible to hobbyists.
You won’t need a kiln or special equipment like your ancestors did – they’d to fire their beads in primitive ovens or sun-dry them for extended periods.
Today’s air dry clay lets you create beads that are lightweight, durable, and ready to use within days, while still maintaining the traditional techniques that have been passed down through generations.
Project
Creating your own air dry clay beads opens up endless possibilities for unique jewelry designs and decorative elements. These handmade beads can be shaped into various forms, from simple spheres to more complex geometric patterns, allowing you to express your creativity while developing essential clay-working skills.
This beginner-friendly project requires minimal supplies and no specialized equipment, making it perfect for crafters of all skill levels. The process can be completed in a single session, though you’ll need to account for drying time before your beads are ready for use in your finished pieces.
- Air dry clay (4 oz/113g block)
- Wooden skewer or toothpick (6 inches/15 cm)
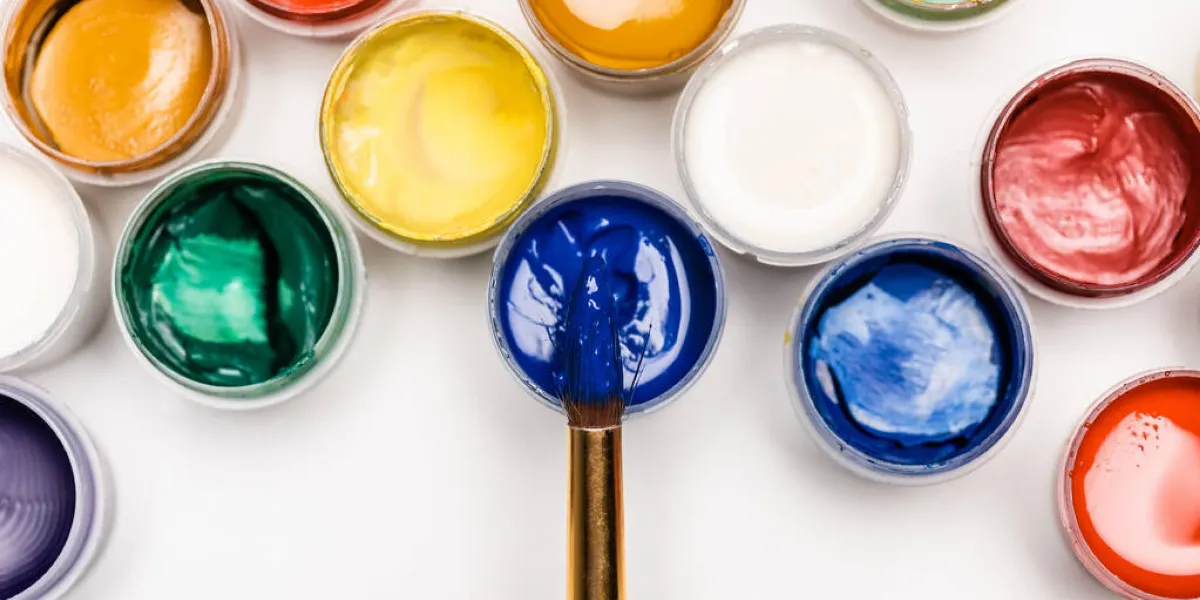
- Clear acrylic sealer (2 oz/59 ml)
- Sandpaper (220 grit)
- Small rolling pin (6 inches/15 cm)
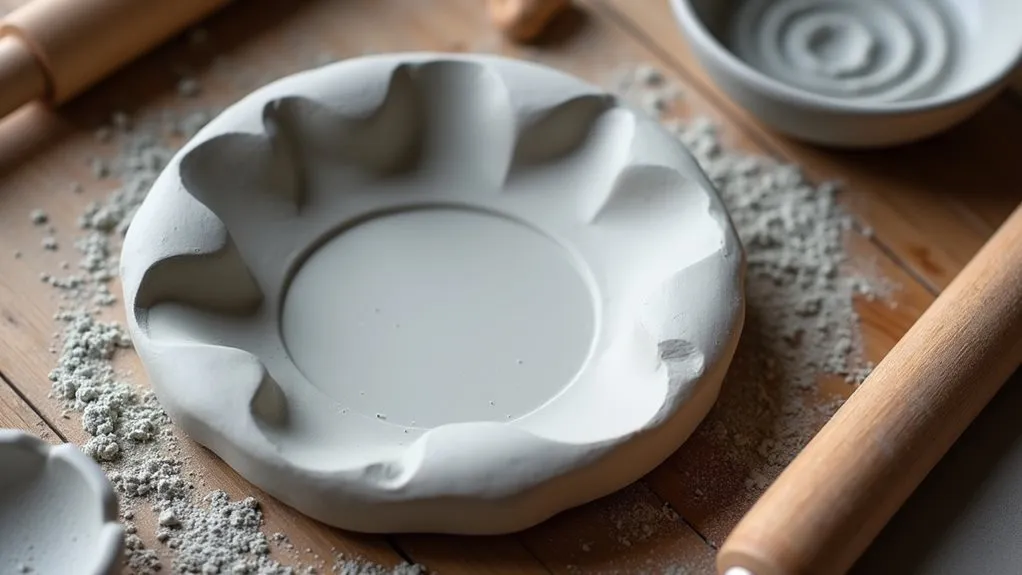
Start by breaking off small portions of clay and rolling them between your palms to form basic bead shapes. Once you achieve your desired shape, carefully pierce a hole through the center using the wooden skewer.
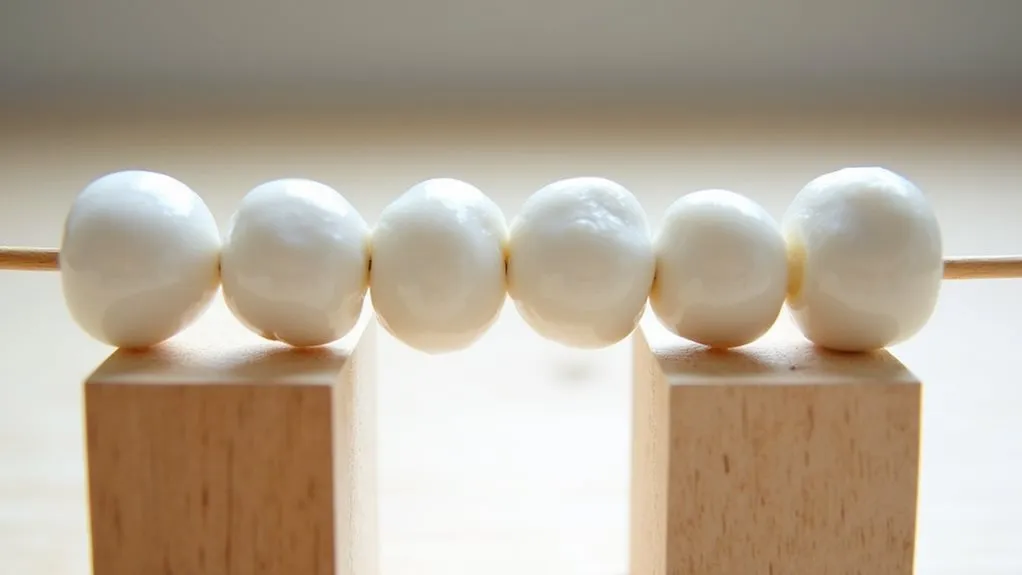
Place each bead on an elevated skewer to prevent flat spots, and allow them to dry completely for 24-48 hours. After drying, lightly sand any rough areas and apply two thin coats of clear sealer, allowing each coat to dry thoroughly between applications.
When crafting your beads, maintain consistent sizing by using similar amounts of clay for each piece. Keep a small bowl of water nearby to smooth surfaces and repair any cracks that develop during shaping.
Avoid making beads larger than 1 inch (2.5 cm) in diameter, as larger sizes are more prone to cracking while drying. For best results, work in a room with moderate humidity and rotate your beads occasionally during the drying process to ensure even drying on all sides.
Project Steps
You’ll want to start your clay bead project by gathering all your supplies and covering your workspace with paper to protect surfaces from clay residue.
Next, you’ll shape small portions of clay into beads, smoothing their surfaces as you work, and carefully pierce holes through their centers using a skewer or toothpick while the clay remains pliable.
After letting your beads dry completely, you’ll finish them by applying two thin coats of clear sealant to protect and enhance their appearance.
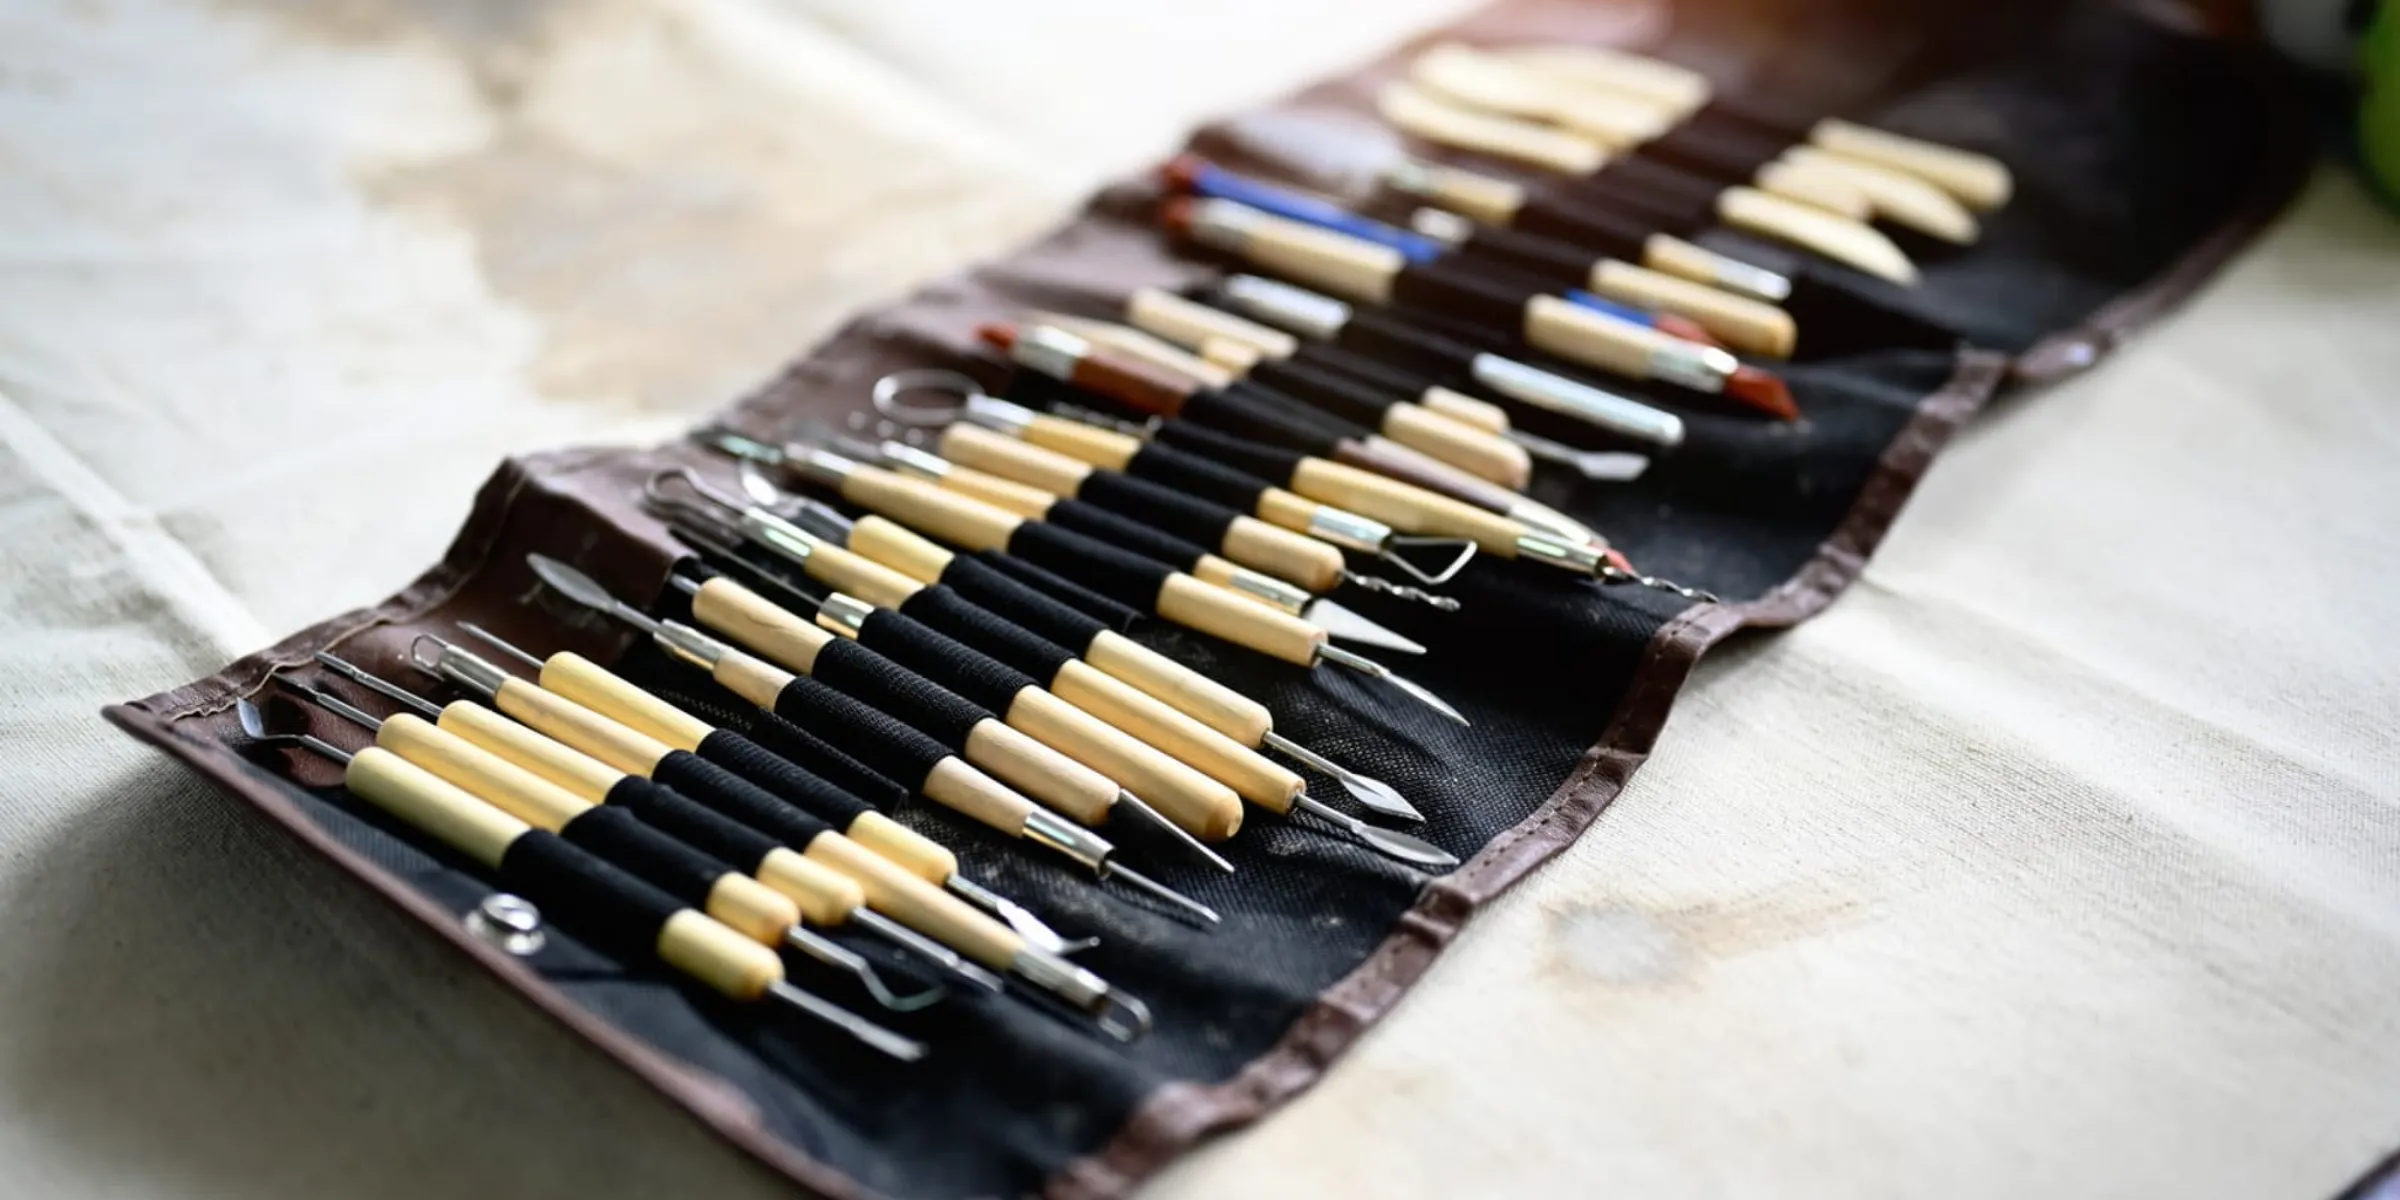
Step 1. Gather Required Craft Materials

Before diving into this engaging clay bead project, gathering all necessary materials ensures a smooth and enjoyable crafting experience. You’ll need a 4-ounce block of air dry clay, which provides enough material to create multiple beads of various sizes. For shaping and finishing, collect a 6-inch wooden skewer or toothpick, a small rolling pin, and 220-grit sandpaper. Don’t forget to include a 2-ounce bottle of clear acrylic sealer to protect your finished beads.
Additional helpful items include a smooth work surface, such as a ceramic tile or plastic mat, and a small bowl of water for smoothing the clay. You’ll also want paper towels for clean-up and a ruler if you’re planning to make uniform-sized beads. Consider setting up a dedicated drying area where your beads won’t be disturbed.
Step 2. Prepare Workspace With Paper Liner
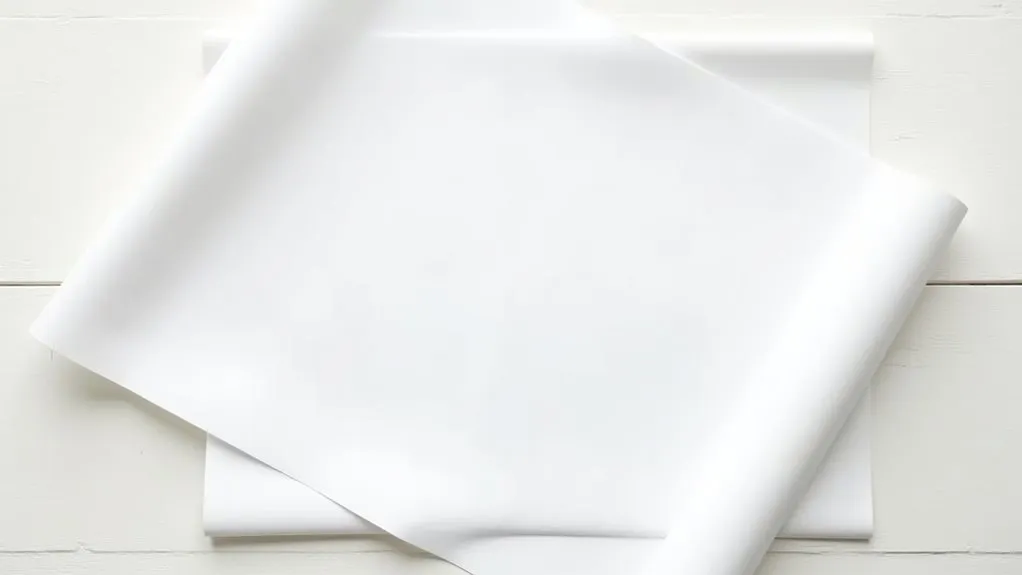
A proper workspace setup begins with laying down several sheets of wax paper or parchment paper to protect your crafting surface from clay residue and prevent sticking.
You’ll want to secure the paper’s corners with tape to keep it from shifting while you work. Make sure you’ve got enough coverage to accommodate your rolling, shaping, and drying areas.
Next, create distinct zones on your protected surface: one for rolling out clay, another for shaping beads, and a third for placing finished beads to dry.
If you’re working near a window, position your drying area away from direct sunlight to prevent uneven drying.
Consider elevating your skewer with small boxes or blocks at each end, creating a raised platform for your beads to dry evenly.
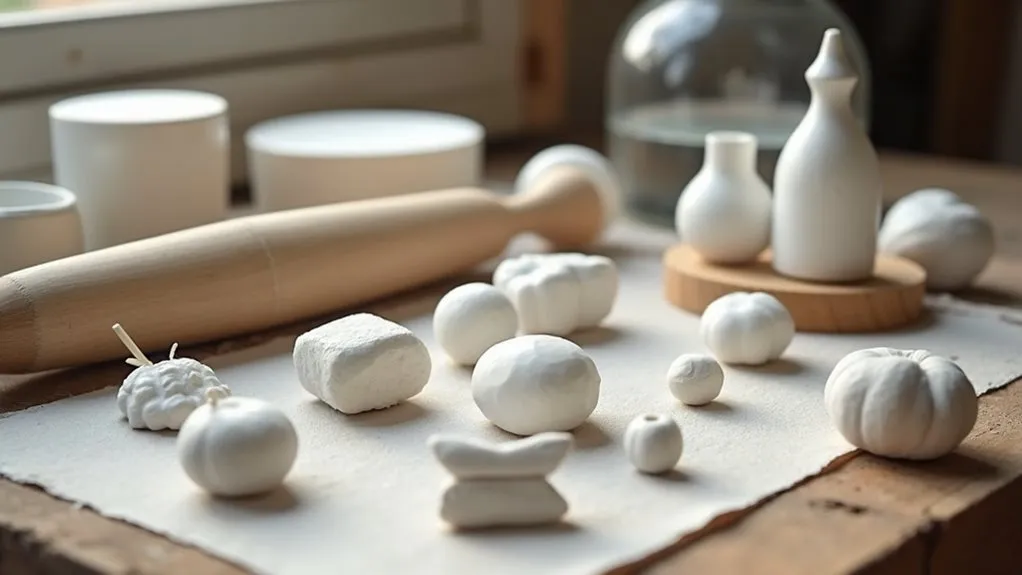
Step 3. Shape Clay Into Beads
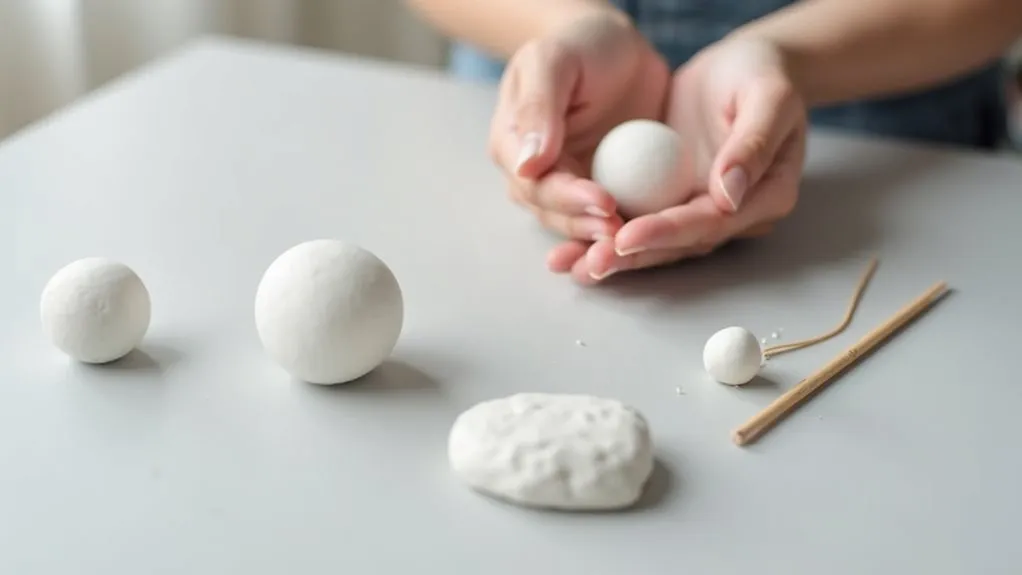
With your workspace properly protected, starting the bead-making process requires breaking off a small portion of clay about the size of a marble.
Roll the clay between your palms, applying even pressure to form a smooth sphere. If you’re aiming for different shapes, you can gently press the sides to create ovals, discs, or more geometric forms.
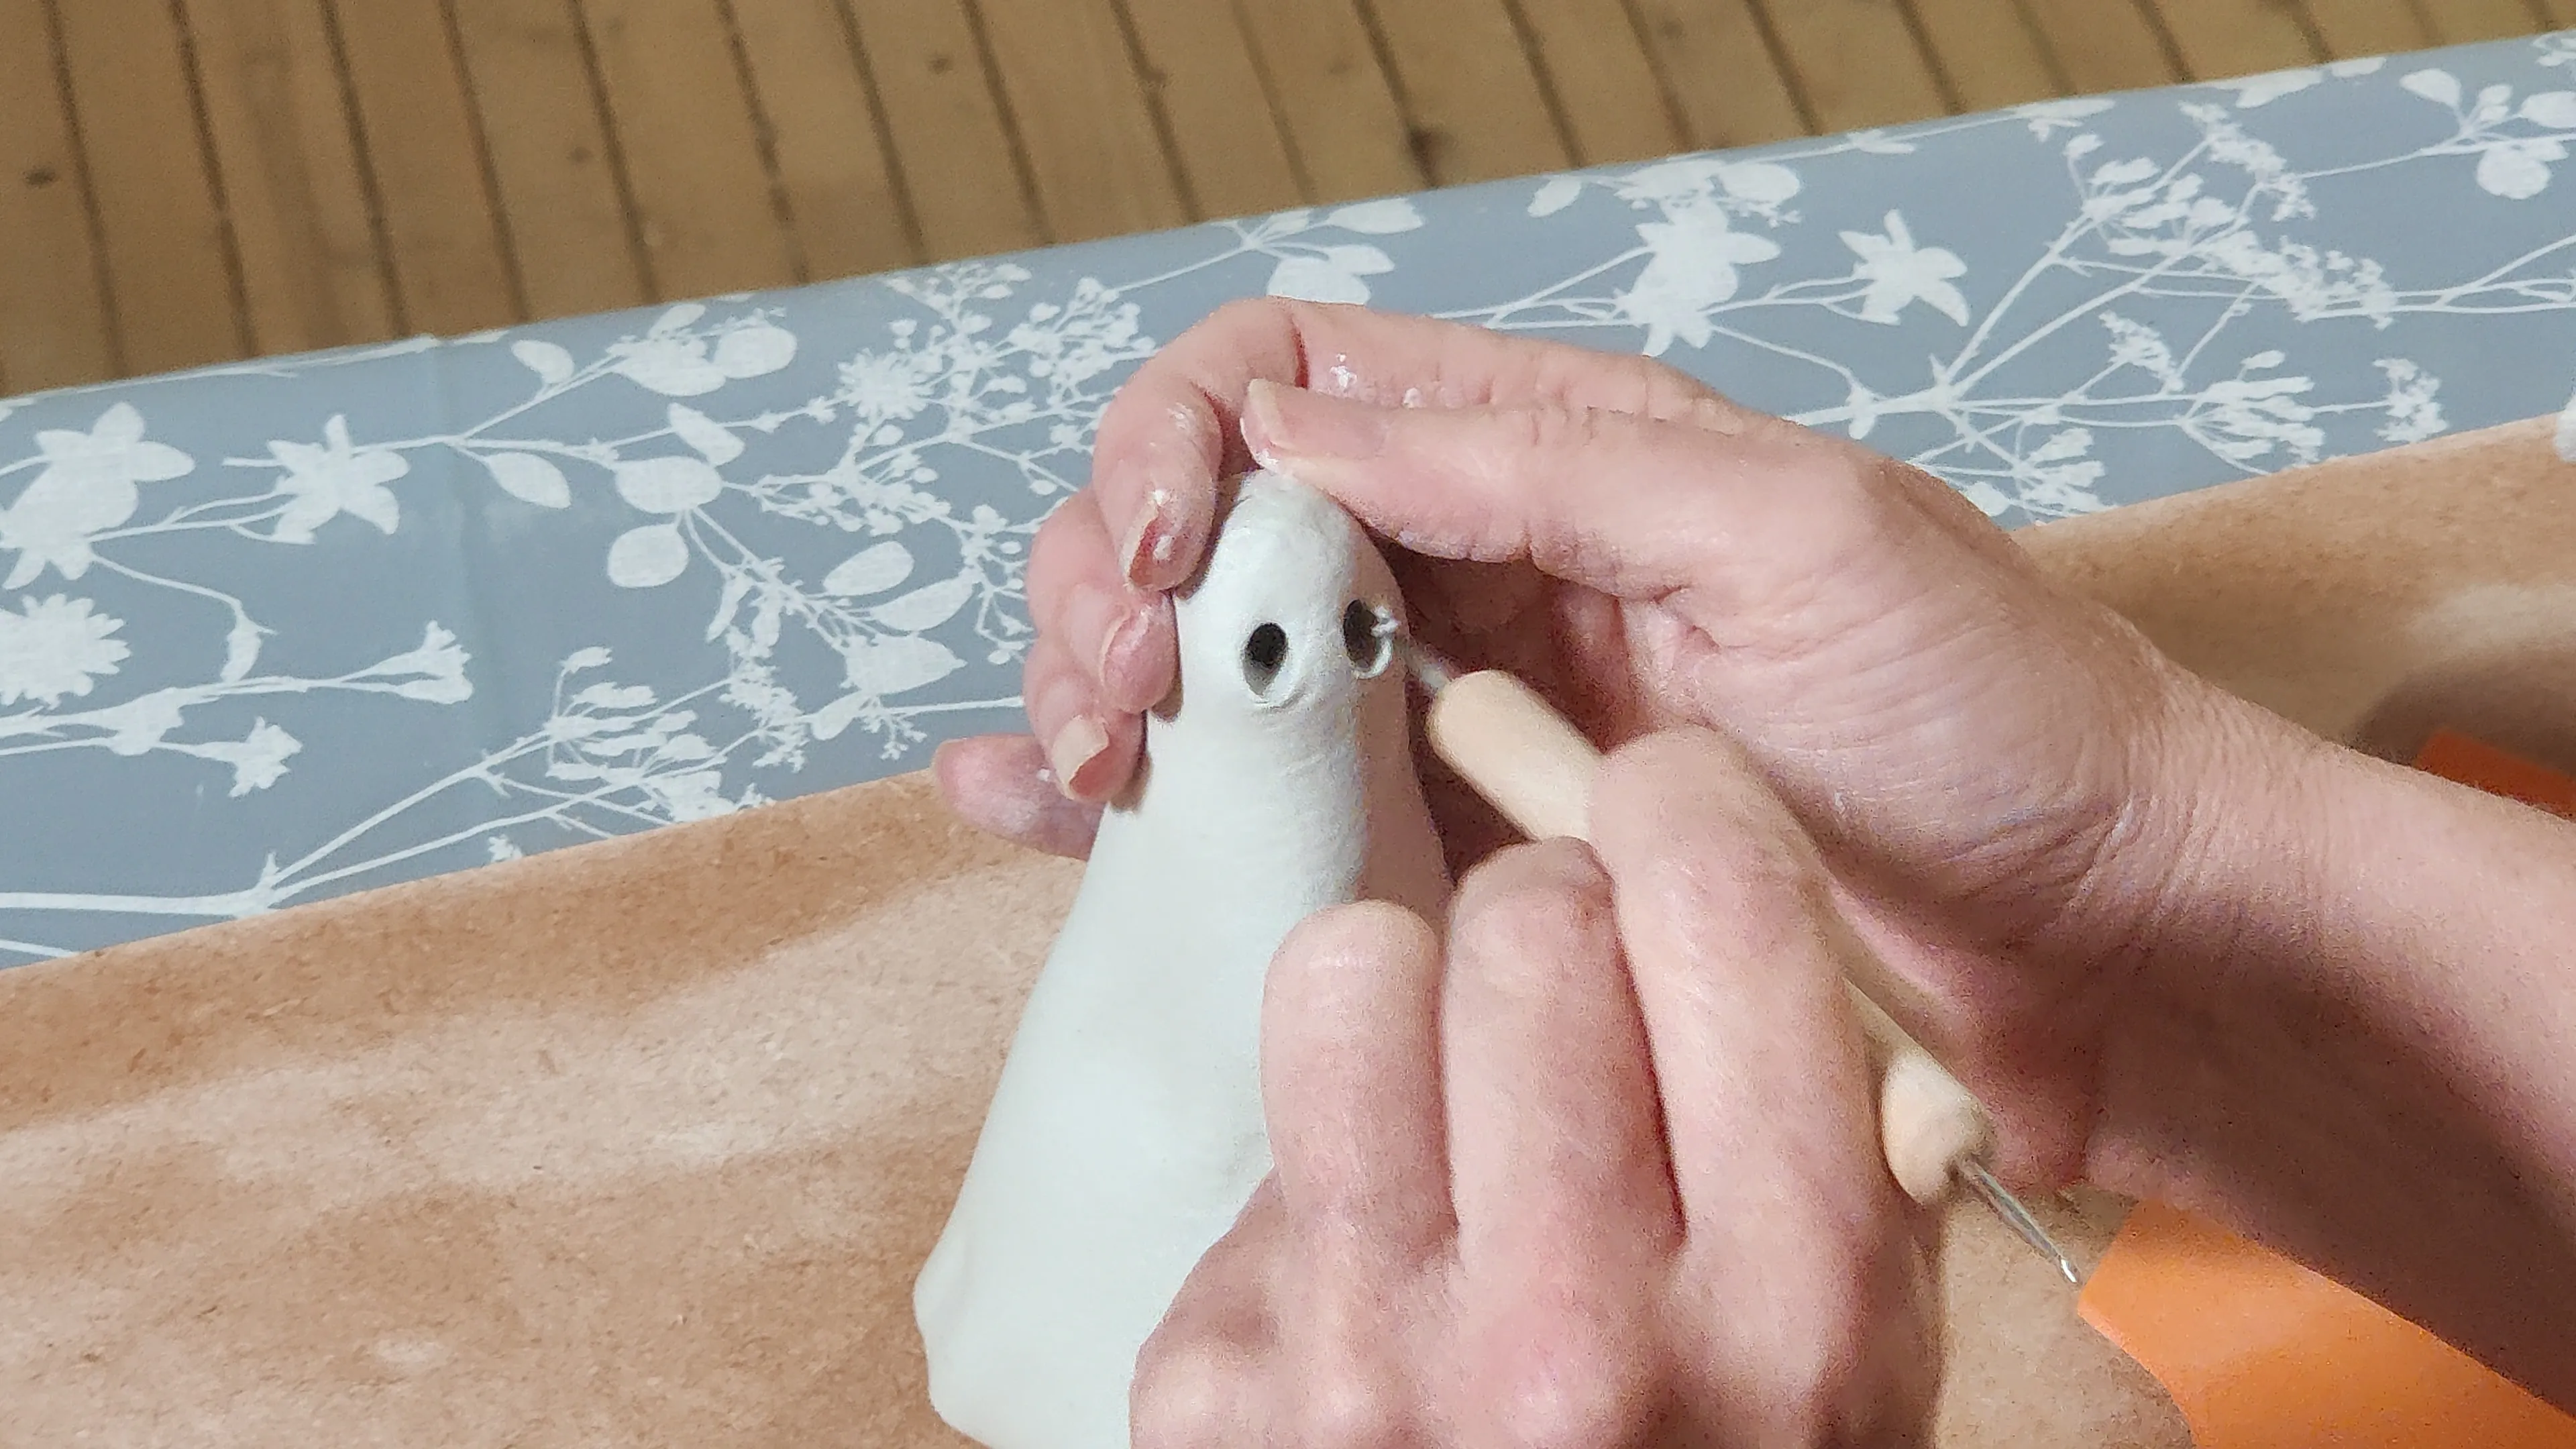
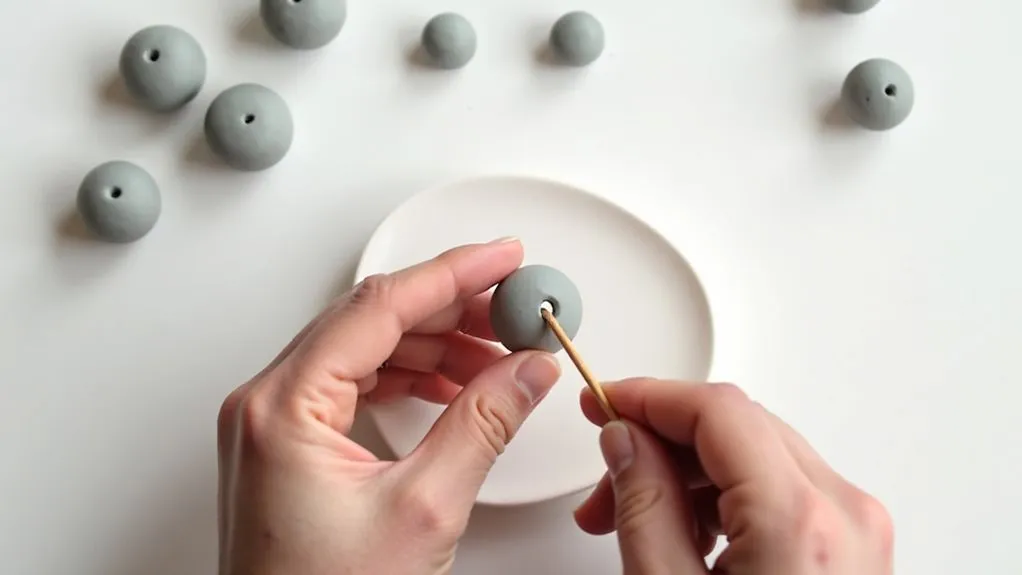
Once you’ve achieved your desired shape, carefully insert a wooden skewer or toothpick through the center of the bead to create a hole for stringing.
You’ll want to make the hole slightly larger than needed, as it may shrink during drying. Smooth any rough edges around the hole with your fingertip, and if the clay begins to dry, lightly dampen your fingers with water to help with shaping and finishing touches.
Step 4. Pierce Holes in Beads
Piercing holes in your clay beads requires careful attention to detail and proper technique to ensure successful stringing later.
Insert your wooden skewer or toothpick straight through the center of each bead while the clay’s still pliable, maintaining a consistent angle to create clean, even holes. You’ll want to make the holes slightly larger than your intended stringing material, as they may shrink a bit during drying.
If you’re working with larger beads, gently twist the skewer while removing it to prevent the clay from sticking and distorting the hole.
For irregular-shaped beads, pierce the hole through the thickest part to maintain structural integrity. Once you’ve created the holes, smooth any rough edges around the openings with your fingertip, using a small amount of water if needed.
Step 5. Apply Sealant and Dry Beads
Once your clay beads have dried completely for 24-48 hours, you’ll need to protect them with a quality sealer to ensure their longevity and durability.
Apply a thin, even coat of clear acrylic sealer using a small brush, making sure to cover all surfaces including the inside of the holes. Let this first coat dry for at least 30 minutes.
After the initial coat has dried, rotate your beads and apply a second thin layer of sealer.
Don’t rush this process, as proper sealing will prevent your beads from absorbing moisture or becoming damaged over time. Allow the final coat to cure completely for 24 hours before stringing your beads or using them in your jewelry projects.
Store your sealed beads in a cool, dry place until you’re ready to use them.
Final Thoughts
Creating air dry clay beads opens up endless possibilities for personalized jewelry and craft projects, allowing you to explore your creativity while developing essential hand-building skills.
You’ll find that with practice, you can craft increasingly complex designs and achieve more consistent results. Whether you’re making simple spheres or intricate shapes, remember to maintain reasonable bead sizes and allow proper drying time to prevent cracking.
As you continue experimenting with this versatile medium, you’ll discover your own preferred techniques and unique artistic style.
Don’t be afraid to mix colors, add textures, or incorporate other materials into your designs. With proper sealing and care, your handcrafted beads will become cherished pieces that showcase your creative journey and artistic growth.