When you stumble upon a rustic apple-shaped pinch pot at a local craft fair, you’ll understand why these charming vessels have become popular among pottery enthusiasts and beginners alike. You don’t need a kiln or expensive equipment to create these delightful containers, as air dry clay offers an accessible alternative to traditional ceramics. Whether you’re looking to craft decorative pieces or functional holders, these apple-themed pots combine essential hand-building techniques with creative expression that you can master at home.
Key Takeaways
- Air dry clay apple pinch pots are beginner-friendly craft projects requiring only basic materials like clay, paint, and simple tools.
- Create the base by forming a clay ball, pressing your thumb in the center, and pinching walls evenly to 1/4 inch thickness.
- Let the shaped pot dry completely for 24-48 hours before painting with red acrylic paint and adding green leaf details.
- These decorative pots serve multiple purposes as containers, seasonal décor, or handmade gifts without requiring kiln firing.
- The project teaches fundamental pottery techniques while allowing creative expression through size variations and decorative elements.
History
While pinch pot crafting dates back thousands of years to ancient civilizations, the specific tradition of creating apple-shaped vessels emerged during the Arts and Crafts Movement of the late 19th century.
You’ll find that these decorative pieces gained popularity in both American and European craft circles, where artisans embraced the simplicity of hand-building techniques to create functional yet beautiful objects.
During the 1920s, you’d often see these apple-shaped pots used in schools to introduce children to ceramics, as they provided an accessible way to learn fundamental pottery skills.
The practice has evolved through the decades, and today’s crafters continue this tradition using modern materials like air-dry clay.
You’re now part of this rich heritage when you create your own apple pinch pot, connecting you to generations of artisans before you.
Project
Creating apple-shaped pinch pots offers an ideal introduction to hand-building with clay, suitable for crafters of all skill levels. This engaging project combines basic pottery techniques with decorative elements to produce a functional and aesthetically pleasing piece that can serve multiple purposes in your home.
The finished apple pot can function as a charming container for small items, seasonal décor, or a unique handmade gift. Working with air-dry clay eliminates the need for specialized equipment while still allowing crafters to achieve professional-looking results through simple hand-building techniques.
Materials Needed:
- Air dry clay (1 pound/450g)
- Acrylic paint (red and green)
- Synthetic bristle paintbrush
- Water in small bowl (8 oz/240ml)
- Wooden skewer or toothpick
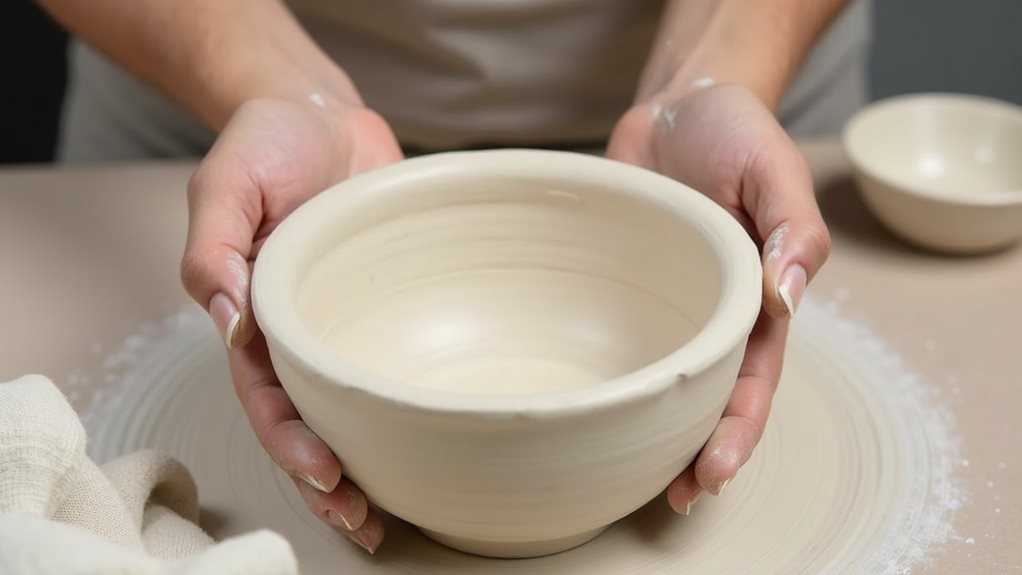
Start by rolling a tennis ball-sized portion of clay into a smooth sphere. Press your thumb into the center to create a hollow, then gradually pinch and rotate the clay between your thumb and fingers, working from the center outward to create even walls about 1/4 inch (6mm) thick.
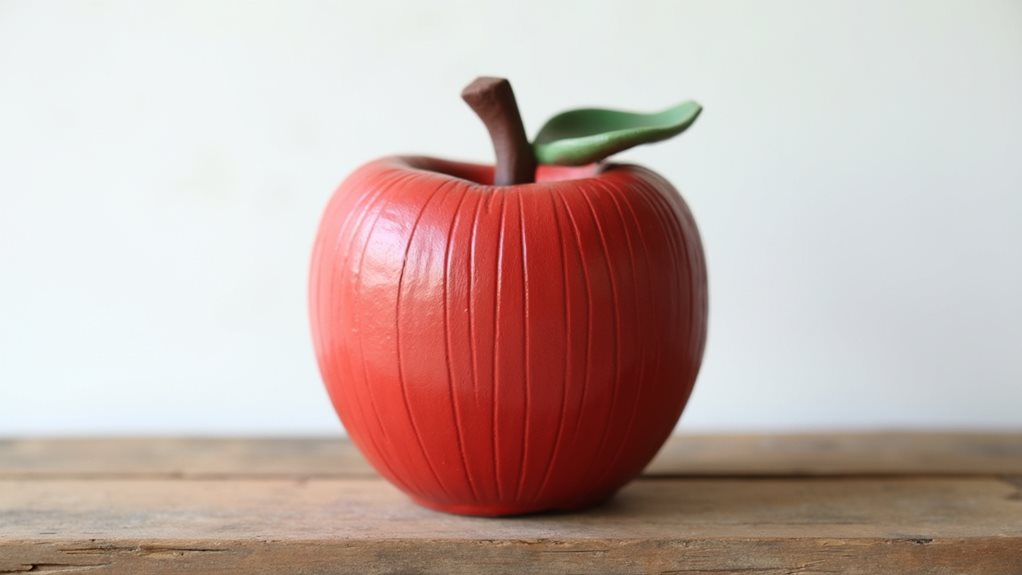
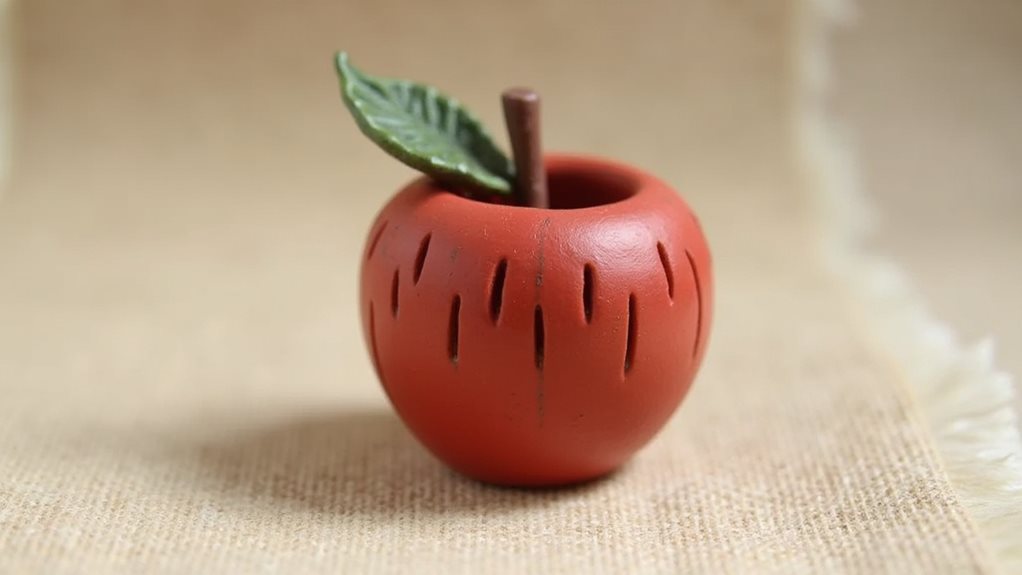
Shape the top into a slight point, then use the wooden skewer to create vertical texture lines from top to bottom. Form a small coil for the stem, attach it with water, and allow the piece to dry completely for 24-48 hours before applying two coats of red paint and adding a green leaf detail.
For best results, work on a smooth, non-stick surface and avoid creating air pockets in the clay walls. Keep a slightly damp cloth nearby to prevent the clay from drying too quickly while working, and resist the urge to add excess water to the clay as this can compromise its structural integrity.
Cover the finished piece loosely with plastic wrap during the first 12 hours of drying to prevent cracking, and store any unused clay in an airtight container for future projects.
Project Steps
To create your apple pinch pot, you’ll start by rolling a tennis ball-sized portion of clay into a smooth sphere before pressing your thumb into its center and carefully pinching the walls to form an even hollow shape.
Next, you’ll sculpt a slight point at the top, add texture lines using a wooden skewer, and attach a small coil stem with a dab of water.
Once your apple has completely dried for 24-48 hours, you’ll finish it with two coats of red acrylic paint and add a green leaf detail for a realistic touch.
Step 1. Form Ball of Clay
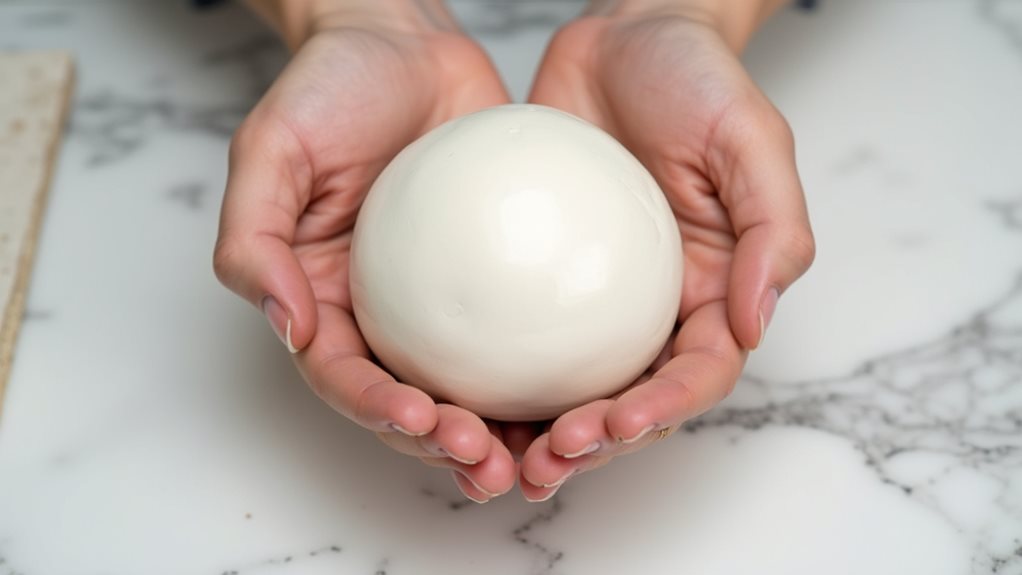
The initial step begins with selecting a palm-sized portion of air-dry clay, approximately the size of a tennis ball.
You’ll want to warm this clay between your hands, kneading it thoroughly to remove any air bubbles and ensure it’s pliable. As you work the clay, roll it between your palms using a circular motion until you’ve created a smooth, even sphere.
If you notice any cracks or inconsistencies in your ball’s surface, don’t worry – just keep working the clay until they disappear.
You can test the ball’s roundness by rolling it gently on your work surface; it should move smoothly without wobbling.
Once you’ve achieved a uniform sphere that’s free from lumps or air pockets, you’re ready to begin forming your apple’s hollow center.
Step 2. Hollow Center With Thumb
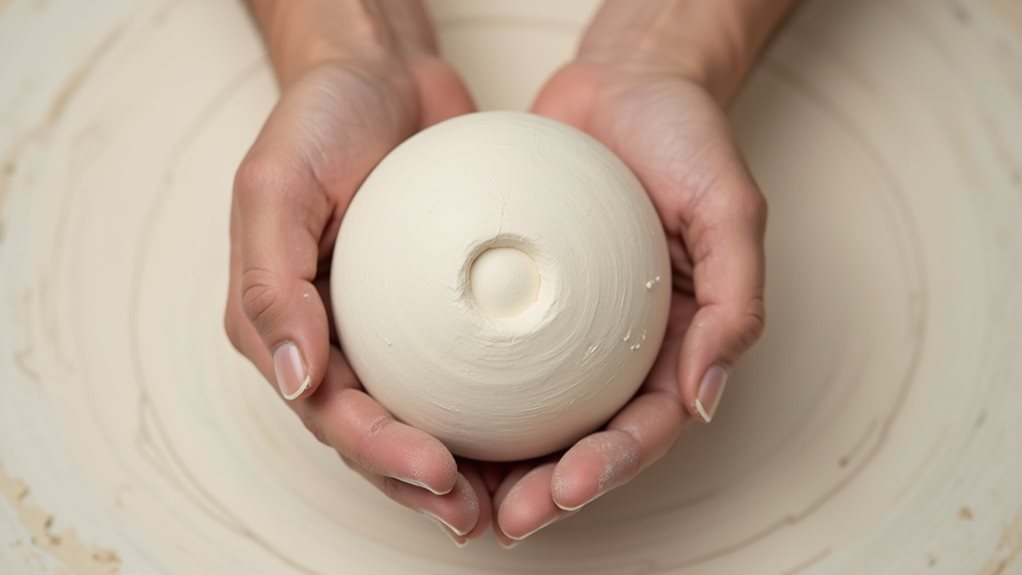
Making your apple’s hollow center starts with firmly pressing your thumb into the middle of your clay sphere, reaching about halfway through its depth. As you press down, rotate your wrist in small circles to create an even depression while maintaining the sphere’s overall shape.
Don’t rush this step – it’s crucial for establishing your pot’s foundation.
Once you’ve created the initial hollow, continue pressing outward with your thumb while supporting the exterior with your other fingers. You’ll want to work systematically around the form, gradually thinning the walls to about 1/4 inch thickness.
If you notice any thick spots, gently pinch and smooth them between your thumb and fingers. Keep checking the symmetry of your pot as you work, ensuring the walls maintain consistent thickness throughout.
Step 3. Shape Walls While Rotating
Now that you’ve established your pot’s hollow center, steady rotation becomes your key technique for shaping the walls evenly.
Hold the clay with one hand while using your other hand’s thumb inside and fingers outside to gently pinch and rotate. You’ll want to work systematically, moving around the pot’s circumference as you thin the walls to about 1/4 inch thickness.
As you rotate and shape, pay attention to maintaining the apple’s rounded form.
Don’t rush this process – each rotation should overlap slightly with the previous one to ensure uniform thickness. If you notice any thick spots, focus extra attention there, but be careful not to overwork the clay.
Keep your movements smooth and consistent, gradually working upward from the base to create a symmetrical shape.
Step 4. Add Stem and Ridges

Once your apple’s basic shape feels complete, it’s time to add those distinctive features that transform your pinch pot into a realistic fruit.
Using your wooden skewer, carefully draw vertical lines from the top to bottom of your pot, spacing them about an inch apart to create natural-looking ridges that you’ll find on real apples.
For the stem, roll a small piece of clay between your palms to form a coil about 1/2 inch long.
Dip your finger in water and gently dampen both the top of your pot and one end of the coil. Press the stem firmly into place, angling it slightly for a natural look.
You’ll want to smooth the connection point with your fingertip to ensure a strong bond between the pieces.
Step 5. Paint and Dry Apple
The final phase of your apple pinch pot project requires two essential steps – allowing your clay creation to dry completely and applying the perfect paint finish.
After your piece has dried for 24-48 hours, you’ll notice it’s become lighter in color and feels firm to the touch.
Start by painting your apple with two even coats of red acrylic paint, letting each layer dry for 30 minutes.
Don’t forget to paint inside the pot about an inch down from the rim.
Once the red paint has dried completely, add a small green leaf near the stem using quick, confident brushstrokes.
You can enhance the apple’s realism by adding subtle shadows with a slightly darker red around the bottom and stem area.
Final Thoughts
Creating apple pinch pots with air-dry clay provides an excellent introduction to hand-building techniques while yielding charming, functional results you’ll be proud to display.
You’ll discover that this project enhances your understanding of clay’s properties and builds fundamental pottery skills that you can apply to future projects.
Don’t be afraid to experiment with different sizes and variations once you’ve mastered the basic technique. You might try creating a family of apples, from tiny decorative pieces to larger vessels that can hold treasures or treats.
Remember that practice makes perfect – each apple you create will help you develop better control and consistency in your clay work.
If you’re teaching others, this project offers an ideal starting point for introducing ceramic arts in an approachable, engaging way.