If you’re looking for a durable, hard air-dry clay that will stand up to regular use, then you may want to consider trying out Crayola’s Air-Dry Clay.
Does air dry clay fully harden?
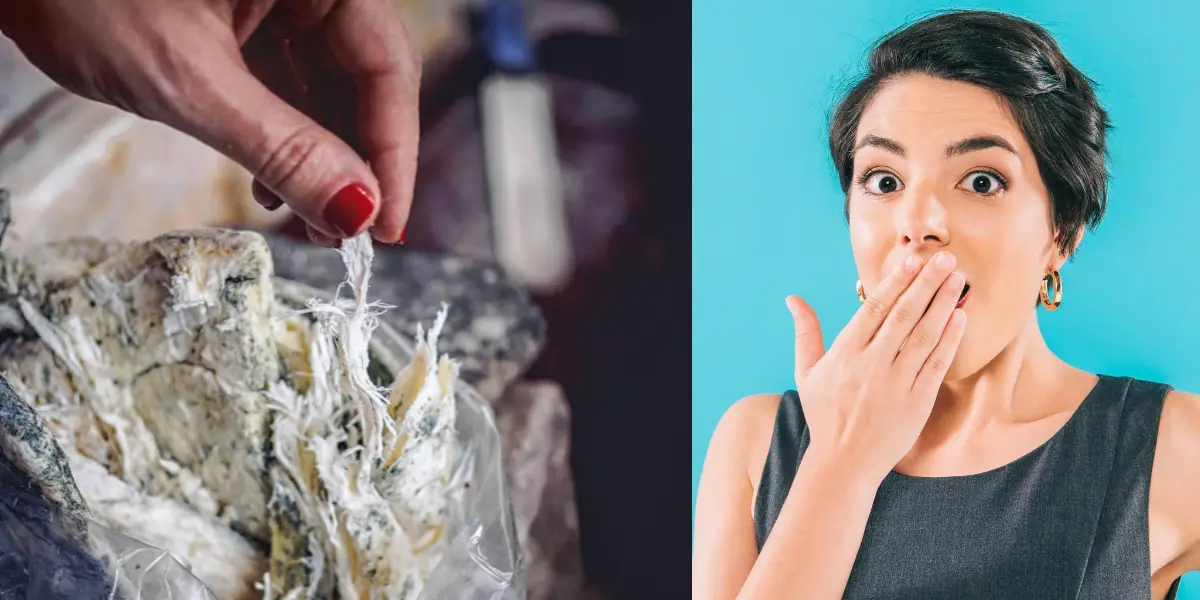
Yes, Crayola air-dry clay fully hardens when given the proper care and attention. To ensure a durable final product, it is important to use an internal armature for support and add minimal water during the modeling process. It is also important to rotate the piece as it dries in order to allow airflow to all surfaces. Once air-dry clay has dried fully, usually after 24 hours or more, a coat of paint can be applied for extra strength. While air-dry clay can become hardened upon drying, it is not weatherproof so projects should be kept indoors and away from moisture in order to prevent warping. If needed, a plastic cover may be draped loosely over the project while drying in order to slow down evaporation of water from the clay.
What is air-dry clay?
Air-dry clay is a type of moldable clay that can dry out and harden by sitting at room temperature for around 24 hours. It is different from other types of clay in that it does not need to be fired in a kiln or oven to make it hard; rather, it can simply be left out at room temperature for up to two days and will harden on its own. Air-dry clay is affordable, easy to work with, and versatile making it perfect for beginner sculptors, classroom art projects, and homemade crafting. It can be coloured with acrylic paint or tempera paint and sealed with a glaze to make it more resistant to water.
What are the benefits of using air-dry clay?
1. Air-dry clay is lightweight and easy to use.
Air-dry clay is lightweight and easy to use because it is denser than resin-based clay. This makes it lightweight and malleable, making it ideal for artists and hobbyists who want to create sculptures or paintings without the added weight of wet clay. Air-dry clay also requires less handling compared to resin-based air drying clays, making it easier to work with. Smaller projects like jewelry or beads benefit from the “premium” feel of resin or porcelain based clays, which are denser than air drying clays too. Therefore, when using air dry clays, make sure only small amounts are purchased at one time in order to avoid becoming difficult to work with over time due to storage issues. Lastly, Crayola Air Dry Clay does fully harden when left exposed in a cool place for about 24 hours after being sculpted into shape.
2. It is less expensive than other types of clay, making it a budget-friendly option.
Air-dry clay is a budget-friendly option because it is easy to work with and forms a nontoxic clay. It contains natural clays and minerals so that when water is applied it becomes a non-toxic material. In addition, air-dry clay is much cheaper than kiln-fired clays but still durable, though not as durable as kiln-fired clays.
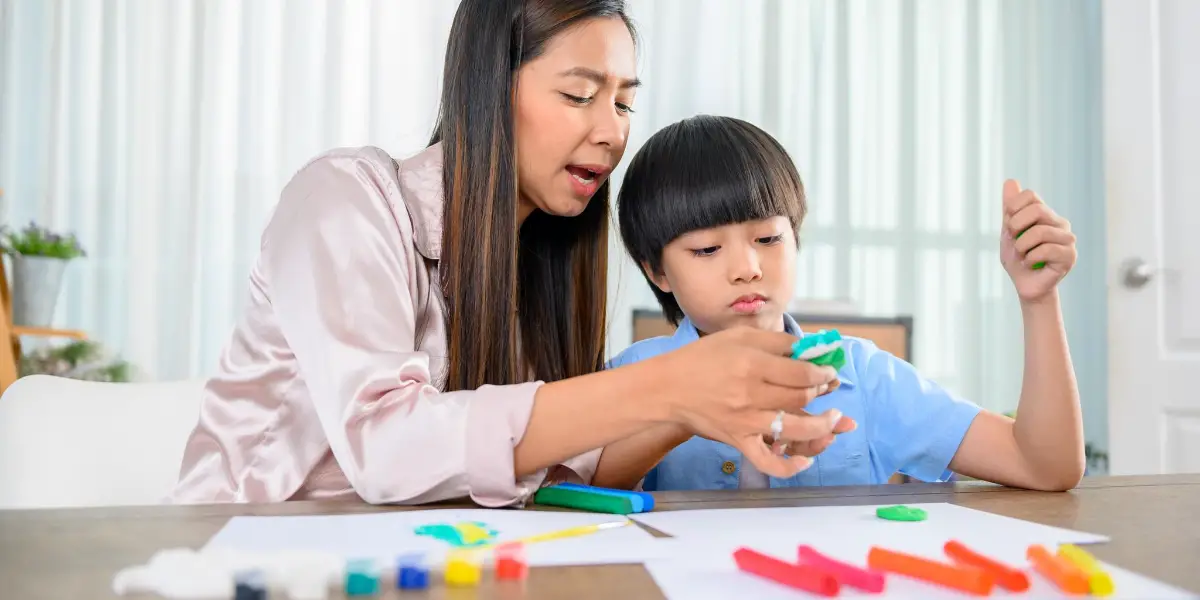
3. It is non-toxic and safe to use for projects with children.
Air-dry clay is an excellent choice for projects with children since it is safe, non-toxic, and allergen free. It is also easy to apply just like tempera and acrylic paints. In addition, it comes in a wide range of colors which can be washed off with soap and water but the color will eventually fade over time. DAS Air-Hardening Clay is perfect for children’s craft projects as it does not contain any toxic elements and has a versatile quality that allows for painting or sanding. Creative Paperclay also provides a great option for sculptures or molds that require hardening after drying.
4. Air-dry clay is available in a variety of colors and textures to suit your project.
Air-dry clay comes in a variety of colors and textures, depending on the project. There are different types of air drying clay that are suited for different purposes, such as heavier “premium” clays that are highly durable and great for creating jewelry, trinkets or beads. Paper-based clay feels fluffy and has a texture similar to cotton candy, while resin based air-dry clay is denser and has a premium feel similar to polymer clay. Color options include various shades of browns, tans, reds or other natural pigments. Clay should be purchased in the right quantity for the project to make sure it does not become dirty or difficult to store. When handled properly it should still be easy enough to shape when needed yet durable enough for larger projects such as sculptures or pottery creations. Crayola Air Dry Clay fully hardens once exposed to air over time; this makes it an ideal choice for all kinds of art projects where permanence is desired after completion
5. It is easily molded and shaped, allowing for creative freedom.
The easily moldability of air-dry clay is a benefit because it allows for the creation of a wide variety of objects. With this type of clay, it can be molded and sculpted into any shape or size desired. This makes it easy to create intricate designs and add detail to pieces that might otherwise be difficult with traditional clay materials. Additionally, air-dry clay does not require baking or curing in order to harden, making it ideal for those who may not have access to an oven or kiln.
6. Air-dry clay can be used to create intricate details for your projects.
Air-dry clay is good for creating intricate details because it is soft and malleable, allowing artists to easily shape it. It can be cut into smaller chunks with a wire or floss for measuring purposes, and kneaded until softened before use. Additionally, if using multiple bags of clay, they should be kneaded separately prior to working on a larger project. Air-dry clay can also have its resin base softened with acrylic paint, and has the added advantage of not needing to be baked in an oven like other types of clay. Crafting tools can come in handy when creating more complex projects such as sculptures or items with intricate details; dental picks and equipment may also prove useful here. Finally, air-dry clay is easy to store without spoiling by carefully using a microwave to warm the excess material if needed.
7. It is fast-drying, allowing for quick results.
Air-dry clay has the benefit of drying in a few hours to a few days, depending on the thickness and humidity of the clay. This makes it convenient for those looking to create pottery quickly, as well as those wanting to use their creations outdoors where temperatures and climates can change rapidly. Additionally, air-dry clays don’t require any heating or baking which makes them easier to work with than other types of ceramics.
8. Air-dry clay is durable and long-lasting.
Air-dry clay is known to be durable and long-lasting due to the way it hardens. To make air-dry clay even more durable, an internal armature can be used during sculpting or by limiting the amount of water added during drying. Air-dry clay also shrinks while drying, so it’s important to rotate the piece and drape plastic over it to help slow water evaporation. Once air-dry clay has hardened, a coat of paint can further strengthen and protect it from warping.
9. It is easy to seal and waterproof, making it ideal for outdoor projects.
Air-dry clay is an ideal sealant for outdoor projects because of its ease of application and long-lasting effects. Unlike epoxy resin or craft glues, air-dry clay does not yellow over time. To ensure that the air-dry clay is properly sealed, it must be sealed with an aerosol or decoupage technique and should also be protected from water damage with a resin, varnish, mod podge or epoxy resin sealer.
10. Air-dry clay can be painted and decorated to suit any project.
With air-dry clay, many different projects can be created in just a day. Artists and DIY enthusiasts alike are drawn to its affordability and wide availability. It also solidifies into durable structures in only 24 hours, unlike traditional clays which require kilning at high temperatures. This type of clay typically comes pre-colored with a few natural pigments, but paint can always be added to give the pieces more color or character. Air-dry clay is great for sculpting, pottery making, creating ornaments and other items as well as many other craft projects. After drying it out overnight these pieces will become even more durable and sturdy once they’ve hardened completely so that they can last for years to come!
How long does it take for air-dry clay to fully harden?
The time it takes for air-dry clay to fully harden is important because a fully hardened piece of air-dry clay is much more durable than one that has not been allowed to dry completely. The time needed for the clay to fully harden is dependent on room temperature, humidity, and airflow. Thin clays (around 3mm) will usually dry faster if placed in direct sunlight or near open windows, while larger pieces may need to be rotated regularly in order for them to fully harden. Allowing the air-dry clay to properly harden before using it ensures that it will be durable and last longer.
Does Crayola Air Dry Clay Fully Harden?
The significance of Crayola Air-Dry Clay hardening is that it enables users to create durable, hard sculptures and artwork using this type of clay. The clay must be fully hardened in order to achieve the desired results; however, baking the clay can shock it, leading to cracking. Instead, Crayola recommends letting the clay dry naturally or using a hairdryer or blow dryer on low heat. Due to this process taking time and care, sculptures crafted with air-dry clay may take several days or even weeks before they are ready for display.
What is the best way to use Crayola Air Dry Clay for durability and hardness?
Step 1: Create your design with Crayola Air Dry Clay
To create a design with Crayola Air Dry Clay, one should first wet the clay and put it in the oven at 200 degrees Fahrenheit. It is important not to shock the clay with a hot oven as this can damage it. After this step, the design can be manipulated and shaped as desired. Once complete, the creation will need to air-dry for 1-2 days before it fully hardens and becomes durable.
Step 2: Let the design dry
It is important to let the design dry before using Crayola Air Dry Clay in order to prevent the clay from sticking to the paper and resulting in a poor finished product. When drying clay, it should be dry to the touch but it is not finished yet. The clay will have much more resistance if it is allowed to completely dry, which can be checked by sticking a pin or fingernail into it. Drying clay will turn darker and more translucent as it dries; after 24 hours, the clay should be ready for use.
Step 3: Seal the clay with a sealant
The purpose of sealing the clay is to protect it from becoming pliable again once it has dried. It also prevents globbing paint from ruining the project and allows decorations to be added after the clay is sealed.
Step 4: Paint the clay creation
Painting a clay creation affects its durability and hardness in several ways. Firstly, the paint can help to fill any cracks or chips that appear due to the clay shrinking as it dries. Secondly, by smoothing out bumps and cracks with low-grit sandpaper before painting, the surface of the clay is made more even and this helps ensure that paint will adhere well. Thirdly, applying multiple thin layers of paint instead of one thick coat helps create a durable finish that won’t easily crack or chip off when handled. Finally, using professional quality acrylic paints gives your creation a more vibrant color after drying which can also make it look more eye-catching and durable overall.
Step 5: Let the paint dry completely
It is important to let the paint dry completely before using Crayola Air Dry Clay in order to ensure that the clay piece maintains its structural integrity and durability. Without adequate drying time, the air-dry clay may not fully harden and may be more prone to cracking or breaking upon completion. Applying a sealer once the project is complete helps protect it from further damage.
Step 6: Apply a finish to your creation to protect it from damage
The best way to finish a project made with Crayola Air Dry Clay is to use a sealant. While other methods may also be effective, they will not last as long as when using a sealant. Before sealing the project, it is important to make sure that the clay has fully hardened. To ensure that this occurs, acrylic paint can be added and two thin coats are better than one thick coat. Once the clay has dried thoroughly (check by touch or smell), carefully remove it from the drying area and take it back to your work area before sealing with Mod Podge or another product of your choice. Other decorations such as beads and sequins can also be attached using glue for a more intricate final product.
FAQs
What is air-dry clay?
Air-dry clay is a type of clay that hardens without the need for baking or firing. It is easy to manipulate and shape, making it suitable for a range of projects. It takes approximately 24 hours to set after being left at room temperature, depending on the thickness of the piece. Air-dry clay can be coloured with acrylic paint and sealed with a glaze for resistant to water. This type of clay is suitable for children aged three years and above who are interested in crafting or sculpting. Compared to ceramics, air-dry clay takes less time, money, and resources to make sculptures. The versatility of this material also makes it perfect for painting; any type of paint such as acrylics or tempera paints can be used on air-dry clay projects with great results.
What are the benefits of using air-dry clay?
The use of air-dry clay offers many advantages over traditional kiln-fired clay. Air dry clay is less likely to crack than other types of clay, making it more durable and able to withstand wear and tear. Additionally, thin additions like legs, fingers, and ears can be more securely attached to a handcrafted piece made with air dry clay. To make the pieces even sturdier, one can also mix air-dry clay with other materials such as wood. Slipping and scoring the pieces before they are left to harden can also help avoid having them break off later on. For those looking for an easy option that will yield a lasting result, Amaco Marblex grey clay is often recommended as one of the best types of air-dry clays available on the market today.
What are the different types of air-dry clay?
Air-dry clay is a type of clay that can be molded without requiring a kiln or oven to harden. This type of clay is typically softer and easier to work with than traditional clays, but may develop a rougher texture as it dries. To soften earthen clays, they should be molded right out of the package. Air-dry clays usually have a light and fluffy texture and any stray paper fibers can easily be smoothed out with sanding once the clay has dried. Crayola air-dry clays fully harden after drying, making them an ideal choice for crafting projects that require durable results.
What are the best methods for drying air-dry clay?
Using a dehydrator or desiccant chamber is one of the best methods for drying air-dry clay. Another option is to let it air dry in a well-ventilated area, although this may take longer. Additionally, using a hairdryer on low heat can speed up the process and help make sure that the clay fully hardens before use.
What are the most common problems with air-dry clay?
One of the most common problems people experience when working with air-dry clay is cracking. This can be caused by sculpting and using the clay too quickly, resulting in it drying too fast. To fix this issue, ceramic artists should let their pieces dry slowly. Small cracks can be smoothed over with slip or fingers and larger cracks may need to be filled in with more air-dry clay before letting it dry again. If there are rough edges, they can also be removed through sanding. Crayola’s air-dry clay does fully harden once it is dried properly and any cracks have been attended to.
What are the best tips for working with air-dry clay?
Working with air-dry clay is easy, but it needs a few minutes of warmth to become malleable. The versatility of air-dry clay allows it to be used for many different projects, such as handbuilding. It is important to avoid adding too much water when working with the clay and take care when building with thin pieces that can easily break off. A good technique for working with air-dry clay is similar to regular clay; use slip and score techniques that help prevent cracking and add mixed media pieces which make them less likely to break off.
What are some of the most popular air-dry clay projects?
Air-dry clay is a great material for craft projects because it’s easy to manipulate and shape, making it perfect for smaller detail work. Popular projects made with air-dry clay include sculptures, figurines, jewelry pieces, home décor items and other decorative items. The Crayola Air Dry Clay is a large resealable tub ideal for larger projects. Creative Paperclay is another popular air-dry clay that is recommended for people who can’t find the Crayola Clay. Make sure to glaze your finished project to finish and protect it!
What are the different ways you can color air-dry clay?
One way to color air-dry clay is to add a small amount of paint and mix it until the desired hue has been achieved. Additionally, one can slowly add more paint until the desired shade is obtained. When working with air-dry clay, it’s important to do so quickly because it dries fast. To fully achieve the ideal color, acrylic paints are best as they don’t crack or fade over time. Lastly, one can also simply paint directly onto the wet clay for quick and easy coloring results.
What are the different ways you can seal air-dry clay?
It is possible to seal air-dry clay using a variety of spray-on acrylic sealers. These sealers vary in their properties and purpose, allowing for a range of options when it comes to preserving the durability and hardness of air-dry clay.
How long does air-dry clay take to dry?
Air-dry clay can take anywhere from 24 to 72 hours to dry, depending on the thickness of the clay and environmental conditions. Thick clay will take longer to dry than thinner clay, which may be dried in approximately 48 hours. Air-dry clay should be placed near an open window or in direct sunlight or a warm environment to speed up the drying process. It is important for air-dry clay pieces to be completely dried before being removed from their moulds; this could take up to one week. Rotating the piece regularly helps ensure it dries quickly and properly.