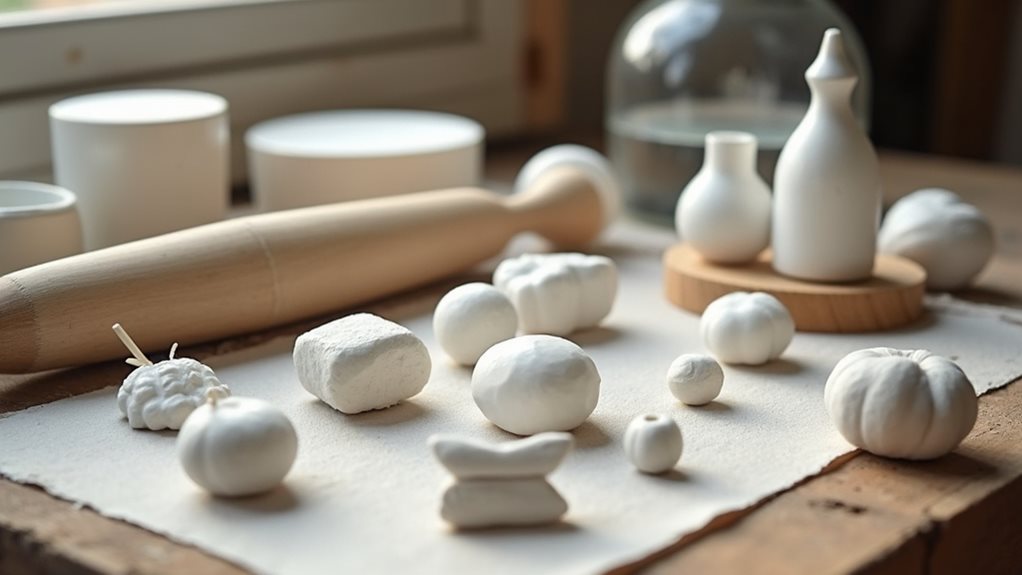
Air dry clay is a versatile medium that lets your creation and sculpt anything you want, after drying you might be wondering if you should seal the clay or paint it.
Air drying clay should be painted before being sealed. If you seal air dry clay before decorating you will be unable to paint your work, it will be ‘sealed’ against moisture, including your paints.
Getting the order correct when creating your piece is important, just follow these simple steps and you’ll be creating amazing clay sculptures in no time.
Getting started with air dry clay
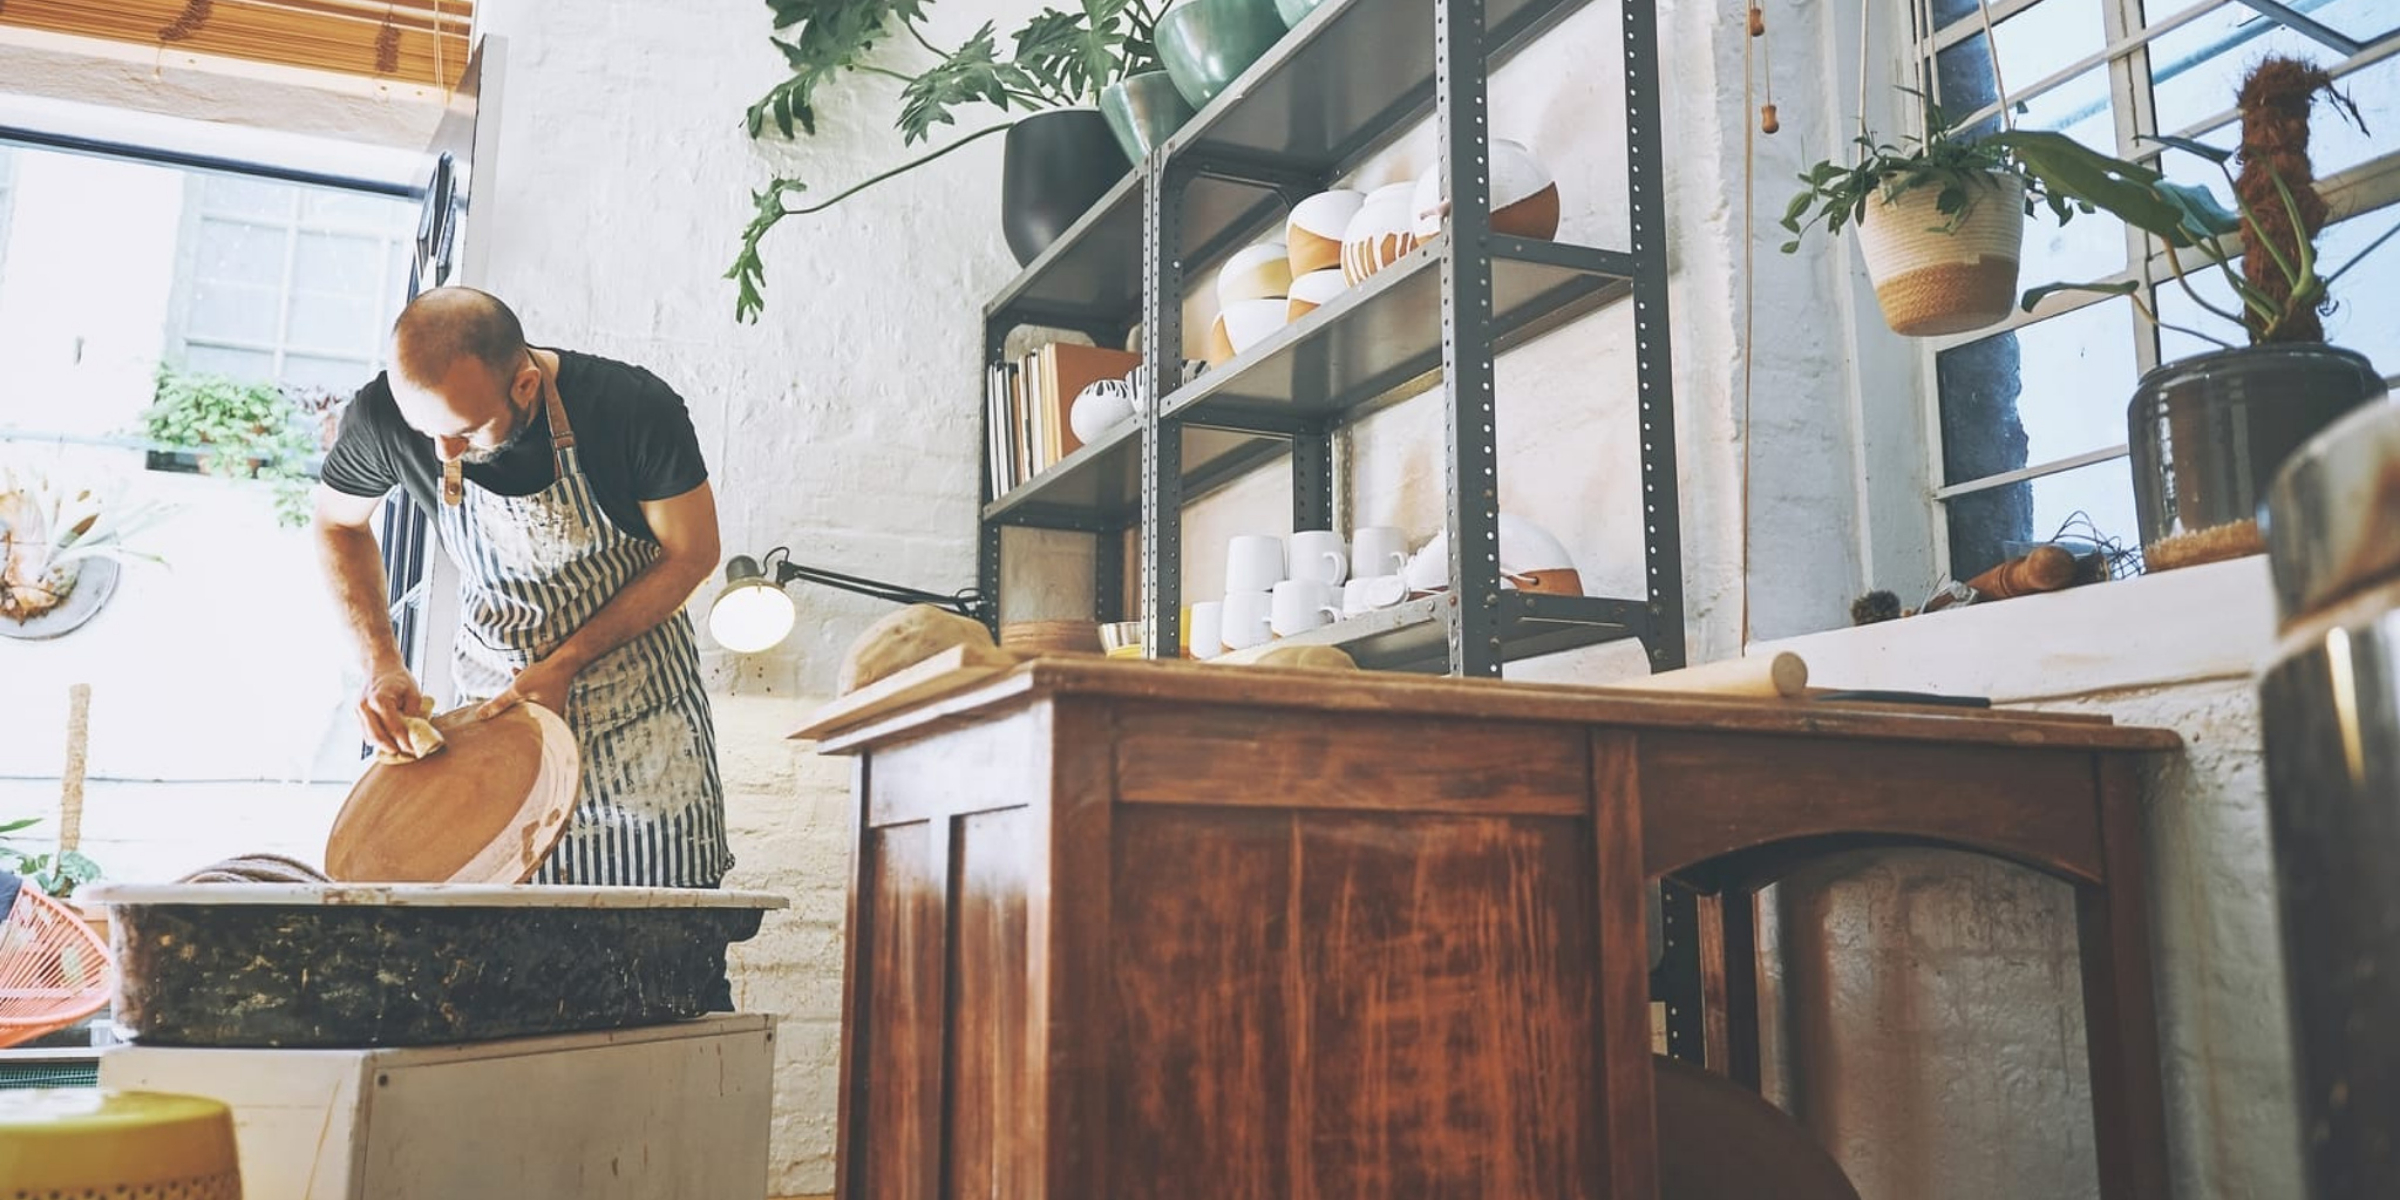
Get your workspace ready, make sure you have your clay and any tools you want to use set up. Put some music on, turn your mobile to silent and prepare to relax and enjoy the creative experience.
It is useful to mentally picture the final piece you’d like to create, or have a photo or prop to hand to give you a visual reference if you’re looking to replicate an item.
It is also useful to think about the different shapes of the item you are creating, how will they be positioned and assembled, which elements do you need to create first. This way you can get a feel for how much clay you need, or whether there’s enough space in an area to position components as required.
When sculpting with air drying clay I find it easiest to work with small amounts at a time, taking only what I need out of the packaging and ensuring the package is sealed up to prevent moisture escaping and the clay drying out before it has been used.
Drying Process
Once you have finished your design you must leave it to completely dry out. Unlike regular clay, you don’t use a kiln to fire and dry your work out, instead you leave it somewhere safe but exposed to air and this will automatically result in the drying process.
Air drying clay should be left for at least 24 hours to dry, but will likely need longer. You must let it try out before painting or sealing to ensure all the moisture is gone.
While it is possible to speed up the drying process (for example using a hair dryer or oven) I recommend leaving it to dry out naturally, to ovoid accidentally causing damage to your clay creation.
Paint the dry clay sculpture
Once the wet clay has fully dried it’s time to add a splash of color!
There are a range of paint options, including paints for air dry clay. I recommend using acrylic paint on your dry clay projects, never attempt to paint the project if it’s wet.
Of course painting is optional, you might want to leave your creation the color it dries, and this is often the case if you’ve used different colored clays.
Even if you like the natural color you might decide to add a little extra splash of a vivid color, or paint on your own design. Grab your paint brush and acrylic paints and get creative.
At this stage your work still has porous surfaces, I’d recommend not to mix your paints with water as this can introduce damaging moisture to your work. Mixing the paints with each other is fine, just don’t add water.
Once finished set aside your acrylic paint and leave your work to dry, again this will take at least 24 hours.
Seal the sculpture
With your work dried, painted and dried once more it is now time to seal your project. As with paints, do not try to seal damp clay, if you do so you could trap moisture inside your work which can cause damage in the long run.
There are different ways to seal your work, to keep things simple I recommend using a varnish you can paint on to the clay surface (rather than a spray).
Depending on the look you want you can pick from a matter, silk, or glossy finish. Ensure you have a clean surface before varnishing as any dirt or dust will be trapped in the varnish once painted.
Sealing your work gives it a shield and prevents damage from moisture, be sure to varnish every piece of clay you can, don’t leave any cracks or patches unvarnished else you’re leaving a chink in the shield.
This article outlines the steps to create an air drying clay sculpture, these simple steps will help you create amazing sculptures and are a great introduction into this wonderful medium. Don’t be disheartened if your first try isn’t a finished product, these simple steps are easy to follow and get you started with creating beautiful pieces for less!