So, you’ve decided to dive headfirst into the incredibly accessible and satisfying realm of air dry clay? Excellent choice! This versatile medium opens up a universe of creative possibilities, from whimsical sculptures and delicate decorations to practical little trinkets. Unlike its kiln-fired cousin, air dry clay doesn’t require special equipment or a trip to a studio; it hardens naturally when exposed to air, making it the perfect medium for beginners to explore their artistic flair right at home. But like any new craft, a little guidance can go a long way in ensuring your first forays are enjoyable and successful. This guide is designed to equip you with all the essential knowledge to get started, from choosing your clay to transforming your creations into polished masterpieces. Get ready to knead, shape, and discover the magic of air dry clay!
Understanding Your Medium: What is Air Dry Clay, Really?
Before you even dream of molding your first masterpiece, it’s crucial to understand what you’re working with. Air dry clay is essentially a fine-grained, natural clay that has been formulated to harden when exposed to the air over a period of time. This hardening process is a chemical reaction between the clay components and the oxygen in the atmosphere, rather than a firing process that permanently vitrifies ceramic clay. This fundamental difference is what makes it so incredibly user-friendly for beginners.
The Science Behind the Set
The primary components of air dry clay are natural minerals like kaolin, bentonite, and feldspar, mixed with a binder that holds them together. When the clay is wet, these particles are suspended and pliable. As the water evaporates – which is the “drying” part of air dry clay – the particles begin to settle closer together. The binder then cures as it’s exposed to air, creating a solid, durable structure. This is why it’s so important to let it dry out completely; any remaining moisture will continue to evaporate, potentially leading to shrinkage and cracking.
Different Types for Different Needs
While we’re focusing on beginners, it’s worth noting that there are various types of air dry clay available. For your initial adventures, you’ll want to gravitate towards the “all-purpose” or “modeling” varieties. These are generally softer, easier to work with, and less prone to cracking than some of the more specialized types. Brands like Crayola Air Dry Clay and DAS Air Hardening Clay are excellent starting points. They are readily available, relatively inexpensive, and designed with ease of use in mind. You might encounter some clays marketed as “self-hardening” or “polymer clay,” but for air dry, stick to those clearly labeled as such. Don’t worry about the finer distinctions for now; focus on getting your hands dirty!
The Essential First Steps: Getting Your Clay Ready to Play
Even the best quality air dry clay won’t behave perfectly straight out of the package. To ensure you have a smooth and enjoyable sculpting experience, there are a few absolutely critical preparatory steps you must take. Think of this as stretching before a workout; it primes your clay for action and prevents future problems.
“Waking Up” Your Clay: The Kneading Ritual
This is arguably the most important tip you’ll receive as a beginner. Before you begin shaping, you must “wake up” your clay. This involves a simple but thorough kneading process. Grab a portion of clay and start pressing, folding, and stretching it. You’re aiming for about 2-3 minutes of consistent manipulation.
- Why is this so important? When clay sits in its packaging, the moisture can become unevenly distributed, and air bubbles can get trapped within its structure. Kneading redistributes the moisture, creating a consistent, pliable texture. More importantly, it helps release those trapped air bubbles. These seemingly tiny air pockets can expand during the drying process, leading to unsightly cracks and even structural weaknesses in your finished piece. Think of it like inflating a balloon; if there are weak spots, it’s more likely to burst. Kneading strengthens your clay from the inside out.
- How to tell if it’s ready? Your clay should feel smooth, pliable, and consistent in texture. It should no longer feel stiff or crumbly, nor should it feel overly sticky. If you press your thumb into it, the indentation should hold its shape without collapsing or showing cracks.
Storing Your Clay: Keeping it Fresh for Later
You’re not going to use all of your clay in one sitting, and to prevent it from drying out prematurely, proper storage is key. Once you’ve sealed your project or packed away unused clay, ensure it’s airtight.
- Airtight is paramount: Wrap your clay tightly in plastic wrap, ensuring there are no gaps where air can enter. Then, place the wrapped clay into an airtight container, like a resealable plastic bag or a sturdy plastic box.
- Keep it cool and dry: Store your wrapped clay in a cool environment, away from direct sunlight or heat sources. A pantry or a cupboard is usually ideal. If you live in a very hot climate, consider storing it in the refrigerator (though let it come to room temperature before use). Properly stored, unopened clay can last for months, and opened clay, if well-sealed, can last for several weeks.
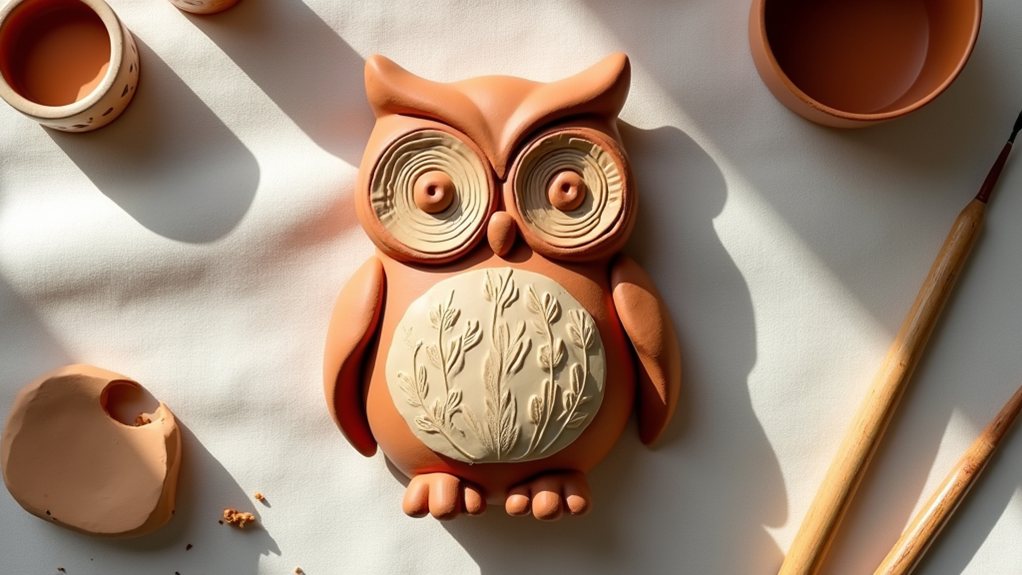
Bringing Your Ideas to Life: Shaping and Sculpting Techniques
With your clay prepped and ready, it’s time for the fun part: shaping! Air dry clay is remarkably forgiving, allowing you to experiment with various techniques to bring your creative visions to life. Don’t be afraid to try different methods; the beauty of air dry clay is that even if a piece doesn’t turn out exactly as planned, it’s usually easy to rework or start again.
Basic Shaping Methods
Many basic sculpting forms can be achieved with simple hand-building techniques.
- Pinch Pots: Start with a ball of clay and use your thumb to create an indentation. Gently pinch and rotate the clay between your thumb and fingers to open up the cavity and shape the walls. This is a fantastic way to create small bowls, cups, or decorative shells.
- Coil Building: Roll out long, snake-like coils of clay. You can then stack these coils on top of each other to build up structures, or flatten them and use them as decorative elements. Use the “score and slip” technique (explained later) to securely attach coils to each other and to the base of your piece.
- Slab Construction: Roll out a flat sheet of clay (a slab) using a rolling pin or a pasta machine. You can then cut out shapes from this slab and assemble them using scoring and slipping to create boxes, houses, or geometric forms.
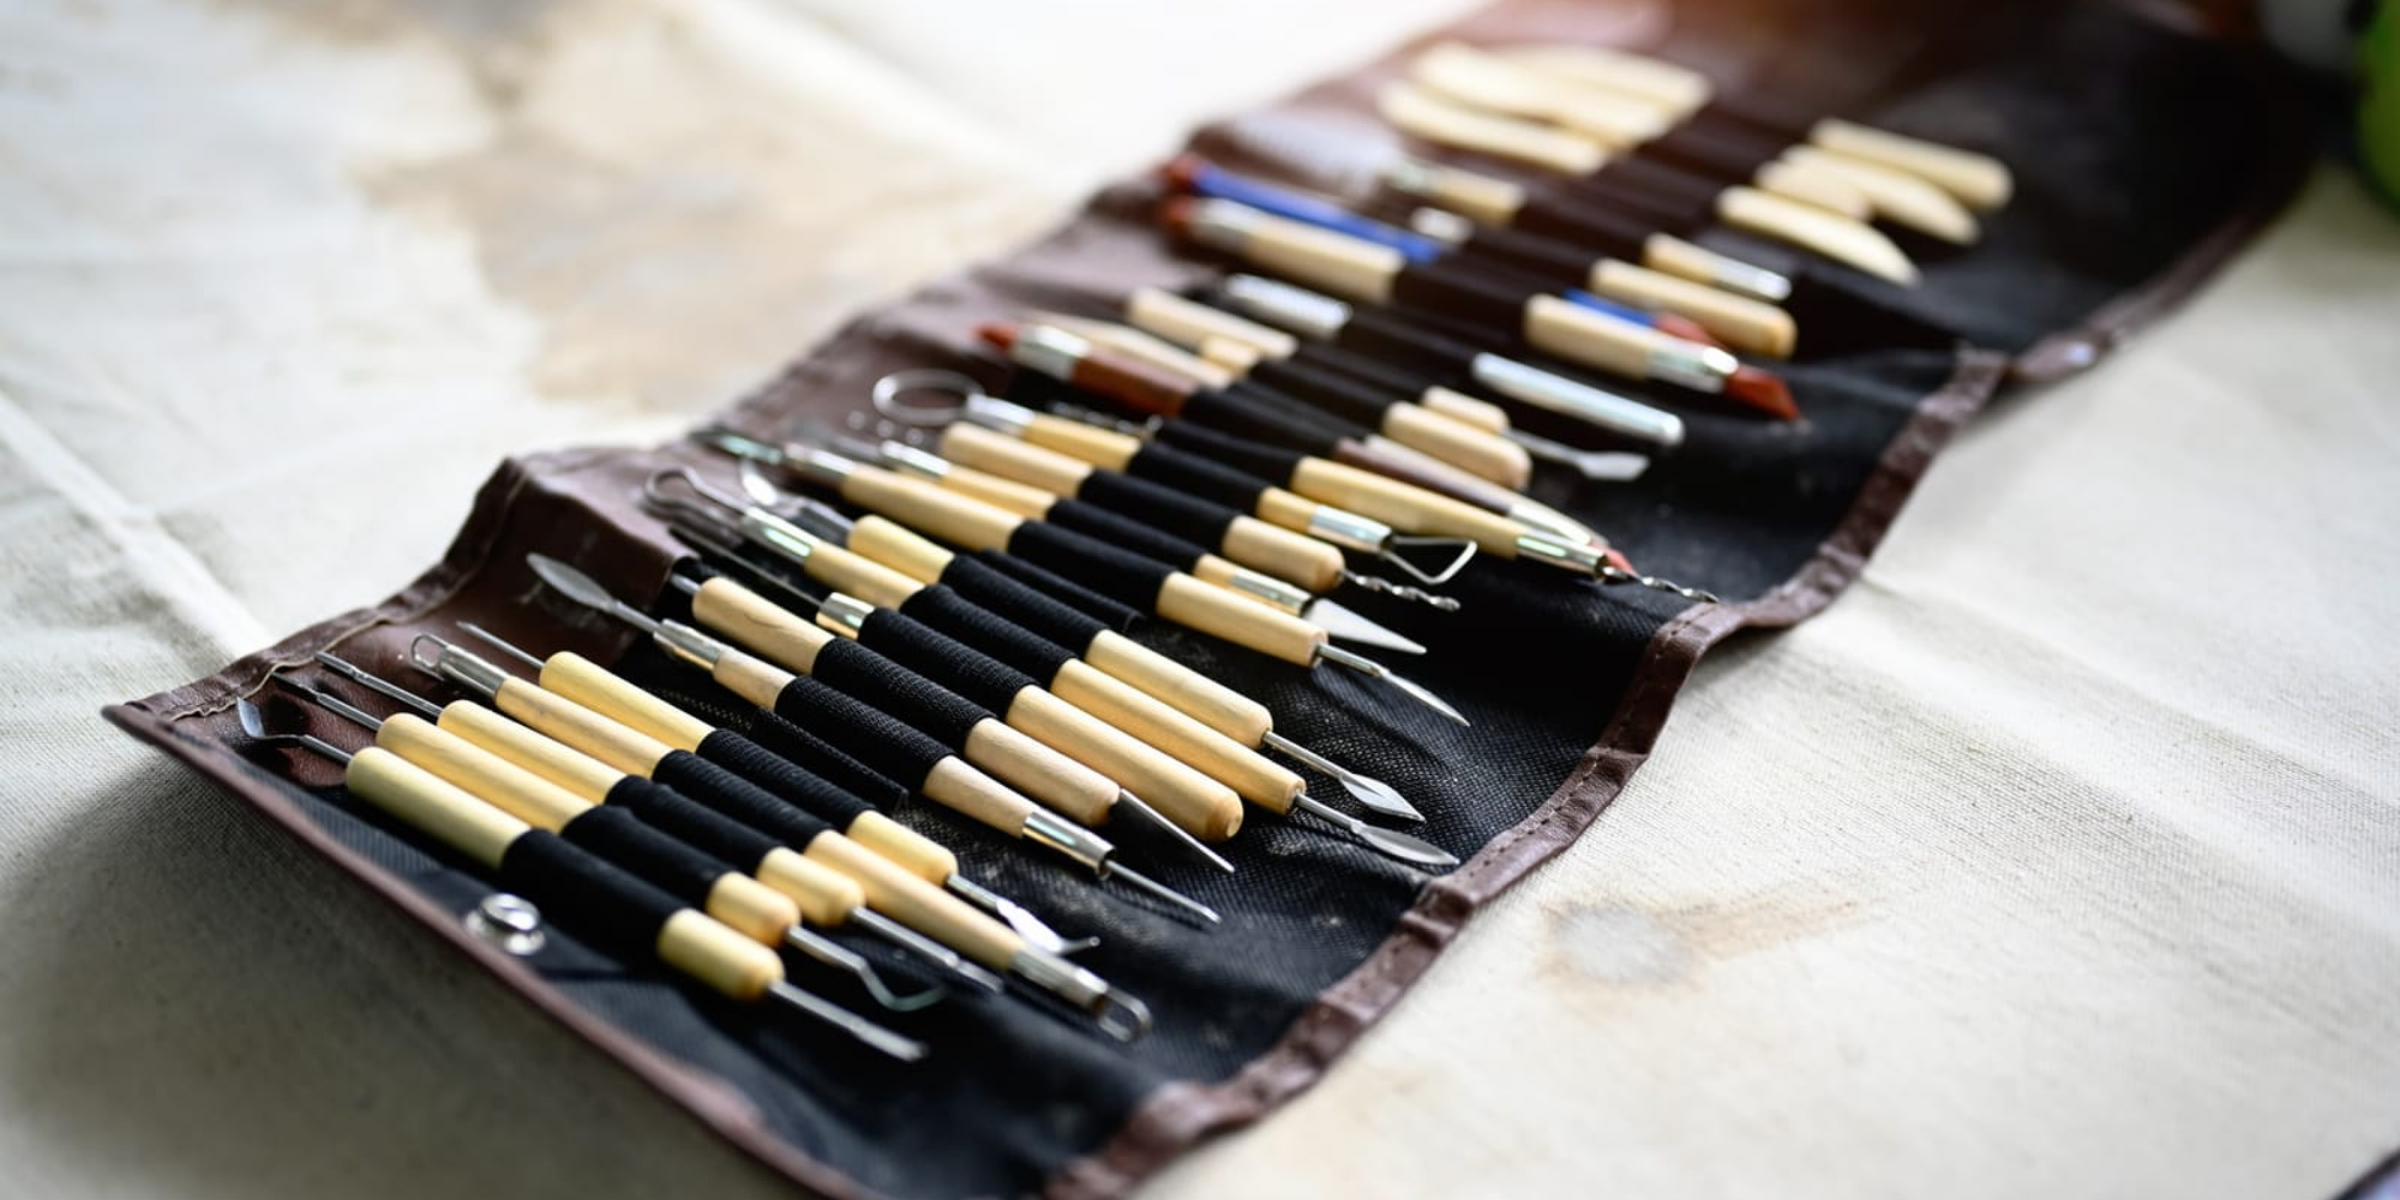
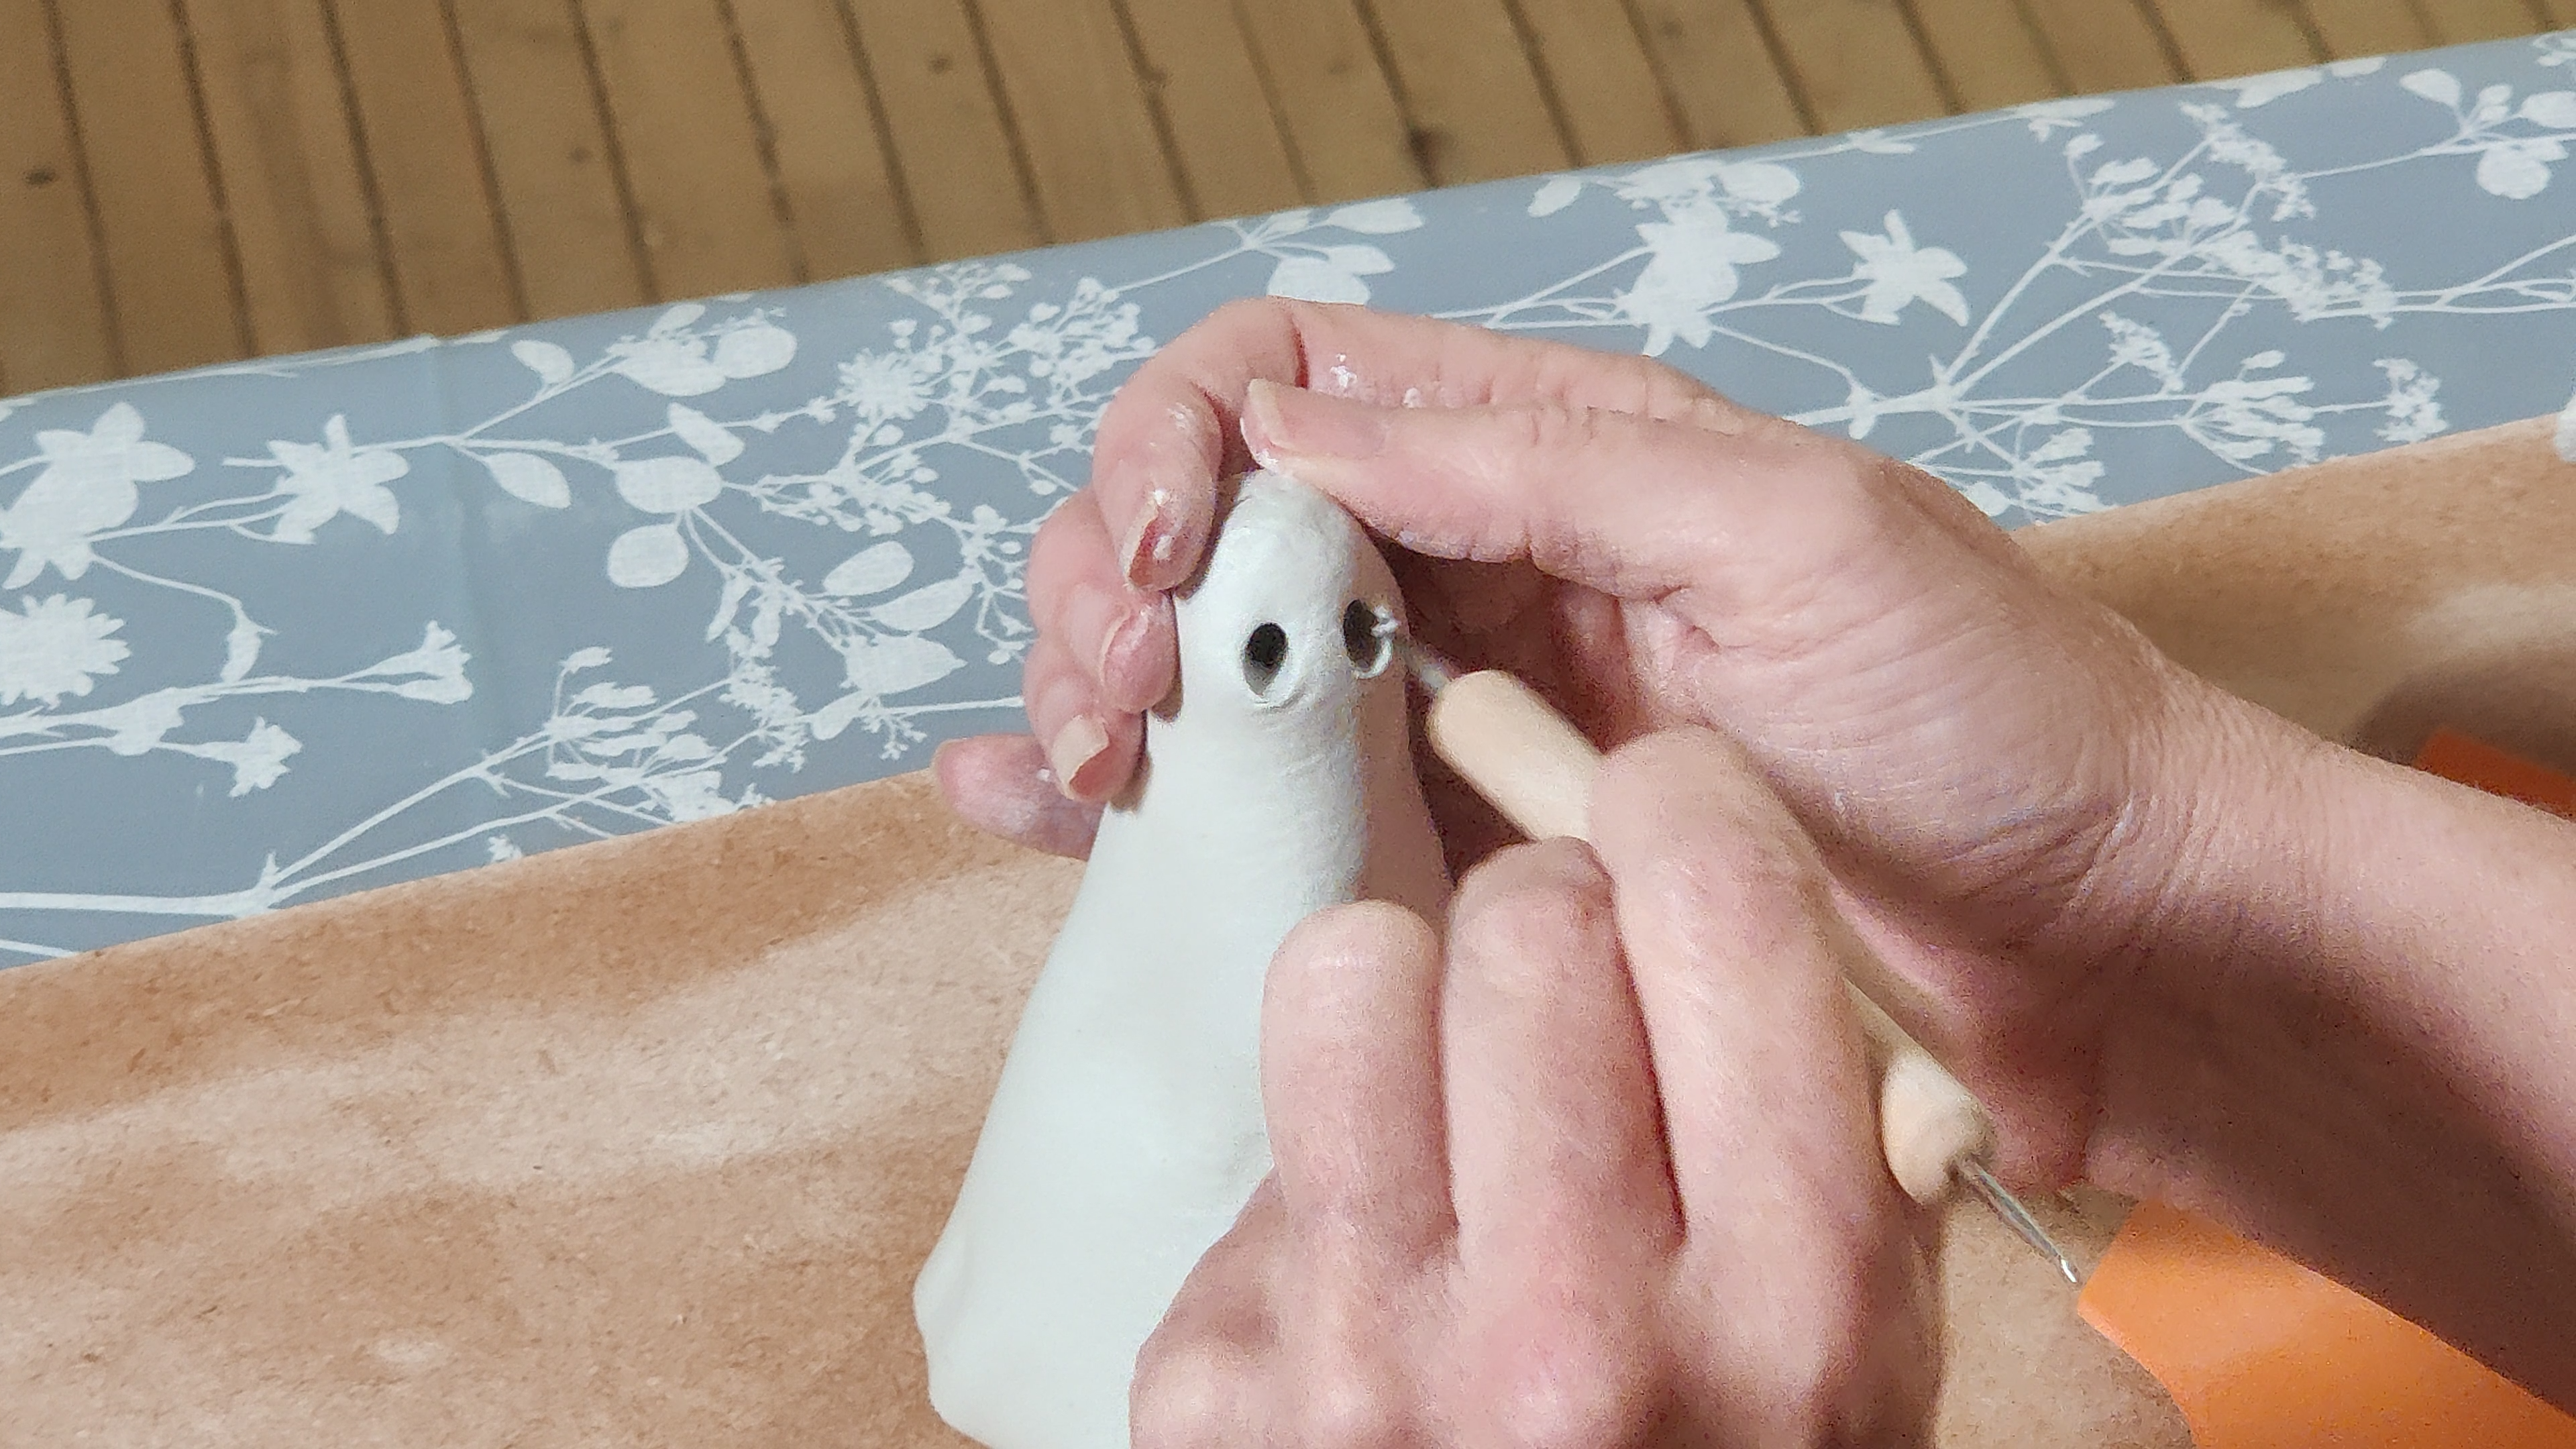
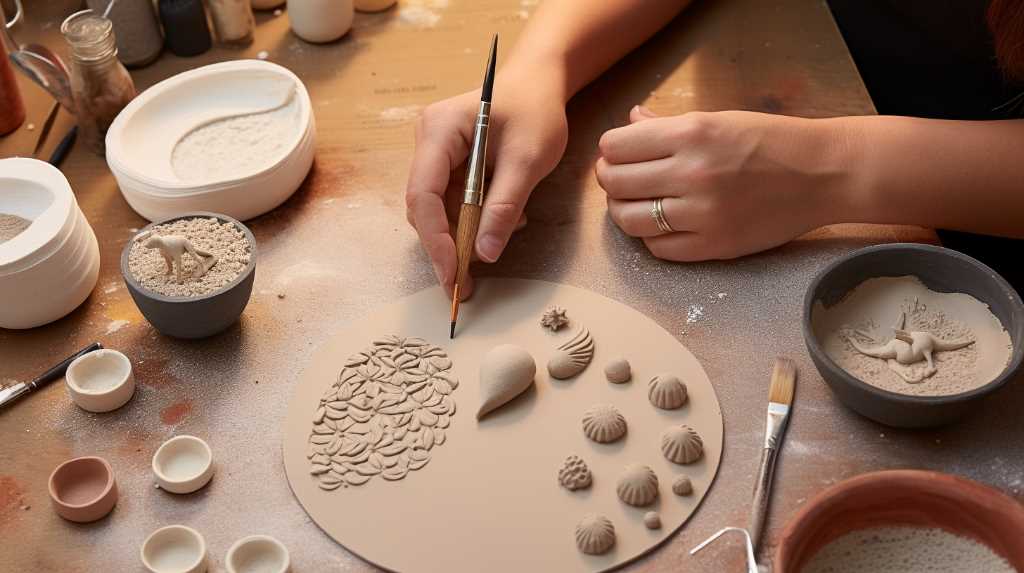
- Modeling and Sculpting: For more detailed work, you can use your hands and basic sculpting tools to press, pull, smooth, and carve the clay. Small wooden tools, plastic sculpting tools, or even household items like toothpicks and butter knives can be surprisingly effective for adding texture and detail.
The Magic of Joining: Scoring and Slipping
When you need to attach two pieces of air dry clay together, whether it’s a handle to a mug, a lid to a pot, or two slabs to form a box, you absolutely must use the “scoring and slipping” technique. Simply pressing two dry pieces together won’t create a strong enough bond, and they’re likely to separate during drying or with gentle handling.
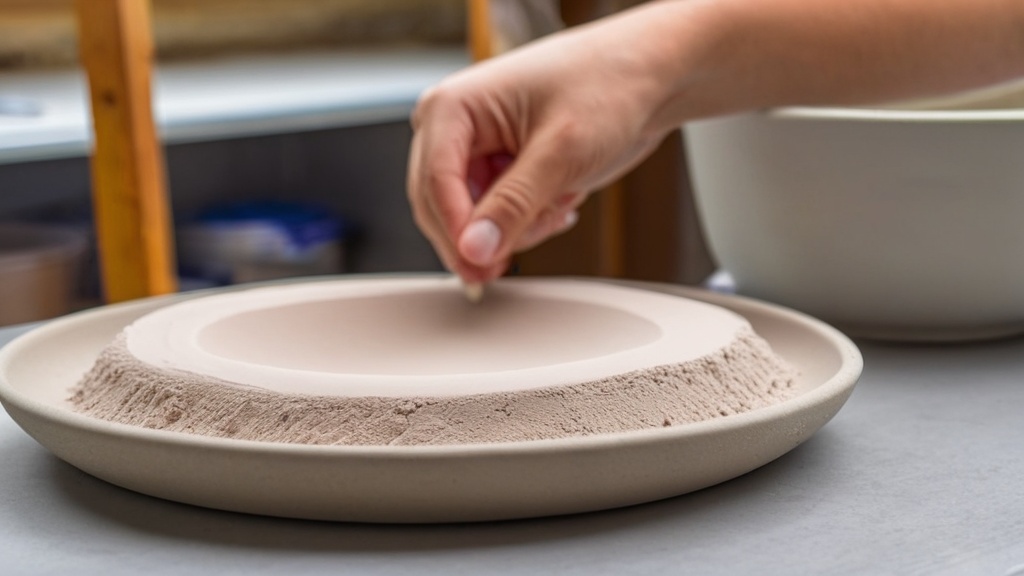
- Scoring: This involves creating a scratched or roughened surface on both pieces of clay that will be joined. You can use a sharp tool like a craft knife, a fork, or a dedicated scoring tool. The goal is to create a texture that the slip can adhere to.
- Slipping: Slip is essentially a thin, watery paste made from your air dry clay. To make it, take a small amount of clay and mix it with water until it reaches a consistency similar to yogurt or thick cream. You can adjust the consistency by adding more clay or more water. Think of it as a glue for your clay.
- Applying and Joining: Apply a thin layer of slip to the scored surfaces of both pieces. Then, press the two pieces together firmly. Hold them in place for a few moments to allow the slip to begin to adhere. Once joined, use a damp sponge or a sculpting tool to smooth over the seam. This not only strengthens the bond but also creates a seamless finish, making it look like the pieces were sculpted from a single block. This technique is vital for the structural integrity of your creations.
The Patience Game: Understanding and Managing Drying
This is where the “air dry” aspect of your clay truly comes into play, and understanding proper drying is crucial to prevent disaster. Air dry clay hardens as it loses moisture to the atmosphere. This process needs to be managed carefully to ensure an even and successful outcome.
Ideal Drying Conditions: Less is More
The key to successful air drying is consistency and avoiding extremes.
- Room Temperature is Your Friend: Always dry your creations at a stable room temperature. Avoid placing them in direct sunlight, near heaters, or in drafty areas. Rapid drying can cause the outer layers to harden too quickly while the inner layers are still moist. This differential drying creates tension, leading to cracks and warping.
- Breathable Surfaces are Essential: Place your drying pieces on surfaces that allow air to circulate freely around them. Cardboard, wire racks (like cooling racks for baking), or even a piece of parchment paper are excellent choices. Avoid plastic sheets or non-breathable surfaces, as they can trap moisture underneath, leading to a damp underside and potential mildew issues.
Drying Time Expectations: Be Realistic
The time it takes for your air dry clay to fully harden will depend on several factors, including the thickness of your piece, the humidity in the air, and the type of clay used.
- Small and Thin: For small, thin pieces (like beads or flat decorations), you might find they are dry and hard within 24 hours.
- Thicker Projects: For projects with significant thickness, such as bowls, sculptures with substantial masses, or pieces where the clay is 1/4 inch (6mm) or thicker, you should expect drying times of 48 to 72 hours, and sometimes even longer.
- The Flip Factor: To ensure even drying and prevent moisture trapping on the underside, it’s a good idea to periodically turn your pieces. After the initial 8-12 hours of drying, gently flip your piece over. This allows the underside to receive ample airflow. You can also place thicker pieces on wire racks for enhanced air circulation all around.
Speeding Up the Process (Safely)
While patience is a virtue, there are ways to safely accelerate the drying process if you’re on a deadline, but never use an oven or a hairdryer like you would with polymer clay.
- Flip and Rotate: As mentioned, flipping pieces after 8-12 hours is a simple and effective way to speed up drying.
- Dehumidifier or Fan (No Heat!): Placing your drying pieces in a room with a dehumidifier can significantly speed up the process by removing moisture from the air. You can also use a fan, but ensure it’s set to a cool setting and not blowing directly onto the clay, which could still lead to too rapid drying. The goal is to gently encourage evaporation.
- Wire Racks for All: Elevating your pieces on wire racks, even for thinner items, promotes better airflow and can contribute to faster drying.
The Final Touches: Finishing and Preserving Your Creations
Once your air dry clay has completely hardened and feels bone-dry to the touch, you’re nearing the end of the transformative process. Now is the time to refine your piece and prepare it for display or use.
Smoothing and Refining: The Sanding Stage
Air dry clay, especially if it has been handled extensively, can sometimes have a slightly rough or uneven surface. Sanding is your secret weapon for achieving a wonderfully smooth finish.
- Start Coarse, Finish Fine: Begin with a medium-grit sandpaper, such as 240-grit. Gently sand away any rough edges, bumps, or unwanted textures. Work your way up to finer grits, like 400-grit, to achieve a velvety smooth surface.
- Dust Removal: After sanding, it’s important to remove all the dust. A dry brush or a damp cloth will do the trick. Ensure the piece is completely dry again before moving on to the next step.
Protection and Decoration: Sealing and Waterproofing
Air dry clay, in its raw, unsealed state, is porous. This means it can absorb liquids, making it susceptible to staining or damage if exposed to moisture. To protect your work and enhance its appearance, it’s crucial to seal it.
- Varnish, Sealant, or Medium: There are several options for sealing your air dry clay creations.
- Clay Varnish: Specifically designed for clay projects, these offer excellent durability and come in various finishes (matte, satin, gloss).
- Acrylic Gloss Medium: This is a versatile art supply that can be used as a sealant for air dry clay. It dries clear and provides a protective, water-resistant layer.
- Mod Podge: A popular craft sealant, Mod Podge also works well for air dry clay. It provides protection and comes in different finishes.
- Applying the Sealant: Apply your chosen sealant in thin, even coats. Allow each coat to dry completely before applying the next. You might need 2-3 coats for adequate protection, especially if your piece will be handled frequently or exposed to potential moisture.
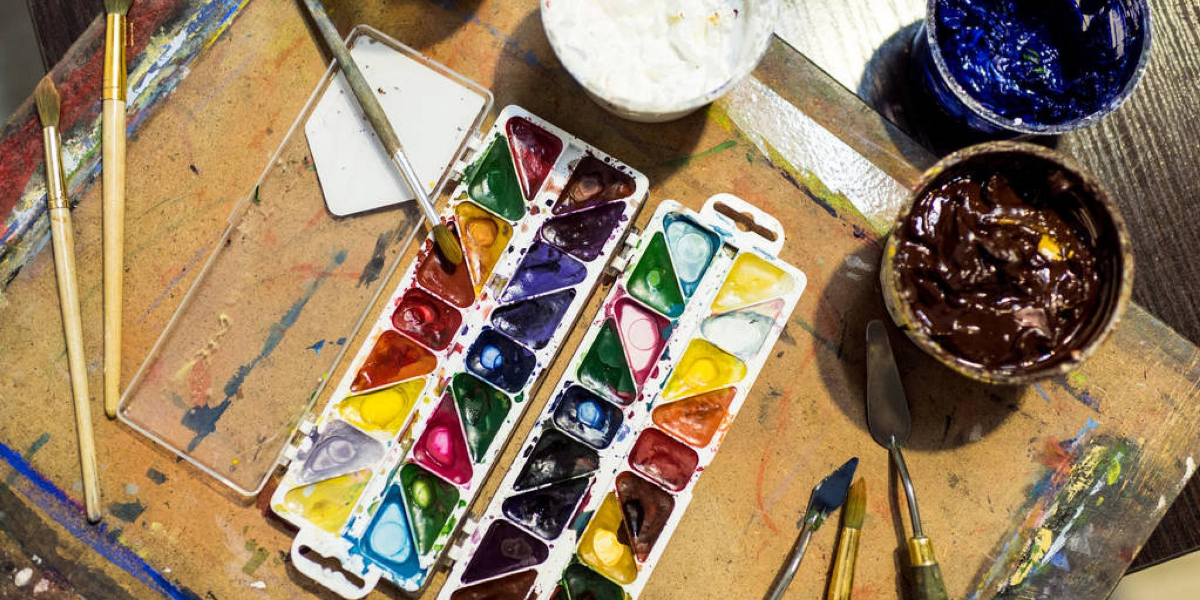
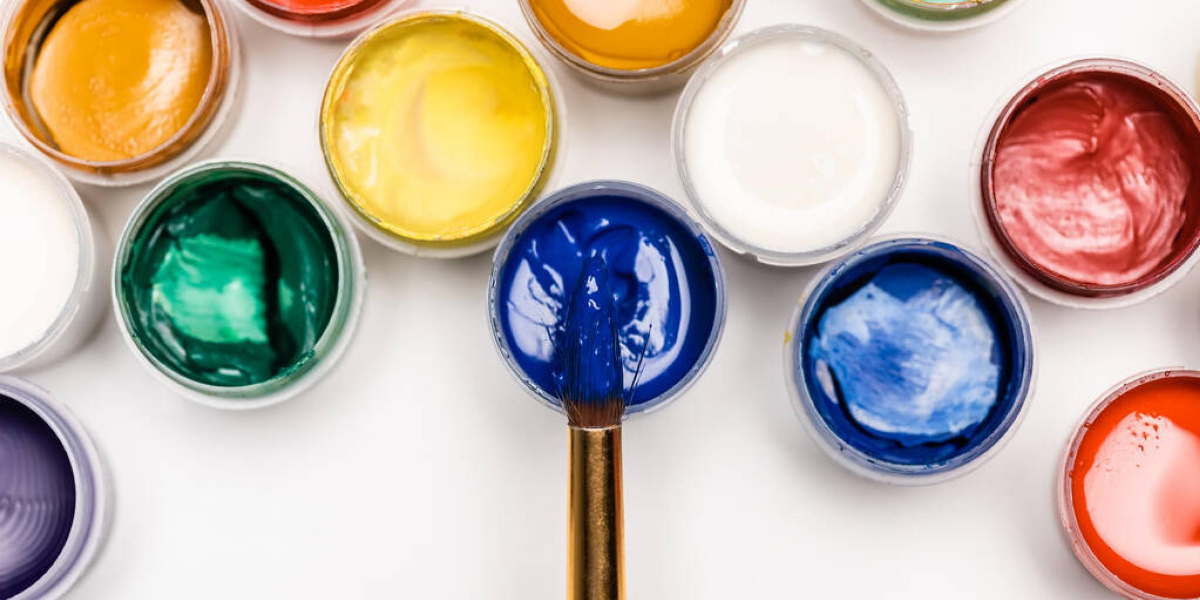
- Beyond Sealing: Painting and Decorating: Before sealing, you have the option to paint your creations. Water-based acrylic paints are ideal for air dry clay. Once the paint is dry, you can then apply your sealant over the top to protect the paint and the clay.
Your Toolkit for Success: Essential Supplies
You don’t need an elaborate setup to start with air dry clay, but having a few basic tools will significantly enhance your experience and the quality of your results.
The Clay Itself: Choosing Wisely
As mentioned earlier, for beginners, opting for readily available and user-friendly clays is the best route.
- Budget-Friendly and Accessible: Brands like Crayola Air Dry Clay and DAS Air Hardening Clay are excellent starting points. They are widely available in craft stores and online, are reasonably priced, and offer good workability for beginners. Don’t spend a fortune on your first attempts; focus on learning the techniques.
Tools for Shaping and Detailing
Many everyday items can double as excellent sculpting tools.
- Your Hands: Your most important tools! Learn to use the pressure and dexterity of your fingers to mold and shape the clay.
- Basic Sculpting Tools: A set of inexpensive plastic or wooden sculpting tools will provide you with a variety of shapes for smoothing, cutting, carving, and adding texture.
- Household Items:
- Rolling Pin: For creating slabs and ensuring even thickness.
- Craft Knife or Exacto Blade: For precise cutting and detailing.
- Toothpicks and Skewers: For fine details and creating small holes.
- Damp Sponge: Essential for smoothing surfaces and cleaning up.
- Water: For keeping the clay moist while you work and for making slip.
- Bench Scraper or Palette Knife: Useful for leveling surfaces and lifting pieces.
Drying and Finishing Touches
- Cardboard, Wire Rack, or Parchment Paper: As discussed, these are crucial for proper drying.
- Sandpaper: A small selection of grit sizes (240, 400) for smoothing.
- Sealant/Varnish: To protect your finished piece.
- Brushes: For applying sealants or paints.
Starting with air dry clay is a journey of discovery, and this guide has hopefully provided you with the foundational knowledge to embark on that adventure with confidence. Remember to embrace the process, don’t be afraid of mistakes (they are learning opportunities!), and most importantly, have fun! The possibilities are as limitless as your imagination.
FAQs
What is air dry clay?
Air dry clay is a type of clay that hardens without the need for a kiln or oven. It is a popular choice for beginners and children because it is easy to work with and does not require special equipment for drying.
How does air dry clay work?
Air dry clay hardens as it dries in the air, typically within 24-48 hours. It does not require firing in a kiln or baking in an oven like other types of clay. Once dry, it can be painted and sealed for a finished look.
What can you make with air dry clay?
Air dry clay can be used to create a variety of projects, including sculptures, jewelry, ornaments, and decorative items. It is versatile and can be molded, shaped, and textured to create unique designs.
How do you work with air dry clay?
To work with air dry clay, you will need to knead it to make it pliable, then mold and shape it into your desired design. It is important to keep the clay moist while working with it to prevent cracking. Once your project is complete, allow it to air dry thoroughly before painting or sealing.
What are some tips for beginners working with air dry clay?
For beginners working with air dry clay, it is important to keep the clay moist while working with it to prevent cracking. It is also helpful to use tools such as sculpting tools, rolling pins, and cookie cutters to create different shapes and textures. Additionally, experimenting with different techniques and practicing will help improve your skills with air dry clay.