Preparing Your Workspace and Materials
Before you even touch a lump of air-dry clay, a little preparation goes a long way in ensuring a smooth and successful stamping experience. Think of it as setting the stage for your creative endeavor. You’ll want to gather all your tools and materials, creating an organized and efficient workspace that minimizes interruptions and maximizes your creative flow.
Gathering Your Essential Tools
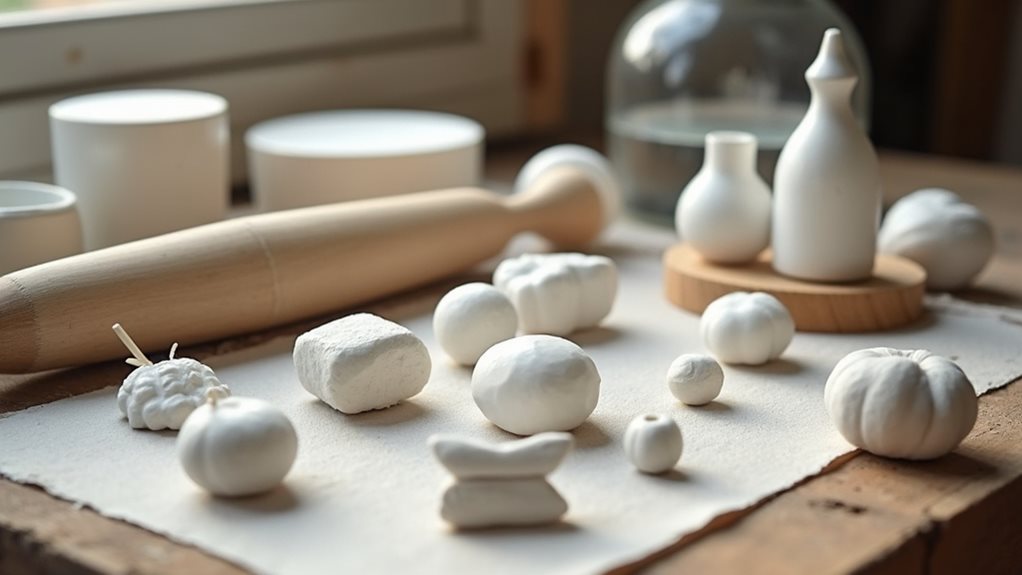
First and foremost, you’ll need your air-dry clay. There are many brands available, each with slightly different properties regarding drying time, texture, and strength. Experiment with a few to find your preference. Next, you’ll need a rolling pin or an acrylic brayer to achieve an even thickness for your clay slabs. A cutting tool, such as a craft knife or clay modeling tools, will be useful for shaping your clay pieces after stamping. Don’t forget a ruler or guides to help you maintain consistent thickness when rolling out your clay.
The stars of the show, of course, are your stamps. You can use a variety of stamps – rubber stamps, clear polymer stamps, even found objects with interesting textures. Consider the size and detail of your stamps in relation to the size of your clay projects. Smaller, intricate stamps work well for delicate pieces, while larger, bolder designs can make a statement on bigger items.
Crucially, for successful stamping, you’ll need the right ink. For stamped designs on air-dry clay, use pigment ink because it is fade-resistant and holds up better to sunlight than many other inks. Unlike dye inks which tend to soak into porous surfaces and can fade over time, pigment inks sit on the surface, offering a more vibrant and long-lasting impression. Choose colors that complement your artistic vision.
Setting Up Your Work Surface
Your work surface is another critical element. You’ll want a clean, smooth, non-porous surface that won’t stick to the clay. A ceramic tile, a glass cutting board, or a silicone mat are all excellent choices. Avoid working directly on wood or other porous materials, as the clay might adhere to them, making it difficult to lift your stamped pieces without distortion. If your surface isn’t naturally non-stick, you can lightly dust it with cornstarch or flour, or even use a piece of parchment paper to prevent sticking.
Good lighting is also essential. You need to be able to clearly see the details of your clay and your stamps to ensure precise placement and even pressure. Natural light is ideal, but if that’s not available, a well-lit lamp will suffice. Keep a small bowl of water nearby. This isn’t just for cleaning your hands; a brief dip of the stamp in water or a release agent can help prevent sticking if your clay is nonstick or slightly dry. This simple step can save you a lot of frustration, especially when working with detailed stamps.
Finally, have a clean cloth or paper towels handy for cleaning your hands, tools, and especially your stamps. You’ll want to clean stamps promptly after use so clay does not harden in the rubber, and use water or a brush to remove residue. This practice will prolong the life of your stamps and ensure clean impressions for future projects.
Preparing Your Air-Dry Clay for Stamping
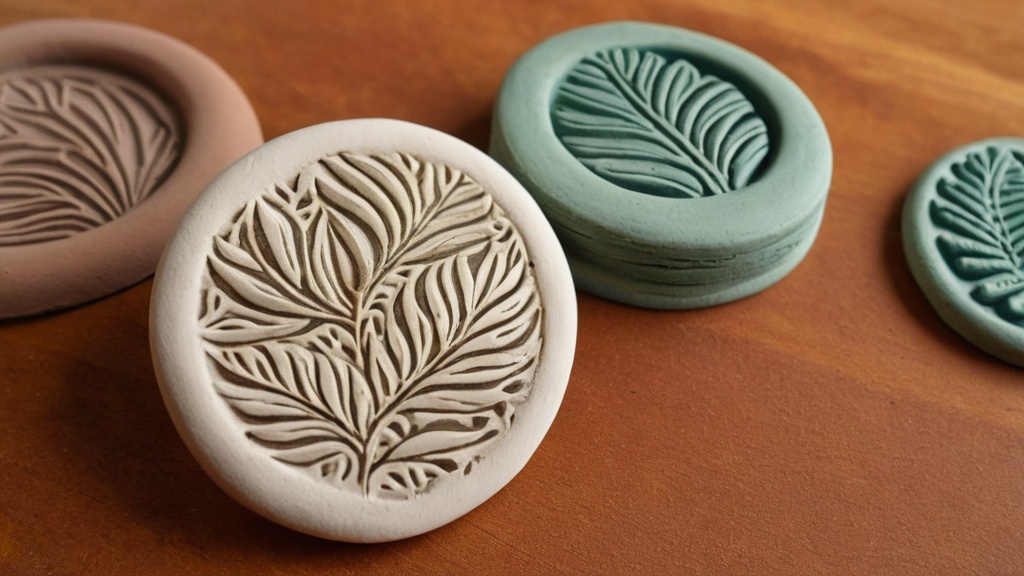
Once your workspace is ready and your tools are assembled, it’s time to focus on the air-dry clay itself. The way you prepare your clay will significantly impact the quality and clarity of your stamped impressions. Achieving the right consistency and thickness is key to beautiful results.
Conditioning the Clay
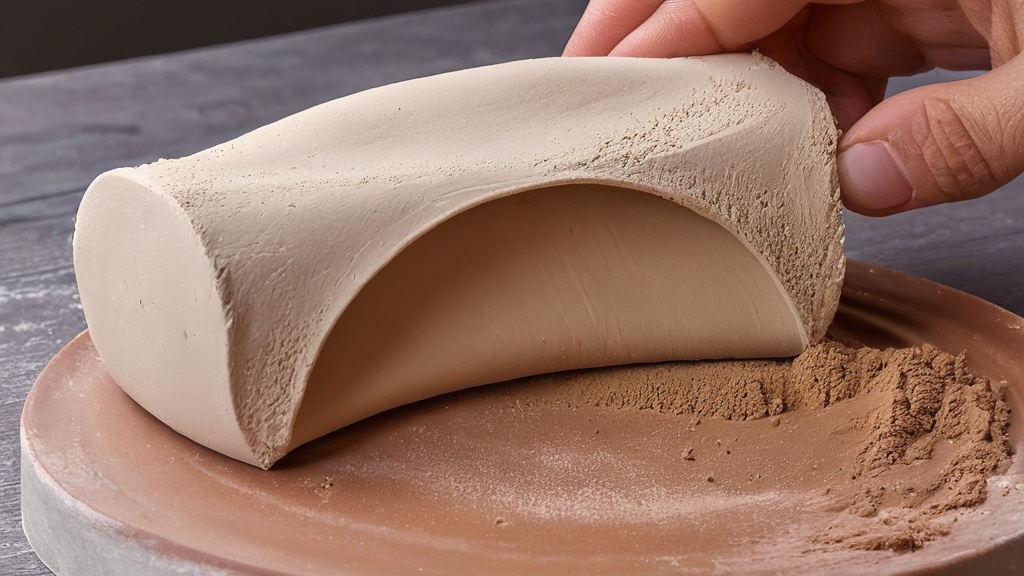
Before you even think about rolling, you need to condition your air-dry clay. Air-dry clay, especially if it’s been sitting for a while, can be a bit stiff or crumbly. Kneading it thoroughly helps to soften it, remove any air bubbles, and create a more pliable, uniform consistency. Think of it like kneading dough for bread – you’re working the material to improve its texture. Break off a manageable piece and knead it in your hands for several minutes until it feels smooth and supple. If the clay feels too dry, you can lightly mist your hands with water before kneading to incorporate a little moisture, but be careful not to add too much, as overly wet clay can become sticky and difficult to work with.
Rolling Out Even Slabs
Now that your clay is conditioned, it’s time to roll it into a slab of even thickness. This is crucial for consistent stamping. If your slab is uneven, some areas might be too thin and tear when stamped, while others might be too thick, preventing the stamp from making a clear impression. Use your rolling pin or acrylic brayer to roll the clay. To ensure an even thickness, you can use guides on either side of your clay slab, such as wooden dowels or acrylic strips of your desired thickness. For most stamping projects, a thickness of 1/8 to 1/4 inch (3-6mm) is a good starting point, but you can adjust this based on the scale of your project and the depth of your stamps.
The Critical Window for Stamping
Timing is everything when stamping on air-dry clay. You need to stamp soon after rolling the clay while it is still soft. One technique guide says the best window is within about 15 minutes before the surface stiffens. As air-dry clay is exposed to air, it begins to dry and firm up. If you wait too long, the surface will become too rigid for the stamp to make a clear impression, and you might even crack the clay when trying to press down.
The ideal consistency is firm enough to hold its shape but soft enough to accept the impression easily. If you’ve rolled out a large slab, consider cutting it into smaller, more manageable pieces before you start stamping, so you can work on sections within that crucial 15-minute window. If your clay does start to dry out a bit, you can try lightly misting it with water, but be cautious not to make it too wet, as this can affect the clay’s integrity.
Considering Clay Thickness and Impression Depth
When rolling your clay, remember to use the right clay thickness and avoid stamping too deeply. One guide recommends keeping impression depth to no more than half the slab thickness. If you press the stamp too deep into a thin piece of clay, you risk pushing all the way through, creating a hole, or significantly weakening the clay, making it prone to breakage once dry. For example, if your slab is 1/4 inch thick, your stamp impression should ideally be no deeper than 1/8 inch. This balance ensures a clear impression without compromising the structural integrity of your finished piece.
Mastering the Art of Stamping
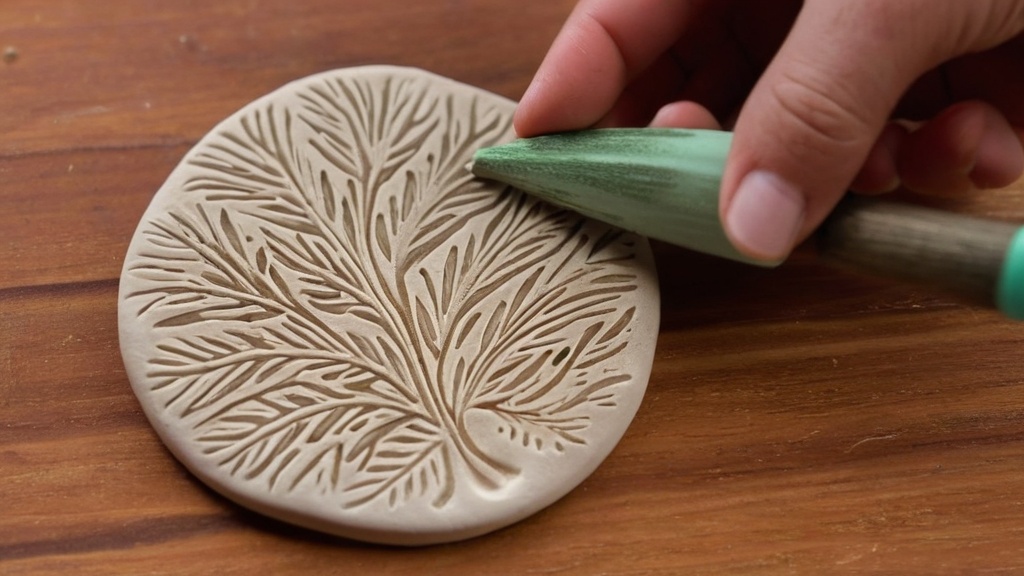
With your clay perfectly prepared and your stamps inked, you’re ready for the most exciting part: bringing your designs to life. This section will guide you through the process of applying stamps to your air-dry clay, focusing on techniques that yield crisp, beautiful impressions.
Inking Your Stamps Properly
The way you ink your stamp is just as important as how you apply it to the clay. Since you’re using pigment ink – remember, it’s fade-resistant and holds up better to sunlight than many other inks – you’ll want to ensure even coverage. If using a stamp pad, gently pat the stamp onto the pad several times, rotating it slightly to pick up ink on all parts of the design. Avoid pressing too hard, as this can force ink into the fine details and cause a blurry impression. Lift the stamp to check for full ink coverage; you want to see a thin, even layer of ink across the entire raised surface of the stamp. If you’re using an ink bottle and a dauber or brush, apply the ink carefully and evenly to the stamp surface.
Before stamping your final project, it’s always a good idea to test your layout first on paper if you are using smaller stamps or building a pattern, so the final spacing works before stamping the clay. This practice isn’t just for layout; it also allows you to check your ink application and the pressure you’ll need for a clear impression.
Applying the Stamp to Clay
Once your stamp is inked, position it carefully over your clay. Take a moment to align it exactly where you want it. This is especially important for symmetrical designs or when creating repeating patterns. Once positioned, apply even, firm pressure and press straight down rather than twisting or rocking the stamp to avoid distortion. Twisting or rocking can cause the stamp to slip, creating a smudged or double impression. Use the heel of your hand or a clean block of wood to apply consistent pressure across the entire surface of the stamp, ensuring every detail makes contact with the clay.
Hold the pressure for a few seconds to allow the ink to transfer fully and the impression to set. Then, lift the stamp straight up and away from the clay. Avoid dragging it across the surface, which can smudge your fresh impression. Observe your result. If the impression isn’t deep enough, you might need to apply more pressure next time. If it’s blurry, you might have too much ink or haven’t pressed straight down.
Troubleshooting Common Stamping Issues
Even with careful preparation, you might encounter some challenges. One common issue is the stamp sticking to the clay. If the clay is nonstick or slightly dry, a brief dip of the stamp in water or a release agent can help prevent sticking. Just a very light film of water is sufficient; too much water can make the clay sticky or dissolve the surface.
Another problem can be an uneven impression, where some parts of the design are clear and others are faint. This usually indicates uneven pressure application. Make sure you are pressing down firmly and uniformly across the entire stamp surface. If you’re using a large stamp, you might need to use both hands or apply pressure to different sections of the stamp sequentially.
Sometimes, the fine details of a stamp might not transfer clearly. This could be due to the clay being too dry, preventing it from conforming to the intricate details, or too much ink filling in the delicate lines. If the clay is too dry, try working faster after rolling or very lightly misting the surface. If it’s too much ink, re-ink more sparingly.
Finally, remember the guideline: keep impression depth to no more than half the slab thickness. If your stamp is making an impression that’s too deep, either roll your clay thicker or reduce the pressure you apply. Adjusting your technique based on immediate feedback from your test stamps will help you achieve perfect results.
Drying and Finishing Your Stamped Creations
Once your stamping is complete, the journey of your air-dry clay piece is far from over. Proper drying is essential to prevent cracks and ensure the longevity of your artwork, and finishing steps allow you to enhance and protect your stamped designs.
The Drying Process
Air-dry clay, as the name suggests, dries through air exposure. This process can take anywhere from 24 hours to several days, depending on the thickness of your piece, the humidity in your environment, and the specific type of clay you’re using. Patience is key here; rushing the drying process can lead to cracking and warping.
Place your stamped clay pieces on a flat, non-porous surface that allows air circulation on all sides. A wire rack or an elevated mesh surface is ideal, as it permits air to reach both the top and bottom of your piece, promoting even drying. Avoid placing your pieces in direct sunlight or near a heat source, such as a radiator or vent, as rapid drying can cause severe cracking. A cool, dry room with good air circulation is the best environment.
During the drying process, it’s a good idea to periodically turn your pieces, especially if they are thicker or three-dimensional, to ensure even exposure to air. As the clay dries, it will lighten in color and become hard. You’ll know it’s fully dry when it feels completely rigid and cool to the touch, and there are no dark, damp patches remaining.
Adding Color and Embellishments
Once your air-dry clay is completely dry, you have a blank canvas for further creativity. For detailed projects, let the clay dry before inking or decorating if the project calls for a cleaner stamped look after shaping. While you used pigment ink for the initial stamp, you can now add additional color to your piece. Acrylic paints are an excellent choice for air-dry clay as they are opaque, durable, and available in a vast array of colors. You can paint over the entire piece, highlight specific areas, or use a fine brush to meticulously color in your stamped designs.
Water-based markers, colored pencils, or even watercolors can also be used, depending on the effect you desire. If you choose to add more ink after the clay is dry, remember that dry clay is more absorbent than wet clay. Test your chosen ink on a scrap piece of dry clay first to see how it performs. You can also embed small embellishments like beads, glitter, or small found objects onto the clay with a strong adhesive once it’s dry.
Sealing for Protection and Durability
To protect your beautiful stamped creations and make them more durable, especially if they will be handled frequently or exposed to moisture, sealing is a crucial final step. There are various sealants available, each offering different finishes and levels of protection.
A clear, water-based acrylic varnish or sealant is a popular choice. These come in matte, satin, or gloss finishes, allowing you to choose the aesthetic that best suits your project. Apply the sealant in thin, even coats, allowing each coat to dry completely before applying the next. Two to three coats are usually sufficient for good protection. For items that might come into contact with water, such as coasters or decorative tiles, you might consider a more robust waterproof sealant. Always check the product label to ensure it’s suitable for air-dry clay and that it’s non-toxic if your item will be used near food or children.
Sealing not only protects your artwork from dust, dirt, and minor moisture but also enhances the vibrancy of your colors and stamped impressions, giving your pieces a professional and finished look.
Maintaining Your Tools and Expanding Your Skills
| Step | Action | Tips | Common Issues | Solutions |
|---|---|---|---|---|
| 1 | Prepare the Clay | Knead the clay until soft and smooth | Clay too hard or dry | Add a few drops of water and knead again |
| 2 | Roll Out Clay | Use a rolling pin to flatten to desired thickness (approx. 1/4 inch) | Uneven thickness | Use guides or spacers under rolling pin |
| 3 | Choose Stamp | Select a clean, detailed stamp for best results | Stamp sticks to clay | Lightly dust stamp with cornstarch or use a release agent |
| 4 | Press Stamp | Press firmly and evenly into clay without sliding | Smudged or unclear impression | Press straight down and lift carefully |
| 5 | Remove Stamp | Lift stamp straight up to avoid distortion | Impression distorts or tears | Ensure clay is firm but not too soft |
| 6 | Dry Clay | Allow clay to air dry completely (24-48 hours depending on thickness) | Cracking or warping | Dry flat in a cool, dry place away from direct sunlight |
| 7 | Optional: Paint or Seal | Once dry, paint or seal to protect and enhance design | Paint peeling or cracking | Use appropriate paint and sealant for air dry clay |
Your creative journey with air-dry clay and stamps doesn’t end with a finished piece. Proper maintenance of your tools ensures they’re ready for your next project, and continuously expanding your skills opens up new possibilities for your artistic expression.
Cleaning and Storing Your Stamps
As mentioned earlier, clean stamps promptly after use so clay does not harden in the rubber, and use water or a brush to remove residue. This is a non-negotiable step to maintain the longevity and effectiveness of your stamps. If clay dries in the intricate details of your stamp, it can be incredibly difficult to remove and will permanently impair the quality of your impressions. Use a soft brush, an old toothbrush, or even a specialized stamp cleaner to gently scrub away any clay residue. Rinse thoroughly with water until all traces of clay and ink are gone. For particularly stubborn bits, a gentle soap can be used, but always ensure it’s mild and rinsed completely.
Once clean, allow your stamps to air dry completely before storing them. Storing damp stamps can lead to mildew or damage to the rubber. Store them flat in a cool, dry place, away from direct sunlight, which can degrade rubber and polymer materials over time. Clear stamps often come on acetate sheets, which are perfect for storage. Rubber stamps can be stored in boxes, binders, or drawers. Keeping them organized also makes it easier to find the perfect stamp for your next project.
Caring for Your Air-Dry Clay Tools
Your rolling pin, cutting tools, and work surface also deserve attention. Wipe down your rolling pin and brayer immediately after use to remove any clay residue. A damp cloth usually suffices. For cutting tools, ensure they are clean and dry before storing to prevent rust or dulling of the blades. Your non-stick work surface should also be wiped clean. If you used cornstarch or flour, wash it thoroughly. Taking care of your tools ensures they are always in optimal condition, making your future crafting sessions more enjoyable and productive.
Exploring Advanced Stamping Techniques
Once you’re comfortable with the basics, you can begin to explore more advanced stamping techniques to add depth and complexity to your air-dry clay projects. Consider layering stamps to create multi-dimensional designs. You might stamp a background pattern with one stamp, and then overlay a more prominent design with another stamp.
Another technique is selective inking, where you only ink specific parts of your stamp to create partial impressions or combine elements from different stamps. Experiment with masking by covering parts of your clay with paper or tape before stamping, then removing the mask to reveal an untouched area.
You can also try creating your own stamps! Linocutting blocks, polymer clay, or even found objects can be carved or assembled into unique stamping tools, allowing for truly personalized designs. Don’t be afraid to experiment with different types of stamps, inks, and clay textures. Each new material or technique you explore will broaden your creative horizons and add new dimensions to your air-dry clay art. The world of stamping is vast and exciting, offering endless possibilities for embellishing your handmade creations.
FAQs
1. Can you use regular stamps on air dry clay?
Yes, you can use regular rubber or acrylic stamps on air dry clay. Make sure the clay is still soft enough to make an impression, then gently press the stamp onto the surface of the clay.
2. How do you prevent the stamp from sticking to the air dry clay?
To prevent the stamp from sticking to the clay, you can lightly dust the surface of the clay with cornstarch or baby powder before pressing the stamp onto it. This will create a barrier and make it easier to lift the stamp off without any issues.
3. Can you color stamped designs on air dry clay?
Yes, you can color stamped designs on air dry clay using various methods. One popular way is to use acrylic paints to fill in the stamped impressions. You can also use markers, colored pencils, or even metallic paints to add color to your designs.
4. How long does it take for stamped designs to dry on air dry clay?
Stamped designs on air dry clay typically take around 24 to 48 hours to fully dry, depending on the thickness of the clay and the humidity levels in the environment. It’s important to let the clay dry completely before handling or further decorating it.
5. Can you seal stamped designs on air dry clay?
Yes, you can seal stamped designs on air dry clay to protect them and give them a finished look. You can use a clear acrylic sealer or varnish to seal the stamped designs once the clay has fully dried. Make sure to follow the manufacturer’s instructions for the best results.