So, you’ve decided to dip your toes into the tactile and incredibly rewarding world of clay crafting. Perhaps you’ve seen stunning ceramic art, admired hand-sculpted figures, or simply felt the urge to get your hands delightfully messy. Whatever the spark, you’re in the right place. Clay crafting offers a unique blend of mindfulness, creativity, and tangible results. It’s an art form that can be as simple or as complex as you desire, making it perfect for anyone looking to explore a new hobby. Forget any preconceived notions of needing years of training or specialized studios; with a few basic materials and a willingness to experiment, you can begin your clay journey today. This guide is designed to equip you with the foundational knowledge to embark on your creative adventure, transforming simple lumps of clay into something uniquely yours.
Choosing Your Clay Companion: The First Crucial Decision
The sheer variety of clay available can feel overwhelming at first, but understanding the different types is the first step to finding your perfect medium. Each type offers distinct properties, firing requirements, and finishing possibilities. As recent beginner guides from 2025 emphasize, choosing the right clay is paramount to a positive starting experience. Rushing into an unsuitable material can lead to frustration, so let’s explore your options.
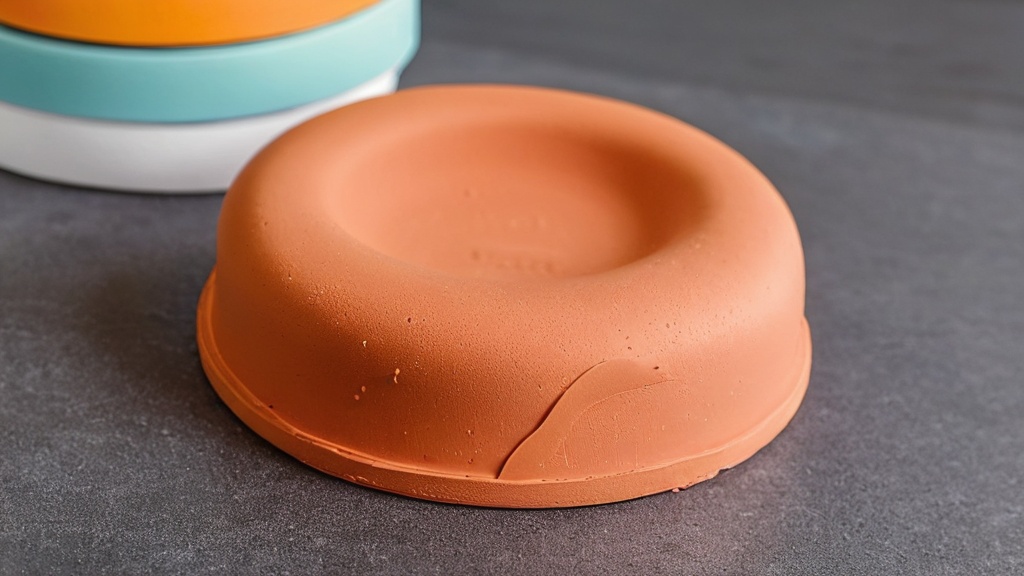
Air-Dry Clay: The Effortless Entry Point
If the idea of needing a kiln or a special oven seems daunting, air-dry clay is your dream come true. This is arguably the most accessible type of clay for absolute beginners. As a popular option for newcomers, it doesn’t require any special firing processes.
The Magic of No Firing
Unlike traditional pottery clays, air-dry clay hardens when exposed to the air. This means your creations can dry and become permanent on your countertop, without the need for expensive equipment. This convenience is a major draw for adults seeking a low-barrier-to-entry hobby.
Drying Times and Durability
Typically, air-dry clay will dry within 24 to 48 hours, though this can vary depending on the thickness of your piece and the humidity of your environment. Once fully dry, it becomes quite hard, though it’s generally less durable than fired clay and can be susceptible to water damage. This makes it ideal for decorative items, sculptures that won’t be handled frequently, and craft projects where durability isn’t the primary concern.
Finishing Touches for Air-Dry Clay
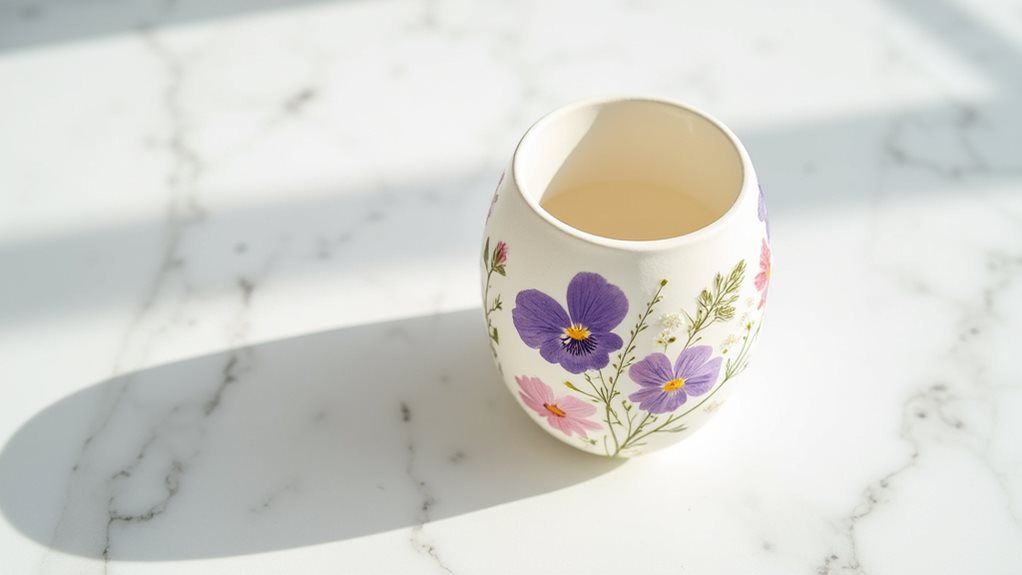
Once your air-dry piece has dried completely, you have a plethora of options for customization. You can paint it with acrylic paints, watercolors, or even spray paint. You can also seal it with a varnish or sealant to protect the surface and add a glossy or matte finish. Many crafters also enjoy adding embellishments like glitter, beads, or even fabric scraps.
Polymer Clay: The Versatile and Vibrant Choice
Polymer clay is another fantastic option for beginners, especially if you’re interested in smaller, more intricate projects or vibrant colors. It’s a man-made clay that cures (hardens) when baked in a regular home oven. Boston 25 News recently highlighted polymer clay as a beginner-friendly option, even showcasing simple projects like sunflower fridge magnets.
The Baking Process
The curing process for polymer clay is straightforward. Once you’ve shaped your piece, you simply bake it in a preheated oven according to the manufacturer’s instructions. This transforms the pliable clay into a hard, durable plastic. It’s crucial to follow the temperature and time recommendations precisely to ensure proper curing and avoid burning the clay.
Color Mixing and Blending
One of the most exciting aspects of polymer clay is its incredible color range and the ease with which you can blend and mix colors. You can achieve subtle gradients, vibrant marbling effects, or even create entirely new shades by combining different colors. This allows for a high degree of artistic expression without the need for extensive painting.
Joining Techniques: Scoring and Slip
When working with polymer clay, especially for more complex projects, you’ll need to know how to join pieces securely. A common and effective technique is scoring and using a little bit of liquid polymer clay or a dedicated liquid polymer adhesive (often referred to as “slip” in pottery terms, though it’s different). Scoring involves making small cross-hatch marks on the surfaces you want to join, creating a rougher texture that the adhesive can grip. This ensures your pieces stay together after baking.
Starter Projects with Polymer Clay
Simple starter projects are the key to building confidence with polymer clay. As suggested by beginner guides, think about creating small charms, beads, or decorative elements. The sunflower fridge magnet mentioned is a perfect example: it involves basic shaping, color blending, and attaching a magnet. As you gain experience, you can move on to more complex items like earrings, small figurines, or even decorative bowls.
Traditional Pottery Clay: The Classic and Enduring Material
For those who are drawn to the authentic feel of earth and the timeless tradition of pottery, traditional clay is the way to go. This is the type of clay most people associate with pottery wheels and kilns. While it requires a bit more commitment in terms of equipment, the results are incredibly rewarding and offer a different kind of tactile experience.
Understanding Clay Bodies
Traditional pottery clays are natural materials, essentially refined earth. They come in various types, such as earthenware, stoneware, and porcelain, each with different firing temperatures, colors, and properties. Earthenware is generally fired at lower temperatures and remains porous, while stoneware and porcelain are fired at higher temperatures and become non-porous and very durable.
The Necessity of Firing
The defining characteristic of traditional pottery clay is its transformation through firing in a kiln. This high-temperature process vitrifies the clay, making it hard, permanent, and waterproof (depending on the clay body and glaze). Without firing, traditional clay remains fragile and susceptible to moisture.
Kiln Options for the Home Potter
For home potters, there are several kiln options. Electric kilns are the most common and come in various sizes, from small tabletop models to larger floor units. Gas kilns are also an option but are generally more complex to operate. For a true beginner, it’s often recommended to find a local community studio or pottery class that offers kiln firing services. This allows you to experiment with traditional clay without the initial investment in a kiln.
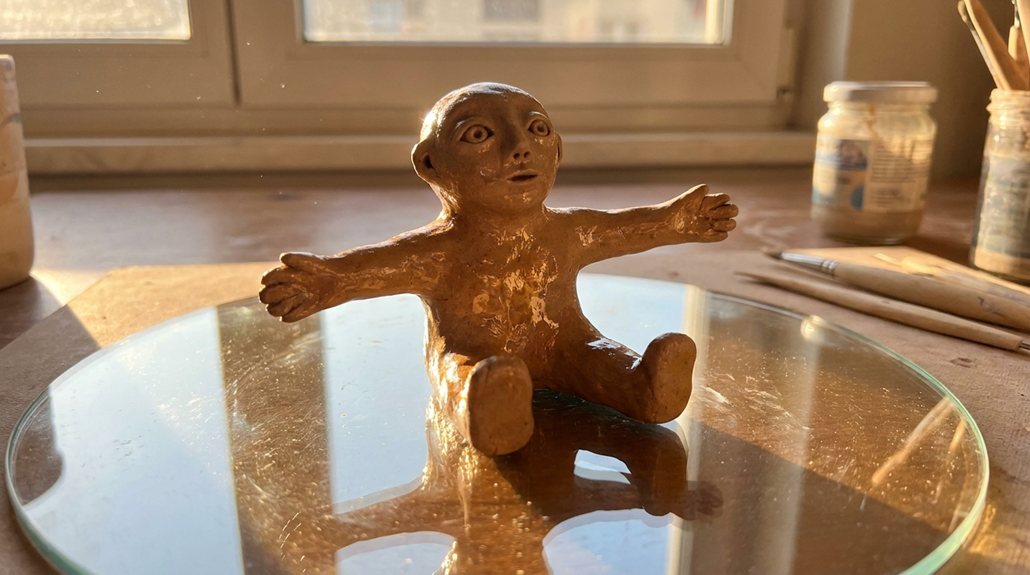
Learning Basic Forms
When working with traditional clay, starting with simple forms is crucial. Think about basic pinch pots, simple coil building, or slab construction. These techniques allow you to understand the clay’s behavior, learn how to shape and join it, and develop a feel for its plasticity.
Essential Tools for Your Clay Crafting Toolkit
You don’t need a professional studio’s worth of equipment to get started. A few basic tools will serve you well, regardless of the type of clay you choose. The key is to have tools that help you manipulate, shape, and refine your clay effectively.
Basic Shaping and Sculpting Tools
These are your hands-on companions. Many clay projects can be accomplished with just your fingers, but a few simple tools can greatly enhance your ability to create detail and smooth surfaces.
Clay Tools for Smoothing and Shaping
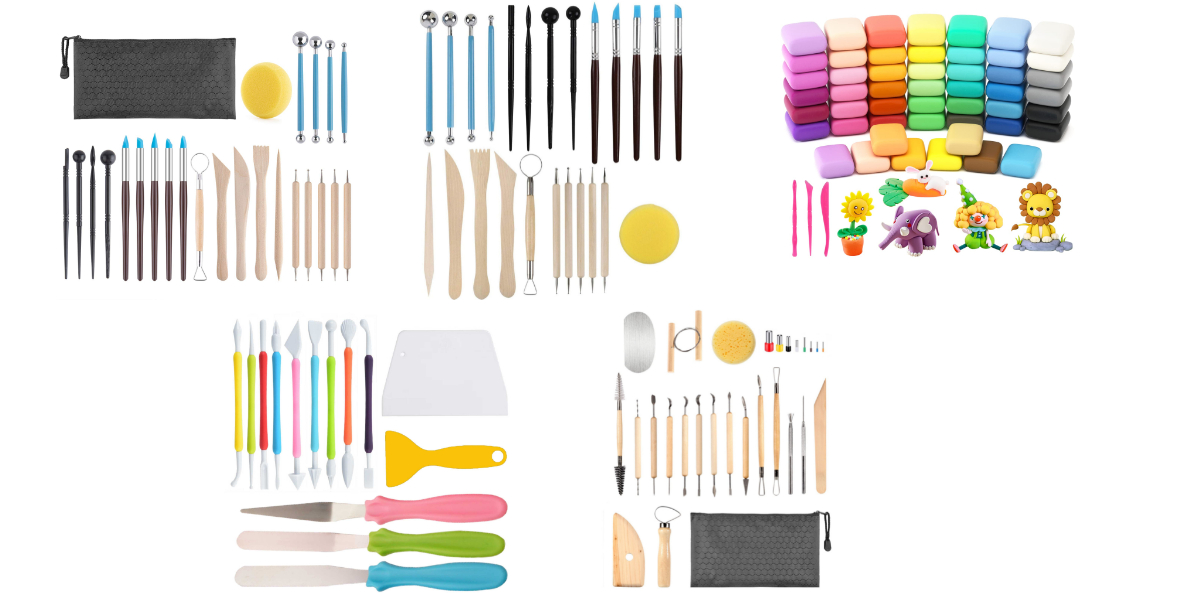
You’ll want a few basic shaping tools. A wooden modeling tool with rounded ends is excellent for smoothing surfaces and creating gentle curves. A needle tool is invaluable for scoring, making precise marks, cutting clay, and removing excess material. A ribbon tool or loop tool, with its wire loops, is perfect for carving, trimming excess clay, and creating hollow forms.
Essential for Texture and Detail
For adding texture, you can get creative with household items. A stiff brush can create interesting patterns. A fork can be used to create lines or stippling. For more uniform textures, you can purchase texture stamps or rollers designed for clay.
Cutting and Joining Implements
Precision is often key, and these tools help you achieve clean cuts and secure joins.
The Humble Utility Knife
A simple craft knife or utility knife is essential for cutting through clay, especially polymer clay or softer air-dry clays. Ensure it has a sharp blade for clean, crisp edges.
For Creating Strong Bonds
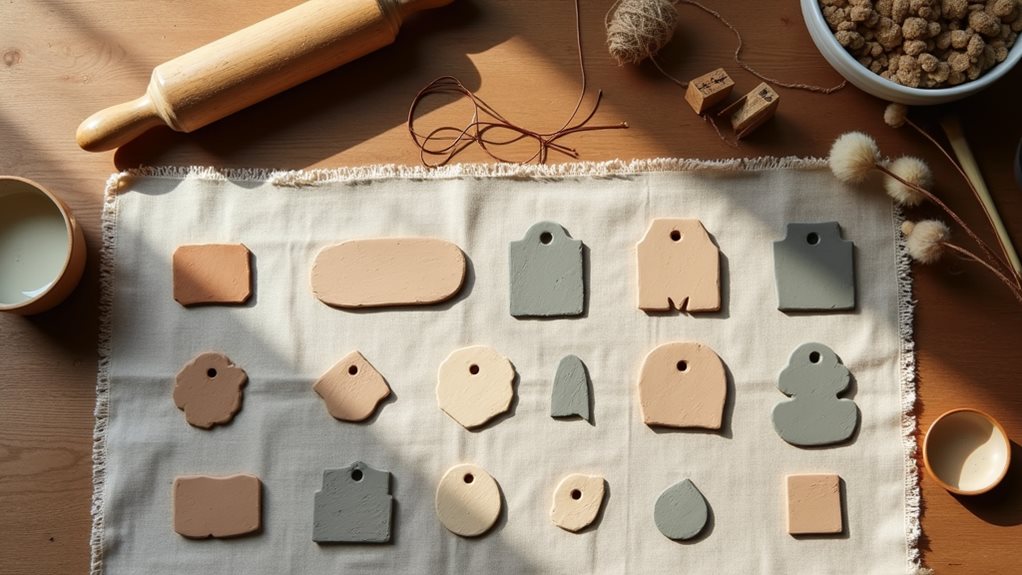
As mentioned, scoring is vital for joining clay pieces. A needle tool or a serrated rib tool can be used for this. For larger pieces, a rolling pin can be used to create uniform slabs of clay, which can then be cut to size.
Surface Preparation and Protection
Keeping your workspace clean and your projects protected is as important as the sculpting itself.
Your Work Surface
A smooth, non-porous surface is ideal for working with clay. A piece of smooth wood, a marble slab, or even a sheet of thick plastic can work well. Avoid working directly on porous surfaces like untreated wood or fabric, as the clay can stick and dry out.
Protecting Your Creations
When you’re not actively working on a piece, you’ll want to keep it from drying out prematurely. For air-dry clay and traditional clay, a damp cloth or plastic wrap can be used to cover your work. Polymer clay should be kept in a sealed bag or container to prevent it from drying out before baking.
The Art of Shaping: Mastering Basic Techniques
With your chosen clay and basic tools at hand, it’s time to dive into the actual creation process. Starting with simple forms will help you build confidence and understand how the clay behaves. The newly revised edition of a long-running beginner pottery book released in Japan in January 2026, which updated a 2009 edition and has sold over 30,000 copies, likely emphasizes this same core advice for adults: start with simple forms.
Pinch Pots: The Foundation of Form
The pinch pot is one of the oldest and simplest ways to create a hollow form from a ball of clay. It’s a fantastic starting point for understanding how to manipulate clay into three-dimensional shapes.
The Process of Pinching
Take a ball of clay and press your thumb into the center, creating a well. Then, using your thumb on the inside and your fingers on the outside, gently and evenly pinch the clay, rotating the ball as you go. Continue to pinch and rotate, gradually thinning the walls and expanding the opening until you achieve your desired bowl or vessel shape.
Creating Even Walls
The key to a successful pinch pot is to create walls of even thickness. If some areas are much thinner than others, they are more likely to crack as they dry. Regularly check the thickness of your walls by gently squeezing the pot between your thumb and forefinger.
Coil Building: Adding Height and Structure
Coil building involves rolling out long ropes or “coils” of clay and stacking them on top of each other to create larger or taller forms. This technique is incredibly versatile and allows for a wide range of shapes.
Rolling Out Consistent Coils
To create consistent coils, you can roll a piece of clay back and forth on your work surface, applying even pressure. Aim for a consistent thickness throughout the coil. Some crafters use rolling pin guides to achieve uniform thickness.
Joining Coils Securely
Once you have your coils, you’ll stack them to build your form. Before placing a new coil on top of the previous one, score both surfaces generously. Then, apply a slip (a mixture of clay and water) to the scored areas. Press the new coil firmly onto the scored and slipped surface, then use your finger or a tool to blend the seam on both the inside and outside of your piece. This ensures a strong bond.
Slab Construction: Creating Flat Surfaces and Boxes
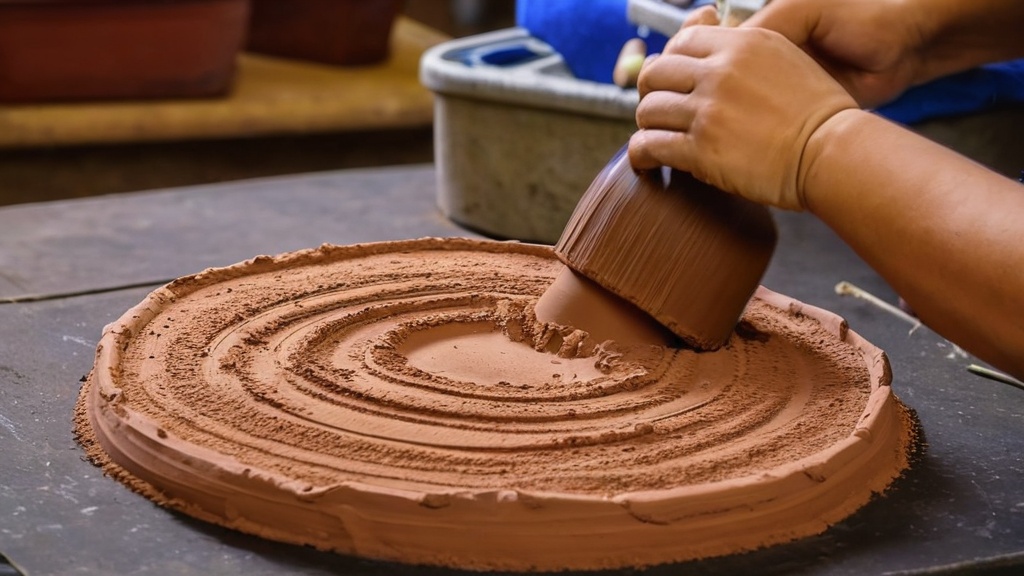
Slab construction involves rolling out flat sheets of clay, called slabs, which can then be cut, shaped, and joined to create geometric forms, boxes, or even larger sculptures.
Rolling Uniform Slabs
Use a rolling pin and guide sticks of uniform thickness to roll out your clay into even slabs. You can also use a pasta machine designed for clay, which makes this process very efficient and consistent.
Cutting and Joining Slabs
Once you have your slabs, you can cut them into the desired shapes using a craft knife or a ruler as a guide. To join slabs, score the edges that will connect, apply slip, and press them together firmly. For added strength, you can “weld” the seams by pressing a small coil of clay into the inside corner where the slabs meet and smoothing it out.
Embracing Imperfection: The Beauty of the Beginner’s Touch
As you begin your clay crafting journey, it’s vital to embrace the learning process. Don’t expect perfection from your first few pieces. In fact, the most charming aspects of handmade items often lie in their slight imperfections, the subtle marks of the maker’s hand. CBS Minnesota recently featured a segment on how to start creating with clay, demonstrating beginner basics for adults. This kind of programming highlights that the journey itself is as important as the final product.
The Learning Curve is Part of the Fun
Every artist, no matter how experienced, started somewhere. The early stages of learning a new craft are often filled with experimentation, happy accidents, and small breakthroughs. Enjoy the process of discovering what the clay can do and how you can best manipulate it.
Celebrating Your First Creations
Your first pinch pot, your first coil bowl, your first polymer clay charm – these are milestones! Don’t be discouraged if they aren’t flawless. Instead, celebrate the fact that you took the initiative, got your hands dirty, and created something tangible. These pieces hold a special significance as the beginning of your creative path.
Don’t Be Afraid to Make Mistakes
Mistakes are inevitable and, more importantly, they are learning opportunities. A piece might crack, a joint might not hold, or a shape might not turn out as planned. Instead of seeing these as failures, view them as valuable lessons that will inform your future work. What caused the crack? How can you improve your joining technique next time?
Beyond the Basics: Growing Your Skills and Projects
Once you’ve gained some confidence with basic techniques and tools, you’ll naturally want to explore more advanced possibilities. The journey doesn’t end with your first few creations; it’s just beginning.
Exploring Glazing and Surface Decoration
For air-dry clay and traditional fired clay, the world of glazes and surface decoration is vast. Acrylic paints are always an option for air-dry clay, but for fired clays, glazes transform the surface into something durable and often beautiful. Experiment with different colors, textures, and application techniques.
Advanced Sculpting and Joining
As your skills develop, you might find yourself drawn to more complex sculpting projects, intricate details, or larger-scale creations. This is where you can start experimenting with more specialized tools and techniques for carving, detailing, and structural integrity.
Considering Workshops and Online Resources
Don’t hesitate to seek out further learning opportunities. Many community centers and art studios offer introductory pottery or polymer clay workshops. The internet is also a treasure trove of tutorials and inspiration. Websites, YouTube channels, and online forums dedicated to clay crafting can provide a wealth of knowledge and connect you with a community of fellow artists. The constant evolution of information, as seen with the newly revised beginner book in Japan, shows the ongoing development and accessibility of learning resources. You’re embarking on a journey with a vibrant and evolving art form, and the possibilities for growth are endless. So, grab some clay, get creative, and enjoy the deeply satisfying process of bringing your ideas to life!
FAQs
What is clay crafting?
Clay crafting is the art of creating various objects and sculptures using clay as the primary medium. It involves shaping, molding, and sculpting the clay to form different designs and structures.
What types of clay are suitable for beginners?
For beginners, air-dry clay and polymer clay are popular choices. Air-dry clay does not require baking and hardens when left to dry, while polymer clay can be cured in a home oven. Both types are easy to work with and come in a variety of colors.
What tools are essential for clay crafting for adults beginners?
Essential tools for clay crafting include a rolling pin, clay sculpting tools, a cutting blade, a work surface, and a baking tray if using polymer clay. These tools help in shaping, cutting, and detailing the clay to create different designs.
What are some beginner-friendly clay crafting projects for adults?
Beginner-friendly clay crafting projects for adults include making simple jewelry such as earrings and pendants, creating decorative bowls and vases, and sculpting small figurines or ornaments. These projects allow beginners to practice basic clay crafting techniques.
Are there any safety precautions to consider when working with clay?
When working with clay, it is important to ensure good ventilation, especially when using polymer clay which emits fumes when baked. Additionally, it is advisable to wash hands thoroughly after handling clay and to avoid ingesting or inhaling clay particles.