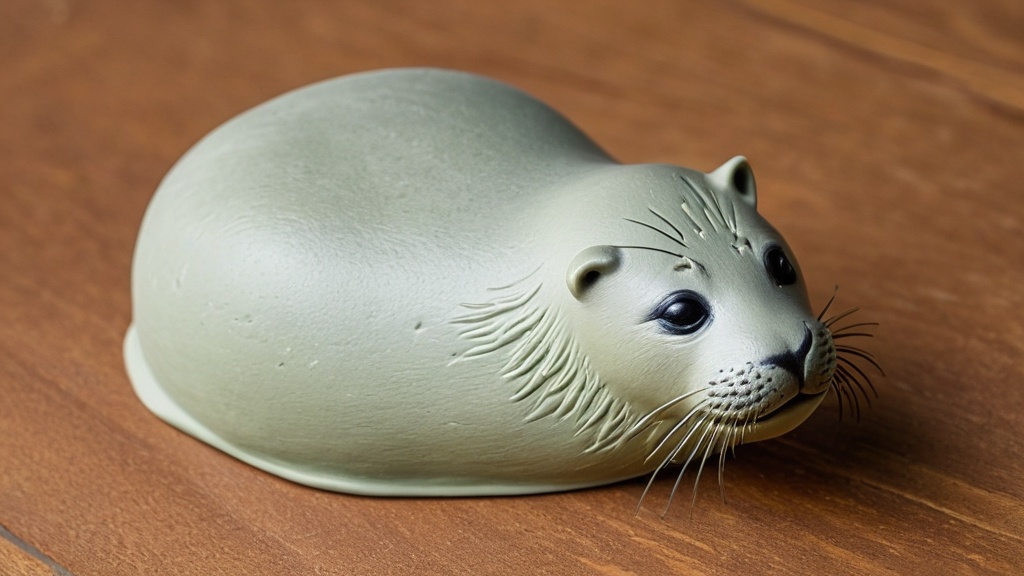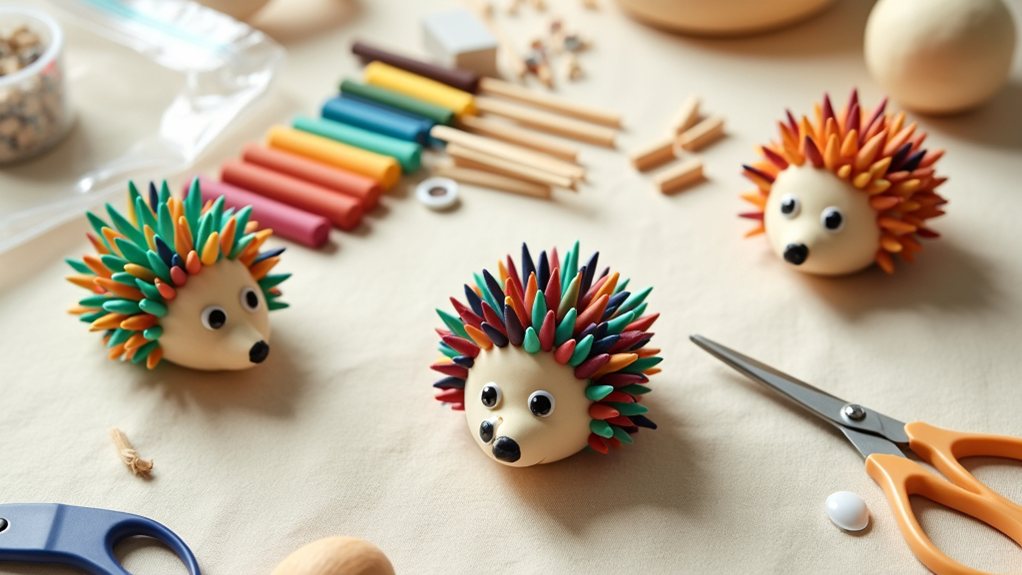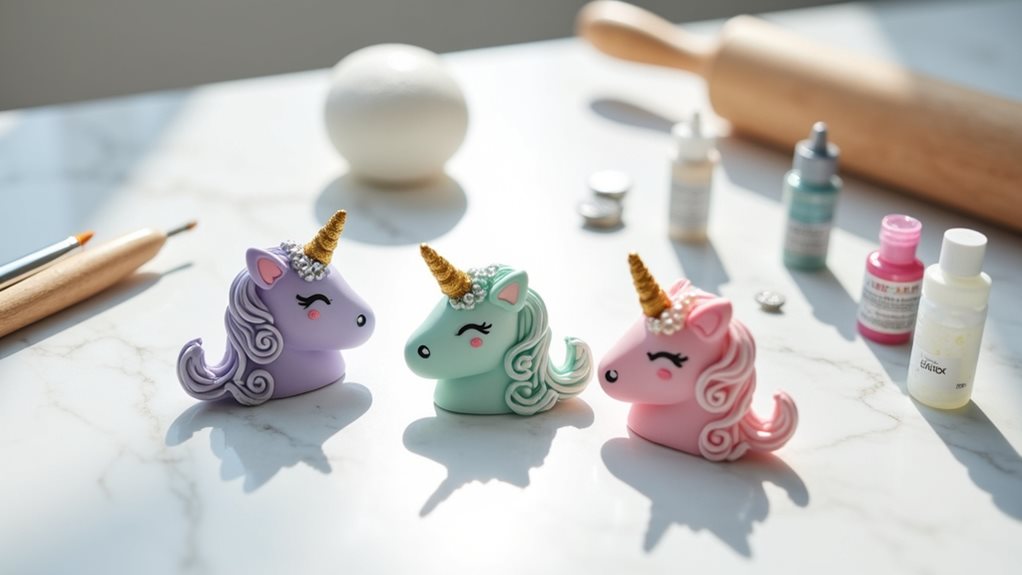
You’ve just finished your latest air-dry clay creation. It’s taken on the form you envisioned, perhaps a whimsical sculpture, a practical dish, or an intricate decorative piece. Now comes the crucial step that will determine its longevity, its aesthetic appeal, and its resistance to the elements: sealing. You might be wondering, “What’s the best way to protect my artwork?” The answer isn’t a simple one-size-fits-all, but with careful consideration of your project’s purpose and desired finish, you can choose the perfect guardian for your clay masterpiece.
This guide is designed to navigate you through the world of air-dry clay sealers. We’ll explore the top contenders, understand their strengths and weaknesses, and equip you with the knowledge to make informed decisions. Whether your piece is destined for a sunny windowsill, a high-traffic area, or even outdoor display, you’ll find the ideal protective coating to ensure its beauty endures.
Before diving into specific products, it’s essential to grasp why sealing is such a vital part of the air-dry clay process. You’ve meticulously shaped and sculpted your creation, but raw air-dry clay, while becoming hard, remains porous. This porosity is its Achilles’ heel.
The Porous Nature of Unsealed Clay
Think of unsealed air-dry clay like a sponge. It readily absorbs moisture and can be susceptible to damage from liquids, humidity, and even simple contact. Without a protective barrier, your beautiful creation is vulnerable to:
- Water Damage: Spills, condensation, or high humidity can cause the clay to soften, warp, or even crumble, undoing hours of your hard work.
- Stains: Many substances, from food to ink, can easily penetrate the porous surface and leave permanent marks.
- Dust and Grime: Accumulated dust and dirt can dull your paintwork and make cleaning a challenge.
- Chipping and Cracking: While air-dry clay hardens, it can still be brittle. A sealer can add a layer of resilience, helping to prevent minor chips and cracks.
- Fading: If you’ve painted or decorated your piece, UV rays from sunlight can cause colors to fade over time.
The Role of a Sealer
A sealer acts as a protective shield, forming a barrier between your clay and the external environment. Its primary functions include:
- Water Resistance: This is perhaps the most critical role. A good sealer will repel water, preventing moisture absorption and its detrimental effects.
- Durability Enhancement: Sealers can add a layer of toughness to your clay, making it more resistant to scratches, chips, and general wear and tear.
- Color Enhancement and Protection: Some sealers can bring out the depth and richness of your painted colors, while others offer UV protection to prevent fading.
- Dust and Stain Repellency: A smooth, sealed surface is much easier to clean and less prone to staining.
- Aesthetic Finishes: Beyond protection, sealers come in various finishes – matte, satin, glossy – allowing you to achieve different visual effects for your artwork.
It’s important to remember that while sealers offer significant protection, they can’t make air-dry clay indestructible. Even with a robust coating, extreme force or prolonged submersion in water can still cause damage. The goal is to provide the best possible protection for the intended use of your piece.
The Golden Standard: Polyurethane Varnishes for Unrivaled Durability
When you’re looking for a sealant that offers serious protection, particularly for pieces that will see a lot of handling or be exposed to less-than-ideal conditions, polyurethane varnishes are your top choice. These aren’t your grandmother’s furniture polishes; modern polyurethanes are engineered for exceptional durability and water resistance.
Rust-Oleum Varathane Crystal Clear: The Reigning Champion
After extensive testing and evaluation, Rust-Oleum Varathane Crystal Clear Water-Based Polyurethane has emerged as the top overall choice for sealing air-dry clay. This product consistently delivers outstanding results, making it the go-to for many artists and crafters.
Why It’s the Top Pick
- Exceptional Durability: This polyurethane creates a tough, flexible film that can withstand significant wear and tear. It’s ideal for items you anticipate handling frequently, like figurines, keychains, or functional items like bowls or trinket dishes placed on active surfaces.
- Superb Water Resistance: Its ability to repel water is a major advantage. It significantly reduces the risk of moisture damage, making your clay creations far more resilient to spills or humid environments.
- Clear Finish: As the name suggests, it dries to a crystal clear, non-yellowing finish. This means it won’t alter the color of your painted or unpainted clay, preserving the original artistic intent.
- Easy Application: Being water-based, it’s easy to clean up with soap and water, and it generally has a lower odor profile than oil-based alternatives, making your crafting experience more pleasant.
- Versatility: While water-based, it provides a surprisingly robust protective layer, making it suitable for a wide range of projects.
When to Choose This Sealer
You’ll want to reach for Rust-Oleum Varathane Crystal Clear in numerous scenarios:
- Figurines and Sculptures: For pieces that you want to display without worry, especially if they are in a household with children or pets.
- Functional Ware: If you’re making bowls, dishes, or small containers that might come into contact with light moisture or food items (though it’s important to note it’s not food-safe by itself).
- Jewelry and Accessories: For air-dry clay earrings, pendants, or keychains that will be handled regularly.
- Outdoor Decorative Items: For garden ornaments or outdoor accents that need to withstand some level of environmental exposure (within reason; prolonged harsh weather might still be an issue).
Polyurethane Varnish: The Workhorse for Tough Environments
Beyond the top-performing specific brand, polyurethane varnish in general stands out as the best choice for items destined for outdoor display or frequent, heavy handling. Its inherent properties make it a powerhouse when it comes to creating a shield against the rigors of the outside world or constant interaction.
Creating a Super-Durable Layer
Polyurethane varnishes, whether oil-based or water-based, form a hard, protective shell once cured. This shell is significantly more resistant to abrasion, chips, and scratches than acrylic or other lighter sealants. Think of it as adding a layer of armor to your delicate clay.
Outdoor Applications
- Garden Stakes and Markers: If you’re creating personalized markers for your garden, a polyurethane varnish will protect them from rain, sun, and soil contact.
- Patio Decor: Small sculptures or decorative elements intended for a patio or porch will benefit greatly from the water and UV resistance polyurethane offers.
- Birdhouse Accents: While the main birdhouse might be wood, any decorative air-dry clay elements can be sealed with polyurethane for weatherproofing.
Heavy Handling Scenarios
- Children’s Toys: If you’re making toys or play items from air-dry clay, the durability and washability (to a degree) of polyurethane are essential.
- Game Pieces: For board games or other tabletop activities where clay pieces are frequently moved and handled.
- Keychains and Bag Charms: These items are prone to bumping, scratching, and general wear. Polyurethane provides the necessary resilience.
Considerations for Polyurethane Application
- Ventilation: Oil-based polyurethanes often have stronger fumes and require good ventilation during application and drying. Always work in a well-aired space.
- Drying Time: Polyurethane typically has a longer drying time than acrylic sealers. Ensure adequate drying periods between coats to achieve the best results.
- Finish Options: Polyurethanes come in matte, satin, and gloss finishes. Consider the aesthetic you desire for your piece. A gloss finish can add depth but may also highlight imperfections. A matte finish offers a more subdued look.
The Ultimate Goal: Complete Waterproofing with Epoxy Resin
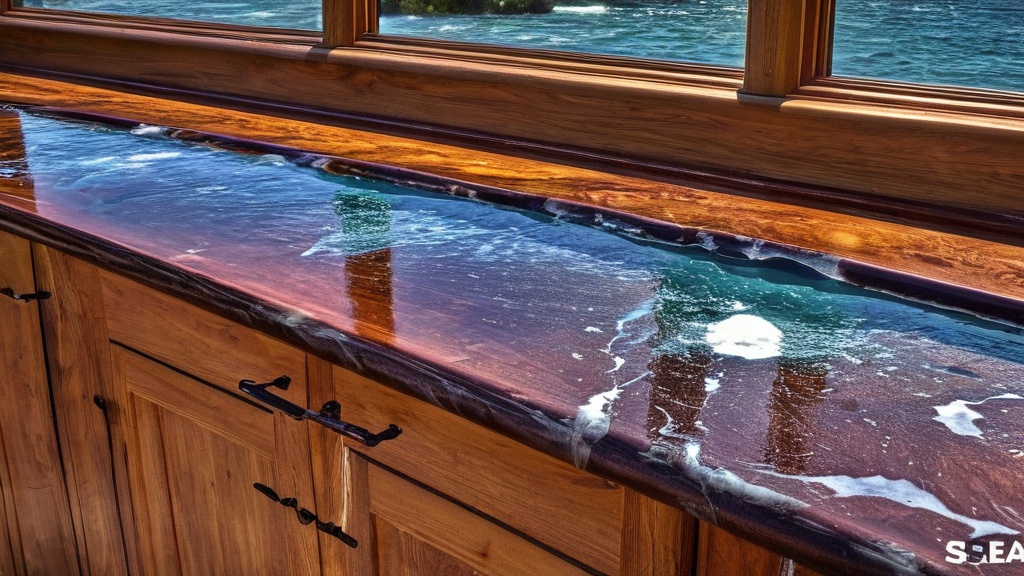
Sometimes, your air-dry clay creation needs to be more than just water-resistant; it needs to be truly impermeable. For those demanding situations where complete waterproofing is paramount, epoxy resin is the undisputed champion. This isn’t just a sealant; it’s a transformative coating that offers a stunning, glass-like finish.
Achieving a Glassy, Fully Waterproof Finish
Epoxy resin is a two-part system, typically a resin and a hardener, that when mixed together, undergoes a chemical reaction to cure into a hard, durable, and completely waterproof solid. It’s commonly used for countertops, decorative coatings, and even for encapsulating objects in clear casts.
The Benefits of Epoxy Resin for Clay
- Absolute Waterproofing: Nothing short of submersion in harsh chemicals will compromise an epoxy-coated surface. This is ideal for items that will be in constant contact with water, such as coasters or decorative trays.
- Remarkable Durability and Scratch Resistance: Once fully cured, epoxy is incredibly hard and resistant to scratches, making your air-dry clay creations virtually impervious to everyday wear and tear.
- Stunning Visual Appeal: Epoxy resin cures to a beautiful, high-gloss, glass-like finish that can enhance the colors of your clay and paintwork and give your piece a professional, high-end look.
- Encapsulation: You can embed small objects, glitter, or even intricate painted details within the epoxy, creating a unique, sealed-in effect.
Considerations for Using Epoxy Resin
- Mixing is Crucial: Epoxy requires precise mixing of the resin and hardener according to the manufacturer’s instructions. Incorrect ratios will result in a sticky, uncured mess.
- Curing Time: Epoxy resin has a significant curing time, typically around 24 hours to be tack-free and several days to reach full hardness. Patience is key.
- Heat Sensitivity (During Curing): During the curing process, epoxy can generate heat. Avoid applying it too thickly in one go, as excessive heat can damage your clay or warp the resin.
- Not Food-Safe (Typically): While some epoxy resins are marketed as food-safe after full cure, it’s essential to check the specific product’s specifications. For items that will directly contact food, it’s best to err on the side of caution or use an alternative.
- Requires a Level Surface: Epoxy flows and levels itself. Ensure your piece is on a perfectly level surface during curing to avoid drips and uneven thickness.
- Potential for Bubbles: Air bubbles can be a common issue. Techniques like using a heat gun or torch (carefully!) can help pop surface bubbles.
Ideal Projects for Epoxy Resin
- Coasters: These are a prime example where complete waterproofing is essential, and the glossy finish of epoxy is highly desirable.
- Trays and Dishes: For decorative trays or shallow dishes that might hold wet items like soap or jewelry.
- Jewelry: Encasing small air-dry clay charms or elements in epoxy can create durable and waterproof jewelry.
- Tabletops or Countertop Accents: For small decorative pieces that you want to be extremely resilient and have a luxurious finish.
Lighter Protection for Indoor and Decorative Works
While polyurethane and epoxy offer superior protection, they might be overkill for projects that are primarily for display and won’t face heavy handling or moisture. For these indoor, decorative pieces, you can opt for lighter, more easily applicable sealers that still offer good protection and enhance the appearance.
Acrylic Spray Sealers: Quick and Effective Enhancements
Acrylic spray sealers are a popular choice for crafters due to their ease of use and quick drying times. They provide a light to moderate protective layer that can shield your painted surfaces from dust and light handling.
Aleene’s Spray Finish: A Trusted Name
Products like Aleene’s Spray Finish are widely available and perform reliably for decorative purposes. They come in various finishes, most commonly matte and gloss.
- Ease of Application: The spray format makes it incredibly simple to apply an even coat over your clay piece.
- Quick Drying: Most acrylic spray sealers dry to the touch within minutes, allowing for multiple coats in a single crafting session.
- Color Enhancement: Gloss finishes can add a nice sheen and depth to painted colors, while matte finishes can give a more natural, chalky appearance.
- Light Protection: They offer a decent barrier against dust and slight scuffs, making them suitable for display items.
Limitations of Acrylic Spray Sealers
It’s crucial to understand that acrylic spray sealers are generally not waterproof. They offer water resistance to a degree, meaning they can repel light splashes, but prolonged exposure to moisture will likely penetrate the coating. They are best suited for:
- Painted or Decorated Pieces: To seal in paint or markers and prevent smudging.
- Display Items: For sculptures, figurines, or wall hangings that will be primarily viewed and not frequently handled.
- Craft Projects: As a final step for various craft endeavors where significant durability isn’t the primary concern.
Mod Podge: The Multifaceted Craft Adhesive and Sealer
Mod Podge is a beloved craft staple, renowned for its versatility as both an adhesive and a sealant. It’s a water-based acrylic and is available in a wide array of finishes, from matte to ultra-gloss.
The Versatility of Mod Podge
- Adhesive and Sealer in One: You can use Mod Podge to decoupage materials onto your clay, and then use it as a topcoat to seal everything in.
- Range of Finishes: Whether you prefer a subtle matte look or a dramatic high-gloss shine, there’s a Mod Podge formula for you.
- Easy Cleanup: Being water-based, it cleans up easily with soap and water.
- Light Protection: Similar to acrylic spray sealers, Mod Podge provides a good protective layer against dust, dirt, and light handling for decorative items.
When to Consider Mod Podge
- Decoupage Projects: If you’re applying paper, fabric, or other embellishments to your air-dry clay.
- Indoor Decorative Pieces: For items that will reside on shelves or mantels and won’t be subjected to moisture.
- Children’s Crafts: It’s often considered a safer option for younger crafters due to its non-toxic nature and easy cleanup.
Mod Podge’s Limitations
Just like acrylic sprays, Mod Podge is not fully waterproof. While it can offer some water resistance, it’s not suitable for items that will be exposed to significant moisture. For true waterproofing, you’ll need to explore other options.
Budget-Friendly Solutions: The DIY Approach
| Sealer Name | Finish | Size | Drying Time | Waterproof |
|---|---|---|---|---|
| Mod Podge Clear Acrylic Sealer | Matte | 8 oz | 1 hour | Yes |
| Varathane Crystal Clear Polyurethane | Gloss | 11.25 oz | 4 hours | Yes |
| DecoArt Americana Multi-Purpose Sealer | Satin | 2 oz | 30 minutes | Yes |
For those on a tight budget or who prefer a more hands-on, DIY approach for less critical projects, there are simple and effective solutions using common household items. These are excellent for pieces that won’t be handled frequently or subjected to any significant stress.
The Humble PVA Glue and Water Mix
A simple mixture of white PVA glue and water (in equal parts) can serve as a surprisingly effective sealer for certain applications. This is a classic DIY solution that many crafters have relied on for years.
How It Works and When to Use It
- Low Cost: White PVA glue (like Elmer’s Glue-All) is inexpensive and readily available. Diluting it with water makes it go further and easier to brush on.
- Light Sealant: When dry, the diluted glue forms a clear, protective layer that can prevent dust from settling and offer a very mild resistance to scuffing.
- Ideal for Non-Critical Pieces: This is best suited for decorative items that will be displayed and not touched often, or for a base layer before applying other finishes. For instance, if you’re creating small decorative beads for a craft project that won’t be handled, this can suffice.
- Can Prepare for Painting: A layer of diluted glue can also help seal the porous surface of the clay, making it a better canvas for paint and preventing the paint from being absorbed too quickly.
Limitations of the PVA Glue Mix
- Not Waterproof: This is its most significant drawback. This mixture offers virtually no protection against water or moisture. Spills will soak into the clay beneath.
- Durability: It is not very durable and can be scratched or damaged easily.
- Potential for Cracking: If applied too thickly, it can sometimes crack as it dries.
Tips for Using the DIY Sealer
- Mix Thoroughly: Ensure the glue and water are fully integrated to avoid clumps. A whisk or a small mixer can be helpful.
- Apply Thinly: Apply multiple thin coats rather than one thick one. This will result in a smoother, more even finish.
- Allow Full Drying: Each coat needs to dry completely before the next is applied. This can take a few hours depending on humidity.
This DIY option is a testament to the fact that you don’t always need fancy craft store products to achieve a basic level of protection. However, always assess the intended use of your piece to determine if this level of protection is truly sufficient.
Application Techniques: The Key to a Flawless Finish
You’ve chosen your sealer, and it’s ready to go. But before you slather it on, understanding the best application techniques is crucial for achieving a smooth, durable, and aesthetically pleasing finish. The way you apply your sealer can make a world of difference.
The Art of Thin, Even Layers
This is arguably the most important application tip, and it applies to almost all sealers: apply 2–3 thin, even layers. Resist the urge to get the job done quickly with one thick coat.
Why Thin Coats are Superior
- Even Coverage: Thin coats allow the sealer to spread smoothly and evenly across the surface, minimizing brush strokes (if using a brush) or drips and runs.
- Better Adhesion: Multiple thin coats bond better to the surface and to each other than a single thick layer. This leads to a more durable and long-lasting finish.
- Less Risk of Imperfections: Thick coats create a higher risk of pooling, bubbling, or a sticky, uncured surface. Thin coats dry more consistently.
- Controlled Finish: You have greater control over the final look. You can build up the desired level of sheen or opacity gradually.
How to Achieve Thin, Even Layers
- Use the Right Tool: For polyurethanes and Mod Podge, a good quality foam brush is often ideal. They hold a good amount of liquid without dripping excessively and are easy to spread. For spray sealers, hold the can at the recommended distance and use a sweeping motion.
- Don’t Overload Your Brush: Dip the brush into the sealer, then gently wipe off any excess on the rim of the container or a piece of paper towel. You want just enough to cover the surface without pooling.
- Work in Sections: If you’re working on a larger piece, break it down into smaller sections and apply the sealer consistently to each section.
- Feather Your Edges: When moving from one section to another, lightly feather the edges to avoid visible lines.
The Importance of Drying Time Between Coats
When applying multiple layers of any sealant, it is absolutely essential to allow full drying between coats. Rushing this process is a common mistake that can undo all your hard work.
Why Patience Pays Off
- Proper Curing: Each layer needs time to properly adhere to the clay and to the previous layer. If you apply a second coat before the first is dry, you can re-wet the first layer, leading to streaks, unevenness, and potential adhesion issues.
- Preventing Trapped Moisture/Solvents: For solvent-based sealers, allowing drying time lets the solvents evaporate. For water-based sealers, it allows the water to evaporate. Applying a new coat too soon can trap this moisture, leading to a cloudy or soft finish.
- Building a Strong Barrier: Each properly dried layer contributes to the overall strength and integrity of the protective coating.
How Long to Wait
- Check the Product Instructions: Always refer to the specific drying times recommended by the manufacturer of your chosen sealer. These can vary significantly.
- “Tack-Free” is Not “Fully Dry”: Many sealers will feel dry to the touch within an hour or two, but this does not mean they are fully cured or ready for another coat.
- Consider Environmental Factors: Humidity and temperature can affect drying times. In humid or cold conditions, drying may take longer.
- General Guideline: For most water-based sealers, waiting at least 2-4 hours between coats is a good starting point, but always err on the side of caution. Oil-based sealers will require significantly longer drying times.
Before You Seal: Crucial Preparatory Steps
You’re almost ready to apply your chosen sealer, but before you do, there are two absolutely critical steps you must not skip. Overlooking these will significantly compromise the effectiveness and appearance of your sealed clay.
Ensuring the Clay is Bone Dry
The single most important preparatory step before sealing air-dry clay is to ensure it is bone dry. This means it has fully dried out after being shaped and has had ample time to release all its internal moisture.
Why Bone Dry is Non-Negotiable
- Moisture Trapping: If you seal damp clay, you are essentially trapping moisture inside. As this moisture tries to escape, it can cause the sealer to bubble, crack, peel, or warp the clay underneath, ruining your hard work.
- Poor Adhesion: Sealers adhere best to a dry, porous surface. Damp clay will not allow for proper bonding, leading to a weak and easily damaged seal.
- Mold and Mildew: Trapped moisture in clay, especially in humid environments, can become a breeding ground for mold and mildew.
How to Tell if Your Clay is Bone Dry
- Color Change: Air-dry clay typically lightens in color as it dries. However, this is not always a definitive sign on its own.
- Weight: A bone-dry piece will feel significantly lighter than when it was wet.
- Temperature: A bone-dry piece will be at room temperature. A damp piece might feel cooler to the touch due to evaporative cooling.
- Sound Test: Gently tap the piece. A bone-dry piece will produce a hollower, harder sound compared to a damp piece which will sound duller.
- The 24–72 Hour Rule: A good general rule of thumb is to allow your clay to air dry for at least 24 to 72 hours. This timeframe can vary depending on the thickness of your piece, the humidity of your environment, and the type of air-dry clay used. Thicker pieces will naturally take longer. It’s always better to wait longer than to seal too soon.
Testing Your Sealer on a Scrap Piece
Before applying any sealer to your finished creation, it is an invaluable practice to always test your sealer on a scrap piece of the same clay that you have prepared in the same way.
The Benefits of a Test Run
- Compatibility Check: Different brands and types of air-dry clay can react differently to various sealers. A test ensures that the sealer doesn’t cause any unwanted discoloration, melting, or other adverse reactions.
- Finish Preview: You can preview the exact finish (matte, satin, gloss) that the sealer will achieve on your clay. This is especially important for sealers that might alter the color or appearance of the clay.
- Application Practice: It allows you to practice your application technique, whether it’s brushing or spraying. You can refine your strokes, determine the ideal amount of product to use, and get a feel for the drying times.
- Water Resistance Check: After the sealer has fully cured on your test piece, you can even perform a water resistance test to see how it holds up. This can give you peace of mind about its performance.
By taking these simple preparatory steps – ensuring your clay is bone dry and performing a test with your chosen sealer – you lay the foundation for a successful and long-lasting finish for your air-dry clay creations.
The Verdict: Finding Your Perfect Seal
Selecting the best sealer for your air-dry clay project is a journey of understanding your needs and exploring the options available. There isn’t a single, universal answer, but by considering the intended use, desired finish, and required durability, you can confidently choose the perfect protector for your art.
Remember, polyurethane varnishes, particularly Rust-Oleum Varathane Crystal Clear, stand out as the top overall choice for their exceptional durability and water resistance. They are your go-to for pieces that will experience heavy handling or be placed outdoors. For those who demand absolute waterproofing and a stunning, glassy finish, epoxy resin is the unparalleled solution, though it requires more precise application and curing time.
For purely decorative indoor items, acrylic spray sealers and Mod Podge offer excellent, easy-to-apply options that provide a good level of protection against dust and light wear. And for those on a budget or for projects where basic protection suffices, a simple mixture of white PVA glue and water can be a surprisingly effective DIY solution.
Crucially, no matter which sealer you choose, always ensure your clay is bone dry before application and always apply 2–3 thin, even layers, allowing ample drying time between each. A quick test run on a scrap piece will also save you potential heartache and ensure compatibility.
By embracing these insights and practices, you empower yourself to not only protect your beautiful air-dry clay creations but to enhance them, ensuring their longevity and splendor for years to come. So go forth, seal with confidence, and let your art endure.
FAQs
What is air dry clay?
Air dry clay is a type of clay that dries and hardens without the need for a kiln or oven. It is a popular choice for craft projects and sculpting because of its ease of use and accessibility.
Why do you need to seal air dry clay?
Sealing air dry clay helps to protect the finished piece from moisture, dust, and other environmental factors. It also helps to enhance the appearance of the clay by providing a smooth and glossy finish.
What are the best sealers for air dry clay?
The best sealers for air dry clay are typically clear acrylic sealers or varnishes. These sealers provide a protective layer while also enhancing the appearance of the clay. Some popular options include Mod Podge, polyurethane varnish, and clear acrylic spray sealers.
How do you apply sealer to air dry clay?
To apply sealer to air dry clay, first ensure that the clay is completely dry. Then, use a brush or sponge to apply a thin, even layer of sealer to the surface of the clay. Allow the sealer to dry completely before handling the clay.
Are there any tips for using sealers on air dry clay?
When using sealers on air dry clay, it’s important to apply multiple thin layers rather than one thick layer to avoid drips and streaks. Additionally, be sure to follow the manufacturer’s instructions for the specific sealer you are using to achieve the best results.