You’re about to discover how to craft charming air-dry clay cats that showcase your creativity and sculpting skills. Whether you’re a beginner or experienced crafter, this project combines simple techniques with rewarding results. From constructing a sturdy foundation to adding intricate details that bring personality to each piece, you’ll learn the essential steps that transform basic clay into expressive feline sculptures. But there’s more to creating professional-looking results than you might expect.
Key Takeaways
- Start with a lightweight foil armature wrapped in 2–4 cups of air-dry clay, then shape the basic cat form with ears, nose, and body.
- Add texture and details by creating fur patterns with finger indentations, scoring surfaces for attachments, and smoothing seams with water-dipped fingertips.
- Allow the clay cat to dry for 12–24 hours on an air-flow rack, testing with a gentle tap for a solid sound before painting.
- Sand the fully dried surface with 200–400 grit sandpaper, apply gesso primer, then paint with acrylics and seal with matte or satin varnish.
- Complete the entire project in approximately three days by maintaining proper airflow during drying and avoiding oven or kiln firing.
History
Before modern air-dry clay became a staple in craft rooms worldwide, evidence of humans working with clay and cats intertwining existed for centuries.
A 1200-year-old jug fragment discovered in Jerusalem features a cat paw print, measuring 1.2 inches by 1.2 inches, suggesting a cat lazily kneaded the moist clay while sunbathing as the jug dried before firing.
Air-dry clay itself evolved gradually throughout the 20th century, with no single inventor credited for its development. The ancient potter likely left the freshly made jug to dry in sunlight before firing it in a kiln, creating the perfect opportunity for a curious cat to leave its mark.
Multiple craft developers created early versions, including cold porcelain clay from Argentina using cornstarch and glue, while others developed paper clay by mixing cellulose fibers into traditional clay.
These innovations eventually led to modern polymer alternatives developed in European and U.S. craft labs, establishing the foundation for today’s accessible clay crafting.
Project
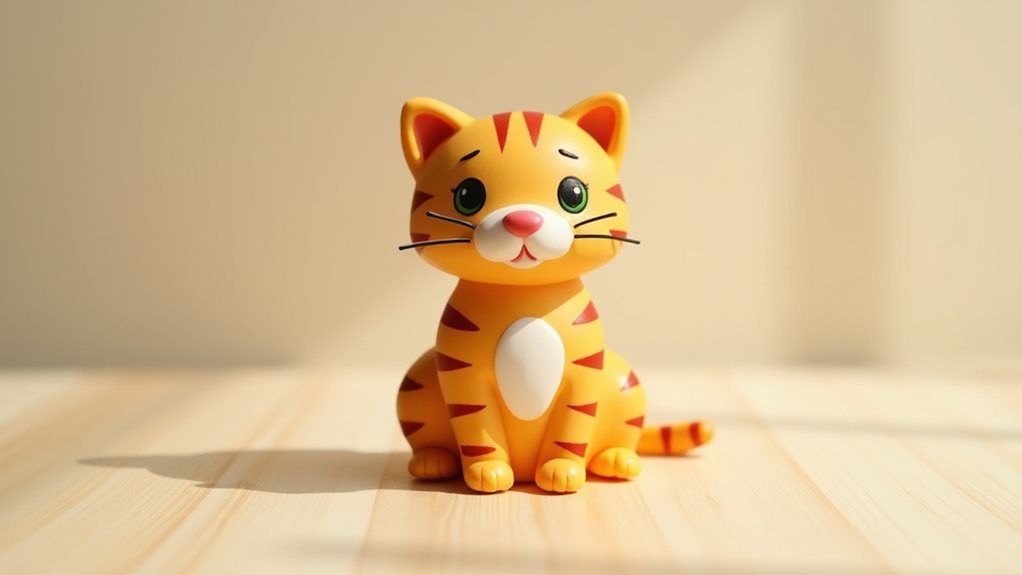
Creating handmade air-dry clay cats combines sculpting artistry with patience and precision. This project transforms simple materials into charming feline figures that dry naturally without requiring an oven or kiln.
The process involves building a lightweight foil armature, wrapping it in clay, and allowing adequate drying time before adding painted details. Whether you’re crafting a single tabby or an entire cat family, this method produces durable, displayable sculptures suitable for shelves, gardens, or gift-giving.
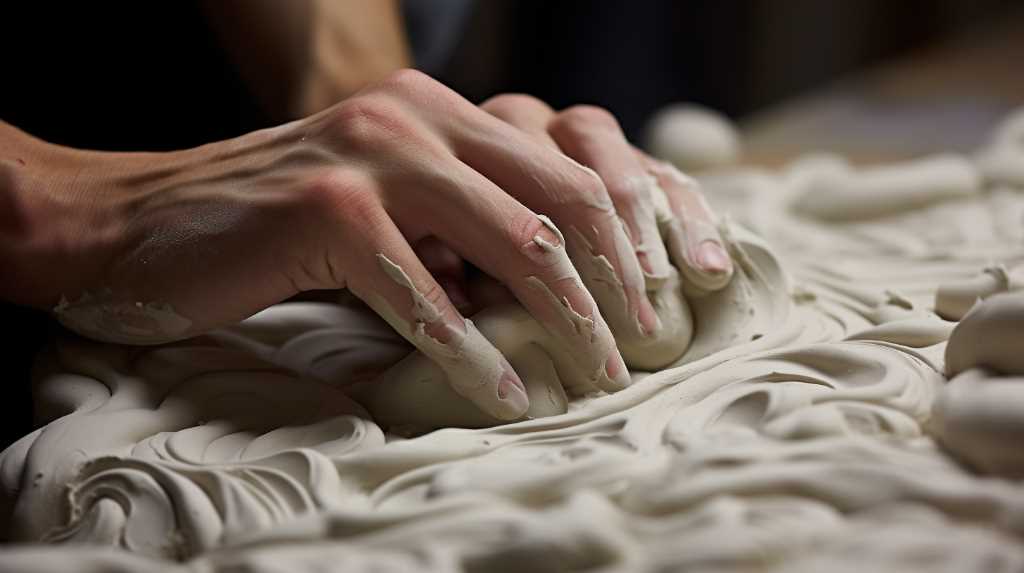
The beauty of air-dry clay cat sculpting lies in its accessibility and forgiving nature. Unlike traditional ceramics, mistakes can be smoothed away with water and a modeling tool, and the entire project requires only basic supplies found in most craft stores.
With proper technique and attention to drying conditions, you’ll develop the skills to create cats with personality, unique patterns, and expressive features that showcase your creative vision.
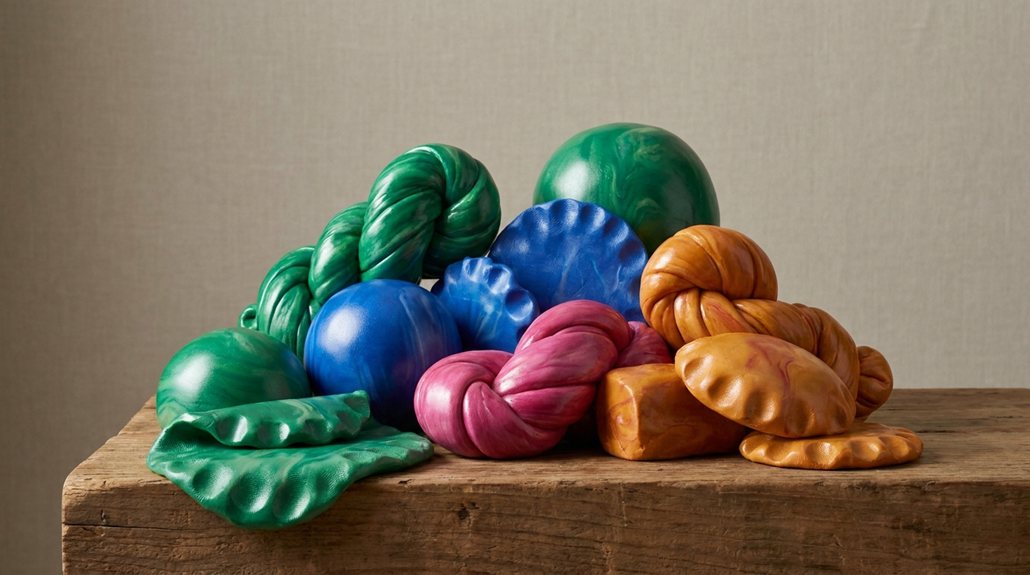
Ingredients
- White air-dry modeling clay: 2-4 cups (500-1000g) depending on cat size
- Aluminum foil: 1 sheet (approximately 12×12 inches/30x30cm)
- Soft pink acrylic paint: 2 tablespoons (30ml)
- Black acrylic paint: 2 tablespoons (30ml)
- Fine grit sandpaper (200-400 grit): 1 sheet
- Matte or satin varnish: ½ cup (120ml)
- Water for clay preparation: ¼ cup (60ml) as needed
Project Instructions
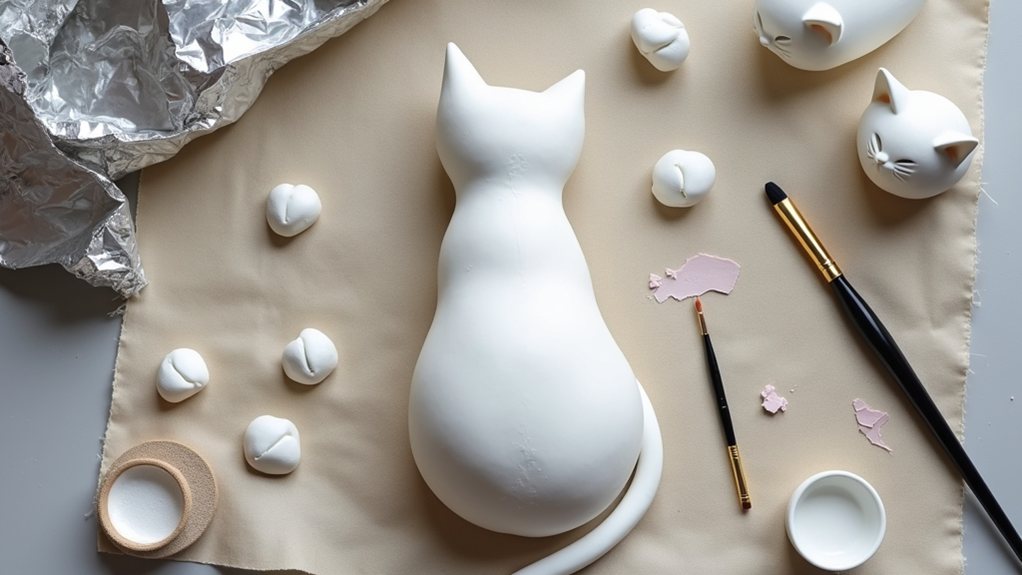
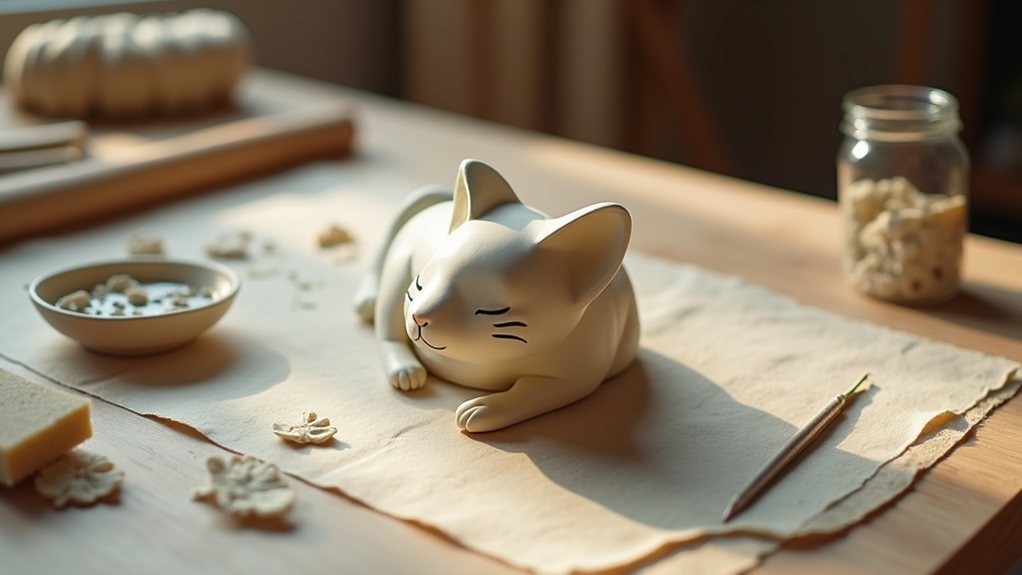
Begin by scrunching aluminum foil into a pear shape approximately 3-4 inches (7.5-10cm) long to create your body armature, then knead golf ball-sized chunks of air-dry clay until pliable and roll out ¼-inch (6mm) thick slabs to wrap around the foil core, blending seams with water-dampened tools as you work.
Shape triangular ears and press them firmly onto the head, using your needle tool to blend them seamlessly into the sculpture.
Allow the initial form to dry for 12 hours in a bowl (which helps maintain curved head shapes), then flip the piece onto an air-flow rack for another 12-24 hours until the clay lightens in color and feels completely hardened.
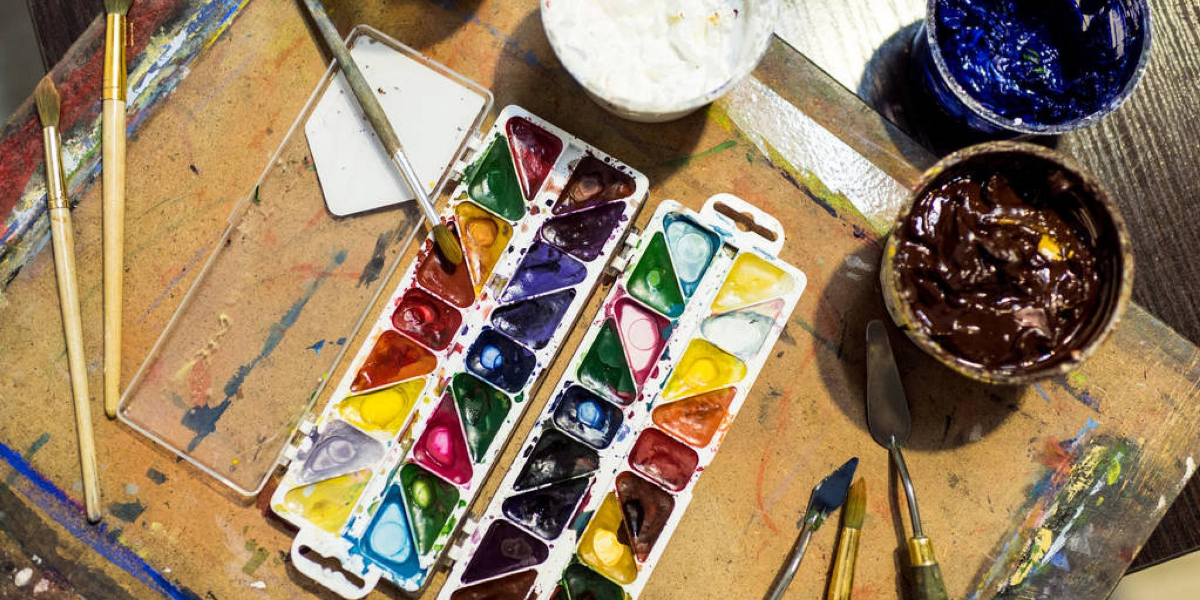
Once fully dry, sand the entire surface with 200-400 grit sandpaper, apply acrylic paints in soft pink and black for facial features and tabby patterns using fine liner brushes, and seal everything with a protective coat of matte or satin varnish.
Extra Tips
Humidity significantly impacts drying time—pieces in dry climates may finish in 24 hours while humid environments require the full 48 hours or longer.
For larger cats exceeding 5 inches (12.5cm), plan for up to three days of drying and consider using air-flow racks throughout to ensure even moisture evaporation.
Always apply varnish in thin, even coats to prevent pooling, and test your acrylic paint colors on scrap dried clay first to ensure the soft pink doesn’t appear too pale or the black too harsh against your sculpture’s base tone.
Project Steps
You’ll start by rolling out your clay base and shaping the cat’s head, establishing the foundation for your sculpture before moving on to more intricate details.
Next, you’ll attach clay ears and a nose, using water-blended joints to ensure these features blend seamlessly with the main form.
Finally, you’ll add texture and surface details, then paint and seal your finished cat to achieve a polished, durable result. Before painting, place your completed cat on a cake stand or cooling rack to allow proper airflow during the drying process, which typically takes about three days depending on the size of your sculpture.
Step 1. Roll Out Clay Base

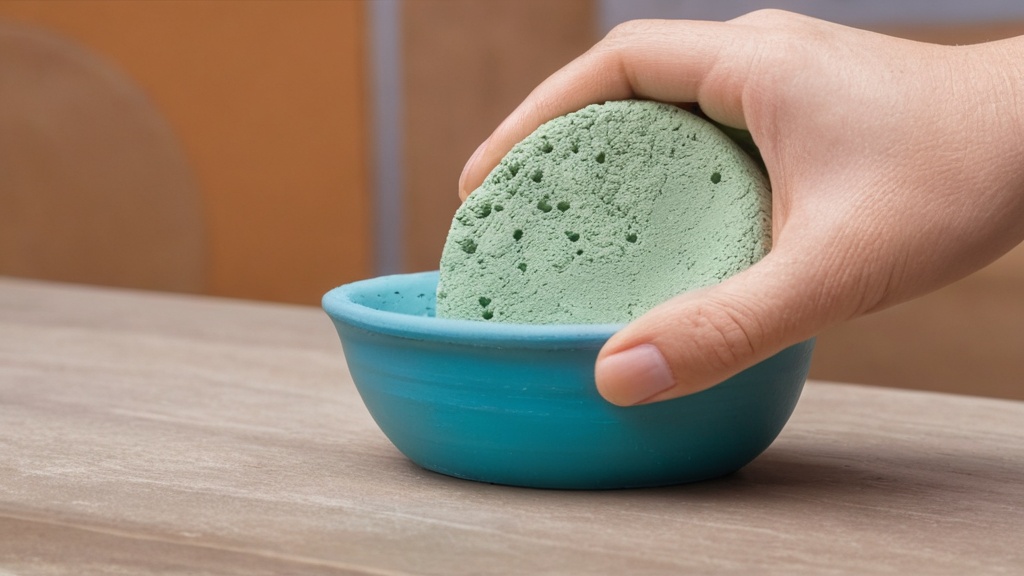
Now that you’ve prepared your work surface and conditioned your clay, it’s time to roll out an even, uniform base that’ll serve as the foundation for your cat sculpture.
Position two quarter-inch diameter wooden sticks parallel on either side of your clay, then place the clay between them.
Using steady, even pressure, roll your clay with a rolling pin, allowing the sticks to guide you toward consistent quarter-inch thickness.
This thickness prevents cracking during drying while maintaining adequate strength for supporting your cat’s body and features. Even thickness also supports more even drying and helps prevent curling.
Roll slowly and deliberately, checking regularly for uniformity across the entire surface.
Avoid rolling too thin, as delicate sections’ll break easily.
Once you’ve achieved your desired thickness and smoothness, you’re ready to begin shaping your cat’s form.
Step 2. Shape Clay Cat Head
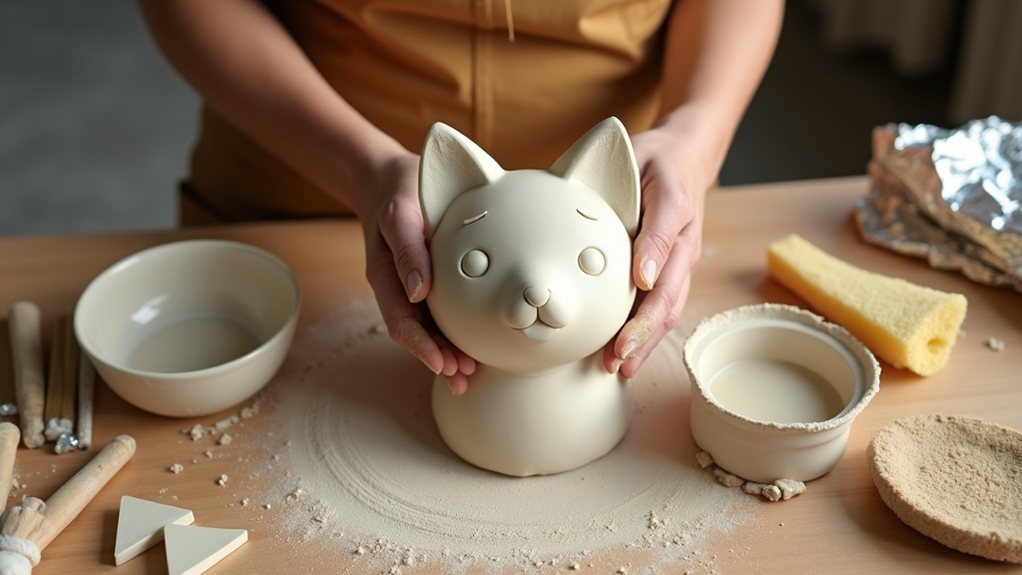
With your clay base rolled to a uniform quarter-inch thickness, the next phase involves transforming a chunk of self-hardening air dry clay into your cat’s distinctive head.
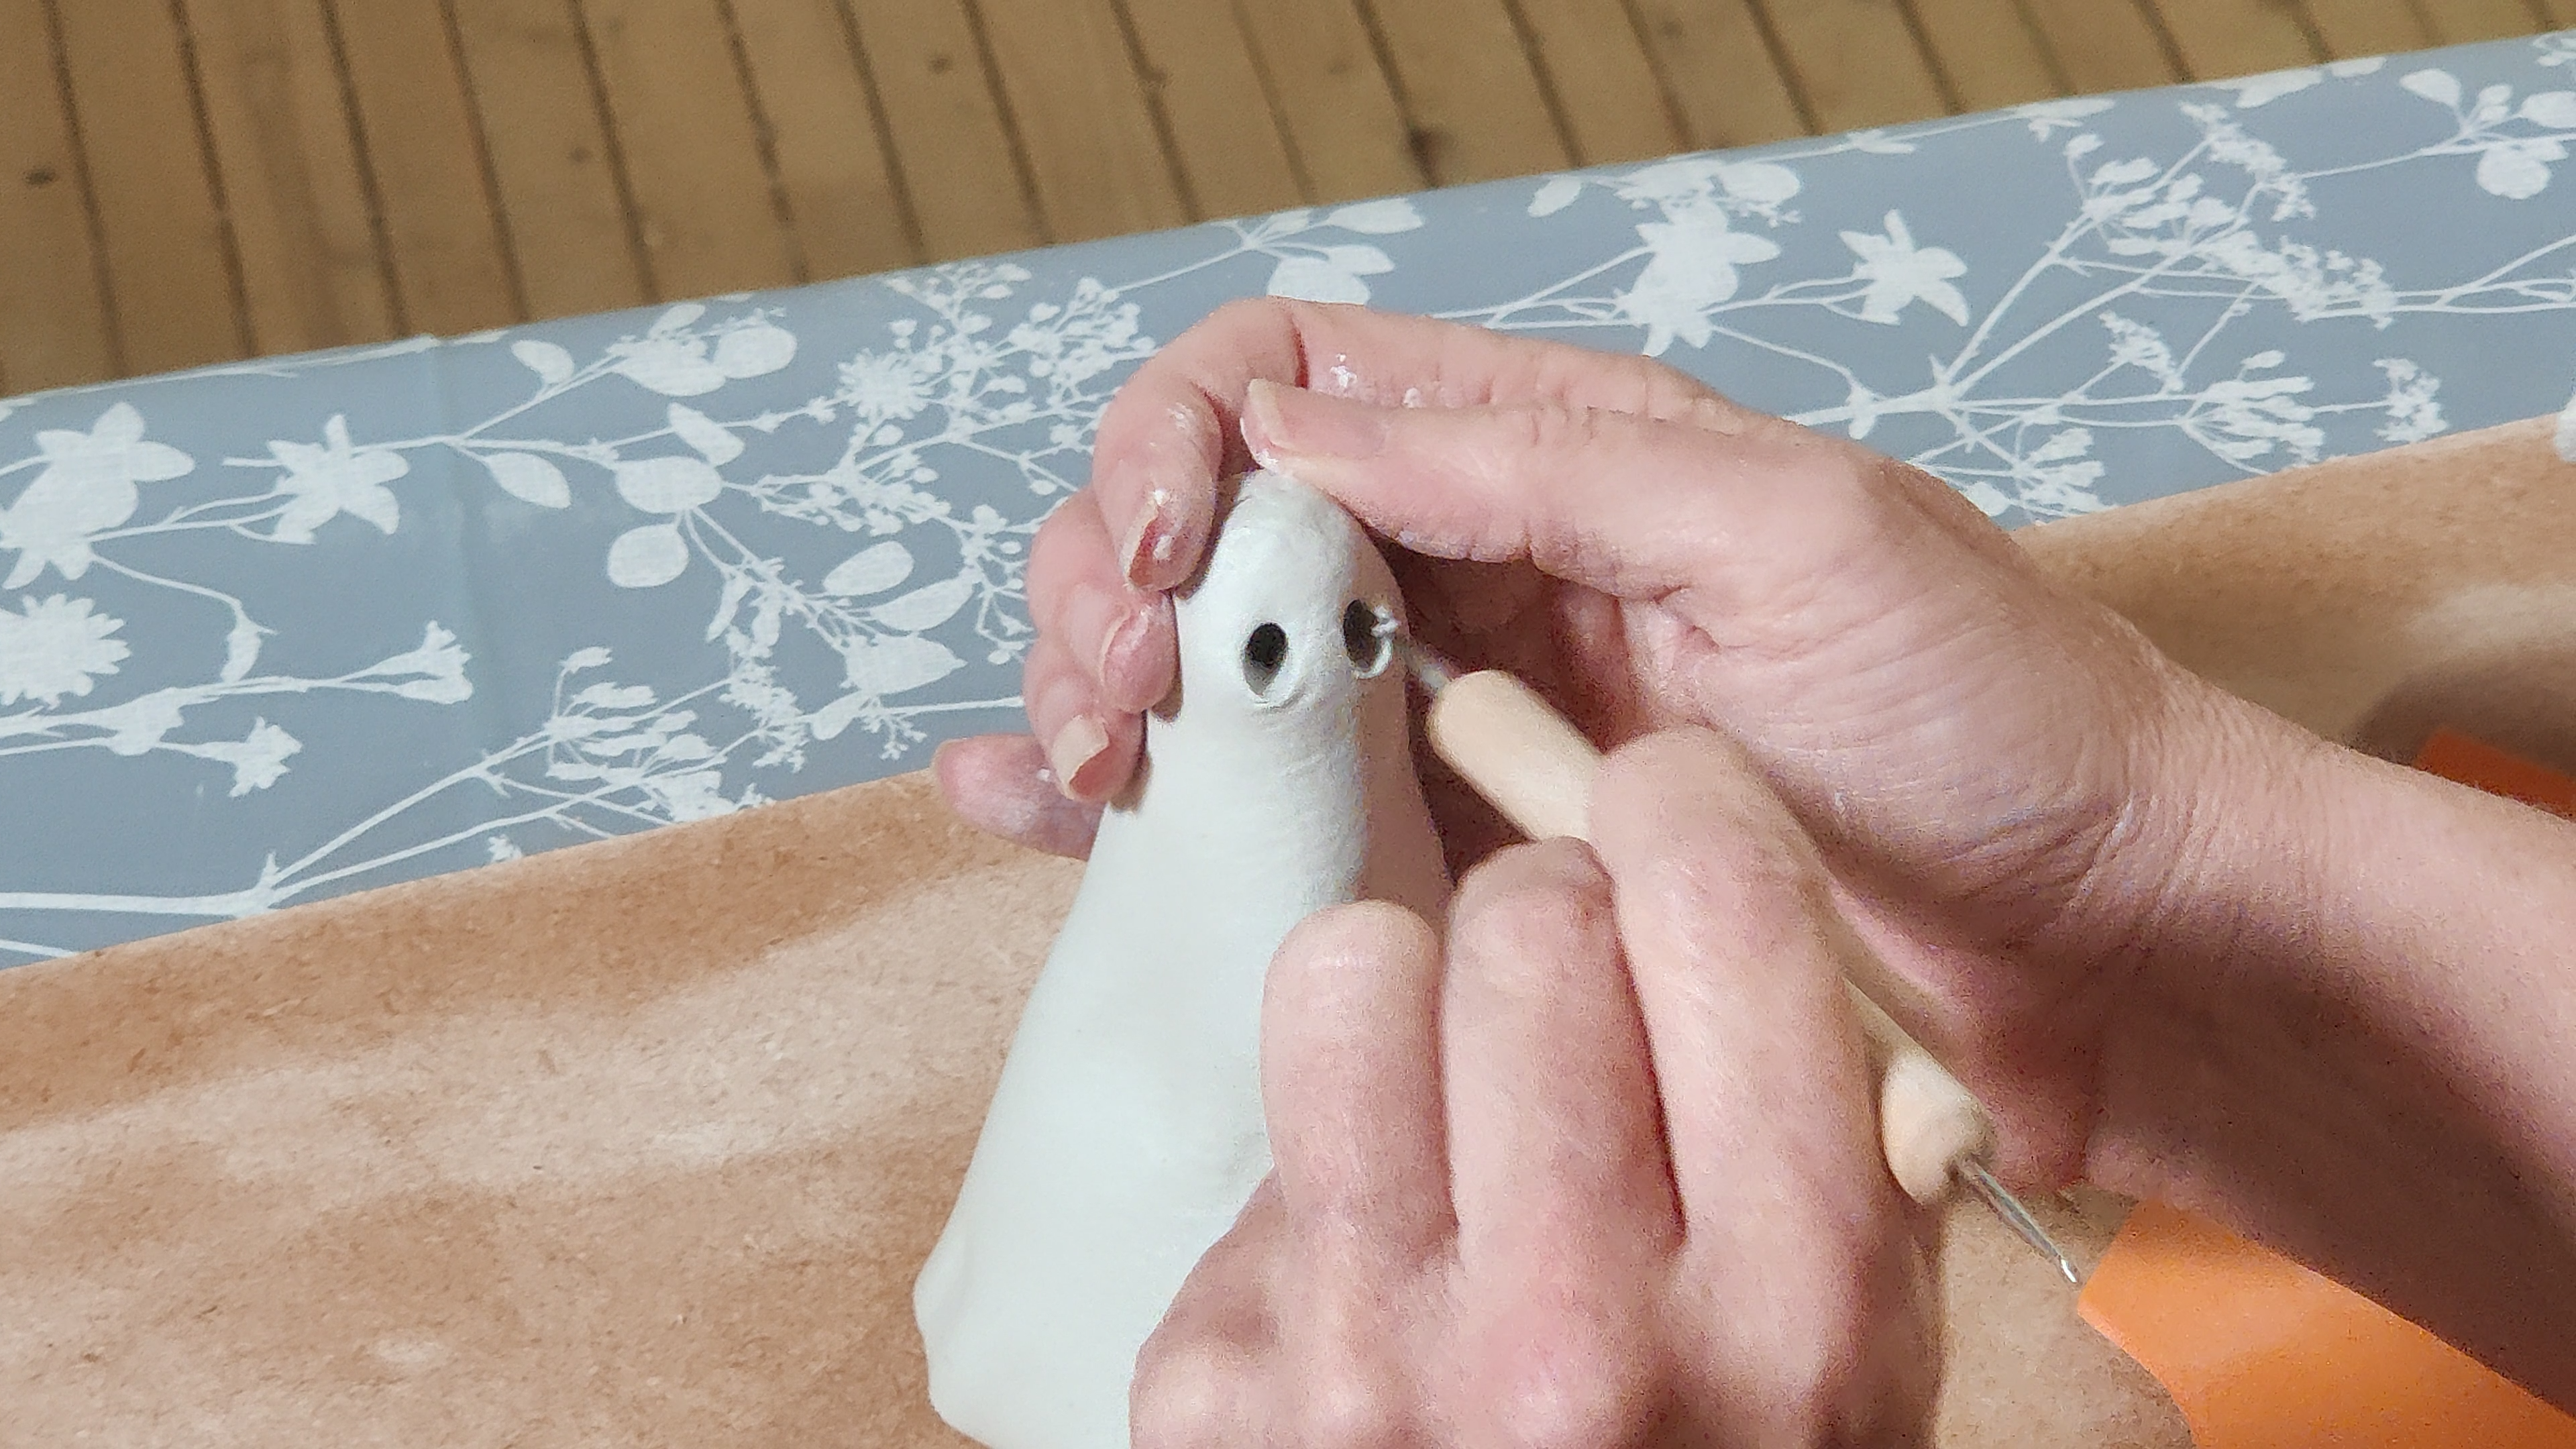
Start by rolling and smoothing the clay with your thumb to create a round shape, then press your thumb to simultaneously form the eyes and nose bridge.
Shape the clay into a squat pyramid-like form if you’re building pronounced features.
For larger heads, use a foil armature to keep the piece lightweight and structurally sound.
Press the clay firmly between your hands to achieve smooth, even sides, then gently smooth all edges with your fingers to remove any lines or marks.
Dip your finger in water to rub over rough areas, ensuring a polished surface before proceeding to detailed work. Before adding features like the muzzle and nose, brush a mixture of glue and water over the dry clay surface to ensure new clay pieces adhere properly.
Step 3. Add Clay Ears and Nose
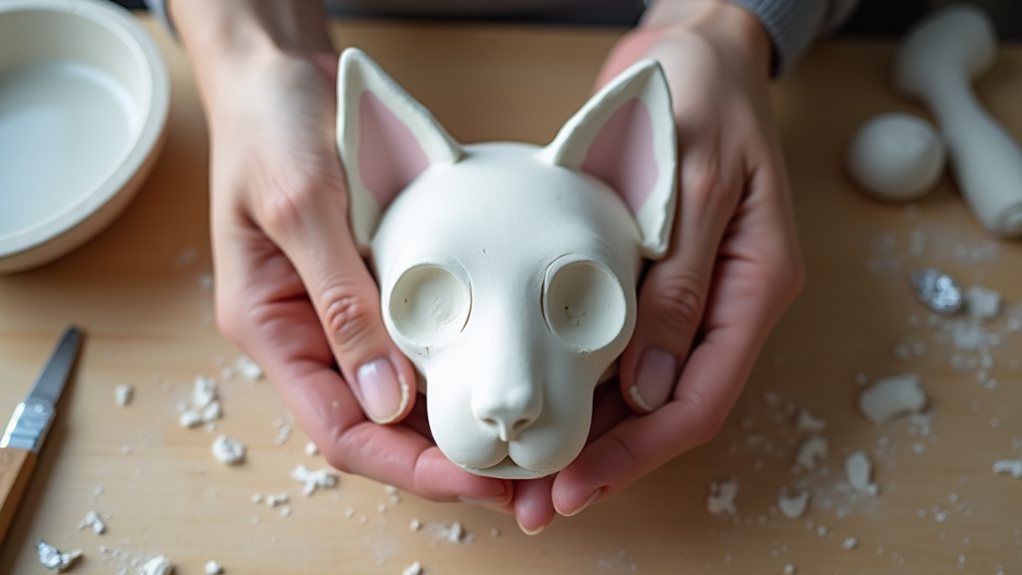
After you’ve smoothed and polished your cat’s head, it’s time to build out the distinctive features that’ll bring your sculpture to life.
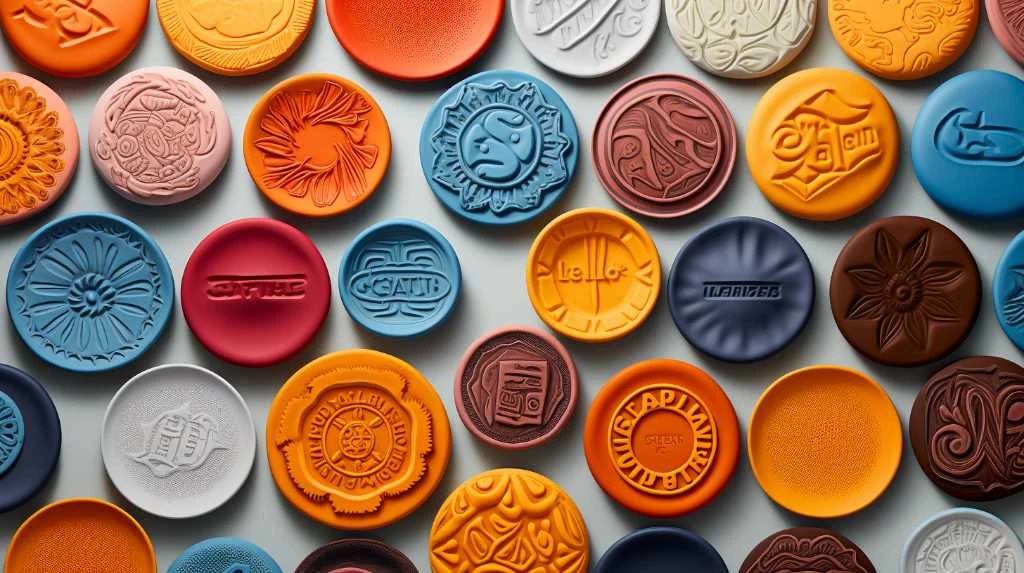
Start by shaping ears from clay rolled into squat pyramid forms, then create teardrop shapes for outer and inner ear details using contrasting colors. For the most lifelike appearance, consider slightly curving the ears inward to mimic feline anatomy rather than leaving them perfectly upright.
For the nose, roll small clay balls and flatten them into oval or triangular shapes, or mix black and white clay to achieve gray tones.
Before attaching these elements, apply a small amount of water to your head surface to create sticky adhesion.
Press ears firmly onto the moistened back, ensuring joint firmness while positioning them evenly.
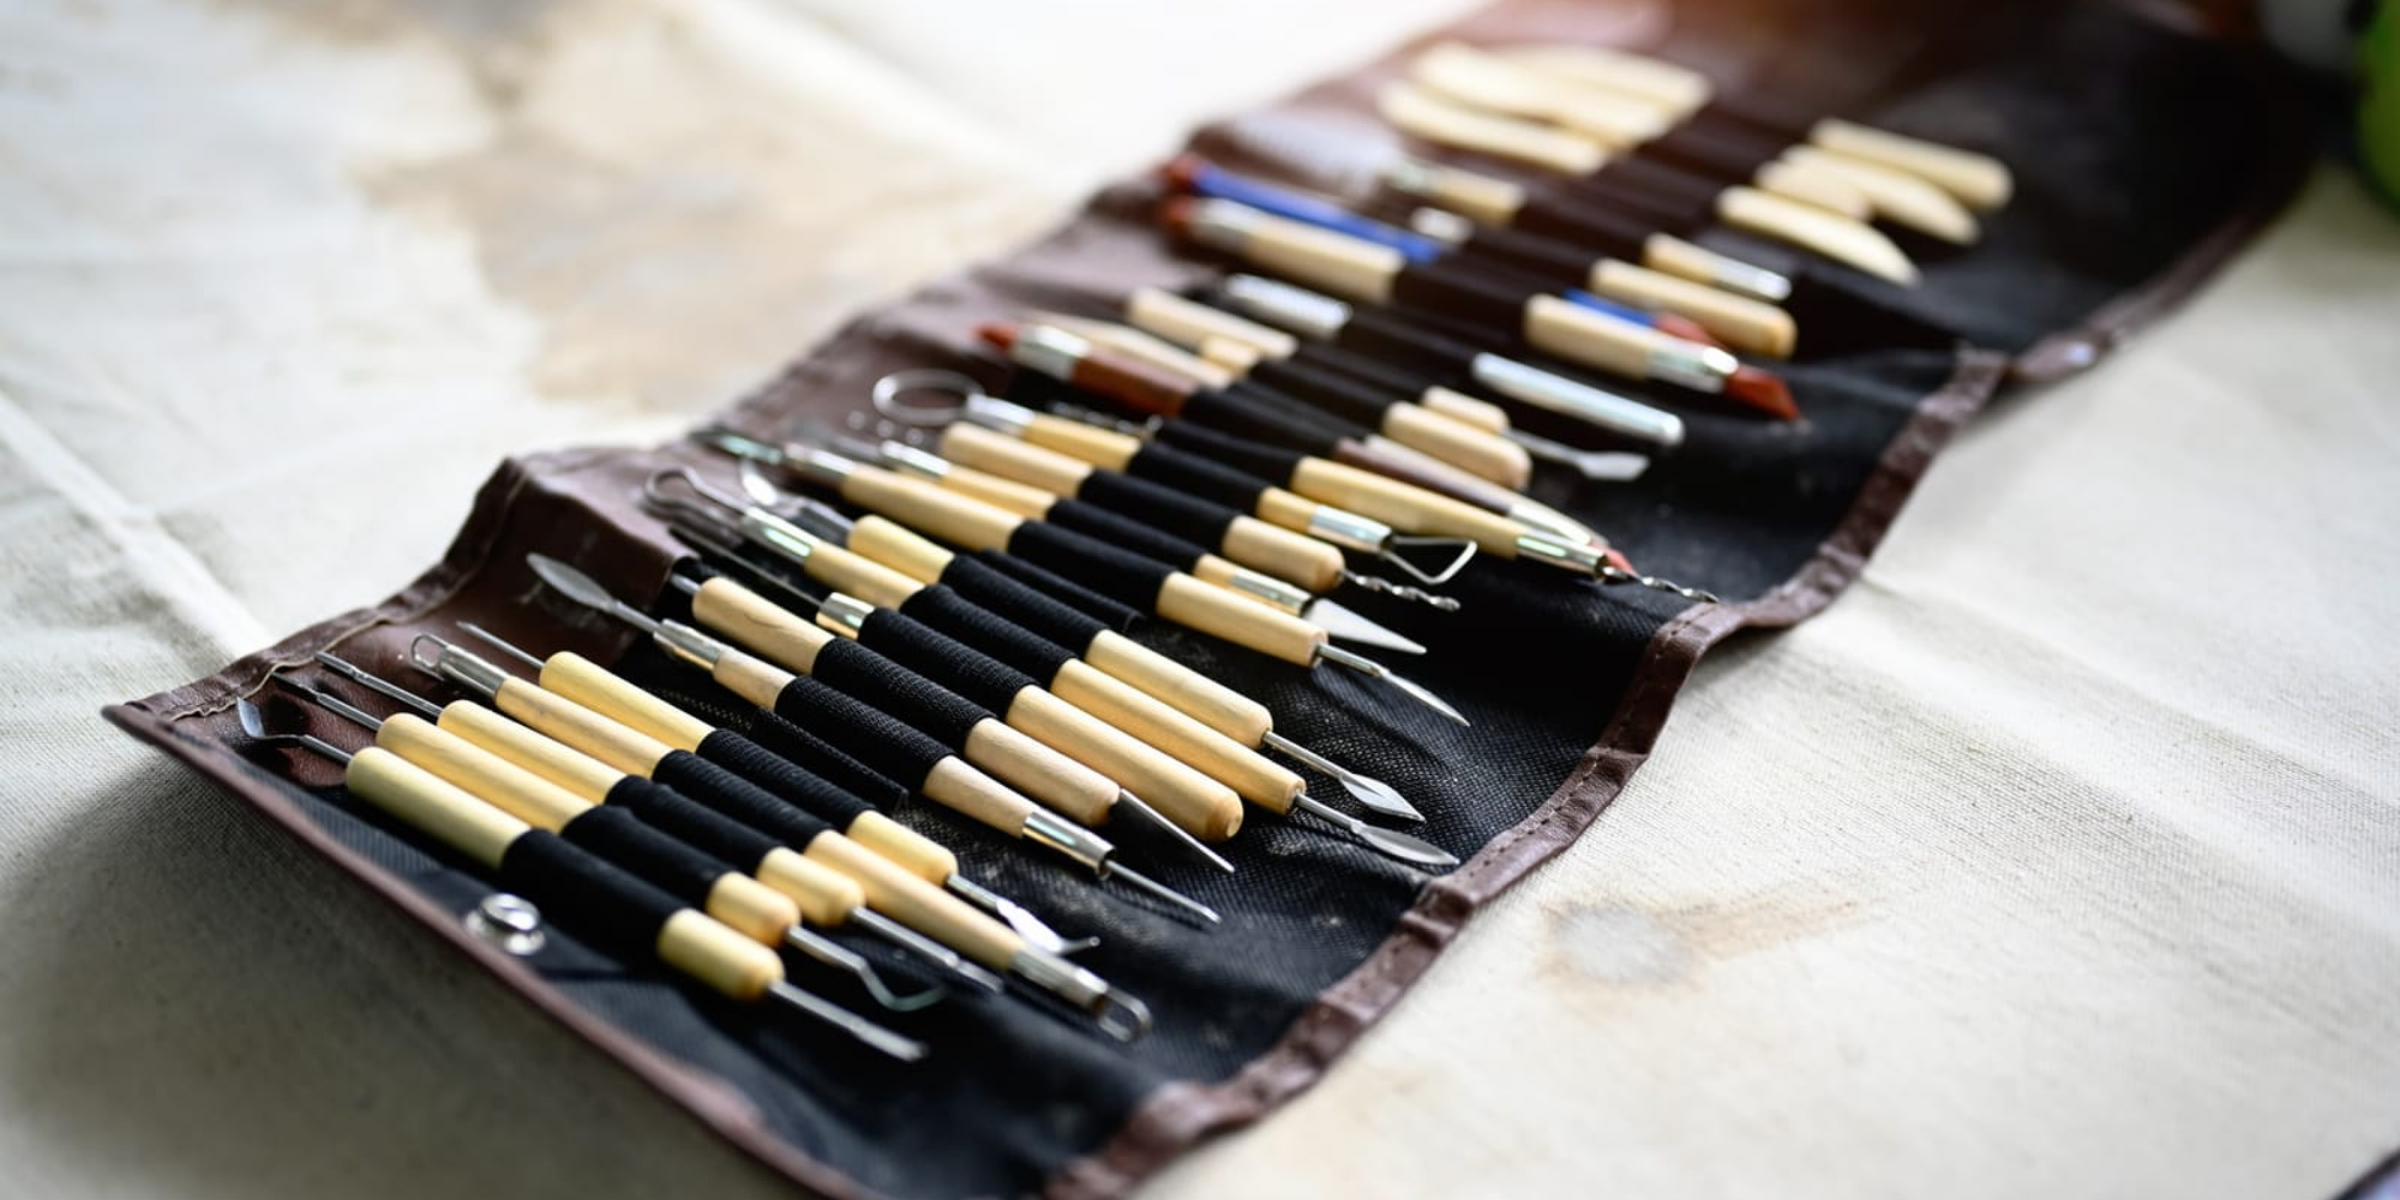
Attach the nose similarly, then use water and a sculpting knife to smooth edges where pieces meet, eliminating any air gaps that could compromise stability during drying.
Step 4. # Add Details and Texture
Your cat’s basic form is now ready for the finishing touches that’ll transform it from a simple sculpture into a lifelike creation. Start by adding realistic fur texture to the surface, using your fingers to create subtle indentations that mimic hair patterns.
Score the areas where you’ll attach details like the tail, creating rough surfaces that help pieces bond securely. Press clay around existing features to form natural pleats and contours throughout the body. Make the tail first before attaching other extra pieces to ensure proper proportions and positioning.
Use a knife on stubborn sections, then smooth everything with water-dipped fingertips to blend attachments seamlessly. Dip your finger in water and gently rub over any scratches or fingerprints, avoiding textured marks that would contradict your fur details.
These careful finishing steps ensure your clay cat looks polished and professional before the drying process begins.
Step 5. Paint and Seal Finished Cat
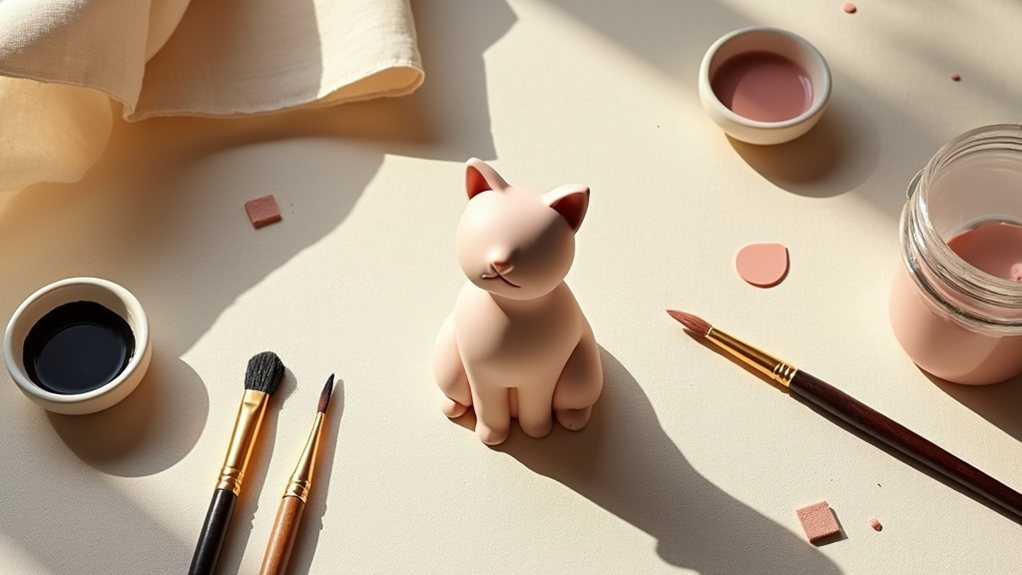
Once you’ve completed all the sculpting details and texturing, allowing your clay cat to dry completely becomes the next critical step before you can bring it to life with color. Wait at least 24 hours, or up to five days in humid climates, ensuring complete dryness throughout. A gentle tap test can indicate readiness—a solid sound means your cat is ready to paint, while a soft or squishy response means it needs more time to dry.
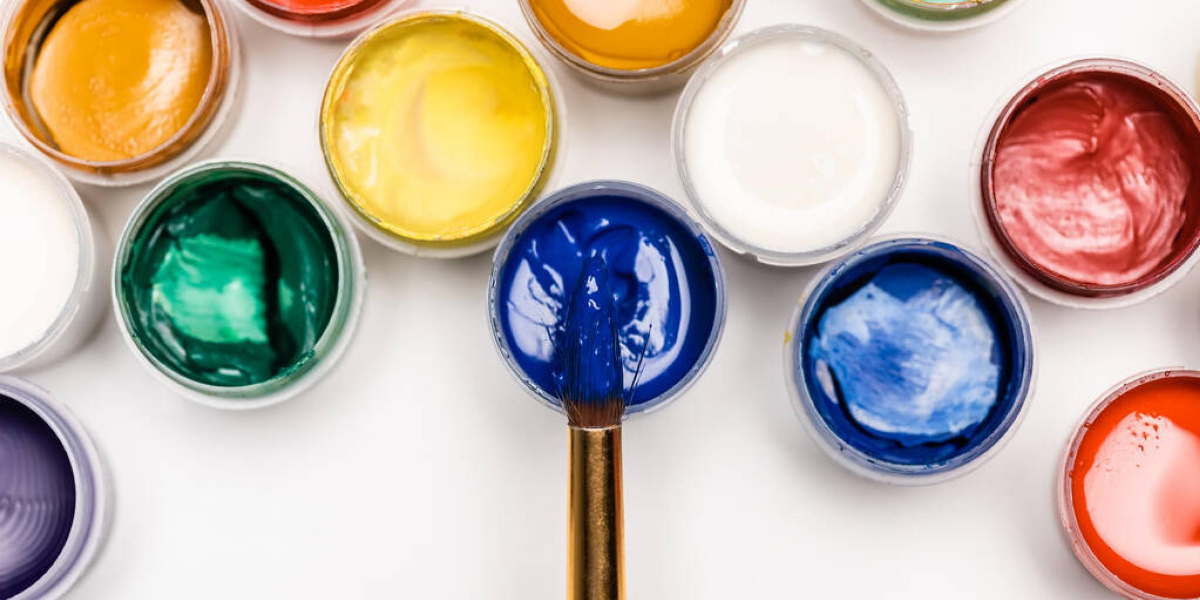
Apply gesso primer in one or multiple layers to seal the porous surface and enhance paint adhesion.
Using acrylic paints, apply a uniform base coat across the entire sculpture, then add details like eyes and tail with a fine brush and black paint. Allow each coat to dry completely, typically 24 hours.
Finally, seal your finished cat with Mod Podge, polyacrylic, or archival varnish to protect against dust, UV rays, and damage, ensuring longevity.
Final Thoughts
Creating air dry clay cats rewards you with charming, personalized sculptures that capture feline personalities through accessible crafting techniques.
You’ve learned that patience and proper preparation yield the best results—from kneading clay through final varnishing.
Remember that simple designs work best with air dry clay’s fibrous texture, so you shouldn’t feel pressured to attempt intricate details.
Your success depends on allowing adequate drying time between layers, using armatures for support, and reinforcing vulnerable areas like ears and joints with extra clay. Consider using a cardboard tube and ping pong ball as an armature base to provide structural stability for your cat’s head and body.
With practice, you’ll develop intuition for timing and technique.
Each cat you create becomes uniquely yours, reflecting your creative vision while building valuable sculpting skills that’ll enhance future projects.