You’ll discover that mini trinket dishes blend both form and function in your home decor arsenal. These charming clay creations offer endless possibilities for organizing small treasures while adding personality to your space. Whether you’re storing rings by your sink, corralling paper clips on your desk, or displaying delicate keepsakes on your vanity, these handcrafted dishes serve as both practical solutions and artistic statements. Let’s explore how you can craft these versatile pieces to match your style and needs.
Key Takeaways
- Mini trinket dishes are small decorative containers used to organize jewelry, small accessories, and precious items on dressers or vanities.
- They can be easily crafted at home using air dry clay, a small bowl for shaping, and basic tools like a rolling pin.
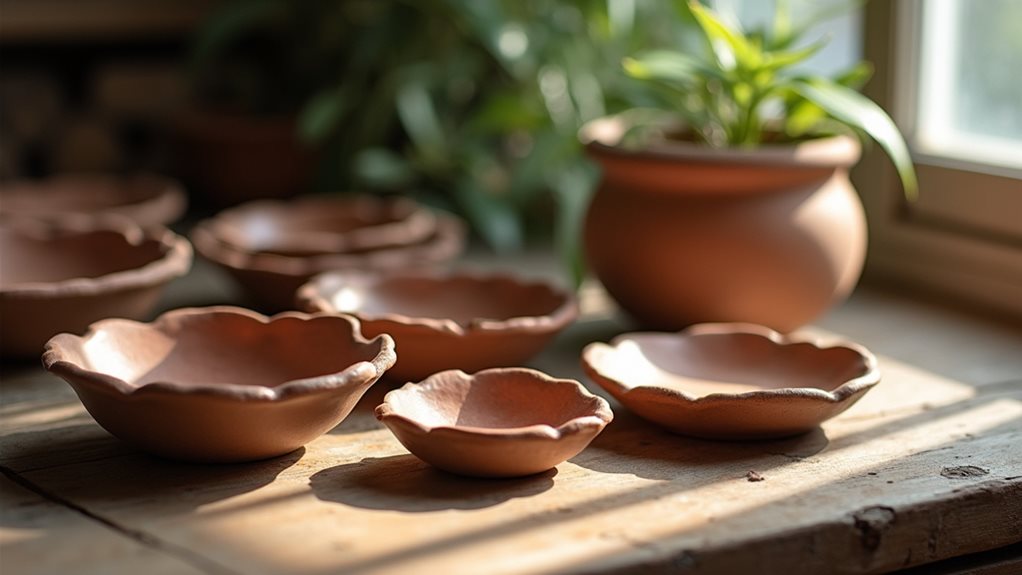
- These dishes typically measure 4-6 inches in diameter and feature raised edges to securely hold small items.
- Modern trinket dishes serve both practical storage purposes and aesthetic functions as decorative pieces in home decor.
- They make perfect personalized handmade gifts and can be customized with different colors, patterns, and designs.
History
While trinket dishes have been used for centuries across various cultures, their modern DIY incarnation gained popularity during the Arts and Crafts Movement of the late 19th century, when craftspeople began creating smaller, more personalized versions of traditional ceramic vessels.
You’ll find that these decorative containers evolved from ancient offering bowls used in religious ceremonies to become practical household items during the Victorian era.
They’ve served multiple purposes throughout history, from holding precious jewelry and coins to displaying small collectibles.
During the 1960s and 1970s, you’d often see these dishes crafted in pottery classes as beginner projects, helping students master basic clay-forming techniques.
Today’s renewed interest in handmade goods has sparked a revival of trinket dish creation, with crafters exploring new materials and innovative designs.
Project
These delightful miniature trinket dishes offer a perfect solution for organizing small jewelry pieces and precious items while adding a decorative element to your space. Crafted from air dry clay, each dish becomes a unique expression of creativity that serves both form and function on dressers, vanities, or bedside tables.
Creating these dishes is a relaxing and satisfying project that allows for endless customization through shape, size, and design. The versatile nature of air dry clay makes it possible to craft multiple dishes in a single session, each one carrying its own personality through textural elements, painted finishes, or sculptural edges.
- Air dry clay (4 oz / 113 g)
- Rolling pin
- Small bowl (4-6 inches / 10-15 cm diameter)
- Sculpting tool or butter knife
- Acrylic paint
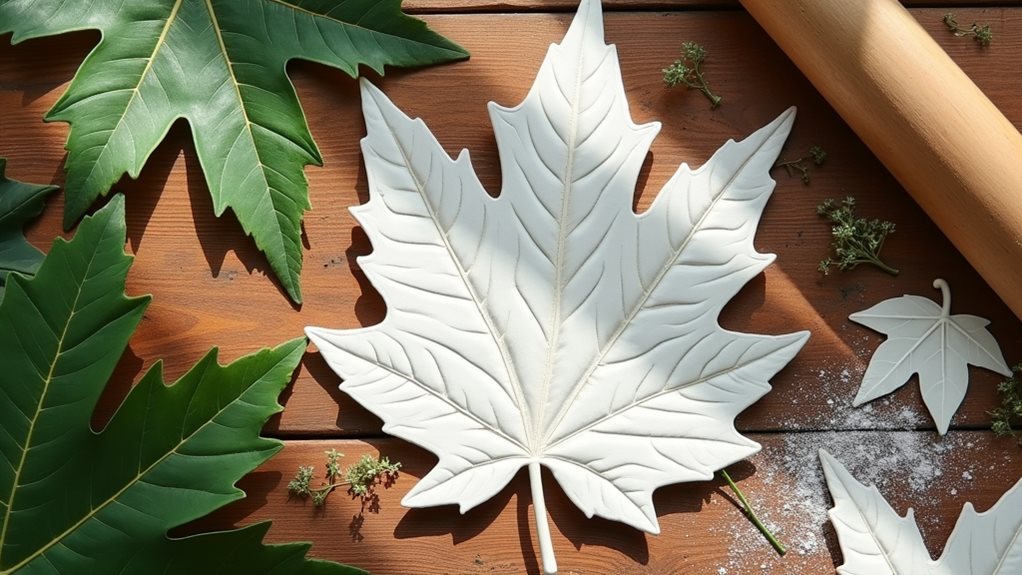
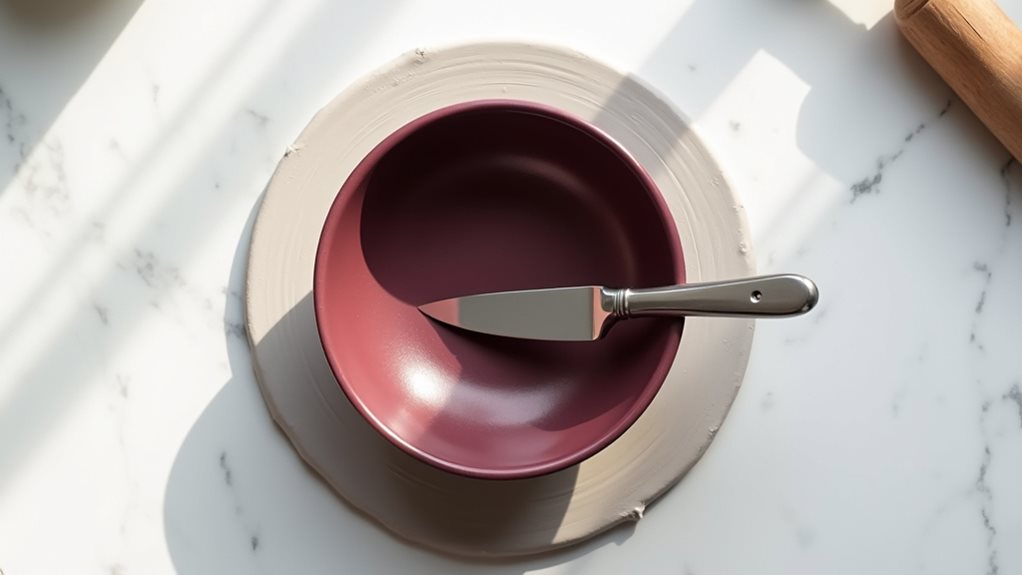
Begin by conditioning the clay through kneading until it becomes soft and workable, then roll it out to approximately 1/4 inch (6mm) thickness on a smooth surface. Using the inverted bowl as a template, cut a circle in the clay that extends roughly one inch beyond the bowl’s edge.
Drape the clay over the upturned bowl, gently smoothing it to eliminate air pockets and create the desired shape. Form the edges according to your preference, then carefully remove the shaped clay and allow it to dry completely for 24-48 hours.
For optimal results, maintain a slightly damp working surface and periodically moisten your hands to prevent the clay from sticking. Consider creating texture by pressing patterns into the clay before shaping, and remember to account for approximately 5-10% shrinkage during the drying process.
Once thoroughly dry, paint your dish as desired and apply a clear acrylic sealer to enhance durability and protect the surface from moisture.
Project Steps
Begin your project by kneading the clay until it’s pliable and rolling it to a 1/4-inch thickness on a smooth surface.
Next, place an inverted bowl on the clay, cut a circle that extends about an inch beyond the bowl’s edges, and carefully drape your clay over the bowl to create the dish’s shape.
Once the clay has dried completely after 24-48 hours, you’ll paint your creation and seal it with clear acrylic sealer for a professional finish.
Step 1. Knead Clay Until Pliable
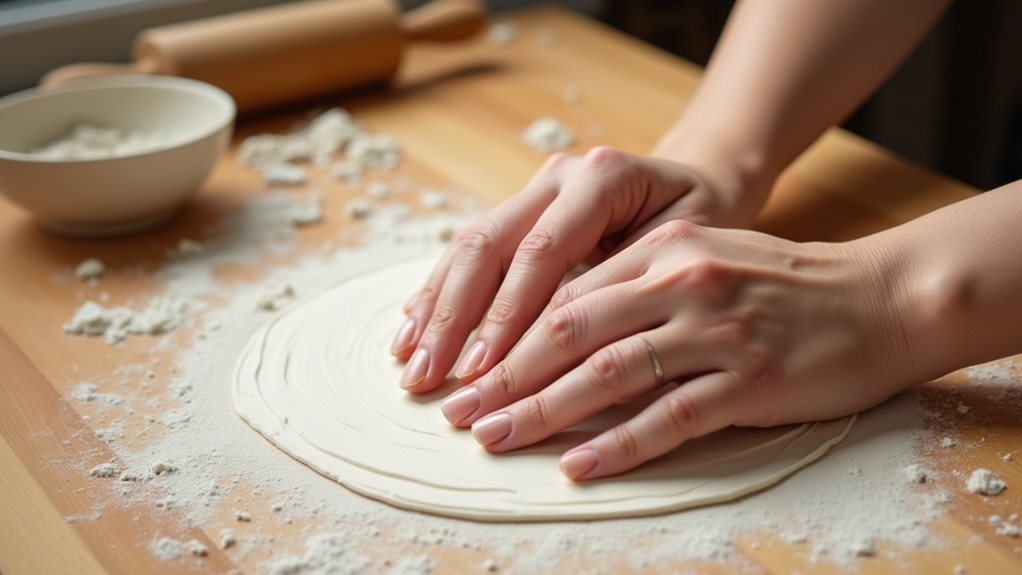
Take a lump of air dry clay about the size of your fist and press it firmly between your palms.
Begin working the clay by repeatedly folding it in half and pressing down, using the heels of your hands to apply consistent pressure. You’ll notice the clay becoming warmer and more malleable as you continue this motion for several minutes.
When you encounter any hard spots or inconsistencies, focus extra attention on those areas by pinching and folding them until they blend smoothly with the rest of the clay.
The clay is properly kneaded when it feels uniformly soft throughout and doesn’t show any cracks or air bubbles when you stretch it.
If the clay starts sticking to your hands, you can lightly dust them with cornstarch to maintain better control.
Step 2. Roll Clay to Thickness
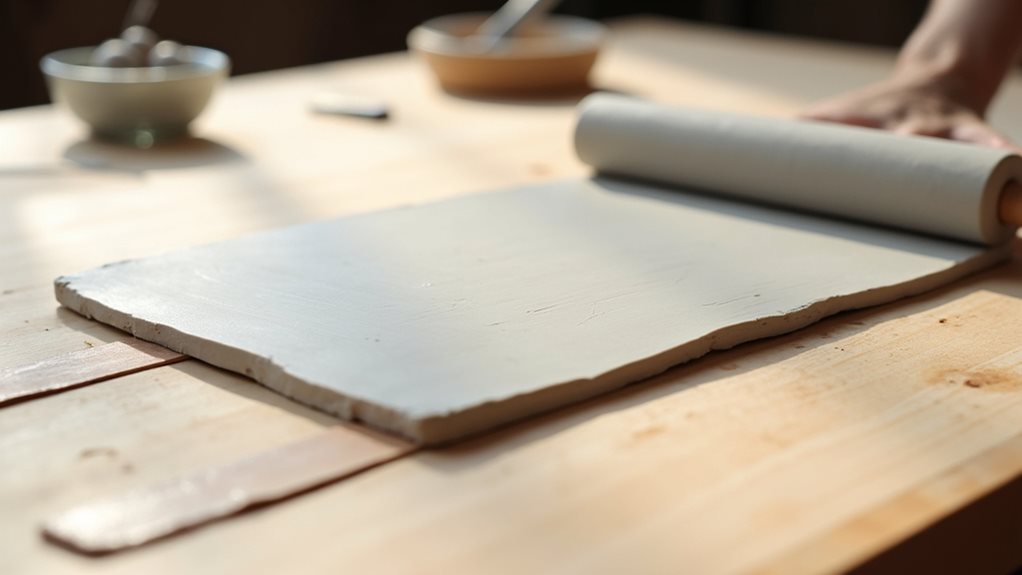
Place your kneaded clay on a smooth, non-stick work surface that’s been lightly dusted with cornstarch to prevent sticking.
Using a rolling pin, begin pressing down on the clay with even pressure, working from the center outward in all directions. You’ll want to maintain consistent force as you roll to achieve uniform thickness throughout.
Continue rolling until your clay reaches approximately 1/4 inch thickness. To ensure accuracy, you can place two craft sticks of equal height on either side of your clay as guides for your rolling pin.
If you notice any air bubbles forming, gently pierce them with a needle tool and smooth the surface. The clay should form an even circle large enough to accommodate your bowl template with an extra inch around its perimeter.
Step 3. Cut Circle Around Bowl
Position your inverted bowl in the center of your rolled clay, ensuring there’s at least an inch of extra clay extending beyond the bowl’s rim.
Using your sculpting tool or butter knife, carefully trace around the bowl’s circumference, maintaining a steady hand to create a clean, even cut. You’ll want to keep your cutting motion fluid and continuous to avoid creating jagged edges.
For more intricate edges, you can use your sculpting tool to create decorative patterns like scallops or waves as you cut.
If you make any mistakes during cutting, don’t worry – simply smooth out the clay with your fingertips and try again.
Remember to lift your clay circle carefully after cutting to prevent distortion, and check that your circle is even all the way around before moving to the shaping step.
Step 4. Drape Clay Over Bowl
Once you’ve cut your clay circle, gently lift it with both hands, keeping your fingers spread to provide even support across the surface.
Center the clay over your inverted bowl, allowing it to naturally drape down the sides. Work slowly and deliberately as you smooth the clay against the bowl’s surface, starting from the center and moving outward in gentle, circular motions.
Pay special attention to any air pockets that might form between the clay and bowl – press these out carefully to ensure an even surface.
Shape the edges of your dish according to your design preferences, whether you’re creating soft waves, precise scallops, or a clean rim.
Don’t worry if the clay extends slightly beyond the bowl’s edge, as this overhang will help create an attractive lip for your finished trinket dish.
Step 5. Paint and Seal Dish
After your trinket dish has thoroughly dried, it’s time to transform it with a decorative finish that will protect and beautify your creation.
Apply two thin coats of acrylic paint in your chosen colors, allowing each layer to dry completely before adding the next. You can create patterns using different colors, add metallic accents, or keep it simple with a solid shade.
Once the paint has fully dried, seal your dish with two layers of clear acrylic sealer, which will protect the paint and make the surface water-resistant.
Apply the sealer with smooth, even strokes, waiting for the first coat to dry before adding the second. This protective finish ensures your trinket dish remains beautiful and functional for years to come.
Final Thoughts
Creating these miniature trinket dishes transforms simple clay into personalized storage solutions that you’ll treasure for years to come.
You’ll find endless possibilities for customization through different shapes, sizes, and decorative elements that reflect your unique style and creative vision.
As you master the basic technique, don’t hesitate to experiment with more complex designs, such as adding dividers for multiple compartments or incorporating raised edges for better containment.
These dishes make thoughtful handmade gifts for friends and family, especially when crafted with specific recipients in mind.
Remember that practice improves your skills, so consider making several dishes in one session to refine your technique and develop a collection that serves various storage needs throughout your home.