You’ve likely noticed that messy spoon situation while cooking – drips and drops from your mixing spoon creating a small disaster on your pristine counter. A spoon rest isn’t just a practical solution; it’s a piece of kitchen history that dates back to ancient civilizations. Whether you’re stirring a bubbling sauce or folding cake batter, this simple tool transforms your cooking experience while adding a touch of personality to your kitchen workspace.
Key Takeaways
- Spoon rests are kitchen accessories designed to keep cooking utensils elevated and countertops clean during food preparation.
- Available in materials like ceramic, metal, or silicone, spoon rests prevent drips and messes while cooking.
- Most spoon rests feature raised edges to contain spills and are typically 6 inches or longer to accommodate various utensils.
- These kitchen tools originated in ancient times and became standard household items during the 1950s.
- Modern spoon rests combine practical functionality with decorative elements, serving as both useful tools and kitchen decor pieces.
History
While spoon rests have been around since ancient times, they didn’t gain widespread popularity until the late Victorian era when elaborate dining customs and specialized kitchen tools became fashionable.
You’ll find evidence of early spoon rests in Roman and Chinese households, where they were often crafted from bronze, ceramic, or carved stone.
During the Industrial Revolution, you’d see mass-produced spoon rests appearing in middle-class homes, reflecting the period’s emphasis on cleanliness and order.
They’ve evolved from simple clay discs to intricate designs featuring decorative elements and practical innovations.
In the 1950s, you’d notice spoon rests becoming standard kitchen equipment, with manufacturers producing them in various materials including plastic, metal, and glass.
Today, you’ll discover these useful implements in nearly every kitchen, combining functionality with personal style.
Project
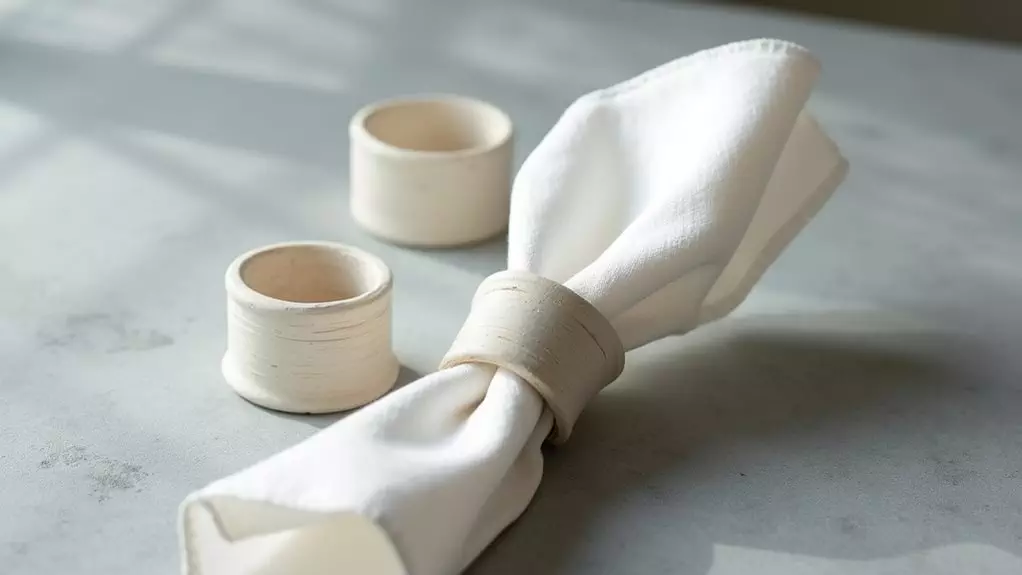
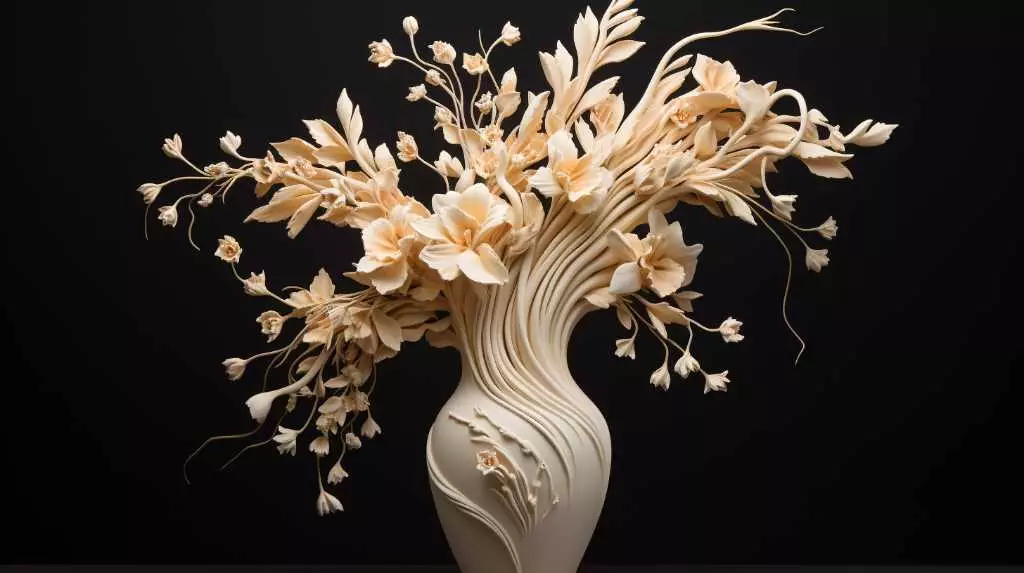
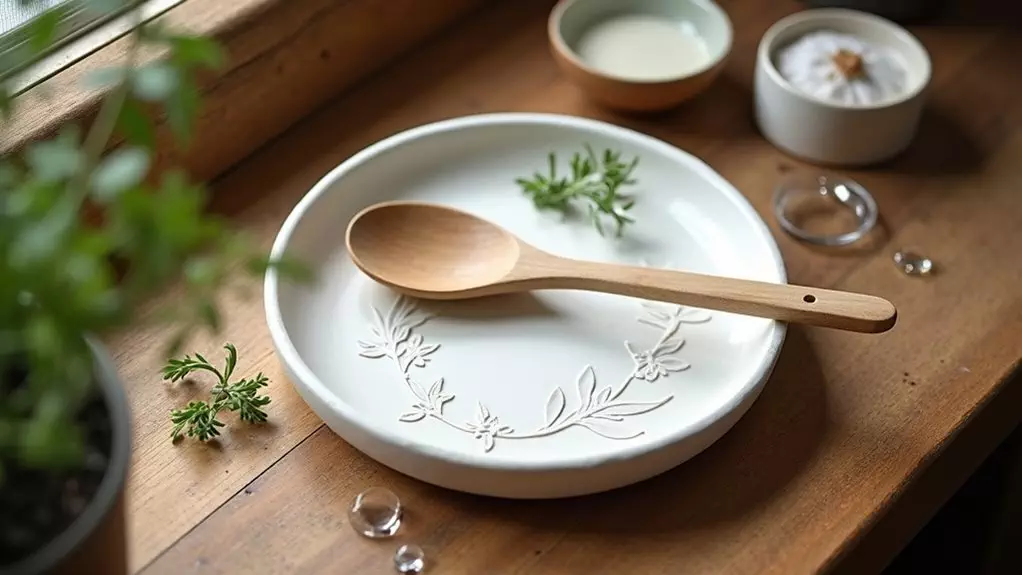
A handmade spoon rest combines practicality with personal artistic expression, offering a functional solution for keeping cooking utensils and countertops clean while adding a decorative touch to your kitchen.
Whether painted or left in its natural state, this custom piece becomes both a useful tool and conversation starter.
This straightforward project using air dry clay requires no special equipment or firing, making it accessible for crafters of all skill levels. The entire creation process takes just one afternoon, though you’ll need to account for 24-48 hours of drying time before your spoon rest is ready for use.
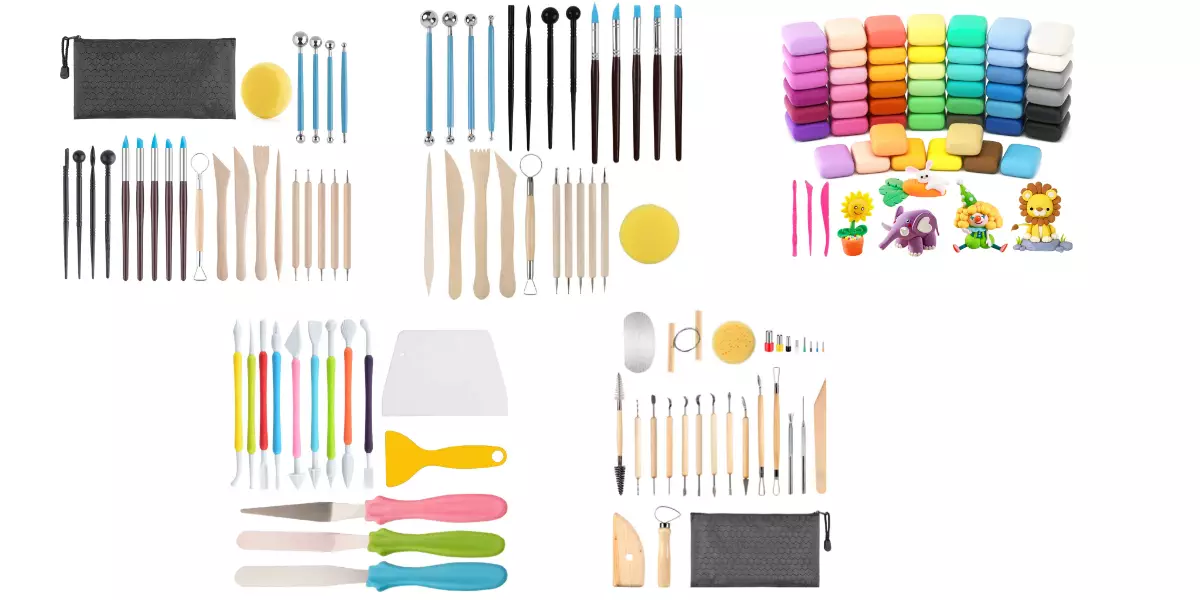
Materials:
- Air dry clay (8 oz / 225g)
- Rolling pin (12-inch / 30cm)
- Parchment paper (12×12-inch / 30x30cm)
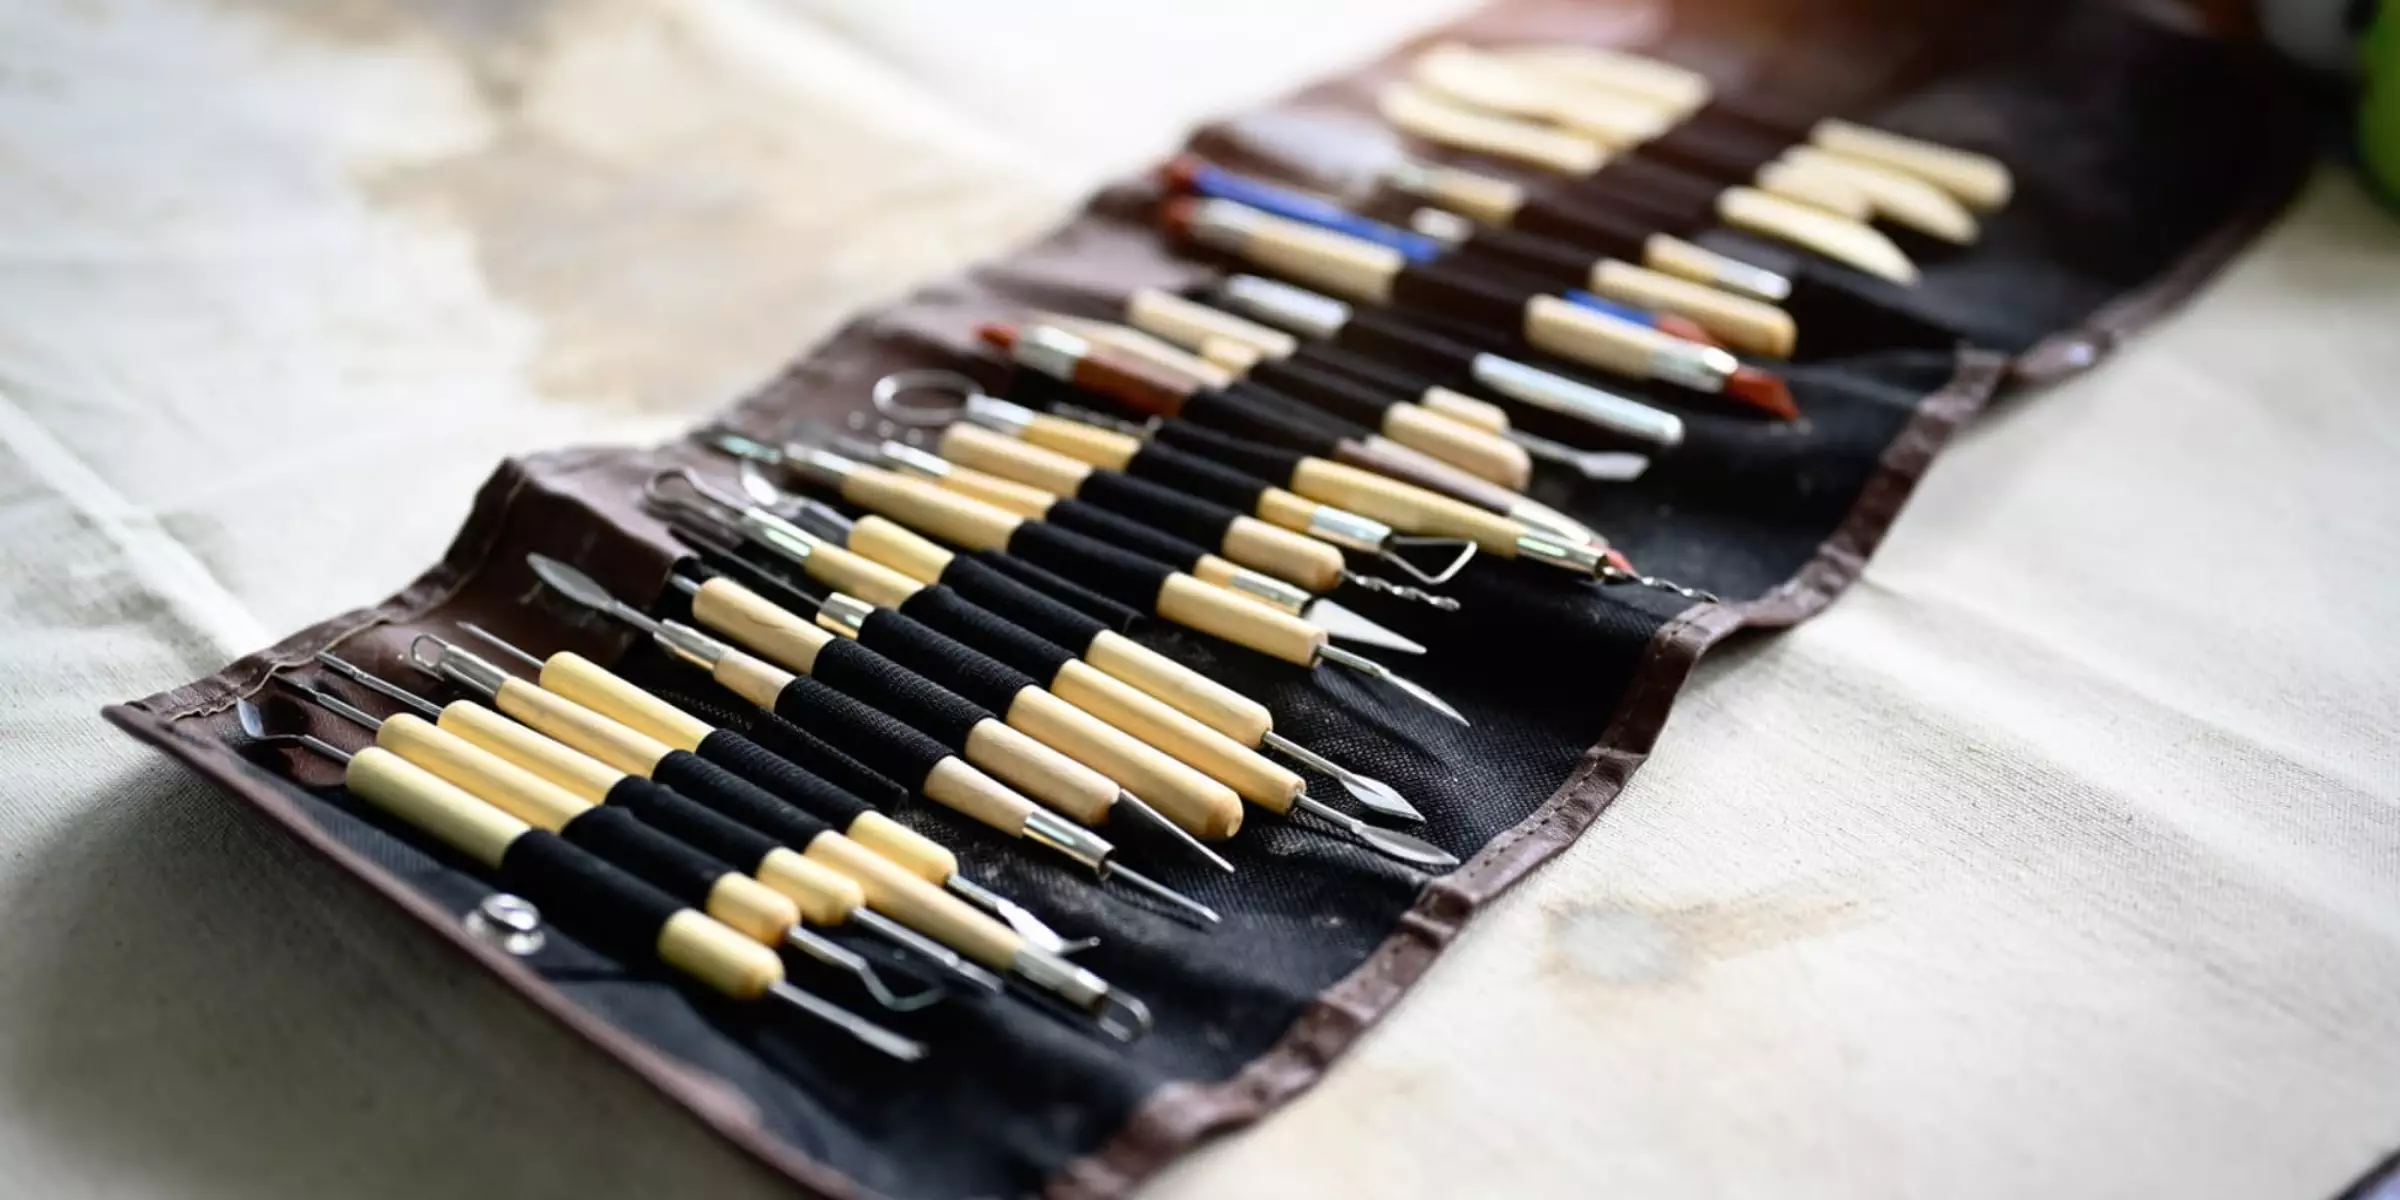
- Sharp knife or clay cutting tool
- Small bowl of water (4 oz / 120ml)
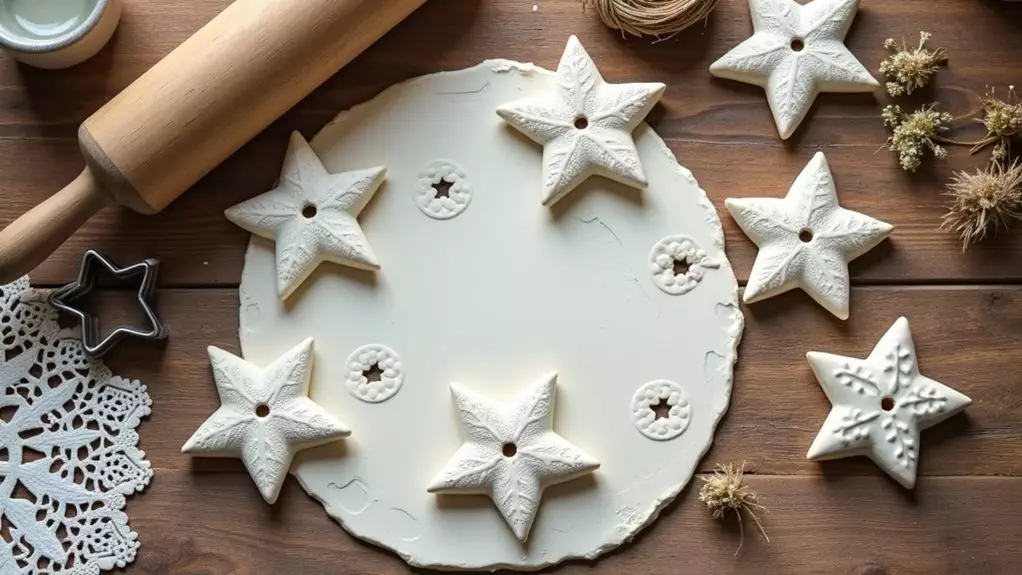
Condition the clay by kneading it until soft and pliable, then place between two sheets of parchment paper and roll to 1/4 inch (6mm) thickness.
Using your knife, cut the clay into your desired shape, ensuring a minimum length of 6 inches (15cm) to accommodate cooking utensils. Create a raised edge by gently pinching the clay upward around the perimeter, then smooth all surfaces using slightly dampened fingers.
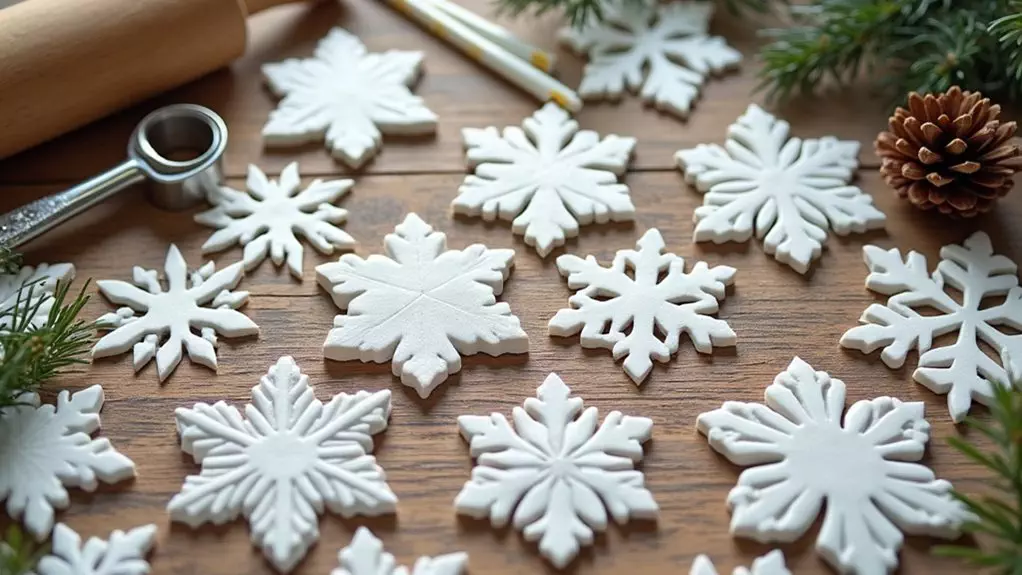
If adding decorative elements, press patterns into the clay now, then leave the piece to dry on a flat surface.
To ensure optimal results, flip the spoon rest every few hours during the first day of drying to prevent warping. Consider elevating the piece slightly by adding small clay feet before drying begins, and avoid placing wet clay directly on absorbent surfaces like newspaper or cardboard.
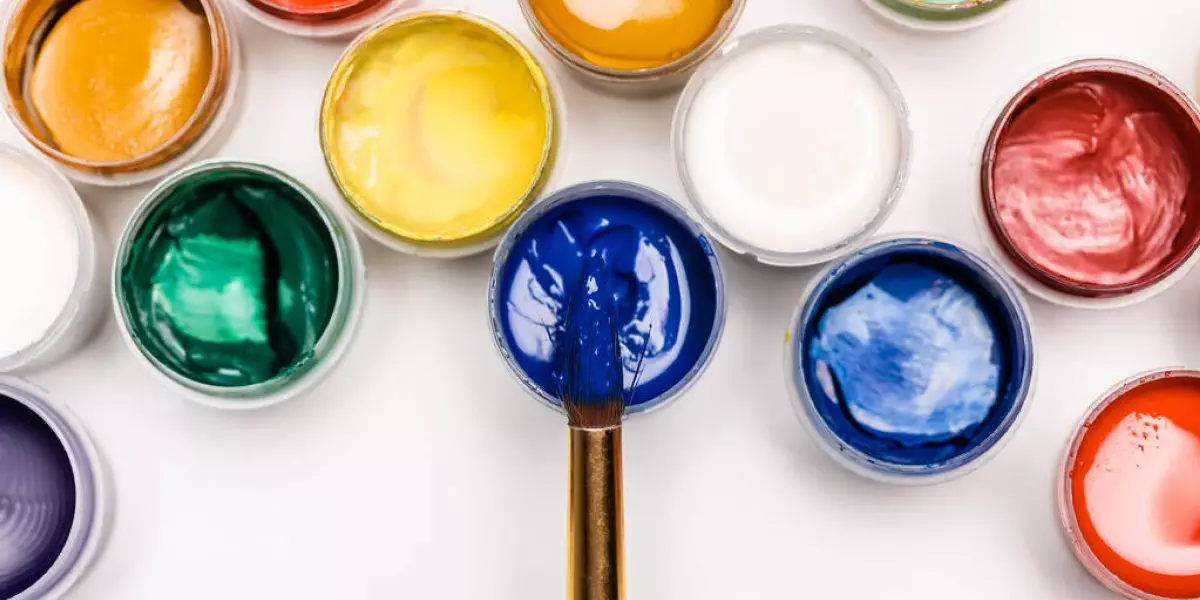
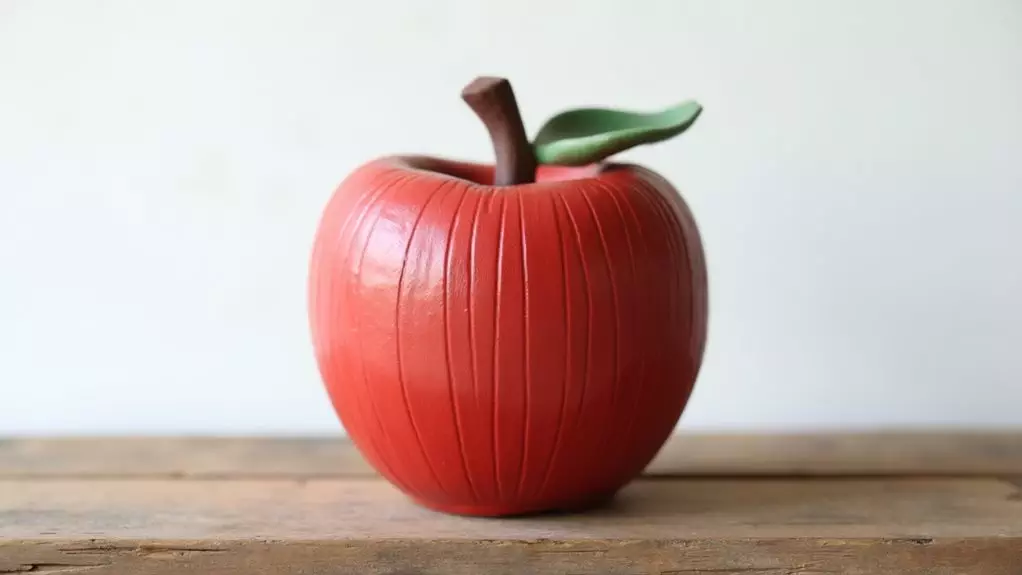
While paint or food-safe sealants can be applied after complete drying, the natural clay finish provides an equally attractive and functional surface that will serve well in any kitchen setting.
Project Steps
You’ll start your spoon rest project by kneading the clay until it’s completely pliable, then rolling it between two sheets of parchment paper to achieve an even thickness.
Next, you’ll cut your desired shape from the flattened clay and carefully pinch up the edges to create a functional rim that contains spills and drips.
Once you’ve shaped your piece, let it dry on a flat surface for 24-48 hours, rotating occasionally to prevent warping and ensure even drying throughout.
Step 1. Condition Clay Until Soft

Before rolling out your clay, take several minutes to properly condition it by working the material between your hands until it becomes completely pliable and soft.
You’ll know the clay is ready when it feels warm and maintains a consistent texture throughout, with no hard spots or cracks visible.
Squeeze and fold the clay repeatedly, using the warmth of your hands to make it more malleable. If you’re working with a larger piece, break it into smaller sections that you’ll later recombine.
As you knead the clay, pay attention to any resistance or stiffness, which indicates that more conditioning is needed. Once the clay feels smooth and elastic, like softened butter, you can proceed to the rolling stage.
This thorough conditioning prevents air bubbles and ensures your finished spoon rest will be structurally sound.
Step 2. Roll Clay Between Parchment Sheets

With properly conditioned clay in hand, place two sheets of parchment paper on a clean, flat work surface to begin the rolling process.
Position your clay ball in the center of the bottom sheet, then cover it with the second sheet of parchment paper.
Using your rolling pin, apply even pressure as you roll from the center outward in all directions. Continue rolling until you’ve achieved a uniform thickness of approximately 1/4 inch.
If you notice the clay sticking or bunching, gently lift the top parchment sheet and reposition it before continuing.
You’ll want to maintain consistent pressure throughout the rolling process to ensure an even surface, which is crucial for creating a functional spoon rest that won’t wobble or collect water in uneven spots.
Step 3. Cut Desired Spoon Rest Shape

Once the clay reaches an even thickness, carefully peel back the top parchment sheet to reveal your prepared canvas.
Using your sharp knife or clay cutting tool, begin cutting your desired shape, whether it’s a classic oval, rectangle, or creative design. You’ll want the base to measure at least 6 inches long to accommodate standard cooking utensils.
After establishing the main shape, use your knife to trim away excess clay, ensuring clean, smooth edges. If you’re planning to add a raised rim, leave a bit of extra material around the perimeter.
For more precise cuts, keep your blade at a 90-degree angle to the clay’s surface, and don’t hesitate to make multiple passes rather than forcing the blade through in one motion. Wipe your cutting tool clean between cuts to maintain sharp, defined lines.
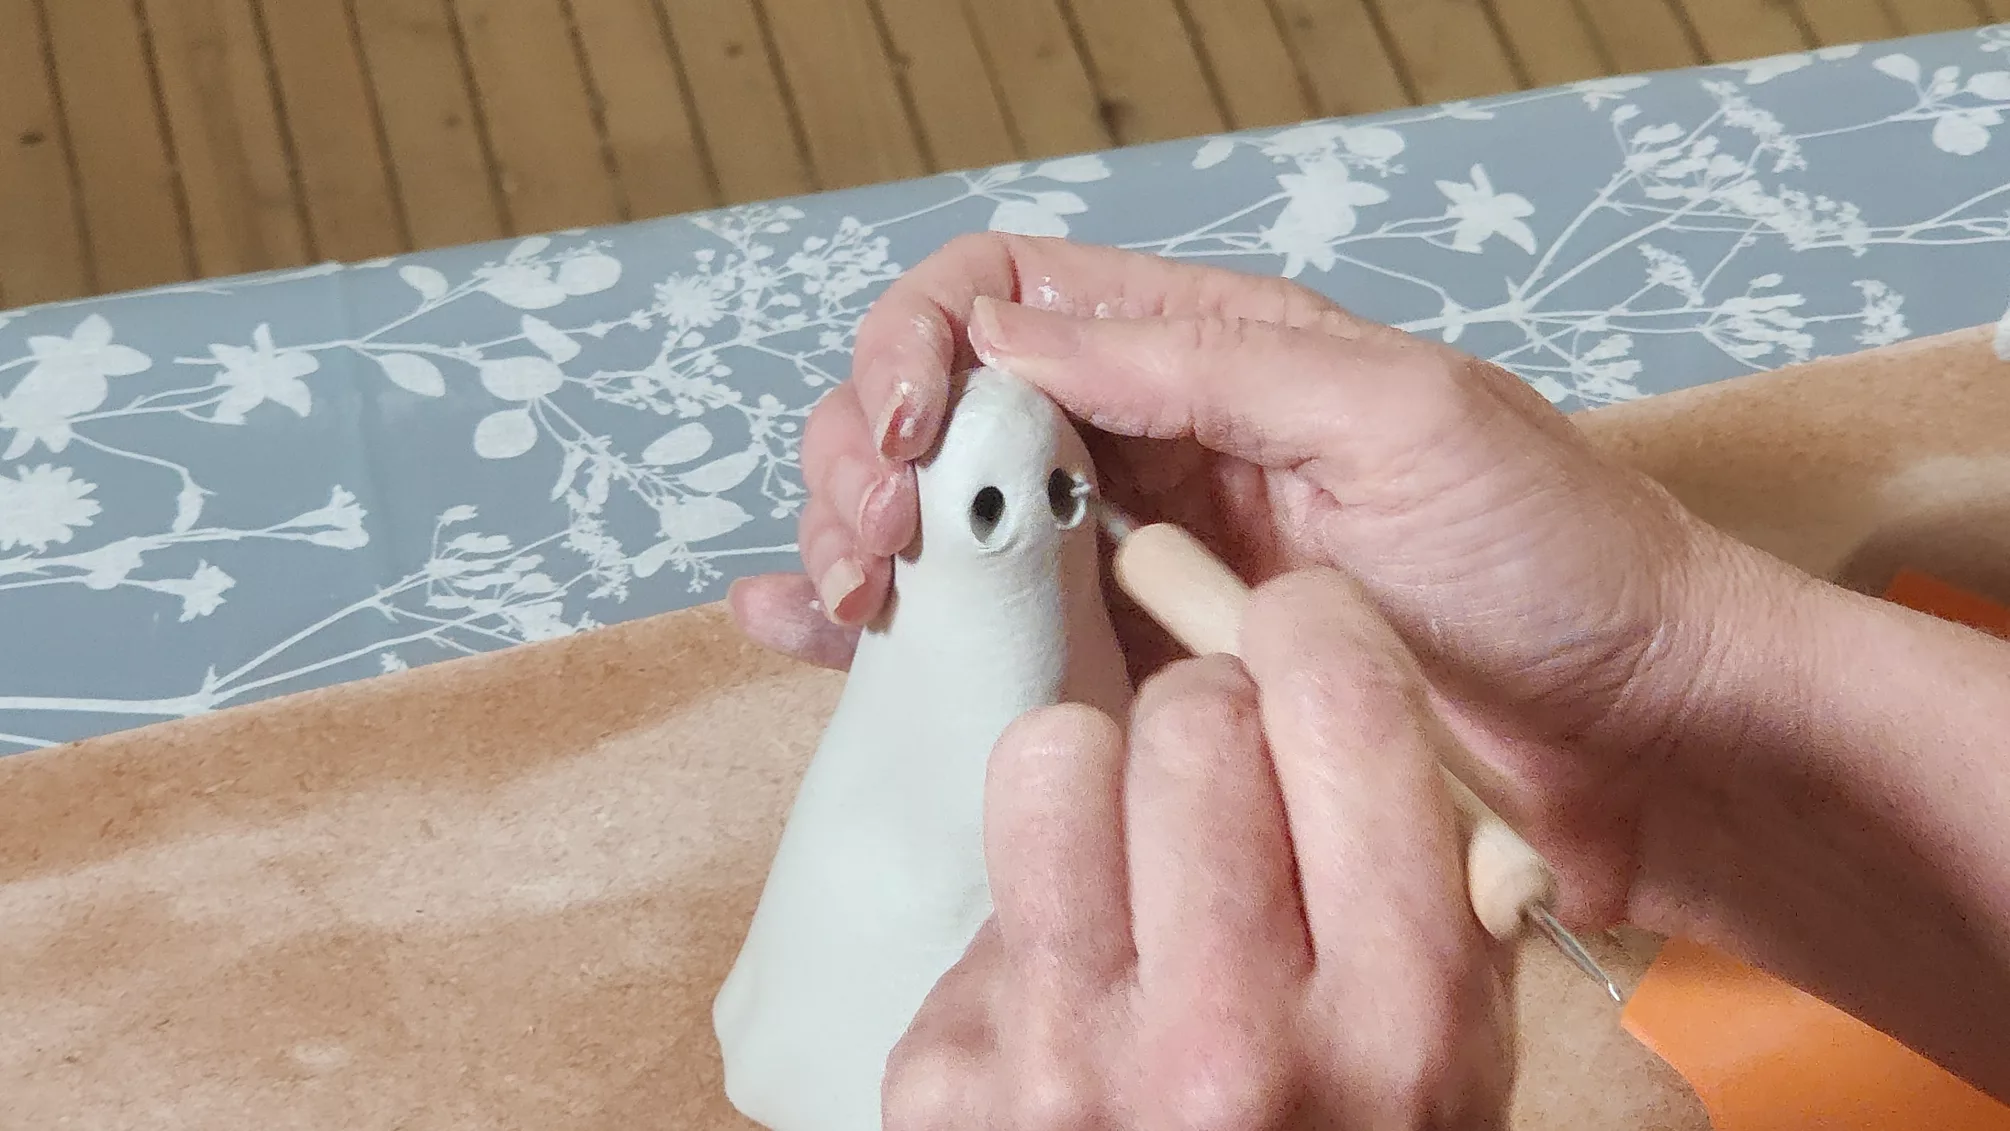
Step 4. Shape Rim With Clay Pinch

Gently pinching the clay along the perimeter creates an essential raised edge that prevents spills and adds visual interest to your spoon rest. Using your thumb and forefinger, work your way around the piece’s border, carefully pinching upward to form a rim that’s approximately 1/4 inch (6mm) in height.
You’ll want to maintain consistent pressure to ensure uniform elevation throughout. After forming the basic rim, smooth any uneven areas by dipping your fingertip in water and running it along both the inner and outer edges.
Don’t worry if your first attempt isn’t perfect – you can always pinch more clay upward or press down areas that seem too high. Once you’re satisfied with the rim’s height and evenness, give the entire edge a final gentle smoothing to ensure there aren’t any rough spots.
Step 5. Allow to Dry Flat

The proper drying setup determines the final quality of your spoon rest after completing the rim details.
Place your piece on a flat, non-porous surface away from direct sunlight and heat sources. Don’t use newspaper as your drying surface, since it can stick to the clay and compromise your design.
For even drying that prevents warping, you’ll need to rotate your spoon rest every 4-6 hours during the first day.
The complete drying process typically takes 24-48 hours, depending on your clay’s thickness and the room’s humidity levels.
You’ll know it’s fully dry when the clay feels room temperature to the touch and has transformed from dark to light gray.
Keep the piece undisturbed between rotations to ensure it maintains its intended shape.
Final Thoughts
While crafting a personalized spoon rest requires patience and attention to detail, you’ll find that this creative project delivers both practical value and artistic satisfaction to your kitchen space.
By following the steps carefully and allowing proper drying time, you’ll create a unique piece that serves your cooking needs while expressing your personal style.
Remember that you can customize your spoon rest with different shapes, textures, or decorative elements, making each piece truly one-of-a-kind.
Don’t rush the drying process, as proper curing ensures your creation will last for years to come.
Whether you choose to paint your finished piece or leave it in its natural state, you’ll have crafted a functional kitchen tool that combines practicality with artistic expression.