You’ll discover that Ragdoll cats offer a unique blend of beauty and temperament that sets them apart from other breeds. Their striking blue eyes, silky color-pointed coat, and gentle nature make them exceptional companions for both families and individuals. While their size might seem imposing, these gentle giants embody a docile spirit that’s earned them devoted followers worldwide. The story behind their development reveals fascinating insights into how this remarkable breed came to be.
Key Takeaways
- Ragdolls are large, gentle cats known for their striking blue eyes, color-pointed coats, and tendency to go limp when held.
- The breed originated in 1960s California from a white Persian/Angora cat named Josephine, developed by breeder Ann Baker.
- These cats are characterized by their docile, affectionate personalities and are often called “puppy-like” due to their friendly nature.
- Ragdolls typically have semi-long fur with distinctive color points on their face, ears, legs, and tail against lighter bodies.
- The breed reaches full maturity at around four years old, with males weighing 15-20 pounds and females 10-15 pounds.
History
Although the Ragdoll breed’s origins trace back to the 1960s, their fascinating story began with a white Persian/Angora-type cat named Josephine in California.
You’ll find that breeder Ann Baker developed the Ragdoll breed after noticing Josephine’s kittens displayed remarkably relaxed temperaments and striking color points.
Baker’s selective breeding program focused on developing cats with docile personalities, large sizes, and distinctive markings. She registered the breed with her own registry, the International Ragdoll Cat Association, in 1971.
While Baker’s strict control over breeding rights initially limited the breed’s development, other breeders eventually gained access to Ragdoll breeding stock.
Project
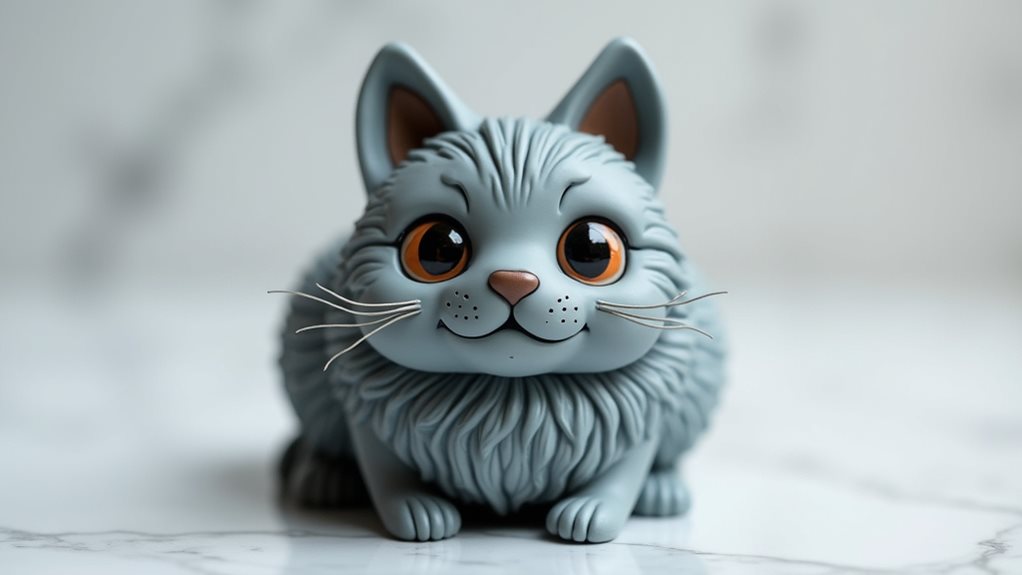
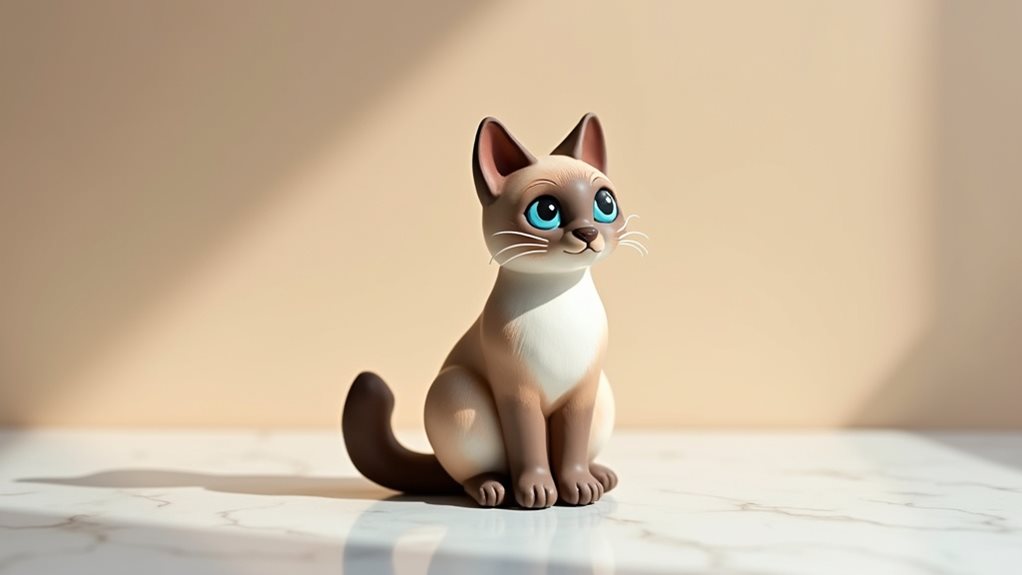
A Ragdoll Cat clay sculpture captures the essence of this gentle breed through handcrafted artistry. This charming creation showcases the distinctive features that make Ragdolls unique, from their striking blue eyes to their plush, color-pointed coat patterns.
This beginner-friendly project takes 2-3 hours to complete, with an additional 24-48 hours of drying time. The finished piece makes an ideal decoration for any cat lover’s home or a thoughtful handmade gift that celebrates the beauty of the Ragdoll breed.
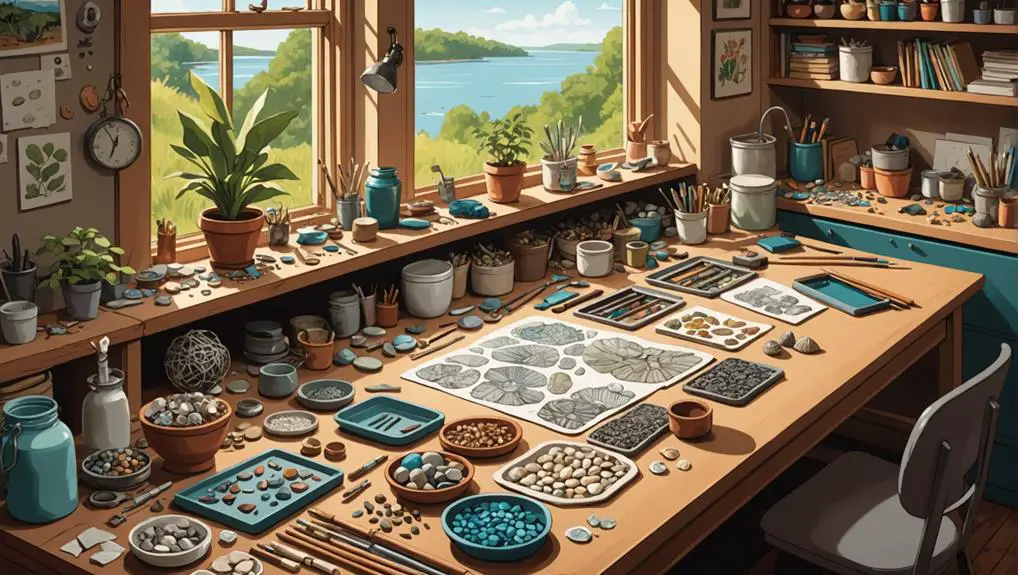
Materials:
- White air dry clay (8 oz / 225g)
- Acrylic paints (brown, white, black, blue)
- Paint brushes (1 medium, 1 fine tip)
- Sculpting tools or wooden skewer
- Clear acrylic sealer (2 oz / 60ml)
Divide the clay into three portions: 60% for the body, 20% for the head, and 20% for details. Form the body into an elongated oval for a sitting position, then create a rounded head with pointed ears. Craft the facial features using small clay pieces, paying special attention to the signature blue eyes and gentle expression.
Shape the tail and paws, then texture the surface with sculpting tools to create fur patterns. Once completely dry, paint the characteristic color points in soft brown tones, add white for the body, and finish with blue eyes and pink nose details.
When working with the clay, maintain even thickness throughout to prevent cracking and keep a small bowl of water nearby for smoothing seams. Work on a non-stick surface and regularly rotate the piece while sculpting to ensure proper proportions. Avoid overworking the clay, as this can make it too soft and difficult to manage.
After painting, apply two thin coats of sealer, allowing each layer to dry completely for a professional, lasting finish.
Project Steps
You’ll begin your Ragdoll Cat sculpture by dividing your clay into key portions: 60% for the body, 20% for the head, and 20% for additional features.
Next, you’ll shape an elongated oval for the sitting body position and craft a rounded head with pointed ears, carefully adding the distinctive facial features that make Ragdolls so recognizable.
Once you’ve completed the basic form and added texture for fur, you’ll paint the characteristic color points in soft brown tones and seal your finished piece with two protective coats.
Step 1. Divide Clay Into Portions
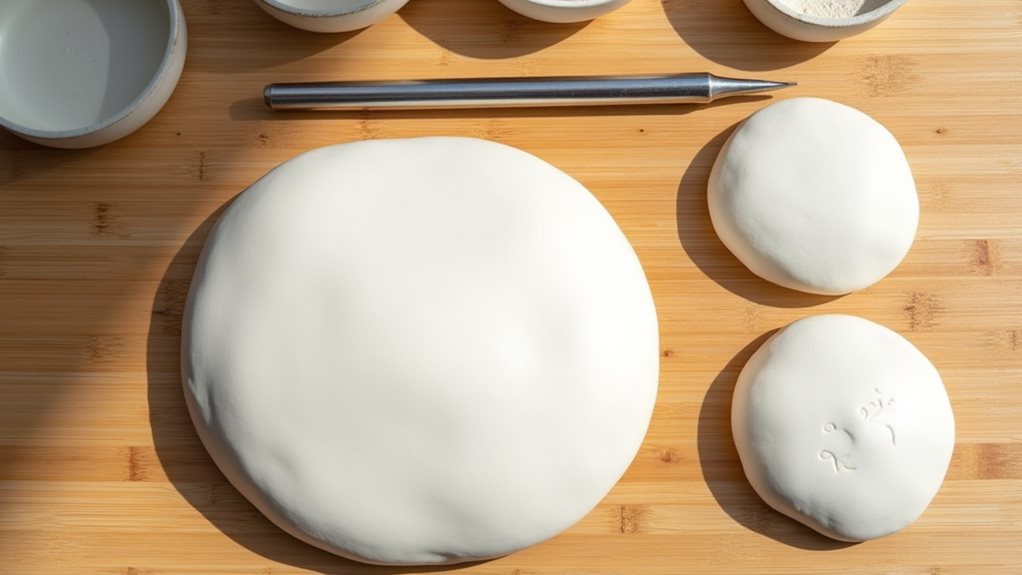
Begin your Ragdoll Cat sculpture by dividing the air dry clay into three essential portions.
You’ll need to allocate 60% of your clay (about 5 ounces) for the cat’s body, which will form the main sitting structure. Set aside 20% (roughly 1.5 ounces) for the head, ensuring you’ll have enough material to capture the Ragdoll’s distinctive facial features and rounded shape.
Reserve the remaining 20% for all the important details that bring your sculpture to life. This portion will be used to create the pointed ears, expressive blue eyes, detailed paws, and flowing tail that are characteristic of the Ragdoll breed.
Keep these separated portions on your work surface, and you’ll find it easier to maintain proper proportions as you progress through the project.
Step 2. Shape Elongated Body Oval
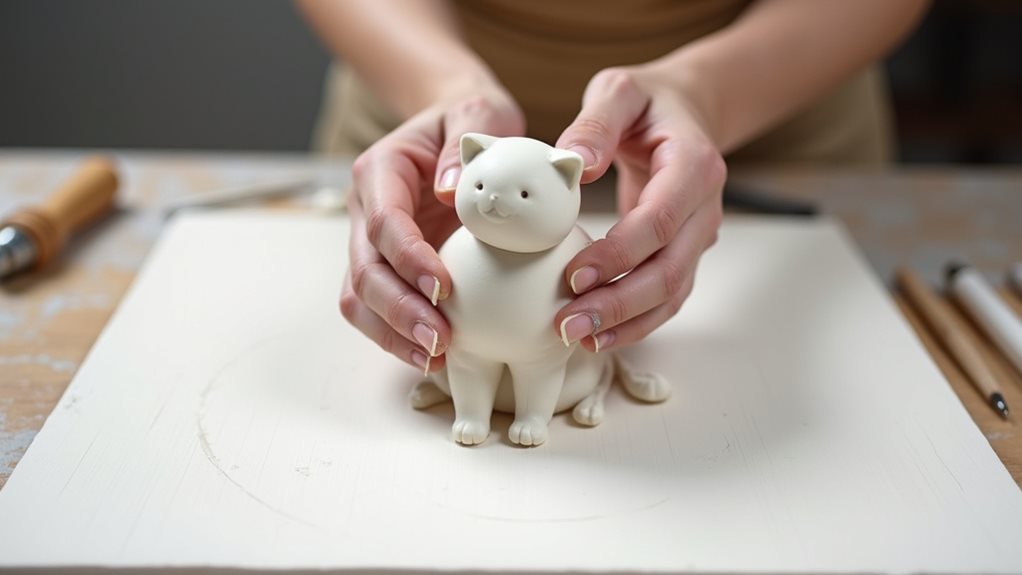
Taking the largest clay portion designated for the body, shape it into an elongated oval approximately 6 inches long and 3 inches wide, ensuring the form tapers slightly at one end.
As you work, smooth the clay’s surface with your palms using gentle, circular motions to eliminate any cracks or seams. While maintaining the oval shape, create a subtle curve in the middle to represent the cat’s natural sitting posture.
Press one end of the oval slightly flat to form a stable base, which will help your sculpture stand properly once completed.
Use your fingertips to refine the shape’s contours, paying special attention to the natural slope of a cat’s back and shoulders. If needed, dampen your fingers lightly to achieve a smoother finish, but don’t oversaturate the clay.
Step 3. Create Rounded Head Shape
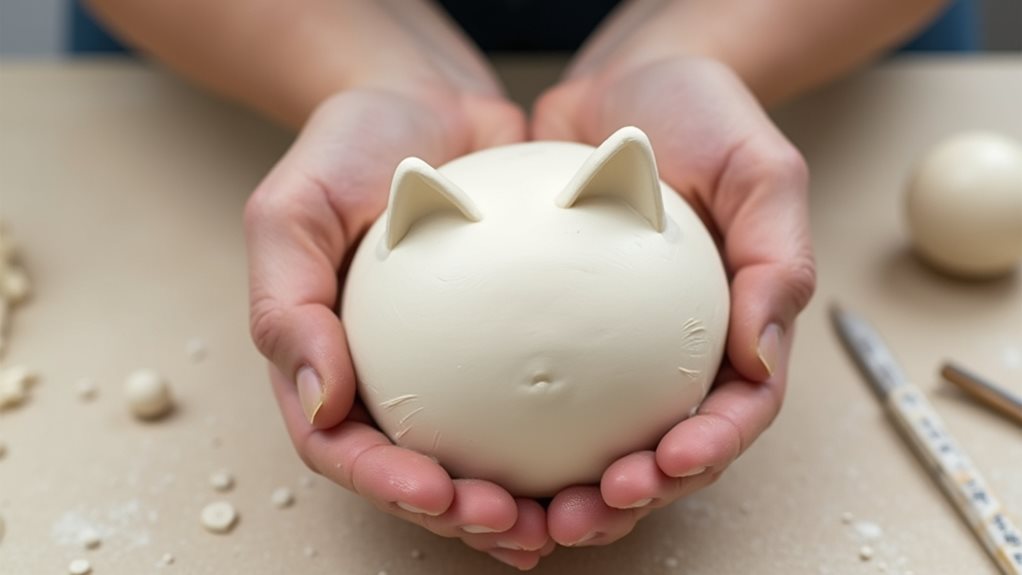
Once the elongated body form is complete, shape the remaining 20% portion of clay into a ball roughly 2 inches in diameter for the Ragdoll’s head.
Press the ball gently between your palms to create a slightly flattened sphere, maintaining the characteristic rounded shape of a Ragdoll cat’s face.
Using your thumbs, carefully indent two shallow areas on either side of the head where the ears will attach.
Next, smooth the front of the head to create a gentle slope for the forehead, tapering down to where you’ll later add the muzzle.
Work the clay with light, even pressure to avoid creating unwanted dips or bumps.
As you shape the head, periodically check its proportion against the body to ensure it’s properly scaled for your sculpture.
Step 4. Add Facial Features Carefully
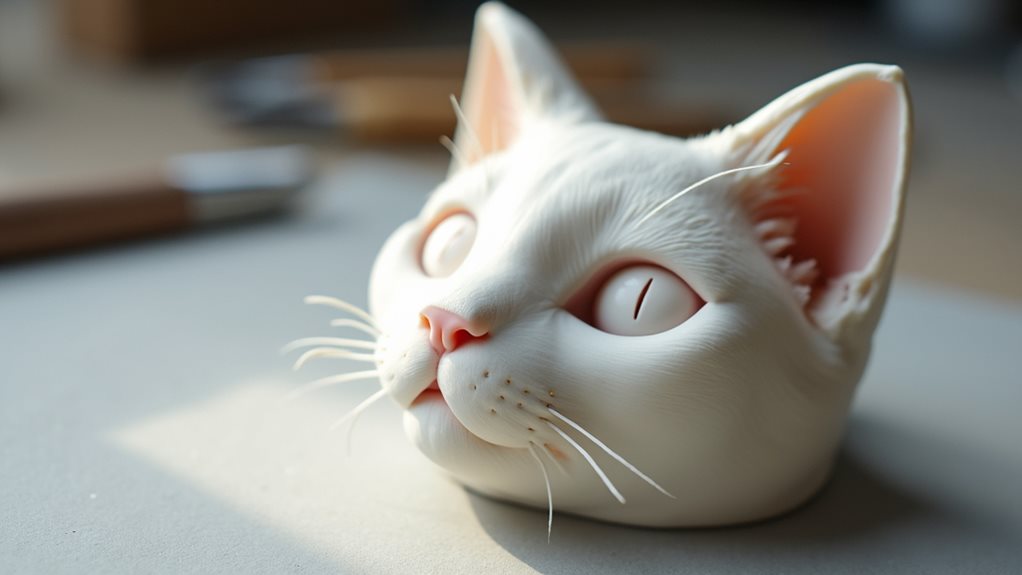
With your Ragdoll cat’s head firmly shaped, now’s the time to bring its distinctive expression to life through carefully placed facial features.
Begin by gently pressing two almond-shaped indentations for the eyes, positioning them slightly angled and evenly spaced. Create a small triangular nose below, leaving enough space for whisker pads on either side. Use your fine-tipped tool to draw delicate whisker marks, then add a gentle curved line for the mouth.
Form small clay balls for the eye structure, pressing them into the indentations while maintaining their rounded shape. Smooth the edges where features meet the face using your fingertip dipped in water.
Remember to keep the expression soft and sweet, as Ragdolls are known for their gentle demeanor. Check your work from multiple angles to ensure symmetry.
Step 5. Paint and Seal Sculpture
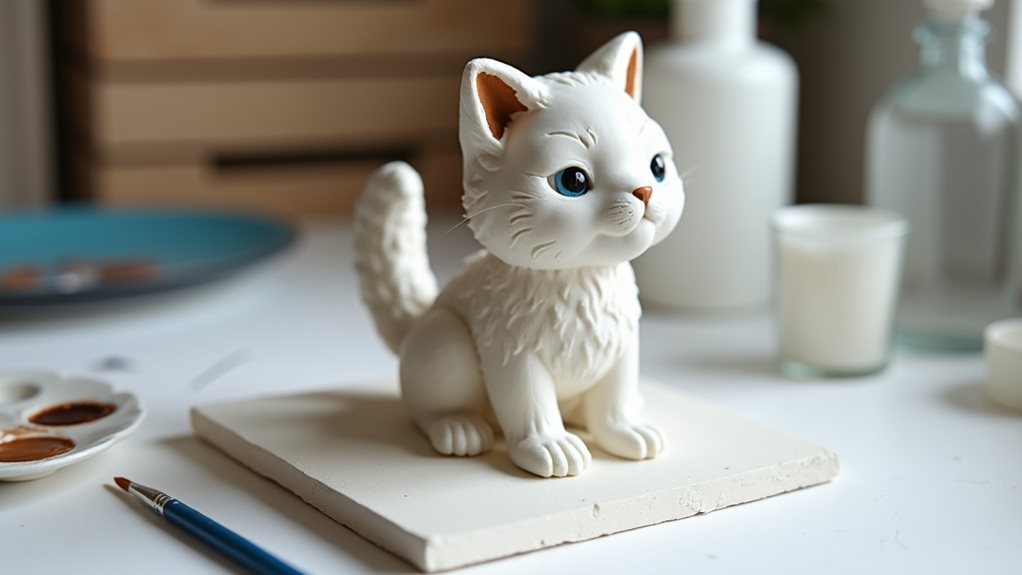
The painting phase transforms your air-dried clay Ragdoll sculpture into a lifelike feline companion.
Begin by applying a white base coat to the main body, ensuring even coverage while leaving designated areas for the color points. Once dry, use soft brown tones to paint the characteristic markings on the face, ears, legs, and tail, blending the edges for a natural transition.
Add detail to the striking blue eyes with careful brushstrokes, and don’t forget the pink nose and black whisker spots.
After the paint dries completely, apply your first thin coat of clear acrylic sealer using smooth, consistent strokes.
Wait two hours, then add a second coat for optimal protection and a professional sheen. Your Ragdoll sculpture will now maintain its beauty while resisting dust and minor scratches.
Final Thoughts
Although creating a Ragdoll Cat sculpture requires patience and attention to detail, you’ll find the process deeply rewarding as you bring this serene feline to life through clay.
Each step, from shaping the initial form to painting the final details, helps you develop valuable sculpting skills while creating a unique piece of art that captures the Ragdoll’s gentle nature.
As you perfect your technique, you’ll discover that working with air dry clay offers endless possibilities for creating more detailed and refined sculptures.
Don’t be discouraged if your first attempt isn’t perfect – sculpting is a skill that improves with practice.
Keep your finished piece in a safe, dry place where it can serve as an inspiration for future projects and a testament to your artistic growth.