If you’ve ever dreamed of capturing a garden’s entire splendor in a single vase, pressed flower pottery might be your perfect creative venture. You’ll discover how to transform ordinary air-dry clay into elegant vessels adorned with nature’s most delicate specimens. As you explore this unique craft, you’ll blend traditional pottery techniques with botanical preservation, creating pieces that tell stories through every petal and leaf. Let’s uncover the secrets to crafting these timeless botanical treasures.
Key Takeaways
- Air dry clay vases decorated with pressed flowers combine traditional botanical preservation with functional pottery to create unique decorative pieces.
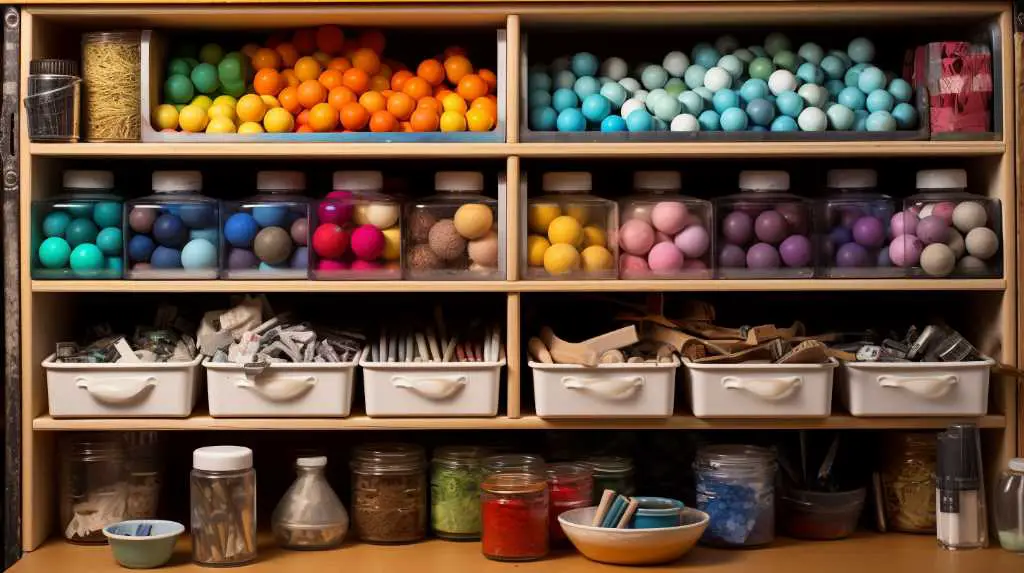
- Essential materials include air dry clay, pressed flowers, a rolling pin, cylindrical mold, and clear sealant spray.
- Flowers must be completely dried before pressing onto 1/4-inch thick clay, which is then wrapped around a cylindrical form.
- Multiple thin coats of clear sealant protect the pressed flowers and ensure the vase’s longevity after the clay fully dries.
- Each vase can showcase different seasonal flowers, colors, and arrangements, allowing for personal creative expression and unique designs.
History
While pressed flower art has existed for centuries across many cultures, the specific practice of incorporating dried botanicals into decorative vessels gained prominence during the Victorian era.
You’ll find that during this period, nature-inspired crafts became increasingly popular as people sought to bring the outdoors into their carefully curated homes.
Victorian women often pressed flowers from their gardens or special occasions, preserving memories in decorative items like vases, plates, and picture frames.
You’ll discover that this tradition spread across Europe and America, with craftspeople developing innovative techniques for embedding dried specimens into various materials.
The practice has evolved significantly since then, and today’s artists combine traditional methods with modern materials like air-dry clay to create functional pieces that honor this rich heritage while meeting contemporary aesthetic preferences.
Project
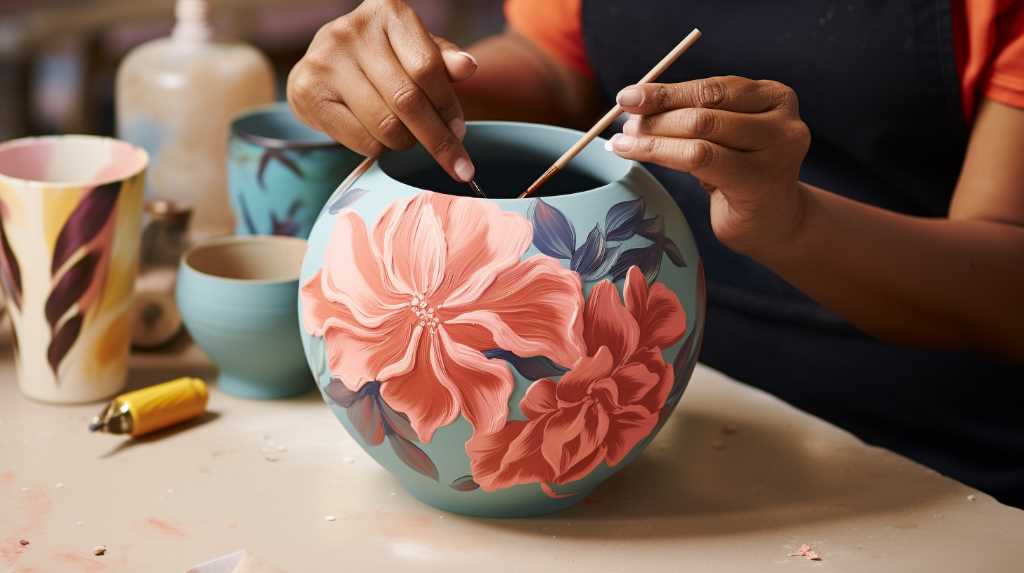
Air dry clay provides the perfect canvas for creating elegant vases adorned with preserved botanical elements. By combining the timeless beauty of pressed flowers with functional pottery, crafters can produce unique vessels that serve both as decorative pieces and practical containers for displaying fresh blooms.
This project transforms simple materials into a sophisticated home accent piece that captures nature’s delicate details in a lasting way. The technique allows for endless creativity in flower placement and design, while the finished product offers a professional appearance that belies its straightforward construction process.
- Air dry clay (1 pound/450g)
- Rolling pin (12 inch/30cm)
- Pressed flowers (assorted sizes)
- Clear sealant spray (12oz/350ml)
- Cylindrical form for molding (4-6 inches/10-15cm tall)
Begin by rolling the air dry clay to a 1/4 inch (6mm) thickness on a smooth surface. Arrange and gently press dried flowers onto the clay surface, then carefully wrap the clay around your cylindrical mold. Join the edges using water as a binding agent, smoothing the seam as you work.
Create the base by cutting a clay circle slightly larger than the cylinder’s diameter and attach it to the bottom with water. Allow the piece to dry completely for 24-48 hours before removing the mold and applying several light coats of clear sealant.
Maintaining consistent clay thickness is crucial for even drying and structural integrity. Position flowers at least 1/2 inch (12mm) away from edges where seams will be joined to prevent lifting during assembly.
Work in a moderate temperature environment to prevent the clay from drying too quickly, and avoid overhandling the pressed flowers as they can become brittle. If the clay begins to dry while working, lightly mist it with water using a spray bottle rather than applying water directly to maintain workability without oversaturating the material.
Project Steps
Begin your pressed flower vase project by selecting well-dried florals that won’t add moisture to your clay, ensuring they’re flat and appropriately sized for your vessel design.
You’ll need to roll out your air-dry clay to an even thickness of 1/4 inch before gently pressing your chosen flowers into the surface, taking care not to damage their delicate forms.
Once you’ve wrapped the clay around your cylindrical mold and sealed the seams, let it dry completely before applying several light coats of clear sealant spray to protect your botanical artwork.
Step 1. Choose Delicate Dried Flowers
Selecting appropriate flowers for your pressed flower vase requires careful consideration of both size and durability.
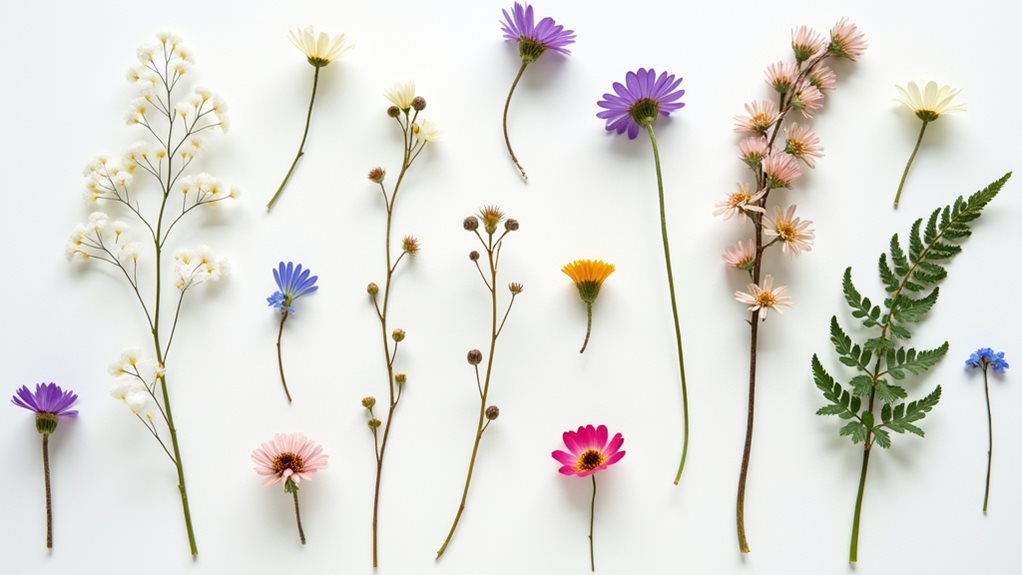
You’ll want to choose flowers that press flat without losing their distinctive shapes or colors. Small blooms like forget-me-nots, violets, and pansies work beautifully, while delicate ferns and tiny leaves can add interesting texture between the florals.
When selecting your specimens, look for flowers that aren’t too thick or woody at the center, as these won’t press evenly into the clay.
Queen Anne’s lace, cosmos, and larkspur are excellent choices that maintain their charm when dried.
You’ll also want to ensure your flowers are completely pressed and dried before embedding them in the clay to prevent any moisture from affecting the final result.
Step 2. Roll Clay Evenly
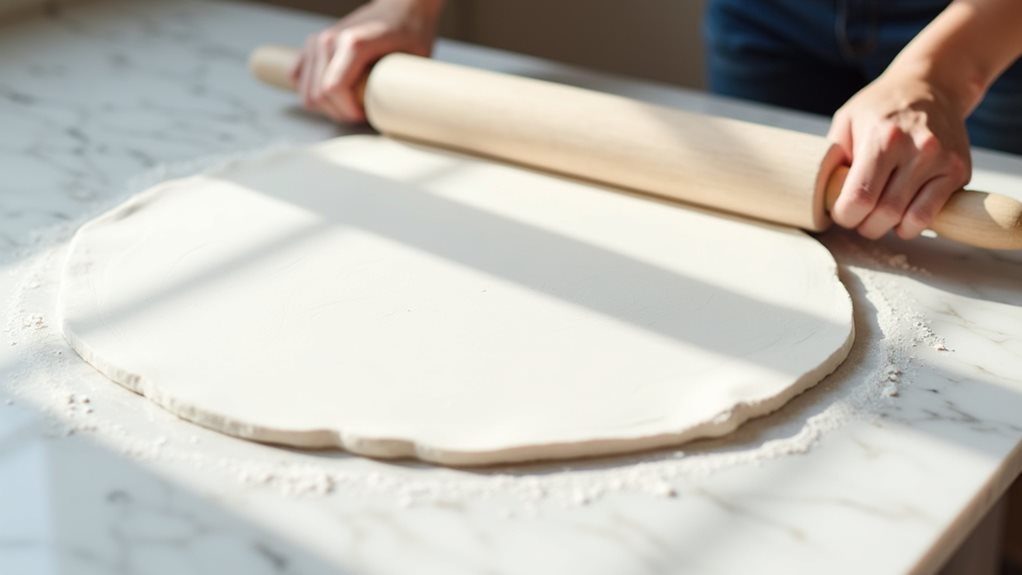
Rolling your clay to a consistent thickness forms the foundation of a successful pressed flower vase. Place your clay between two 1/4-inch wooden guides on your work surface, then use steady, even pressure with your rolling pin to achieve uniform thickness throughout.
You’ll want to rotate the clay periodically, working from the center outward to maintain an even distribution. Check your progress by gently running your fingers across the surface – you shouldn’t feel any notable dips or raised areas.
If you notice uneven spots, continue rolling until the entire piece matches your desired thickness. Don’t rush this step; proper thickness ensures your vase will dry evenly and maintain its structural integrity.
If the clay starts sticking to your rolling pin, dust it lightly with cornstarch.
Step 3. Press Flowers Onto Clay
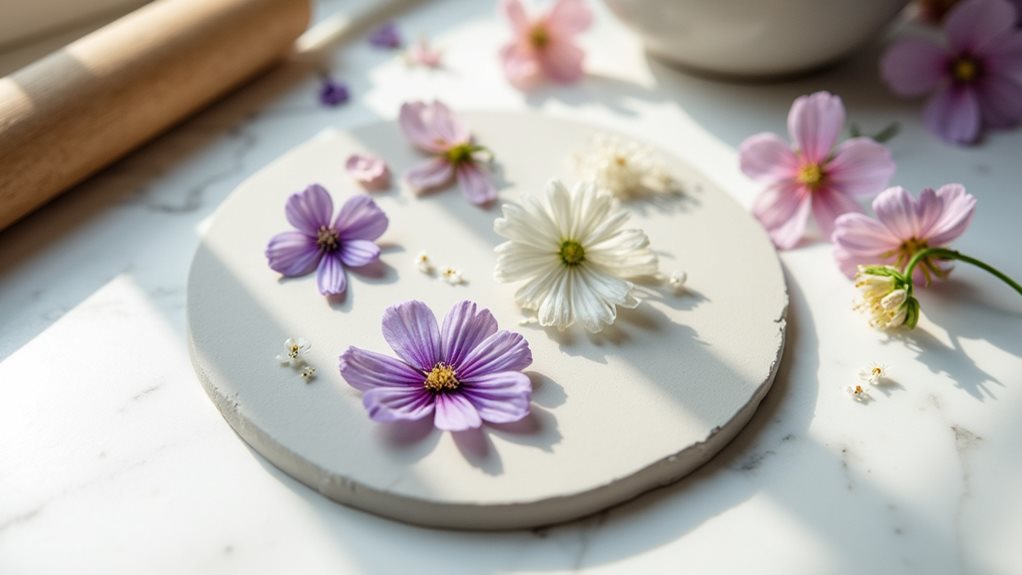
With your clay rolled to a uniform thickness, take your pre-pressed flowers and arrange them thoughtfully on the clay’s surface.
Position larger blooms first as focal points, then fill in with smaller flowers and delicate leaves to create a balanced composition.
Don’t crowd the flowers too closely together, as you’ll need space between them for the clay to properly bond.
Once you’re satisfied with your arrangement, gently press each flower into the clay using your fingertips.
Apply even pressure to ensure the petals make full contact without tearing or distorting their shape.
If any flowers aren’t adhering well, you can use a rolling pin to pass lightly over the surface, which will help embed them more securely into the clay without damaging their delicate features.
Step 4. Shape Clay Around Mold
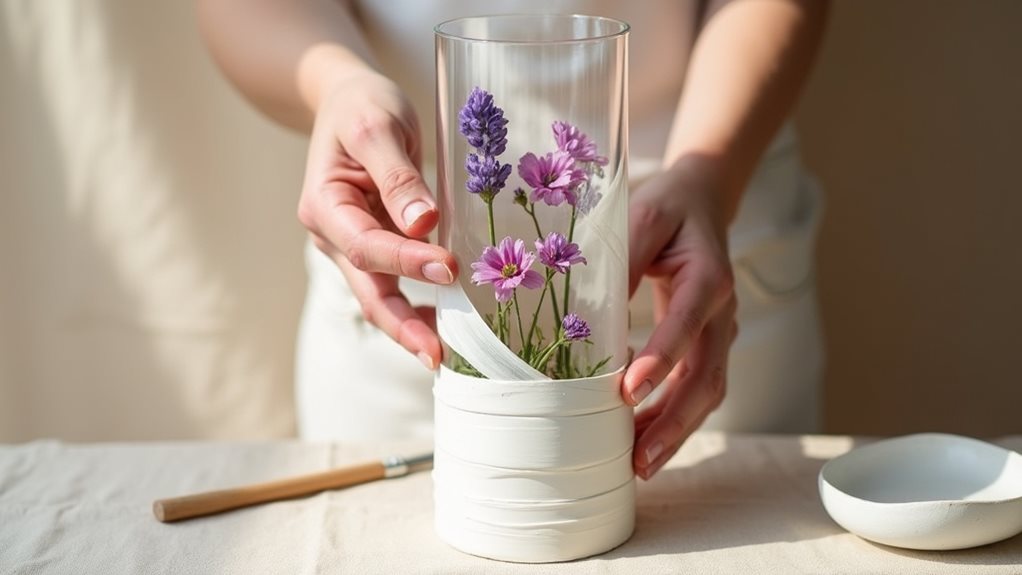
Carefully lift your prepared clay sheet with the embedded flowers and wrap it smoothly around your cylindrical mold, ensuring the decorative side faces outward.
Overlap the edges slightly where they’ll meet, then dampen both sides of the seam with a small amount of water. Press the edges together firmly, smoothing the join until it’s nearly invisible.
Cut a circle from your remaining clay that’s slightly larger than your mold’s base diameter.
After dampening the bottom edge of your cylinder, attach this circular piece to create the vase’s bottom. Work around the base’s perimeter, gently pressing and smoothing the connection to ensure it’s secure.
You’ll want to maintain an even pressure while working to prevent any distortion of your flower design.
Step 5. Seal With Clear Spray Coating
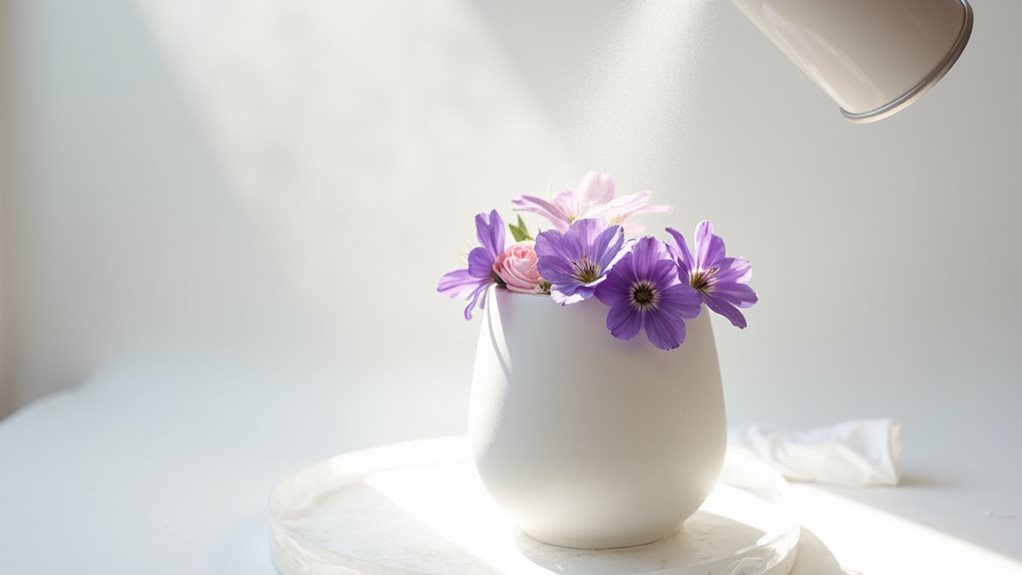
Once your vase has thoroughly dried over 24-48 hours, you’ll need to protect your pressed flower design with multiple thin coats of clear sealant spray.
Working in a well-ventilated area, hold the spray can 12 inches away from the vase’s surface and apply the first coat using steady, even strokes.
Allow each coat to dry for 30 minutes before applying the next one. You’ll want to build up 3-4 light layers for optimal protection, ensuring you’ve covered all surfaces including the interior rim.
The sealant won’t only preserve your pressed flowers but also add a subtle sheen to the finished piece.
Don’t rush this final step, as proper sealing will protect your creation from moisture and ensure it remains beautiful for years to come.
Final Thoughts
Creating pressed flower vases offers a rewarding way to preserve nature’s beauty while crafting functional art pieces for your home.
You’ll find that each vase becomes a unique expression of your creativity, capturing delicate blooms in a lasting display that brightens any room. As you develop your technique, you’ll discover endless possibilities for combining different flowers and arrangements to achieve various aesthetic effects.
Remember that patience is key throughout the process, from properly pressing the flowers to allowing adequate drying time for both the clay and sealant.
While your first attempt may not be perfect, you’ll quickly develop an eye for flower placement and clay consistency.
Don’t hesitate to experiment with seasonal botanicals, varying vase sizes, and different pressed flower combinations to create pieces that reflect your personal style.