Ancient Egyptians crafted clay pots to transport their prized medicinal plants along the Nile River, establishing a practice that’s evolved into today’s diverse plant container solutions. You’ll find that modern plant pots serve both practical and aesthetic purposes, from simple terracotta containers to elaborate self-watering systems. Whether you’re a seasoned gardener or just starting out, understanding the right pot for your plants can mean the difference between thriving greenery and struggling specimens.
Key Takeaways
- Plant pots come in various materials including plastic, clay, metal, and concrete, each offering different benefits for plant growth and aesthetics.
- Proper drainage holes are essential in plant pots to prevent water-logging and maintain healthy root systems.
- Size selection matters – choose pots that allow adequate room for root growth while maintaining proper soil-to-plant ratio.
- Traditional terracotta pots remain popular for their natural properties, allowing air and moisture exchange through porous walls.
- Modern plant pots combine functionality with decorative designs, serving both as practical containers and aesthetic home decor elements.
History
While the exact origins of plant pots date back to ancient civilizations, you’ll find their earliest widespread use in Ancient Egypt around 4000 BCE, where craftsmen fashioned vessels from clay to transport plants along the Nile River.
As trade routes expanded, you’ll discover that Romans and Greeks adopted these containers, developing sophisticated terracotta designs that influenced pottery throughout Europe and Asia.
During the Renaissance, you’ll notice plant pots evolved beyond mere functionality, becoming decorative elements in elaborate gardens.
The Industrial Revolution brought mass production techniques, making ceramic and clay pots accessible to average households.
Today, you’ll encounter plant pots crafted from diverse materials including plastic, concrete, and metal, though traditional clay remains popular for its natural properties and timeless appeal.
Project
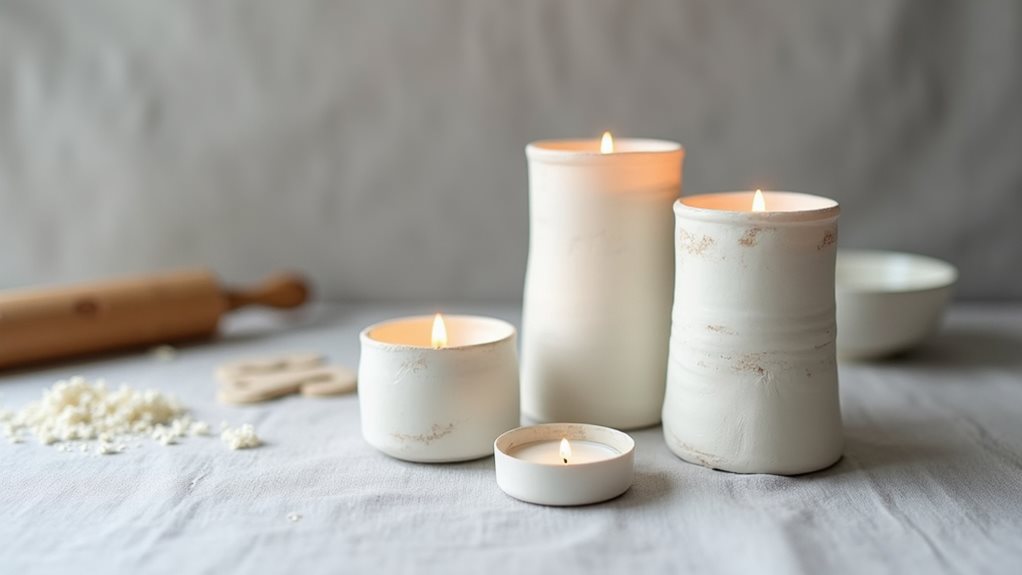
Air dry clay plant pots provide a creative and practical way to house your favorite greenery. This beginner-friendly project allows crafters to design custom containers that complement their home décor while serving as functional vessels for small plants, herbs, and succulents.
The process of creating your own clay pot combines basic hand-building techniques with personal artistic expression. Whether you prefer clean lines and simple shapes or detailed textures and patterns, this versatile project can be completed within an hour, plus 24-48 hours of drying time.
- Air dry clay (1 pound/450g)
- Rolling pin (12 inches/30cm)
- Sharp knife or clay cutting tool (6 inches/15cm)
- Bowl of water (2 cups/500ml)
- Sandpaper (220 grit)
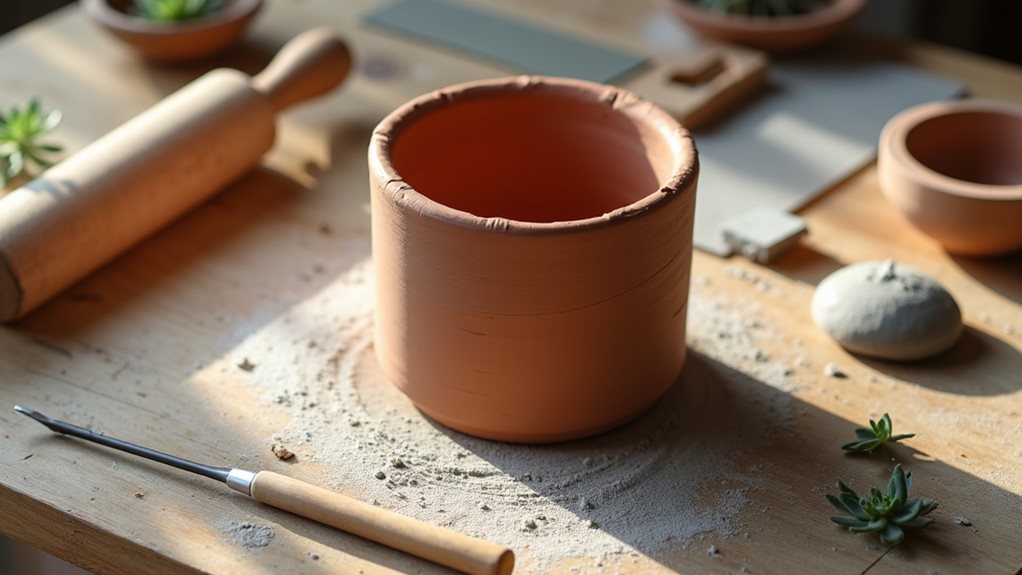
Begin by thoroughly kneading the clay until it becomes soft and workable. Roll it out to a 1/4 inch (6mm) thickness using the rolling pin. Cut a circular base and a rectangular piece for the walls, ensuring the height matches your desired pot size.
Form the rectangle into a cylinder and attach it to the base, using water as a bonding agent. Smooth all seams with your fingers, create a drainage hole in the bottom, and add any desired decorative elements before setting aside to dry completely.
When crafting with air dry clay, maintain consistent thickness throughout the pot to prevent warping during the drying process. Work in a moderate environment, as extreme temperatures can affect drying time and potentially cause cracking.
If the clay begins to dry while working, lightly moisten your fingers with water to restore workability. For outdoor use or frequent watering, apply a waterproof sealant after the pot has fully dried and been sanded smooth.
Project Steps
To begin crafting your plant pot, you’ll need to set up your workspace with air dry clay, a rolling pin, knife, water bowl, and sandpaper before kneading the clay until it’s pliable and smooth.
Next, you’ll roll the clay into a circle for the base and create rectangular walls that will form the cylindrical shape of your pot, joining them together with water as a binding agent.
Finally, you’ll need to add a drainage hole in the bottom of your pot, which is essential for proper plant health and water management.
Step 1. Prepare Workspace With Supplies
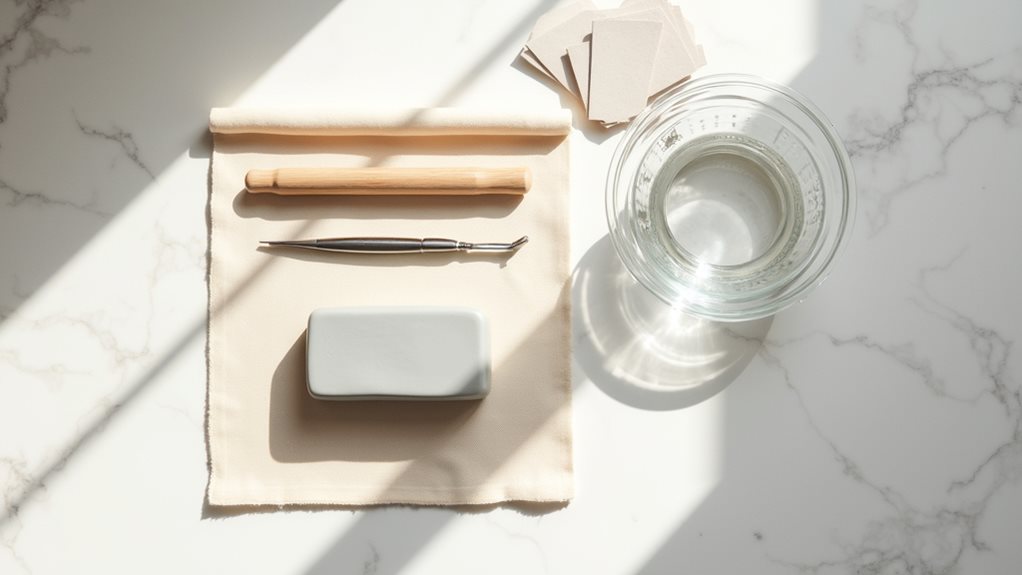
Establishing a well-organized workspace with all necessary supplies marks the first crucial step in creating your air dry clay plant pot. You’ll need to gather one pound of air dry clay, a 12-inch rolling pin, a sharp knife or clay cutting tool, a bowl filled with two cups of water, and 220-grit sandpaper. Clear your work surface thoroughly, then cover it with a smooth, non-stick mat or wax paper to prevent the clay from sticking.
Position your tools within easy reach and ensure you’ve got adequate lighting. You’ll want to work in an area that’s free from drafts, as air currents can cause your clay to dry unevenly. Keep a clean, damp cloth nearby to wipe your hands and tools as needed throughout the process.
Step 2. Knead Clay Until Soft
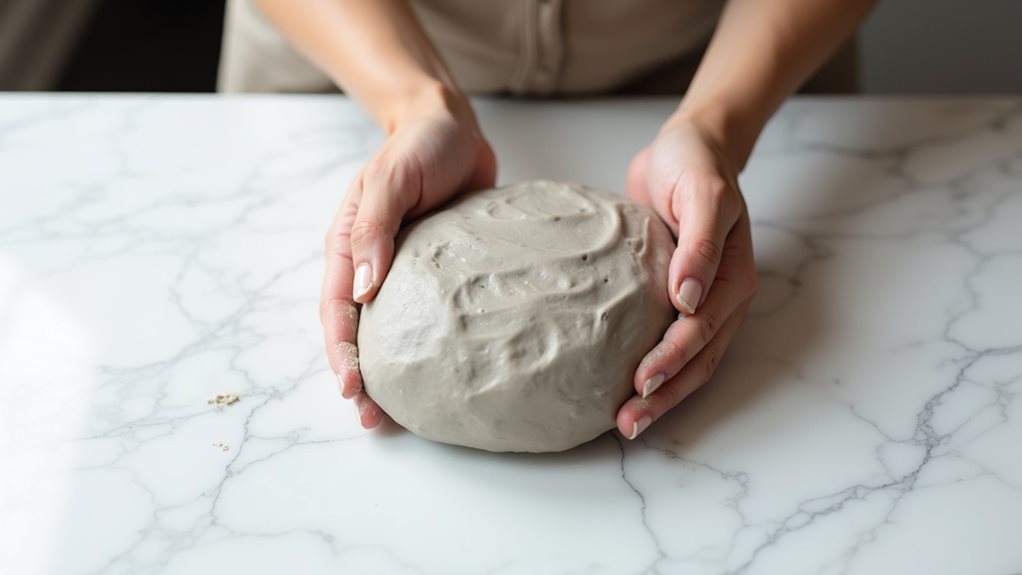
Begin kneading your clay by firmly pressing and folding it repeatedly between your palms, continuing until the material becomes pliable and warm to the touch.
You’ll notice the clay’s texture changing as you work it, becoming more elastic and responsive to your movements.
If you encounter any hard spots or inconsistencies, focus extra attention on those areas by applying firm, steady pressure with your thumbs.
Test the clay’s readiness by trying to form a smooth ball – it shouldn’t crack or show signs of resistance.
When the clay feels uniformly soft and maintains its shape without crumbling, you’ve achieved the right consistency for crafting your pot.
Don’t rush this crucial preparation step, as properly conditioned clay will be much easier to work with and produce better results.
Step 3. Roll Clay Into Circle
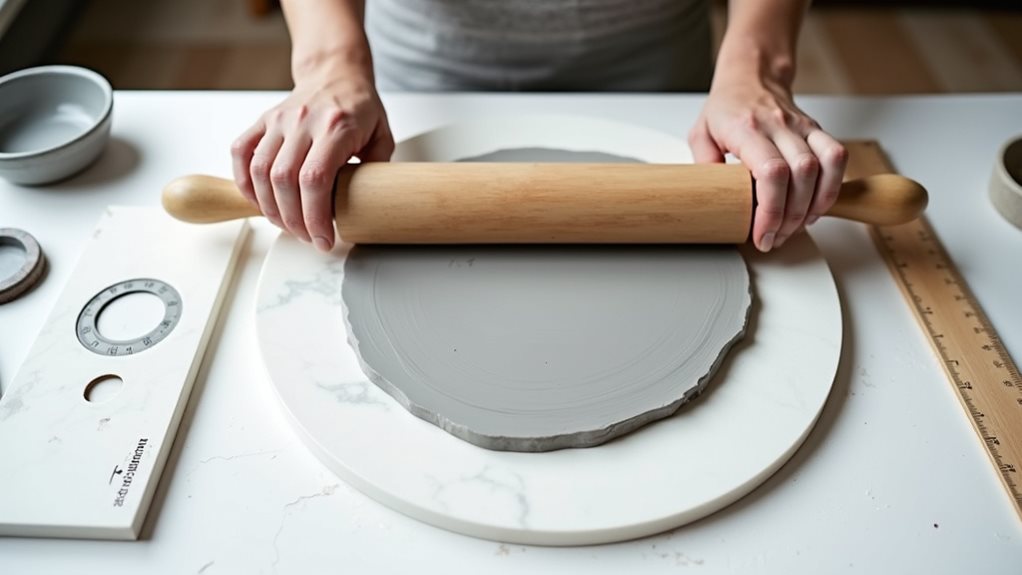
Once your clay reaches the ideal consistency, place it on a smooth, clean work surface and use your rolling pin to create an even circular shape. Aim for a thickness of approximately 1/4 inch (6mm), ensuring the clay remains uniform throughout.
You’ll want your circle to be slightly larger than your intended pot’s base diameter to accommodate the sides.
As you roll, rotate the clay periodically to maintain an even thickness and prevent sticking. If you notice any air bubbles forming, gently pierce them with a needle tool and smooth the surface.
To achieve a perfect circle, you can place a bowl upside down on the rolled clay and trace around it with your cutting tool, or use a template to guide your measurements.
Don’t worry if the edges aren’t perfectly smooth yet, as you’ll refine them later.
Step 4. Form Cylindrical Pot Walls

With your circular base ready, you’ll now create the walls that give your pot its height and shape.
Roll out a rectangular piece of clay to match your desired pot height, keeping the thickness consistent at 1/4 inch. The length of this rectangle should equal the circumference of your base plus an extra inch for overlap.
Carefully lift the rectangular piece and wrap it around your circular base, creating a cylinder.
Score both edges where they’ll overlap using light cross-hatched patterns, then apply a small amount of water with your fingertip. Press the overlapping edges together firmly, smoothing the seam from both inside and outside.
Once you’ve secured the walls, join them to the base by scoring the bottom edge and base rim, adding water, and pressing them together.
Step 5. Add Drainage Hole
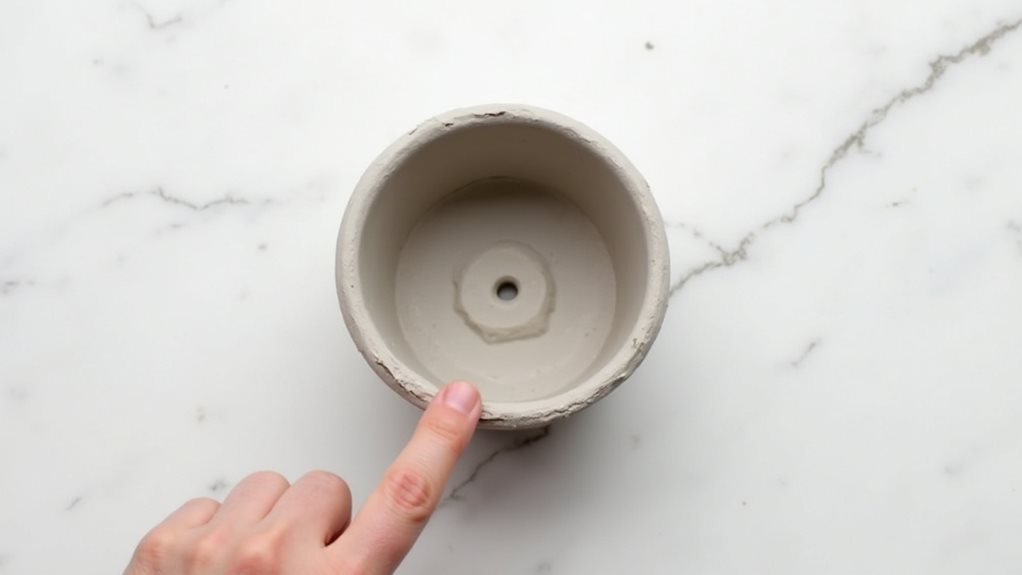
Creating a proper drainage hole stands as one of the most critical steps in crafting your air dry clay pot, ensuring your future plant’s health and longevity.
Using your clay cutting tool or a pencil, carefully pierce the center of your pot’s base, creating a hole approximately 1/2 inch in diameter. You’ll want to smooth the edges of the hole with your finger, ensuring there aren’t any rough spots that could impede water flow.
For larger pots, consider adding multiple smaller holes spaced about an inch apart, which will provide even better drainage.
Once you’ve created the drainage hole, gently press around its edges to reinforce the area, preventing any potential cracking during the drying process.
Final Thoughts
Making air dry clay pots provides an accessible entry point into both pottery and plant cultivation, while allowing you to develop valuable crafting skills that you’ll use in future projects.
As you continue practicing, you’ll discover that each pot becomes a unique expression of your creativity, whether through simple designs or intricate patterns that reflect your personal style.
Remember to maintain consistent thickness throughout your pot’s construction, work in a moderate-temperature environment, and allow sufficient drying time to prevent cracking.
If you’re planning to use your pots outdoors, don’t forget to apply a waterproof sealant for longevity.
With patience and attention to detail, you’ll create functional and aesthetically pleasing containers that enhance your living space while providing proper homes for your growing plant collection.