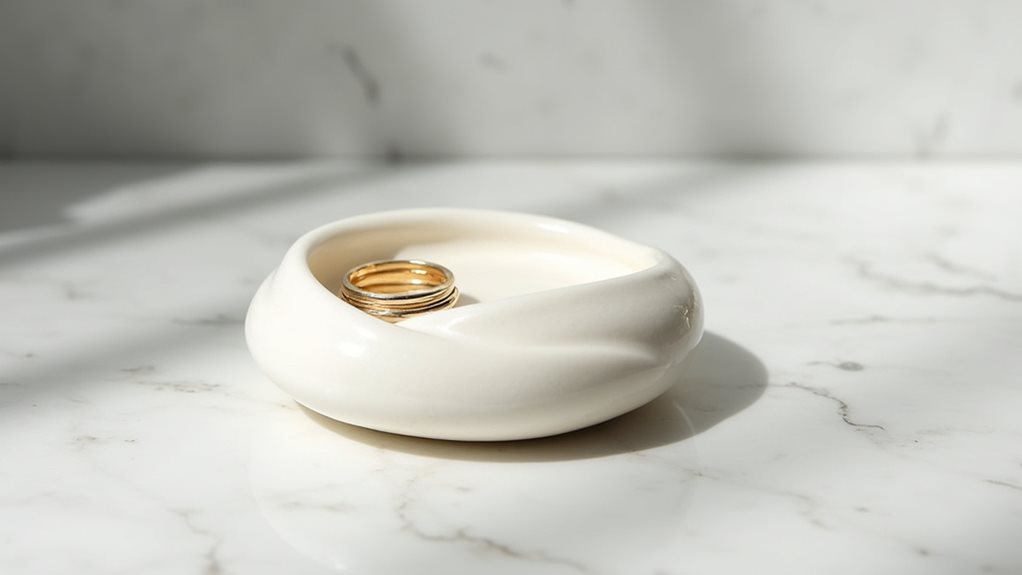
You’re about to discover how air dry clay can transform into a charming photo holder that adds personality to any desk or shelf. This versatile craft project doesn’t require special tools or a kiln, making it perfect for beginners and experienced crafters alike. Whether you’re creating a thoughtful gift or enhancing your own space, this simple yet elegant design combines functionality with artistic expression. Let’s explore how you can shape this creative piece that’ll showcase your cherished memories.
Key Takeaways
- Air dry clay photo holders are crafted using 8 oz of clay, a rolling pin, cutting tools, and take about an hour plus drying time.
- The project requires creating a stable base approximately 4 inches wide with a precisely cut slot at 45-degree angles for photos.
- Air dry clay is non-toxic, requires no baking, and can be painted with acrylic colors and sealed for enhanced durability.
- Store finished photo holders in dry locations away from direct sunlight and regularly dust with a soft cloth to maintain appearance.
- Personalize designs with different sizes, colors, or patterns to create unique gifts suitable for various occasions and recipients.
History
While the exact origins of clay photo holders remain unclear, these practical decorative items gained popularity during the mid-20th century as photography became more accessible to everyday households.
You’ll find that early versions were often crafted from ceramic or porcelain, with artisans creating elaborate designs featuring floral motifs and ornate patterns.
As do-it-yourself crafting emerged in the 1960s and 1970s, people began making their own photo holders using various materials, including polymer clay and air dry clay.
These handmade versions offered personalization options that mass-produced holders couldn’t match.
You’ll notice that modern interpretations have evolved to embrace minimalist aesthetics, reflecting contemporary design trends while maintaining the fundamental purpose of displaying cherished photographs in an attractive, functional way.
Project
Creating your own photo holder from air dry clay allows you to display treasured photographs and important notes in a personalized way. This simple yet elegant piece combines functionality with artistic expression, serving as both a practical display solution and a decorative accent for any space.
The project requires minimal crafting experience and can be completed in about an hour, plus drying time. Once finished, the holder provides a sturdy base with a cleverly designed slot that keeps photos, cards, or notes securely positioned at an attractive viewing angle.
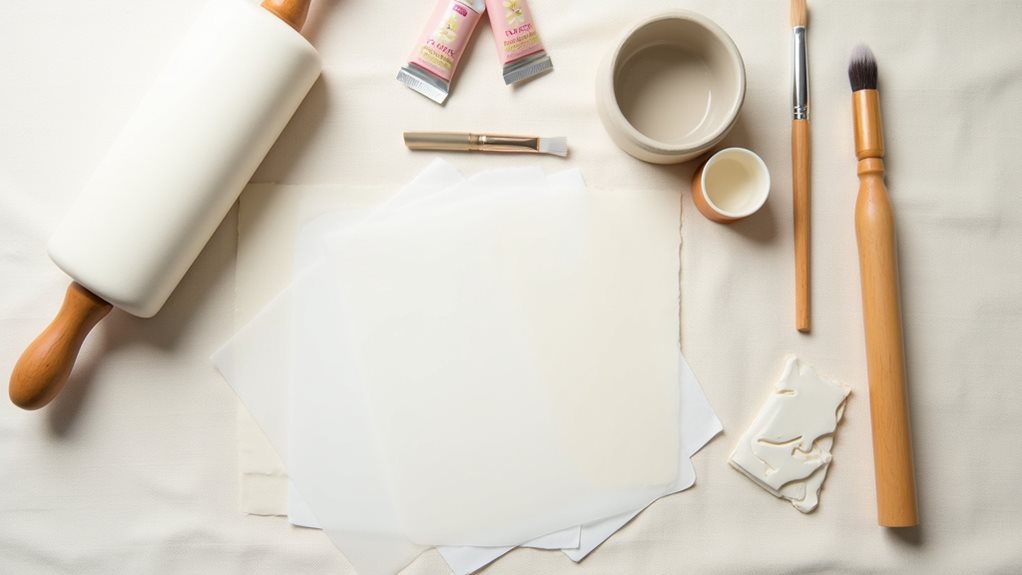
Materials Needed:
- Air dry clay (8 oz / 225g)
- Rolling pin (6-8 inches / 15-20 cm)
- Sharp knife or clay cutting tool
- Acrylic paint (any color)
- Paint brush (1 inch / 2.5 cm width)
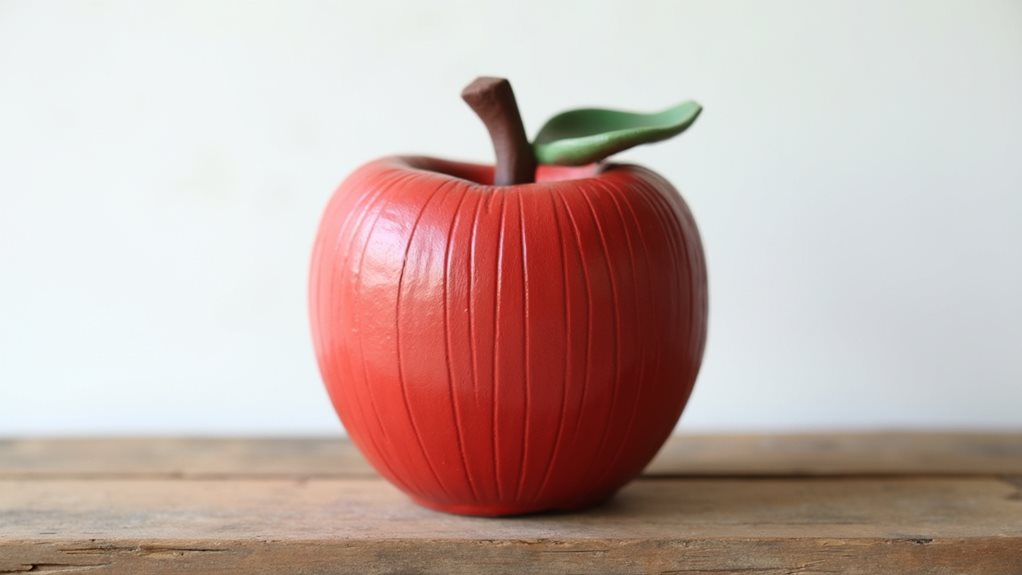
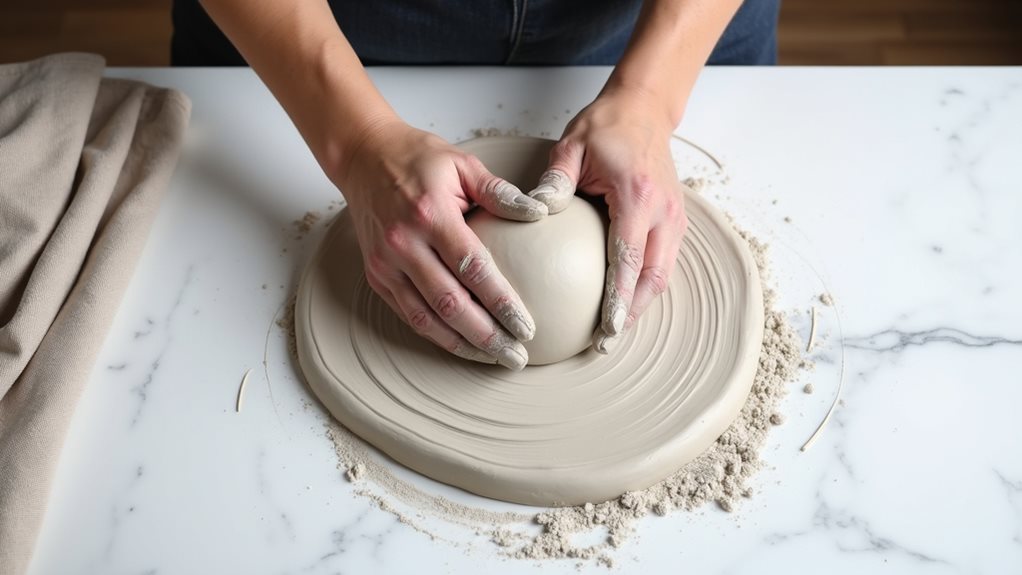
Begin by thoroughly kneading the clay until it becomes soft and workable. Form it into a ball, then use the rolling pin to flatten it to approximately 1/2 inch (1.3 cm) thickness. Shape the base into either a circle or rectangle roughly 4 inches (10 cm) wide.
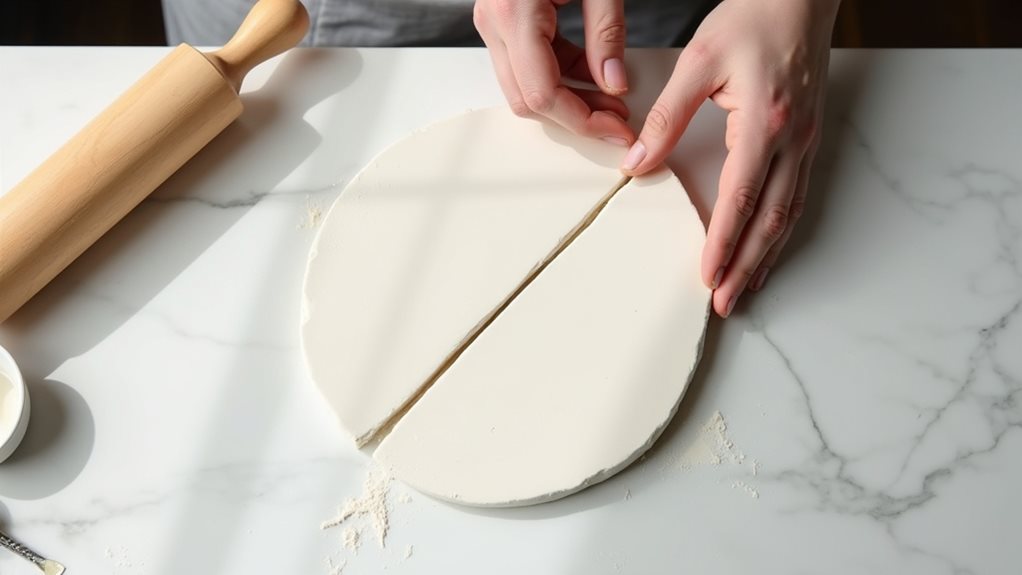
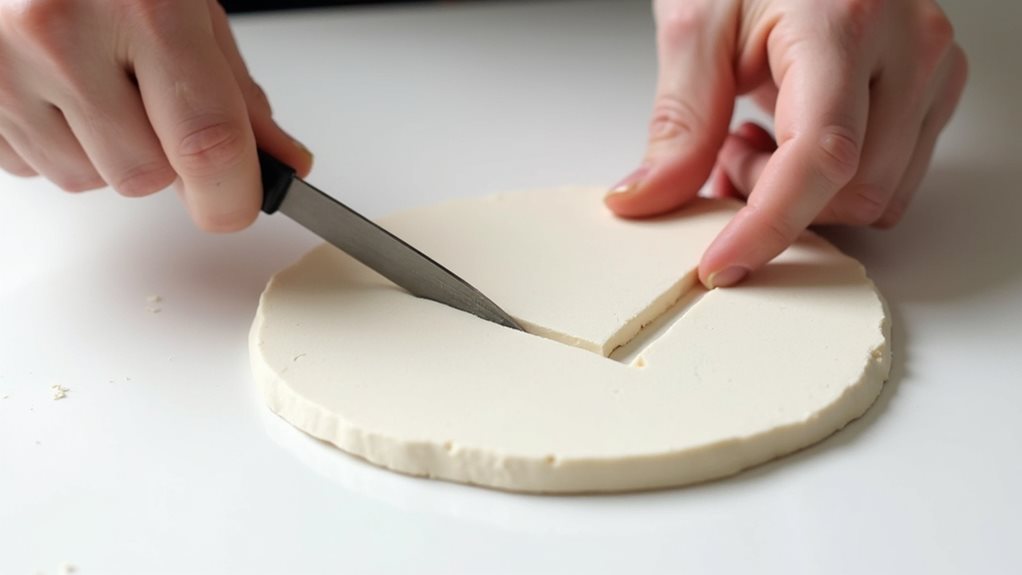
Create the photo slot by making two parallel cuts in the center of the base at 45-degree angles, forming a narrow channel about 1/4 inch (6 mm) wide. Smooth all edges with your fingers and allow to dry completely before applying paint.
When working with the clay, keep a small bowl of water nearby to help smooth any cracks that develop during shaping. Work on a non-stick surface like wax paper to prevent the clay from adhering to your work area.
Allow the piece to dry for 24-48 hours in a well-ventilated area, and avoid moving it during this time to prevent warping. For added durability, consider applying a clear sealant after the paint has fully dried.
Project Steps
You’ll want to start by gathering all your supplies, including air dry clay, a rolling pin, cutting tools, paint, and brushes, laying them out in your workspace for easy access.
Next, you’ll work through the key steps of kneading your clay until it’s perfectly pliable, shaping it into your desired design, and carefully creating the photo slot using precise cutting techniques.
Once your creation has dried completely, you’ll finish by painting the surface in your chosen color and applying a protective sealant for lasting durability.
Step 1. Gather All Required Supplies
Before starting this clay photo holder project, gather the five essential supplies needed for successful completion. You’ll need 8 ounces of air dry clay, which serves as your primary material for molding the holder’s shape. A 6-8 inch rolling pin will help you achieve even thickness when flattening the clay, while a sharp knife or specialized clay cutting tool creates precise slots for photo placement. Select your preferred color of acrylic paint to customize the finished piece, and don’t forget a 1-inch paintbrush for smooth application. Consider keeping these supplies organized on your workspace before beginning, as proper preparation will ensure a smoother crafting process. If you’re planning to add a protective finish, you’ll also want to have clear sealant on hand.
Step 2. Knead Clay Until Pliable
With your supplies ready and organized, start the hands-on portion of your photo holder project by properly conditioning the air dry clay.
Remove the clay from its packaging and break off an 8-ounce portion, setting aside any excess for future projects. Press the clay firmly between your palms, folding and squeezing repeatedly to warm and soften the material.
Continue kneading the clay for 3-5 minutes, or until it becomes consistently smooth and pliable throughout. You’ll know it’s ready when there are no stiff spots or air pockets, and the clay maintains a uniform texture.
If you notice any dry or crumbly areas, dip your fingertips in water and work the moisture into those sections while kneading. The better you condition your clay now, the easier it’ll be to shape your photo holder later.
Step 3. Shape Clay Into Design
Start shaping your conditioned clay ball by pressing it against a smooth, clean work surface.
Using your rolling pin, flatten the clay to a ½-inch thickness, maintaining even pressure throughout. You’ll want to create a base that’s roughly 4 inches wide, either in a circle or rectangle shape depending on your preference.
Next, use your knife to cut a thin slot in the center of your clay piece. Make the first cut at a 45-degree angle, then create a parallel cut about ¼ inch away to form a narrow channel.
The slot should be deep enough to hold photos securely but not so deep that it compromises the base’s stability. Smooth all edges with your fingertips, paying special attention to the slot’s opening where photos will be inserted.
Step 4. Create Photo Slot
Making precise cuts for your photo slot requires careful attention to create a secure hold for your pictures.
Position your knife or cutting tool at a 45-degree angle near the center of your clay base, and press down about halfway through the thickness. Make a parallel cut approximately 1/4 inch away from the first, creating a narrow channel that’ll grip your photos.
Test the slot’s width using a piece of cardstock – it should slide in smoothly but hold firmly. If the opening’s too narrow, carefully widen it with your knife; if it’s too loose, gently press the sides closer together.
Smooth the edges of your cuts with slightly damp fingers to prevent any sharp points that could damage your photos, and ensure the slot maintains consistent depth throughout its length.
Step 5. Paint and Seal Surface
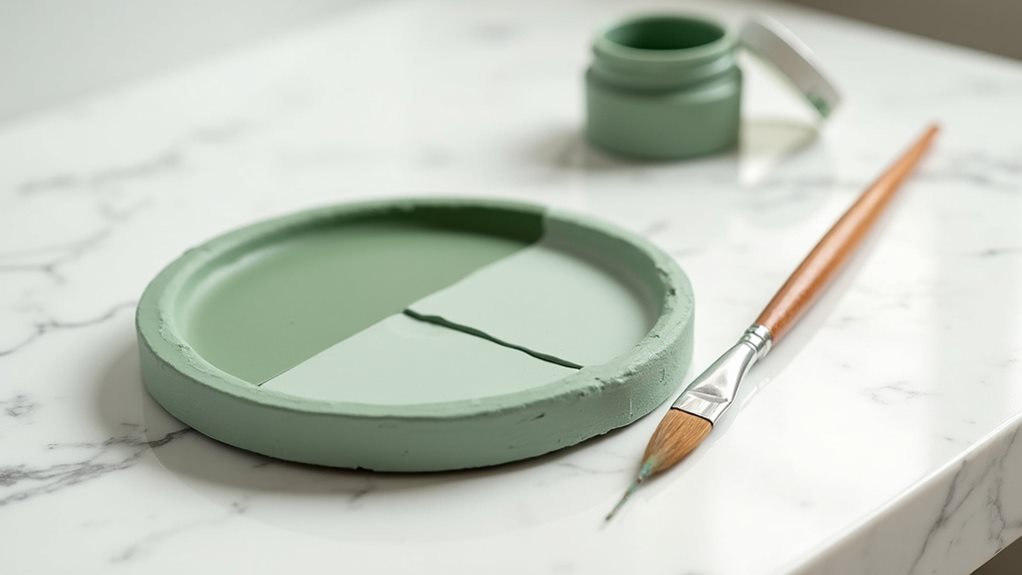
A fresh coat of paint transforms your dried clay photo holder into a personalized desk accessory that complements your space. Choose acrylic paint in your preferred color, and apply thin, even layers using smooth brush strokes.
You’ll need two to three coats for complete coverage, allowing each layer to dry fully before adding the next.
Once the final coat of paint has dried, protect your creation with a clear acrylic sealer. Apply the sealer in light, even strokes, making sure to cover all painted surfaces, including the edges and interior of the photo slot.
The sealer not only adds a professional finish but also helps prevent chips and scratches, extending your photo holder’s lifespan. Let the sealer dry completely before inserting any photos or cards.
Final Thoughts
Once you’ve completed your air dry clay photo holder, you’ll have a personalized desk accessory that combines both form and function.
The piece serves as both a practical display solution and an artistic expression of your creativity, making it a perfect addition to any workspace or living area.
Don’t limit yourself to just photos – this versatile holder works equally well for business cards, important reminders, or seasonal greeting cards.
If you’re pleased with your results, consider making several holders in different sizes and designs to create a coordinated set. You can also craft these as thoughtful handmade gifts for friends and family.
Remember to store your holder in a dry location away from direct sunlight to preserve its finish and maintain its durability for years to come.