Just as ancient Egyptians used cartouches to mark royal names in hieroglyphs, you’ll discover that personalized name tags serve as modern identifiers with endless creative possibilities. Whether you’re hosting an event, organizing your workspace, or adding flair to gift packaging, these handcrafted markers offer both functionality and artistic expression. By mastering simple clay-crafting techniques and exploring various design elements, you’ll transform ordinary labels into distinctive personal signatures that capture attention and spark conversations.
Key Takeaways
- Name tags can be customized using air dry clay, stamps, or writing tools to create unique identifiers for personal items and gifts.
- Handcrafted name tags serve both decorative and practical purposes, suitable for labeling plants, organizing supplies, and enhancing gift presentation.
- Materials needed include air dry clay, rolling pin, letter stamps, twine, and a drinking straw for basic tag creation.
- Tags require 24-48 hours drying time and can be sealed for outdoor use or enhanced with various decorative techniques.
- Personalized name tags improve organization in shared spaces and add thoughtful, handmade touches to gifts and storage solutions.
History
Name tags trace their origins back to ancient civilizations, where identifying marks were carved into clay tablets and other materials to denote ownership and identity.
You’ll find evidence of early name tags in Mesopotamian artifacts, where merchants used clay seals to mark their goods and transactions.
During the Middle Ages, you’d see craftsmen and guild members using identifying marks on their work, while nobility often employed personalized wax seals.
The Industrial Revolution brought standardized metal and paper name tags into widespread use, particularly in factories and schools.
Today’s personalized clay name tags represent a return to these ancient practices, combining traditional craftsmanship with modern design sensibilities.
You’re actually participating in a centuries-old tradition when you create handmade clay name tags, connecting past and present through this timeless craft.
Project
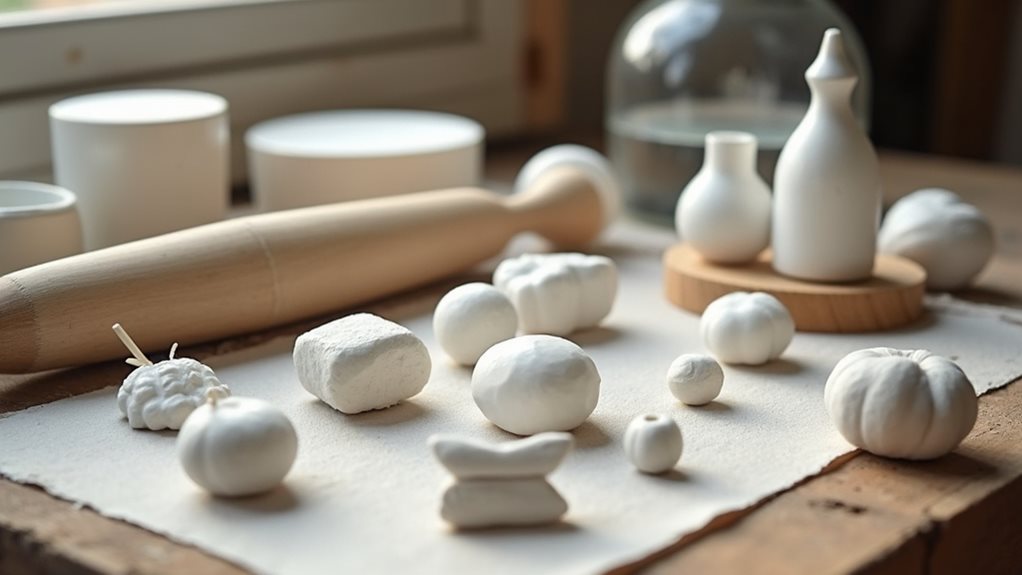
Creating personalized name tags from air dry clay combines artistic expression with practical functionality. These handcrafted tags can be used to label plants, organize craft supplies, or add a special touch to gifts, making them versatile additions to any home or workspace.
The beauty of this project lies in its simplicity and customization potential. Each tag can be shaped uniquely, decorated with different patterns or textures, and personalized with names or messages, resulting in one-of-a-kind pieces that serve both decorative and practical purposes.
Materials Needed:
- Air dry clay (8 oz / 225g block)
- Rolling pin (6-8 inches / 15-20 cm)
- Letter stamps or writing tool (1/4 inch / 6mm height)
- Twine or string (12 inches / 30 cm per tag)
- Drinking straw for hole-punching
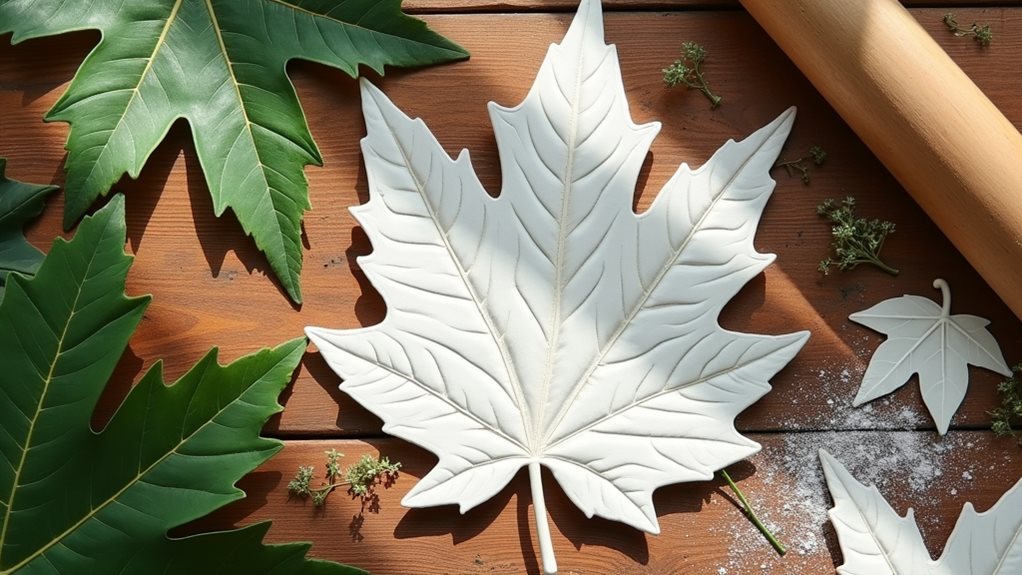
Begin by kneading the clay until it becomes soft and workable. Roll it out to 1/4 inch thickness on a smooth surface, then cut desired shapes using your hands or simple templates. Press letter stamps or write names into the clay while it’s still pliable, then use a drinking straw to create holes for hanging.
Place the tags on a flat surface and allow them to dry completely for 24-48 hours.
Working with air dry clay requires attention to certain details for optimal results. Keep your work surface clean and slightly dampened to prevent sticking, and smooth any rough edges with water while the clay is still wet.
If the clay becomes too dry while working, mist it lightly with water to restore workability. Store unused clay in an airtight container, and consider applying a clear sealant to finished tags if they’ll be exposed to moisture or outdoor conditions.
Project Steps
You’ll want to start by conditioning your clay until it’s soft and moldable, followed by rolling it into an even sheet roughly 1/4 inch thick on your work surface.
Next, cut your desired tag shapes from the clay and carefully stamp or write names onto each piece, making sure to punch holes at the top using your drinking straw before the clay begins to set.
Once you’ve completed these initial steps, you’re ready to let your tags dry completely before adding any finishing touches.
Step 1. Condition Clay Until Pliable
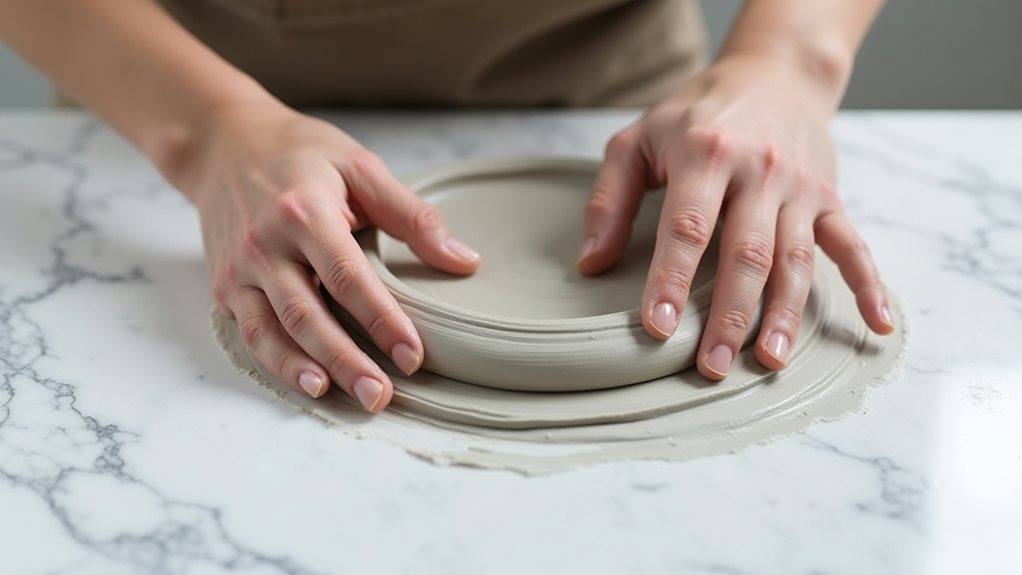
Begin the clay conditioning process by working small sections of the air dry clay between your palms, applying gentle pressure to warm and soften the material.
You’ll notice the clay becoming more pliable as you continue kneading it with your fingers, similar to working with bread dough. If you encounter any hard spots or inconsistencies, focus extra attention on those areas until they blend smoothly with the rest of the clay.
Once the entire portion feels uniformly soft, you can test its readiness by gently pressing your finger into the surface. The clay should yield easily without cracking or crumbling.
If it’s still too firm, continue conditioning until you achieve the right consistency. Remember, properly conditioned clay will make it much easier to roll out and create your name tags.
Step 2. Roll Clay Evenly Flat
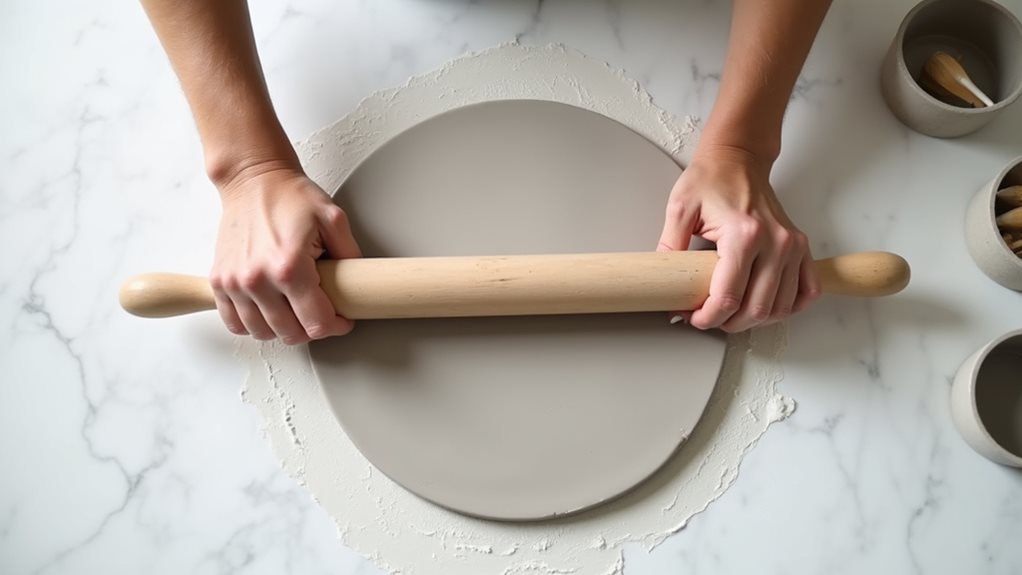
Once your clay reaches the ideal pliable consistency, place it on a smooth, non-stick surface and position your rolling pin at the center of the mass.
Apply gentle, even pressure as you roll outward from the middle, working in all directions to maintain uniform thickness. You’ll want to achieve approximately 1/4 inch thickness throughout the clay.
If you notice any uneven areas, focus your rolling on those specific spots while being careful not to create indentations elsewhere.
Keep your movements steady and controlled, checking the clay’s thickness periodically by gently pressing with your fingertip.
If the clay starts sticking to your rolling pin, dust the surface lightly with cornstarch or place a sheet of wax paper between the clay and rolling pin.
Step 3. Cut Shapes From Clay
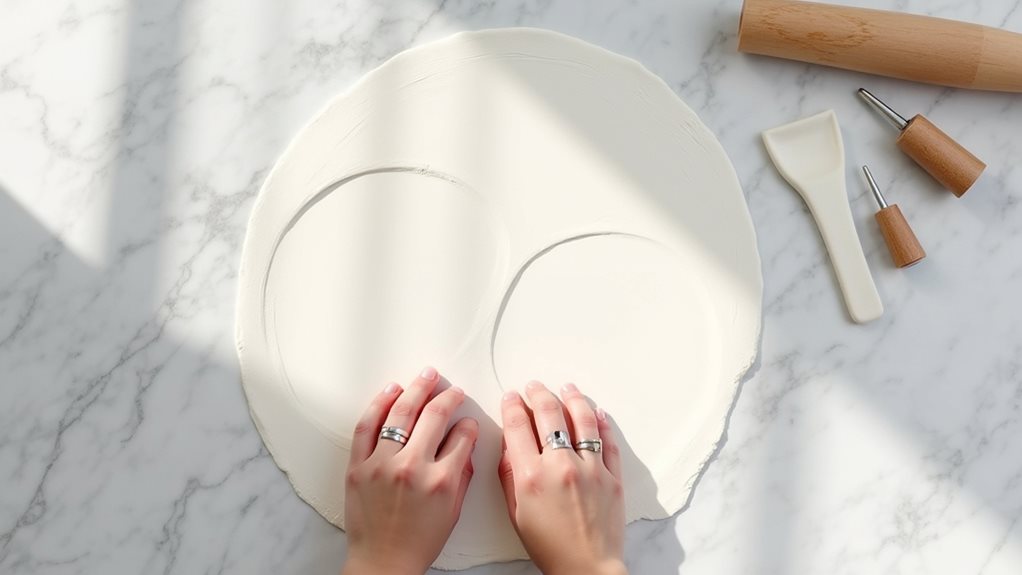
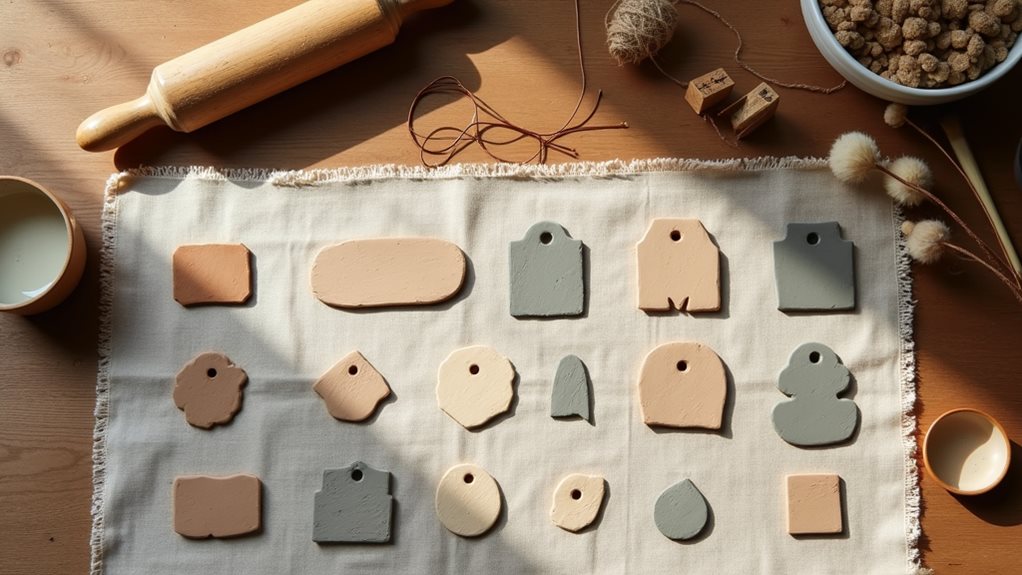
With your rolled clay at the proper thickness, the next step brings your name tags to life through careful shape cutting. You’ll find that simple geometric forms like rectangles, circles, or ovals work best for creating functional tags.
Using household items as templates, such as cookie cutters or the rim of a drinking glass, press firmly into the clay to create clean, defined edges. If you’re going for a more organic look, you can free-hand cut shapes using a butter knife or clay tool.
Make sure each tag is roughly the same size, about 2-3 inches in length, to maintain consistency. Don’t forget to smooth any rough edges with your fingertip while the clay is still pliable.
For multiple tags, work systematically across your rolled clay to maximize material usage.
Step 4. Add Names or Designs
After ensuring your clay shapes are neatly cut, you’ll need to personalize each tag with names or decorative elements while the surface remains workable.
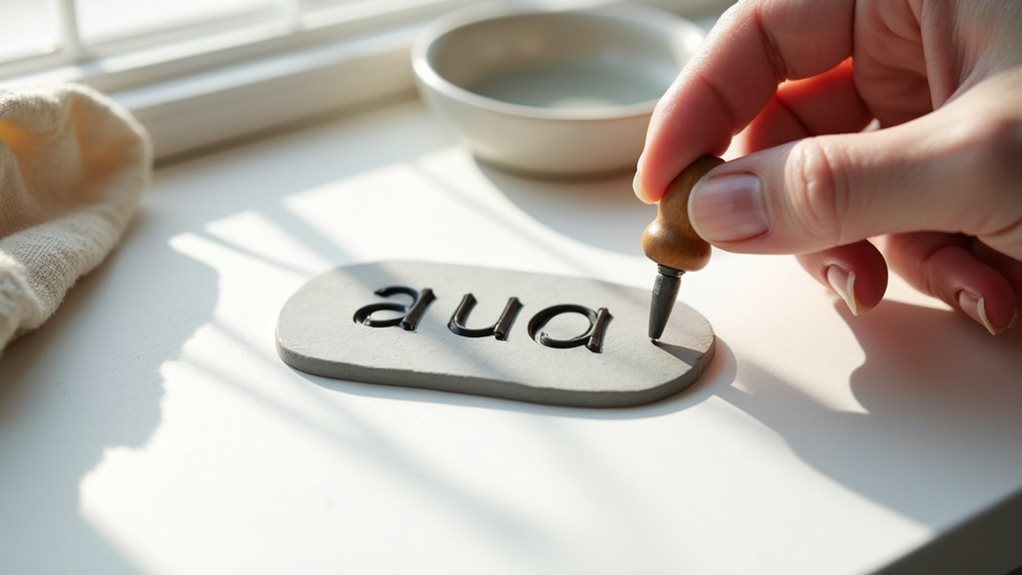
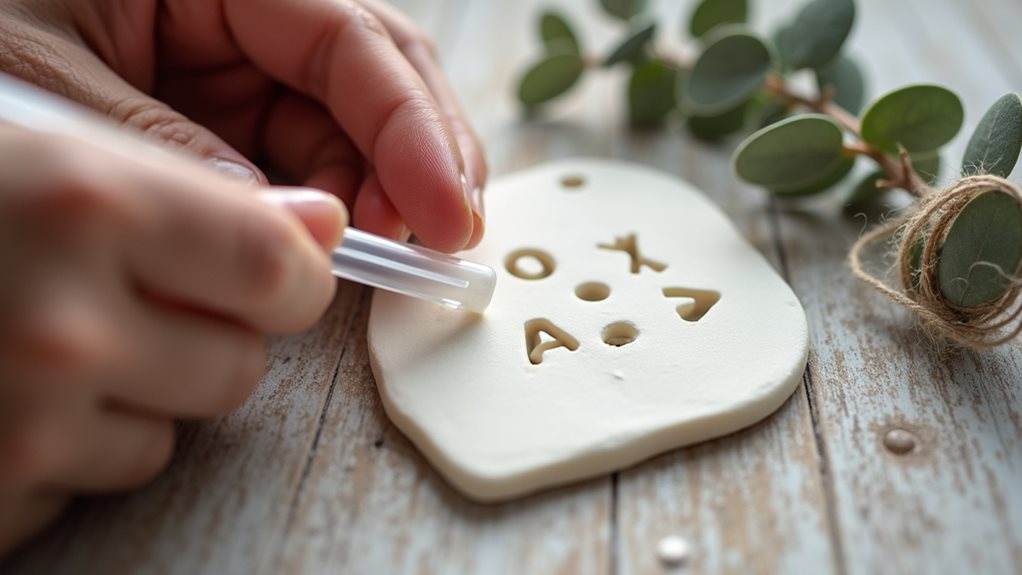
If you’re using letter stamps, press them firmly into the clay at a consistent depth, making sure each letter is clear and legible. For handwritten designs, use a pointed tool to carefully inscribe your text, maintaining steady pressure throughout each stroke.
You can enhance your tags by adding simple decorative elements like stars, hearts, or geometric patterns around the edges.
Don’t forget to maintain adequate space between letters and designs to prevent overcrowding. If you make a mistake, smooth the area with your finger or a damp brush, then try again.
When you’re satisfied with the design, avoid touching or moving the tag until you’ve created the hanging hole.
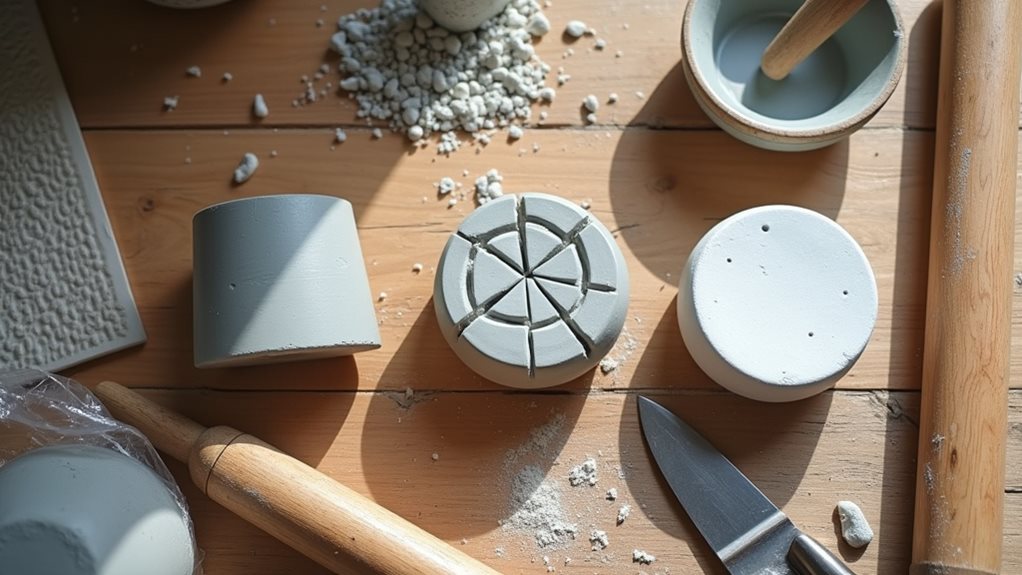
Step 5. Create Holes With Straw
The final step before letting your personalized tags dry involves creating hanging holes for easy attachment.
Take a clean drinking straw and position it near the top of each clay tag, approximately 1/4 inch from the edge. Press the straw firmly down through the clay, then give it a gentle twist to ensure you’ve cut completely through the material.
Remove the clay circle from inside the straw by gently blowing through it or using a toothpick to push it out.
If you notice any rough edges around the hole, smooth them with your fingertip or a damp cotton swab. Make sure the hole is large enough to accommodate your chosen twine or string, as the opening may shrink slightly during the drying process.
Final Thoughts
Creating personalized name tags from air dry clay opens up endless possibilities for adding unique, handcrafted touches to your home, garden, or gift-giving occasions.
When you’ve completed your tags, you’ll discover they’re not just practical identifiers but also charming decorative elements that reflect your creativity.
Remember to store your finished tags in a dry place, and if you’re planning to use them outdoors, don’t forget to apply a protective sealant.
You can experiment with different shapes, sizes, and decorative techniques to expand your creative repertoire.
While the basic process remains simple, you’ll find that each tag becomes easier to make as you develop your own style and techniques.
Consider making extras to keep on hand for last-minute gifts or organizational needs.