When Japanese artist Mei Tanaka unveiled her collection of miniature penguin sculptures at the 2019 Tokyo Craft Fair, she demonstrated how simple air-dry clay could transform into intricate works of art. You’ll find that creating these charming figurines offers an ideal entry point into sculpture, combining basic techniques with endless creative possibilities. Whether you’re drawn to the classic Emperor penguin’s regal stance or the playful waddle of Adelie penguins, you’ll discover a rewarding craft that balances artistic expression with manageable skill requirements.
Key Takeaways
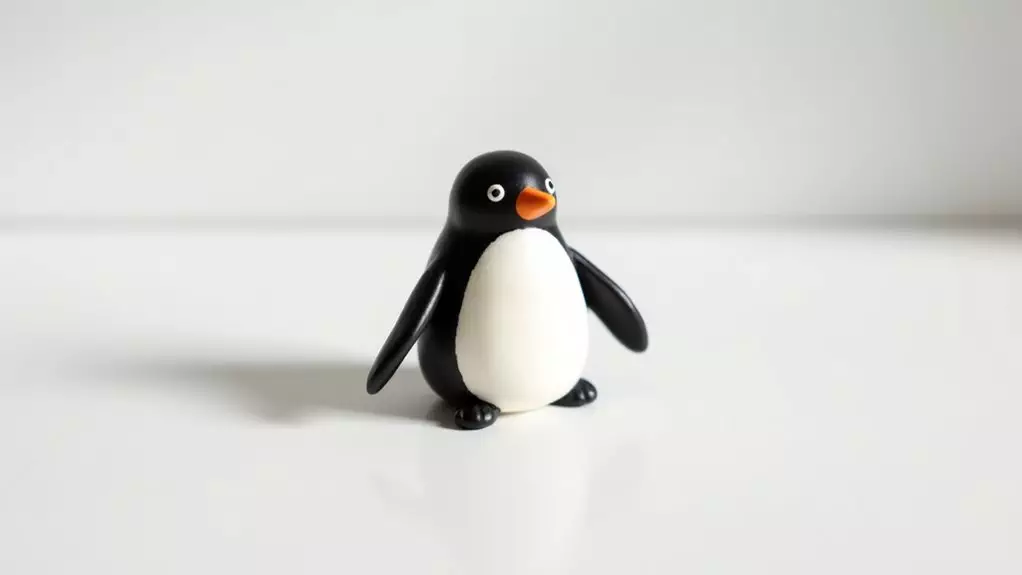
- Miniature penguin sculptures typically stand 3 inches tall and feature classic black and white coloring with a rounded, charming appearance.
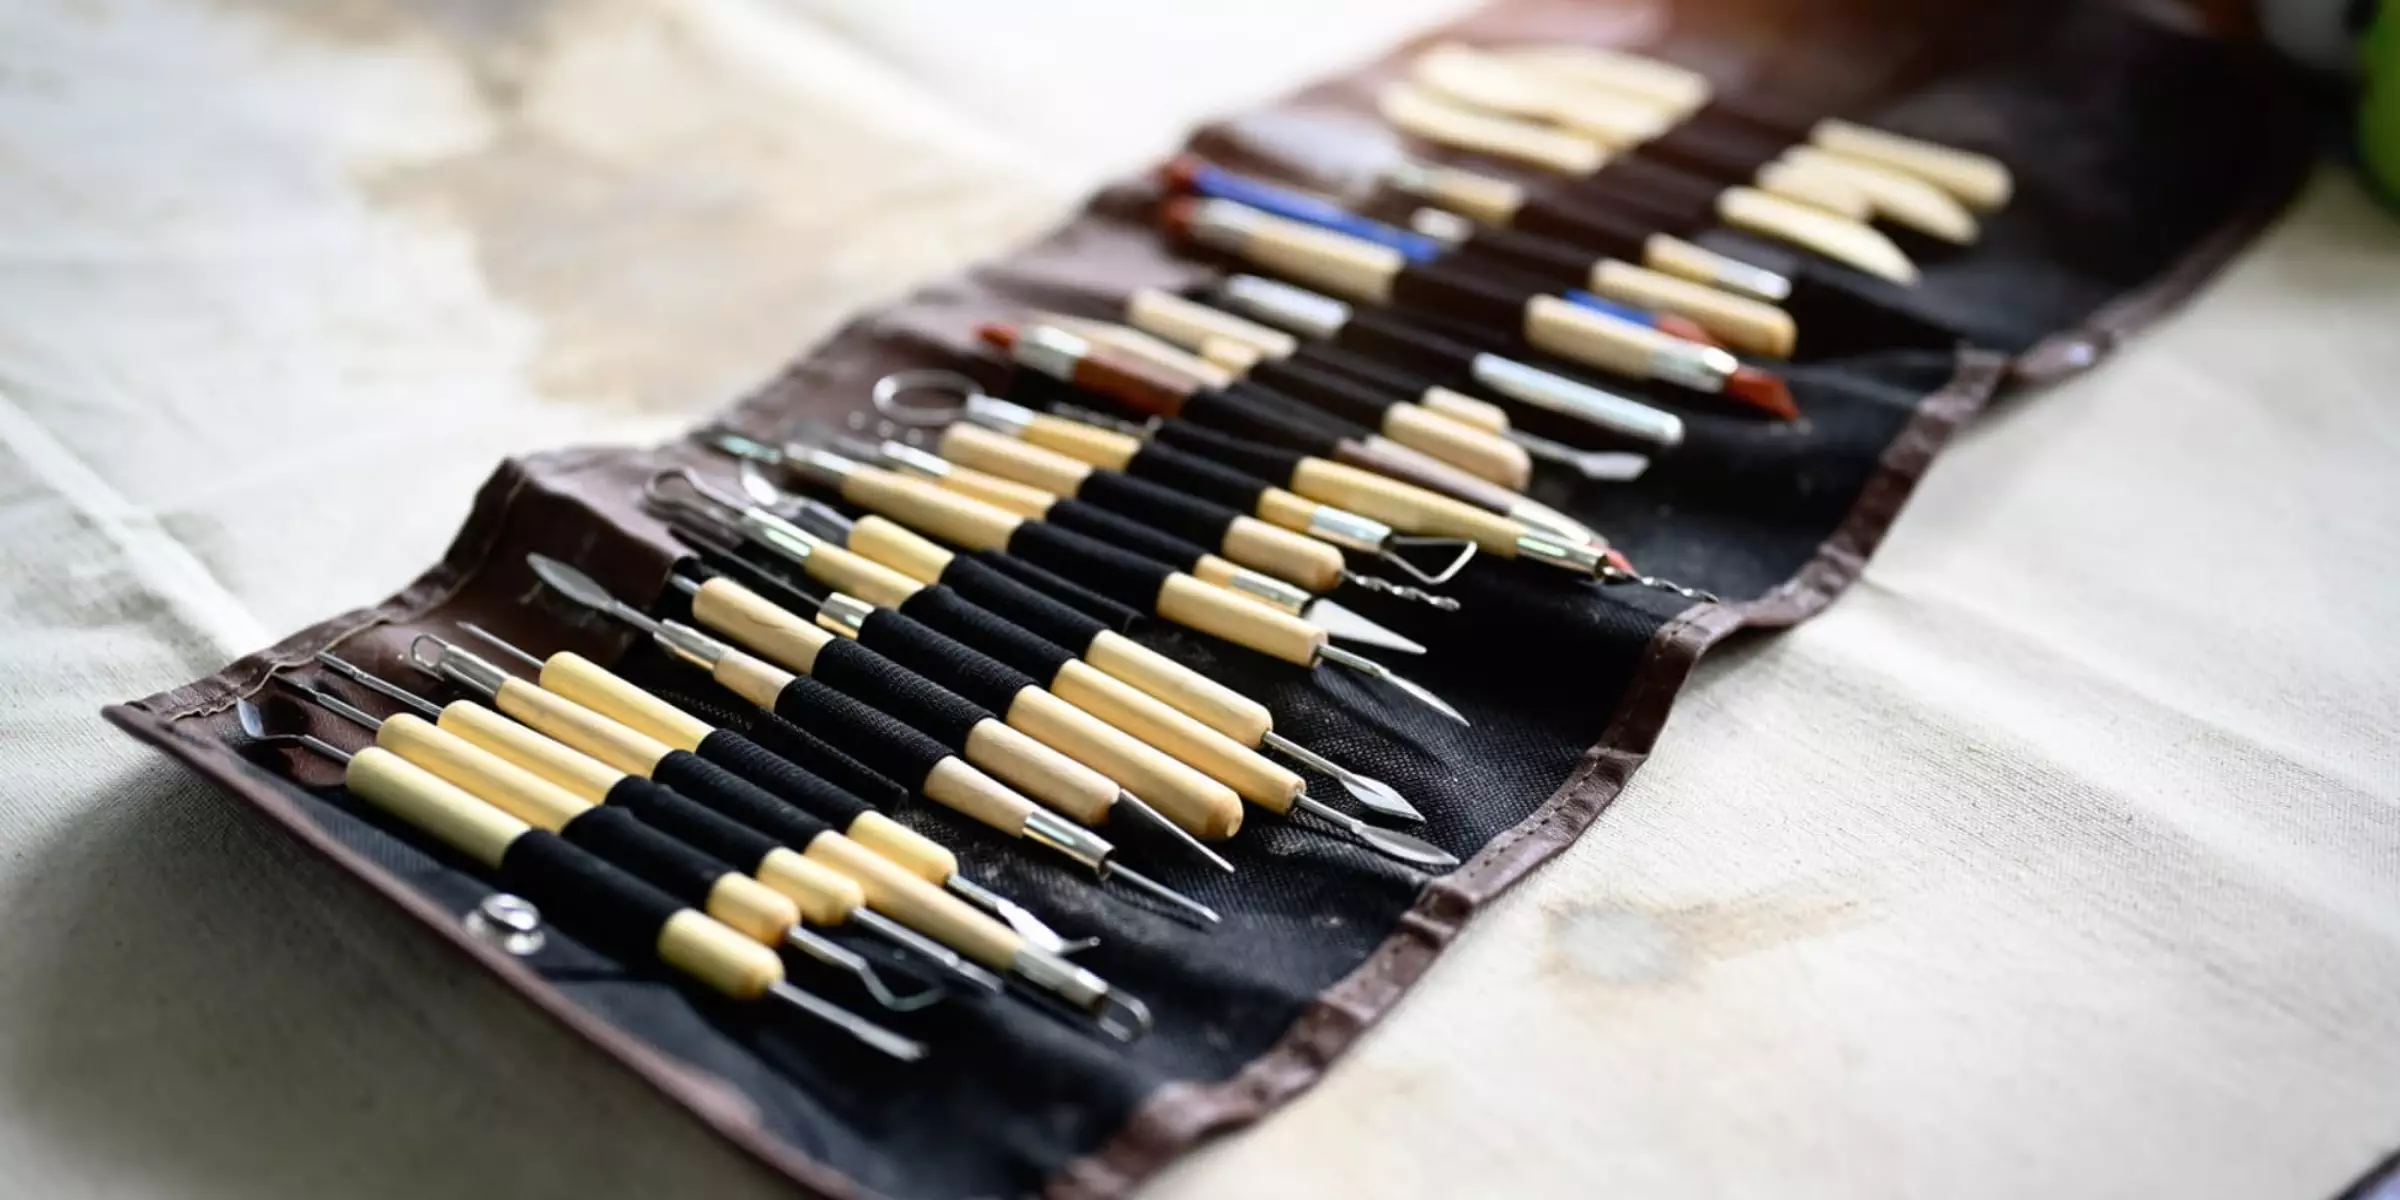
- Air dry clay provides an accessible medium for creating penguin miniatures, requiring basic tools like sculpting tools and acrylic paint.
- The crafting process involves shaping the body, attaching wings and features, then painting and sealing for a professional finish.
- Historical penguin miniatures originated in the 1920s using porcelain, while modern versions embrace simpler materials and techniques.
- Creating penguin miniatures allows for personal artistic expression through varied poses, expressions, and stylistic interpretations.
History
Since miniature penguin sculptures have captivated hobbyists and collectors for generations, their creation using air dry clay represents a modern adaptation of traditional ceramic techniques.
You’ll find that early penguin miniatures emerged in the 1920s, primarily crafted from porcelain and displayed in curio cabinets throughout Europe and North America.
As crafting materials evolved, you’ve gained access to more versatile mediums like air dry clay, which doesn’t require kiln firing like its ceramic predecessors.
This advancement has made penguin miniature creation more accessible to home crafters since the 1970s. While traditional ceramic methods demanded specialized equipment and training, you can now achieve professional-looking results with basic tools and materials.
The simplified techniques you’ll use today maintain the charm of vintage pieces while offering greater creative freedom.
Project
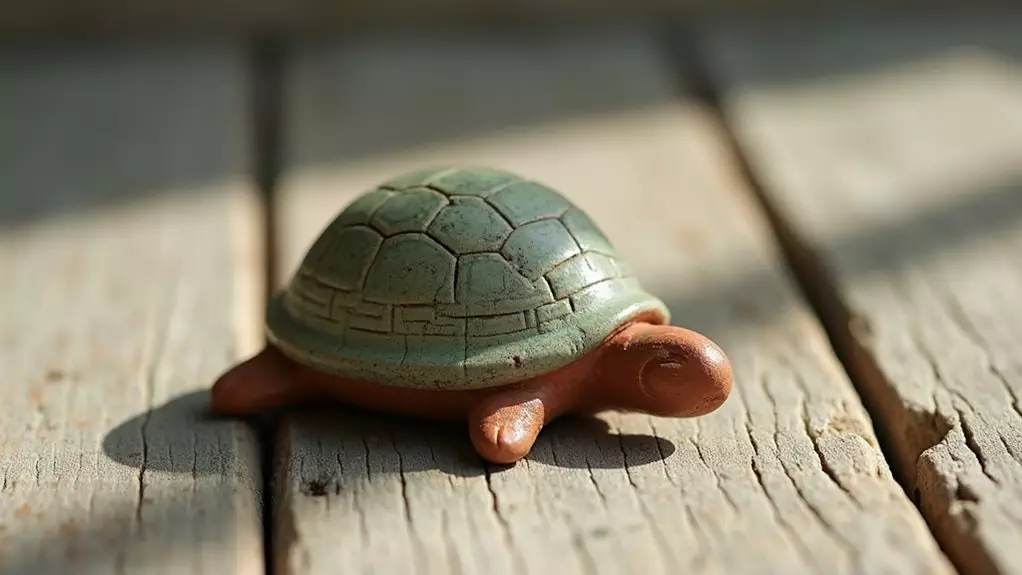
Creating a charming miniature penguin from air dry clay brings the whimsy of Antarctica right to your crafting table. This simple yet engaging project results in a delightful 3-inch sculpture that captures the lovable essence of these flightless birds.
The project focuses on basic sculpting techniques to create a recognizable penguin form, making it accessible for crafters of all skill levels. The design emphasizes the classic black and white coloring and characteristic rotund shape that makes penguins instantly identifiable.
- White air dry clay (4 oz / 113 g)
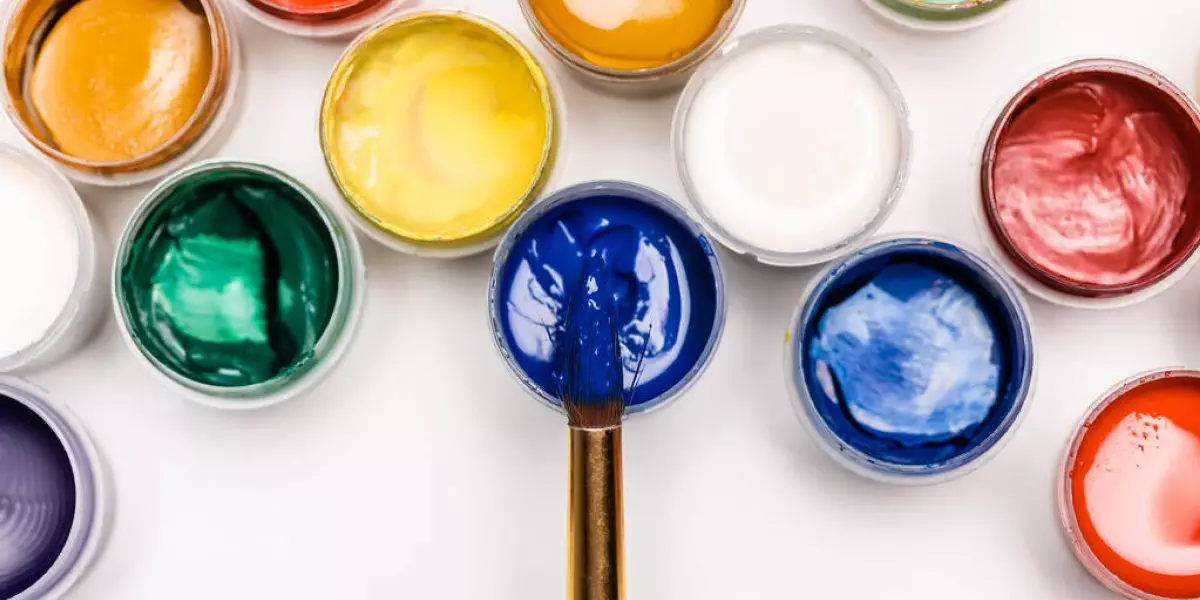
- Black acrylic paint (1 fl oz / 30 ml)
- Small paintbrush (size 0-2)
- Sculpting tool or toothpick
- Clear acrylic sealer (2 fl oz / 60 ml)
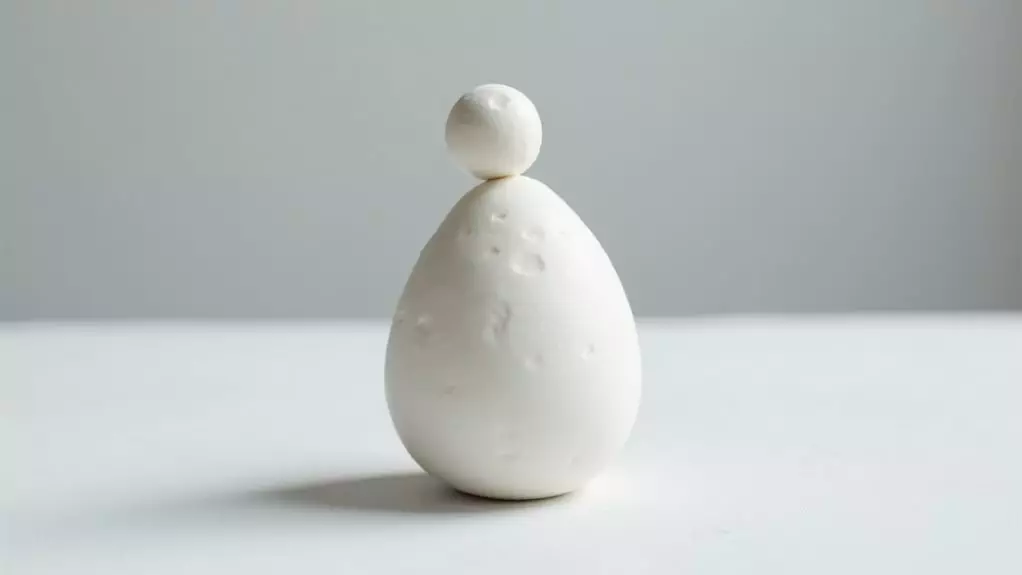
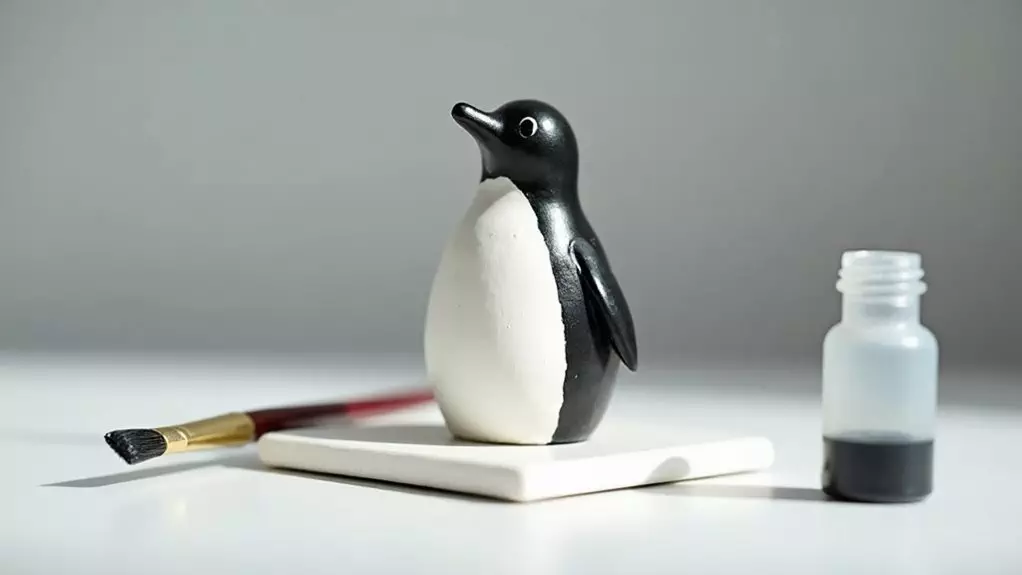
Begin by forming two-thirds of the clay into an egg shape for the body and roll the remaining clay into a smaller ball for the head. Join these pieces together, smoothing the connection point with your finger. Create small triangular wings and attach them to the sides of the body. Form a flat oval base for stability, then add a small pointed beak and two tiny clay balls for eyes.
Allow the sculpture to dry completely for 24-48 hours before painting the back, wings, and head black, leaving the front white. Once the paint dries thoroughly, apply two protective coats of clear sealer.
Keep a small bowl of water nearby while working to smooth any cracks and help join pieces together. Work on a non-stick surface such as wax paper to prevent the clay from sticking, and keep unused portions wrapped in plastic wrap to prevent premature drying.
Avoid handling the piece excessively once it begins to dry, as this can create unwanted texture or cracks in the surface. For best results, work in a room with moderate humidity and temperature to ensure even drying.
Project Steps
You’ll begin your penguin sculpture by rolling the clay into an egg shape for the body and a smaller ball for the head, joining these pieces smoothly at the neck.
Next, you’ll attach triangular wings to the sides, create a flat base for stability, and carefully shape the beak and eyes using small clay pieces.
Once your penguin has dried completely, you’ll paint the back, wings, and head with black acrylic paint, leaving the belly white, and finish with two protective coats of clear sealer.
Step 1. Roll Clay Into Egg Shape
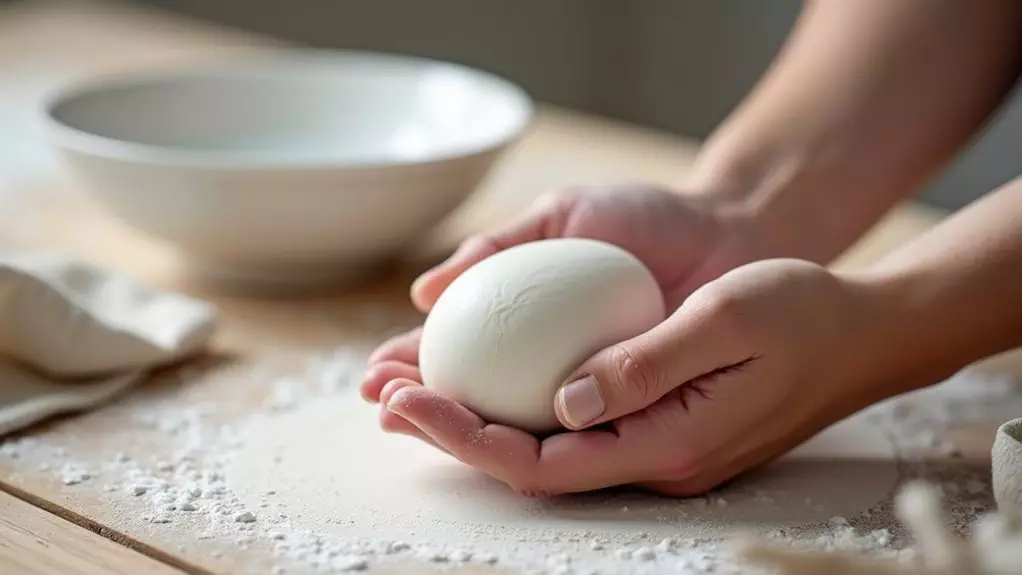
Begin shaping your penguin by rolling roughly two-thirds of the air dry clay between your palms into a smooth egg shape, approximately 2 inches tall and 1.5 inches at its widest point.
You’ll want to maintain consistent pressure while rolling to ensure even distribution of the clay, creating a symmetrical form that’ll serve as your penguin’s body.
If you notice any bumps or irregularities, gently press them out with your thumbs, working in small circular motions.
Keep checking the shape from different angles to maintain the proper egg-like proportion.
When you’re satisfied with the form, set it upright on your work surface and make sure it stands steadily.
If it wobbles, flatten the bottom slightly with gentle pressure.
Step 2. Join Head to Body
The next crucial step involves joining your penguin’s head to its body with precision and care.
Position the smaller clay sphere on top of the egg-shaped body, pressing down gently to create a natural connection point. You’ll want to make sure the head sits slightly forward, mirroring a penguin’s characteristic posture.
Using your fingertip, smooth the clay where the head meets the body, working in a circular motion to blend the seam completely. If you notice any cracks forming, dip your finger in water and carefully smooth them away.
Check your work from all angles to ensure the join appears seamless and natural. Once you’re satisfied with the connection, you can proceed to refine the overall shape, making subtle adjustments to capture the penguin’s endearing personality.
Step 3. Add Wings and Base

Shaping your penguin’s wings and base transforms the simple clay form into a recognizable bird figure. Roll two small triangular shapes from your clay, ensuring they’re roughly the same size and about one-third the height of your penguin’s body. Press these gently but firmly against the sides of the body, angling them slightly downward to create natural-looking wings.
For stability, create an oval base by flattening a small portion of clay into a disc shape approximately half an inch thick. The base should be wide enough to support your penguin comfortably.
Place your penguin on this base, then blend the feet area into the base using your sculpting tool or fingertip. Smooth any connection points with a small amount of water to ensure proper adhesion.
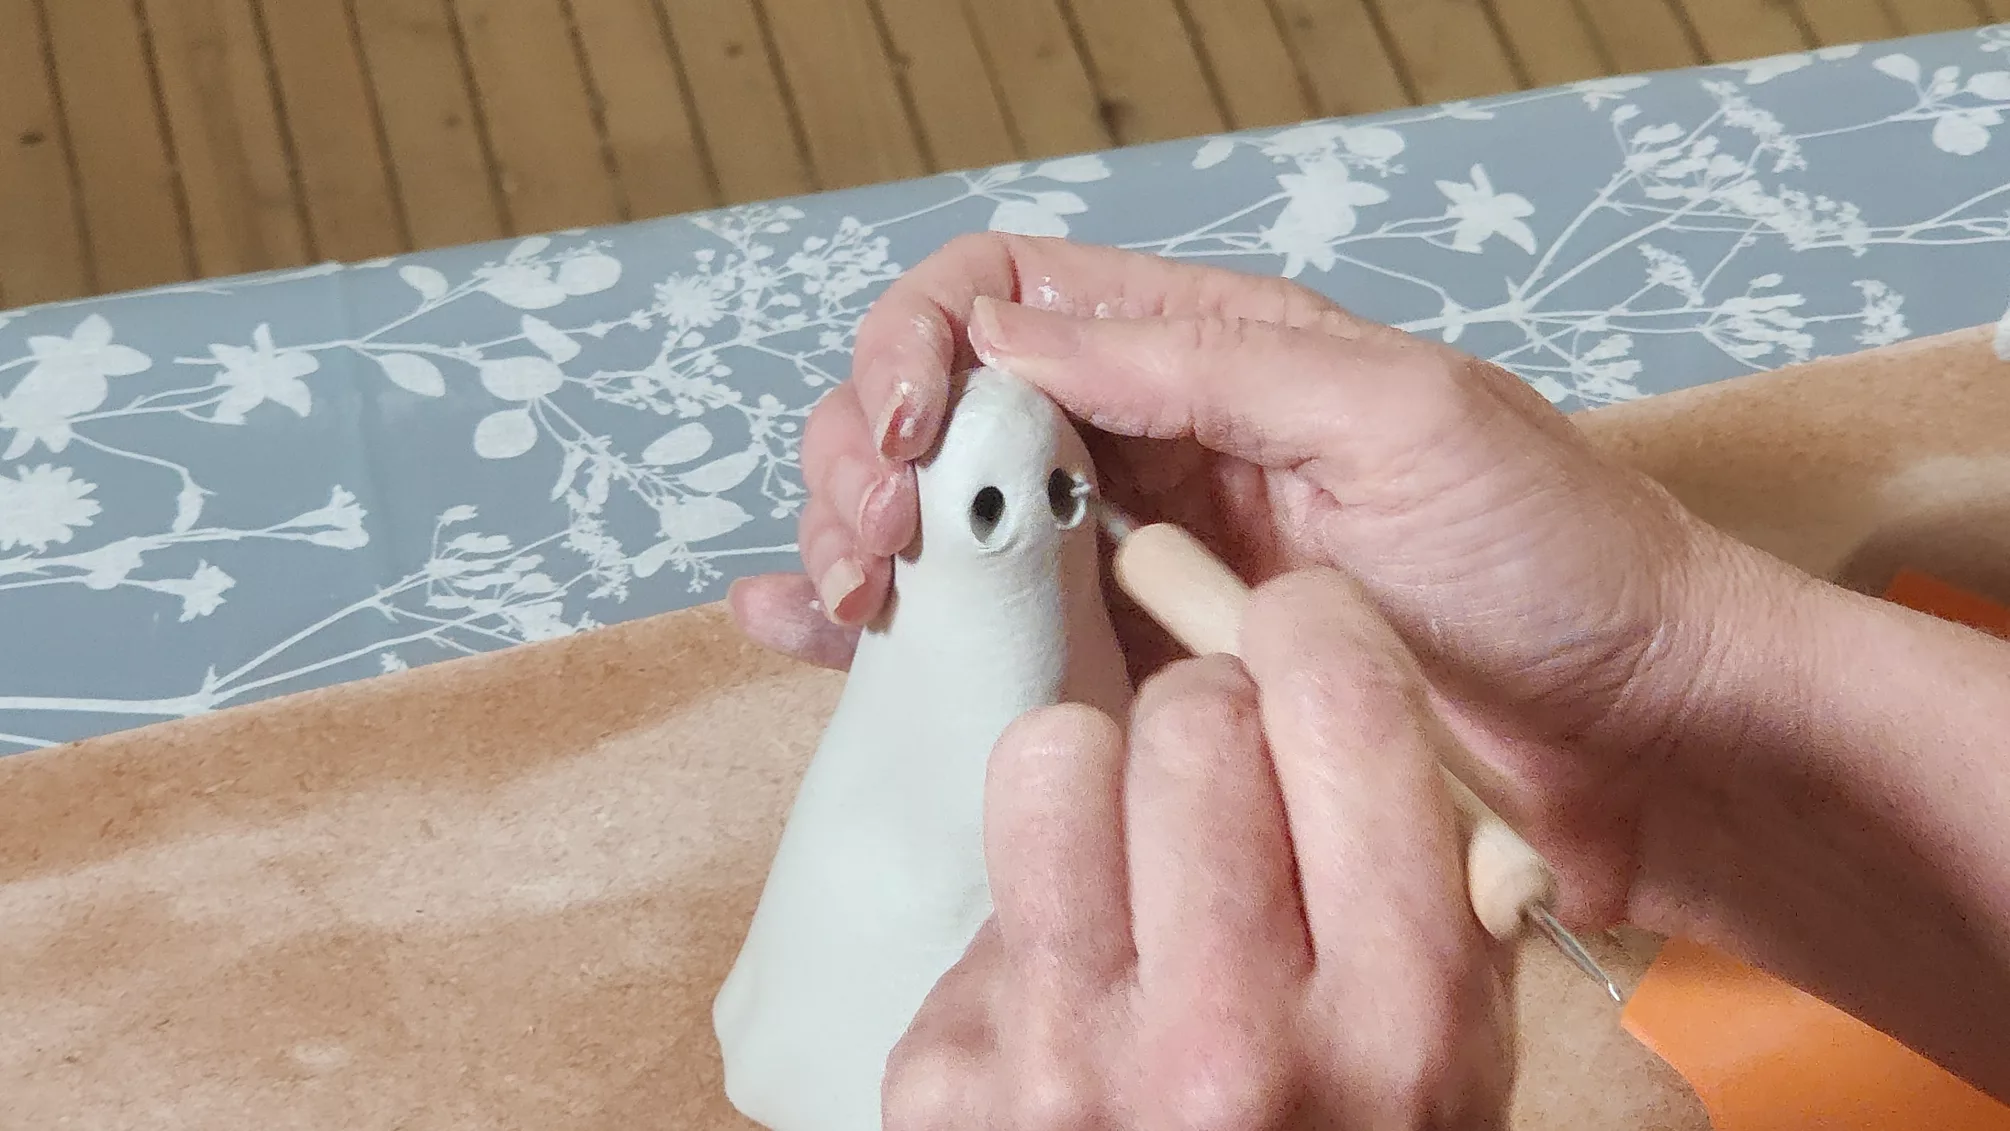
Step 4. Add Beak and Eyes
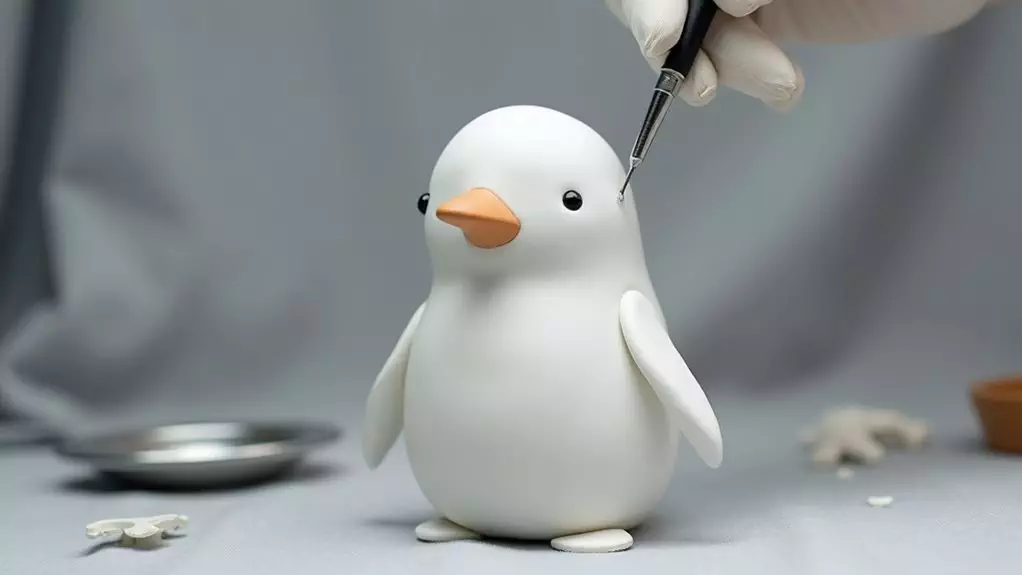
Adding facial features marks a crucial step in bringing your penguin sculpture to life.
Shape a small triangular piece of clay, about 1/4 inch long, and gently press it onto the center of your penguin’s face to create the beak. For the eyes, roll two tiny clay balls, each about the size of a small pea, and position them above the beak, spacing them evenly on either side. Press these gently into place, being careful not to distort their round shape.
Use your sculpting tool or toothpick to add subtle indentations around the eyes and beak, creating natural-looking contours that define these features.
If you’re working with particularly soft clay, let the head firm up slightly before adding these details to maintain their crisp appearance.
Step 5. Paint and Seal Sculpture
Once your penguin’s features have dried completely, you’ll begin the exciting process of bringing color to your sculpture. Using your small paintbrush, carefully apply black acrylic paint to the penguin’s back, wings, and head, maintaining clean edges where the black meets the white clay.
Work in thin, even layers to ensure smooth coverage without obscuring surface details. After the black paint has dried thoroughly, inspect your work for any spots you might’ve missed. If needed, apply a second coat to achieve uniform coverage.
Finally, protect your finished sculpture by applying two thin coats of clear acrylic sealer, allowing each coat to dry completely. The sealer will preserve your penguin’s colors and protect it from moisture and dust, ensuring your miniature friend remains pristine for years to come.
Final Thoughts
Creating a miniature penguin sculpture with air dry clay provides a rewarding introduction to small-scale sculpting, while teaching valuable techniques you’ll use in future projects.
You’ll develop essential skills in shape formation, texture manipulation, and paint application that transfer well to other clay crafts.
As you practice this project, you’ll notice improvements in your ability to create smooth surfaces, join pieces securely, and apply even paint coverage.
Don’t be discouraged if your first attempt isn’t perfect – each penguin you create will help refine your crafting abilities.
Remember to take photos of your work to track your progress, and consider making multiple penguins with slight variations to experiment with different poses and expressions.
You’ll soon discover your own creative style within this basic framework.