You’ll discover that air dry clay mobiles offer a perfect blend of artistic expression and engineering precision. As you shape and balance delicate geometric forms, you’re not just creating art—you’re crafting a dynamic sculpture that responds to the slightest breeze. While traditional mobiles often use metal or wood, air dry clay brings a unique organic quality to these suspended works. The upcoming steps will transform your creative vision into a mesmerizing piece that captivates viewers through its gentle, perpetual motion.
Key Takeaways
- Air dry clay mobiles combine lightweight geometric shapes with string or cord to create hanging sculptures that move with air currents.
- The process requires rolling clay to consistent thickness, cutting shapes, drying completely, and carefully balancing pieces during assembly.
- Ideal placement near windows or entryways maximizes natural movement and creates dynamic shadow effects throughout the day.
- Air dry clay (16 oz), cotton string (6 ft), and a wooden dowel (12 inches) are essential materials for mobile creation.
- These mobiles blend modern minimalist design with kinetic movement, making them suitable for various home decor styles.
History
While mobiles have been a recognized art form since Alexander Calder’s groundbreaking work in the 1930s, the incorporation of air dry clay into mobile-making has gained popularity during the modern crafting renaissance of the early 2000s.
You’ll find that clay mobiles have roots in both traditional pottery and kinetic sculpture, combining centuries-old ceramic techniques with contemporary design sensibilities.
As you explore this art form’s evolution, you’ll notice how crafters have adapted traditional hanging designs to accommodate air dry clay’s unique properties.
The material’s lightweight nature and versatility have made it an ideal medium for creating delicate, suspended sculptures.
What’s particularly interesting is how social media platforms like Pinterest and Instagram have helped spread this craft, with makers sharing innovative techniques and designs that blend ancient clay-working methods with modern aesthetic preferences.
Project
Air dry clay mobiles offer a perfect blend of modern design and natural movement, creating an ever-changing display of organic shapes that respond to the gentlest air currents. These lightweight sculptures bring life to any space while maintaining a clean, minimalist aesthetic that complements various décor styles.
The process of crafting your own mobile combines the meditative practice of working with clay and the precise art of achieving balance. Each handcrafted element contributes to the overall composition, while the white clay provides a perfect canvas for shadows and light to play across the surface as the pieces move.
Materials:
- Air dry clay (16 oz / 450g)
- Cotton string or hemp cord (6 ft / 2m)
- Wooden dowel (12 inches / 30cm)
- Rolling pin
- Cookie cutters or cardboard templates
Roll the clay to a consistent 1/4 inch (6mm) thickness using the rolling pin on a smooth, clean surface. Cut desired shapes using cookie cutters or templates, making sure to create hanging holes approximately 1/4 inch (6mm) from the edges while the clay is still wet. Allow shapes to dry completely for 24-48 hours on a flat surface, rotating occasionally to prevent warping.
Once dry, string the shapes at varying lengths from the wooden dowel, starting with the center pieces and working outward to maintain balance. When crafting your mobile, consider the weight distribution carefully and test the balance as you add each piece. Keep shapes relatively simple for your first attempt, as complex designs may be more prone to warping or breaking.
Work in a room with consistent temperature and humidity levels, as extreme conditions can affect drying time and potentially cause cracking. If pieces feel too heavy once dried, sand the edges gently with fine-grit sandpaper to reduce weight while maintaining structural integrity.
Project Steps
Begin your clay mobile project by kneading the air dry clay until it’s completely smooth and pliable in your hands.
Next, you’ll want to roll out your clay to an even quarter-inch thickness using a rolling pin, ensuring consistent thickness throughout for balanced final pieces.
Using cookie cutters or templates, cut your geometric shapes and carefully create small holes near the tops for stringing.
Then let your shapes dry completely for 48 hours before assembly.
Step 1. Knead Clay Until Smooth

Take small portions of the clay and press it firmly between your palms, working it thoroughly with your fingers to remove any air bubbles or inconsistencies.
You’ll want to continue this process until the clay feels uniformly smooth and pliable, which typically takes about 5-7 minutes per portion.
As you knead, you’ll notice the clay becoming warmer and more malleable. If you encounter any hard spots or lumps, focus extra attention on those areas, pressing and folding until they’re fully incorporated.
When the clay reaches a consistent texture without visible irregularities, it’s ready for rolling. If the clay starts sticking to your hands, you can dust them lightly with cornstarch, but don’t overdo it as this might make the clay too dry.
Step 2. Roll Clay Evenly
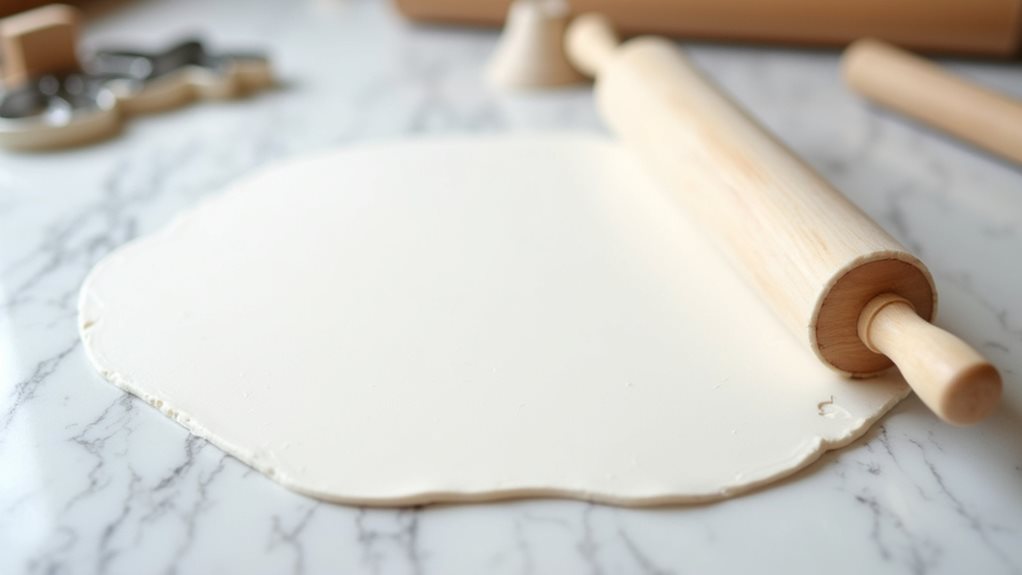
Smooth and even clay surfaces form the foundation of a successful mobile project. Place your kneaded clay on a clean, flat work surface between two wooden dowels of equal thickness, which will act as guides for consistent depth.
Using firm, steady pressure, roll your clay with a rolling pin across the surface, moving from the center outward in all directions. You’ll want to achieve a uniform thickness of 1/4 inch throughout your piece.
If you notice any air bubbles forming, gently pierce them with a needle tool and roll over the area again. Check the evenness of your clay by lightly running your fingertips across the surface – you shouldn’t feel any bumps or dips.
If needed, continue rolling until you’ve achieved a perfectly level surface.
Step 3. Cut Geometric Clay Shapes
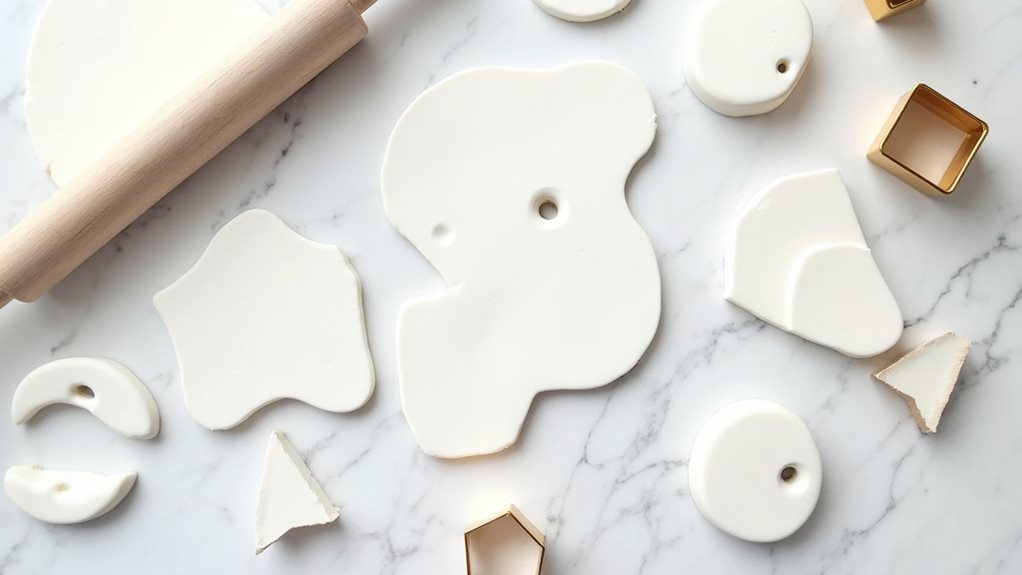
Select your favorite geometric shapes to create a visually balanced mobile design, keeping in mind that simpler forms like circles, triangles, and crescents work best for this project.
Using cookie cutters or premade templates, press firmly into the rolled clay to create clean, defined edges for each shape. You’ll want to make at least six to eight pieces in varying sizes to achieve proper balance in your final mobile.
Before the shapes dry, don’t forget to create small hanging holes near the top of each piece using a toothpick or skewer. Position these holes about 1/4 inch from the edge to ensure they won’t break during stringing.
If you’re creating custom shapes, use a craft knife to carefully cut along your drawn guidelines while the clay remains pliable.
Step 4. Create Holes for Stringing
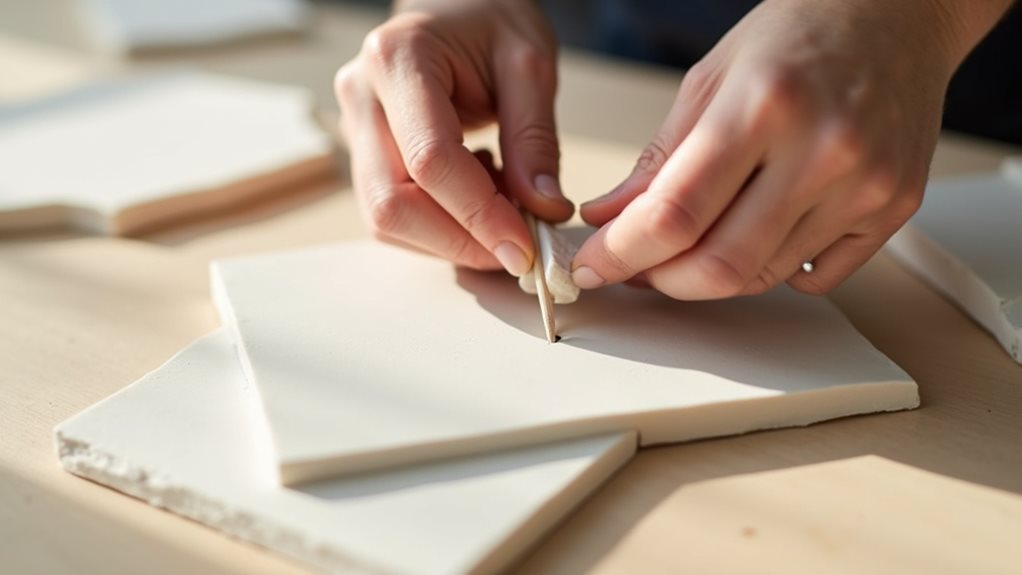
Making clean, precise holes in your clay shapes is a crucial step that will determine how well your mobile hangs and moves. While your shapes are still pliable, you’ll want to create holes about 1/4 inch from the edges using a toothpick, knitting needle, or small straw.
For larger pieces, consider making two holes at the top to ensure better balance when hanging. If you’re working with delicate shapes, gently twist your hole-making tool rather than pushing straight through, which helps prevent distortion.
Don’t forget to make the holes slightly larger than your stringing material, as the clay will shrink a bit during drying. Once you’ve created your holes, smooth any rough edges with your fingertip to prevent the cord from fraying later.
Step 5. Let Dry 48 Hours
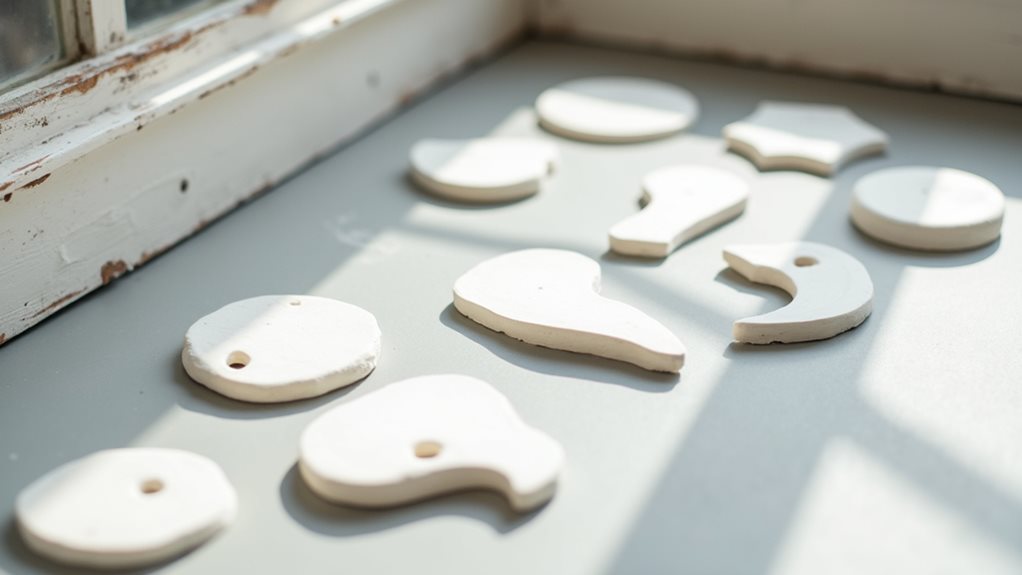
The drying process represents one of the most critical phases in creating your air dry clay mobile, requiring a full 48-hour period for optimal results.
You’ll need to place your clay shapes on a flat, non-stick surface in a well-ventilated area away from direct sunlight and heat sources.
During this time, don’t attempt to move or handle your pieces, as they’ll remain fragile until completely dry. You’ll notice the clay gradually changing from dark gray to a lighter shade as moisture evaporates.
If you’re working in a humid environment, you might need to extend the drying time beyond 48 hours. To test if your pieces are ready, gently tap them with your fingernail – they should feel hard and produce a slight clicking sound when fully dried.
Final Thoughts
Once you’ve completed your air dry clay mobile, you’ll discover that creating these elegant suspended sculptures isn’t just about crafting individual pieces – it’s about bringing movement and life to your artistic vision.
You’ve learned how to balance delicate shapes, work with natural materials, and create art that responds to its environment. These skills will serve you well in future projects, whether you’re making more mobiles or exploring other forms of three-dimensional art.
Consider displaying your mobile where gentle air currents can highlight its graceful movement, such as near a window or in an entryway.
You’ll find that different lighting throughout the day creates shifting shadows that add another dimension to your piece, making it a truly dynamic work of art that continues to evolve and engage.