When you’re burning incense, you’ll need more than just the fragrant sticks themselves—a proper holder is essential for both safety and style. You’ll find these practical items have evolved from simple clay dishes into artistic expressions that complement your home’s aesthetic while safely catching ash. Whether you’re drawn to traditional brass burners or contemporary ceramic designs, understanding the basics of incense holders will enhance your aromatherapy experience and open up creative possibilities for crafting your own.
Key Takeaways
- Incense holders are essential accessories designed to safely catch ash and support burning incense sticks or cones during use.
- Traditional materials include bronze, copper, ceramic, and jade, while modern versions often use clay, wood, or metal.
- Basic holders should include a stable base, catch area for ash, and proper ventilation for smoke dispersion.
- Styles range from simple stick holders to elaborate decorative pieces that complement home décor and personal aesthetic preferences.
- Custom holders can be crafted from air-dry clay at home, requiring minimal materials and offering personalized design options.
History
While incense holders have existed for thousands of years, their earliest documented use dates back to ancient Egypt and Mesopotamia, where elaborate bronze and copper vessels held burning resins for religious ceremonies.
You’ll find that these early holders evolved from simple clay dishes to intricately carved stone and metal artifacts, reflecting the cultural significance of incense in different societies.
In ancient China and Japan, you’d discover that incense holders became works of art themselves, crafted from precious materials like jade, bronze, and ceramic.
These holders weren’t just functional items – they were status symbols that demonstrated the owner’s wealth and artistic taste.
Today’s incense holders still draw inspiration from these historical designs, though they’ve adapted to accommodate modern manufacturing techniques and contemporary aesthetic preferences.
Project
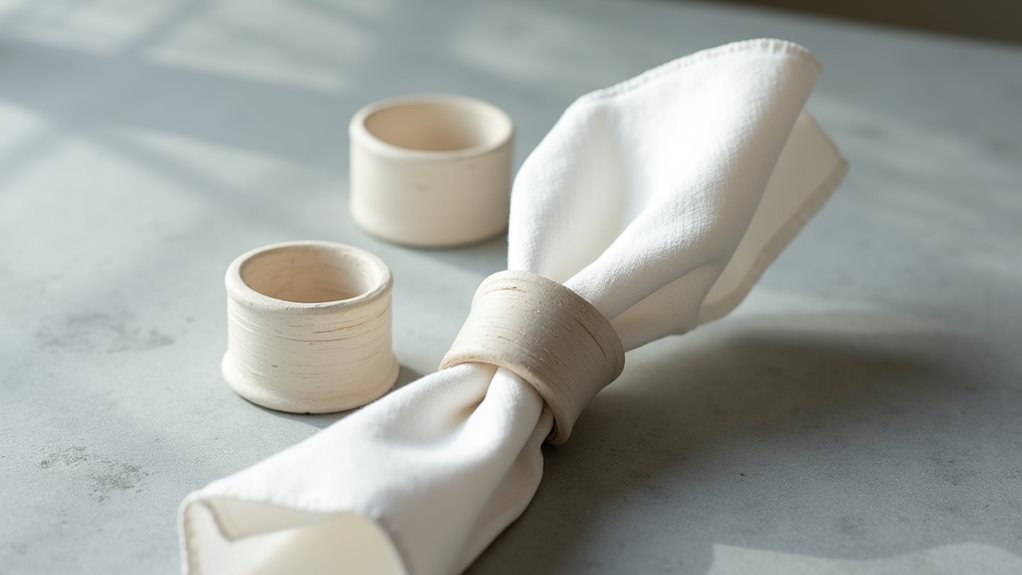
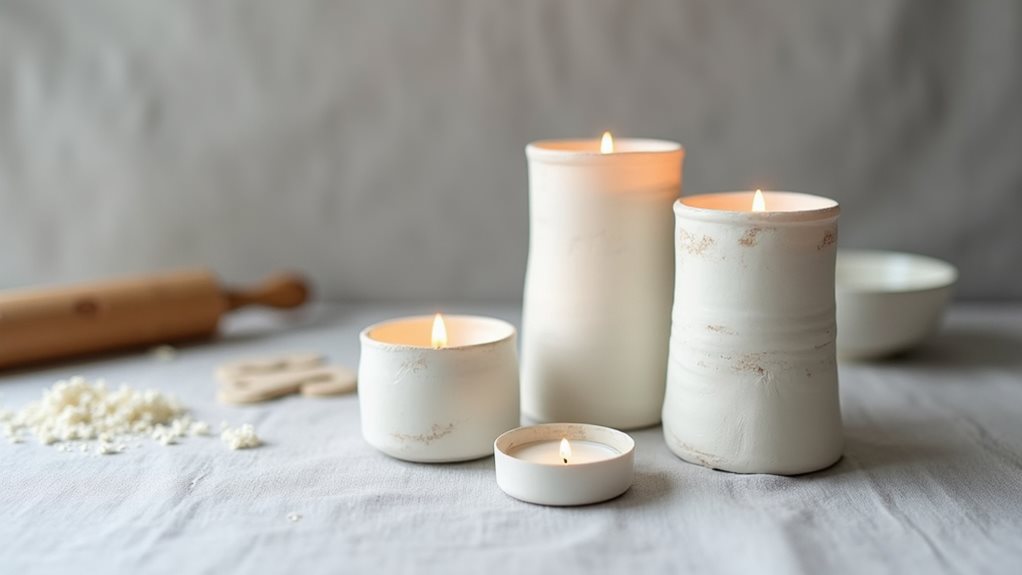
An air dry clay incense holder combines functionality with artistic expression, allowing you to design a custom piece that matches your home’s aesthetic while safely catching incense ash. This practical craft project requires minimal materials and can be completed in a single session, though drying time must be factored into the overall process.
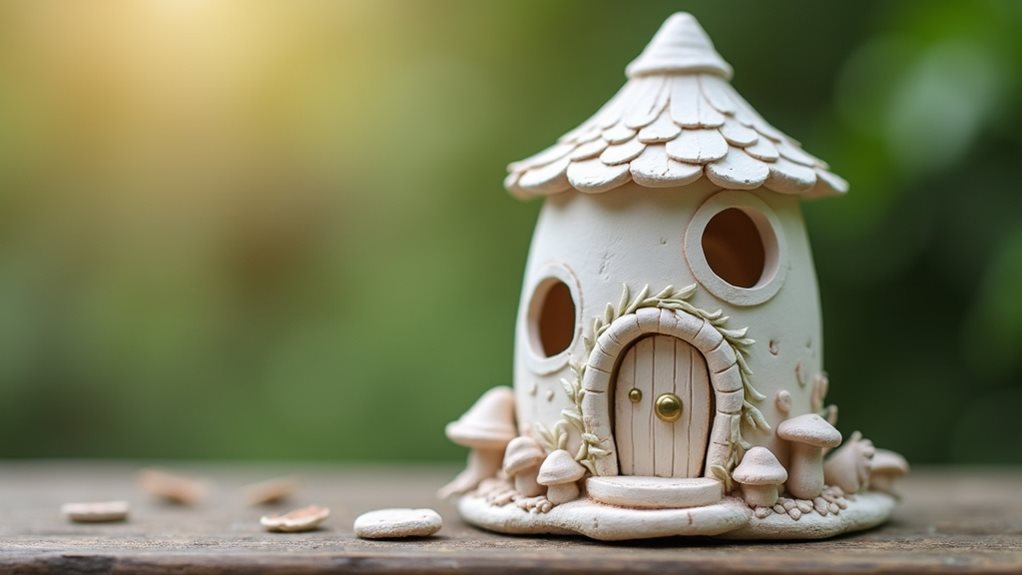
The beauty of crafting your own incense holder lies in its versatility – you can create simple, minimalist designs or elaborate decorative pieces. Whether you prefer stick or cone incense, the basic construction method remains the same, and the finished product can be left natural or painted to suit your style preferences.
Materials:
- Air dry clay (8 oz / 225g)
- Rolling pin (6-8 inch / 15-20 cm)
- Craft knife or plastic knife
- Small bowl of water (4 oz / 120 ml)
- Smooth work surface (12×12 inches / 30×30 cm)
Begin by kneading the clay until it becomes soft and pliable. Roll it out to a 1/4 inch (6mm) thickness on your work surface, then cut your desired shape using the craft knife, ensuring the base is at least 4 inches (10cm) long.
Create raised edges by gently pinching up the clay around the perimeter, smoothing with damp fingers as you work. For stick incense, make a small hole about 1/8 inch (3mm) deep at one end; for cone incense, form a shallow depression in the center. Allow the piece to dry completely for 24-48 hours.
When working with air dry clay, maintain slightly damp hands to prevent sticking while preserving clay workability. Store unused clay in an airtight container to prevent premature drying.
Avoid handling the piece too much during drying, and keep it away from direct sunlight to prevent cracking. If planning to paint the holder, ensure it’s completely dry first, and consider applying a non-toxic sealant for durability and moisture protection.
Project Steps
Let’s explore the essential steps you’ll need to follow for creating your own incense holder from air dry clay.
You’ll start by gathering all your materials and conditioning the clay until it’s pliable enough to work with, followed by rolling it into an even sheet and cutting your desired base shape.
Once you’ve established your foundation, you’ll create the necessary holes for incense sticks or depressions for cones, while carefully crafting raised edges to catch falling ash.
Step 1. Gather Supplies and Materials

Before beginning your incense holder project, you’ll need to assemble the essential materials on a clean, spacious work surface. Gather approximately 8 ounces of air dry clay, a rolling pin measuring 6-8 inches in length, and a craft knife or plastic knife for shaping. You’ll also need a small bowl containing 4 ounces of water for smoothing surfaces and keeping your hands slightly damp during the creation process.
Ensure your work area measures at least 12×12 inches and provides a smooth, flat surface for rolling out the clay. While optional, you might want to consider having paint and sealant on hand for decorating your finished piece, though these materials won’t be needed until after the drying period has completed.
Step 2. Condition Clay Until Pliable
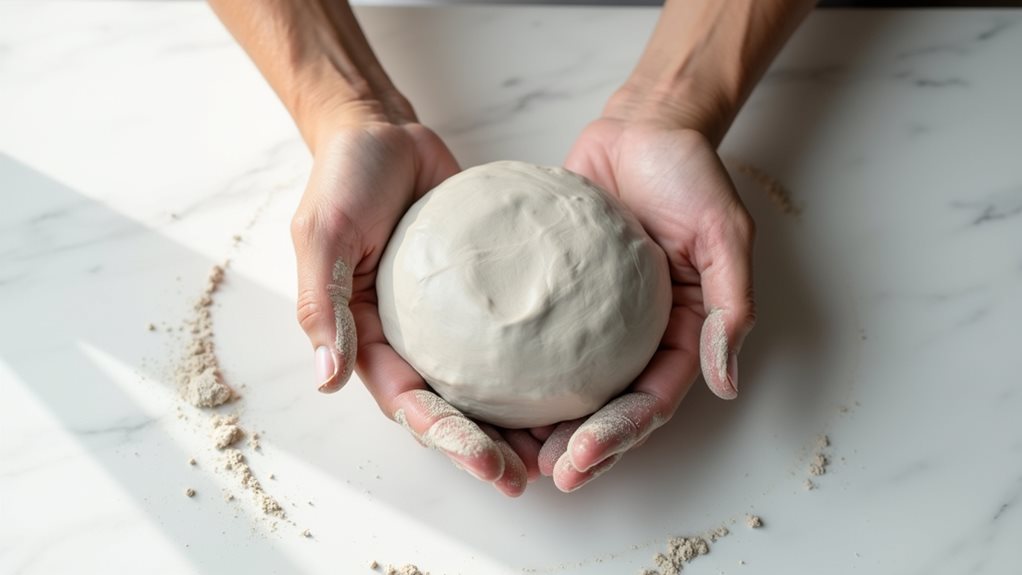
With your materials ready, you’ll begin the hands-on process of preparing the clay for shaping. Take a portion of the air dry clay and begin kneading it between your palms, applying firm, steady pressure to warm and soften the material.
Continue this motion for several minutes, folding the clay over itself repeatedly until it becomes smooth and malleable.
If you notice the clay feeling too dry or starting to crack, dampen your hands slightly with water from your bowl, but don’t overdo it.
You’ll know the clay is properly conditioned when it’s consistently pliable throughout and doesn’t show any signs of crumbling or stiffness. The clay should feel like soft putty and respond easily to gentle pressure from your fingers.
Step 3. Roll Clay Into Sheet
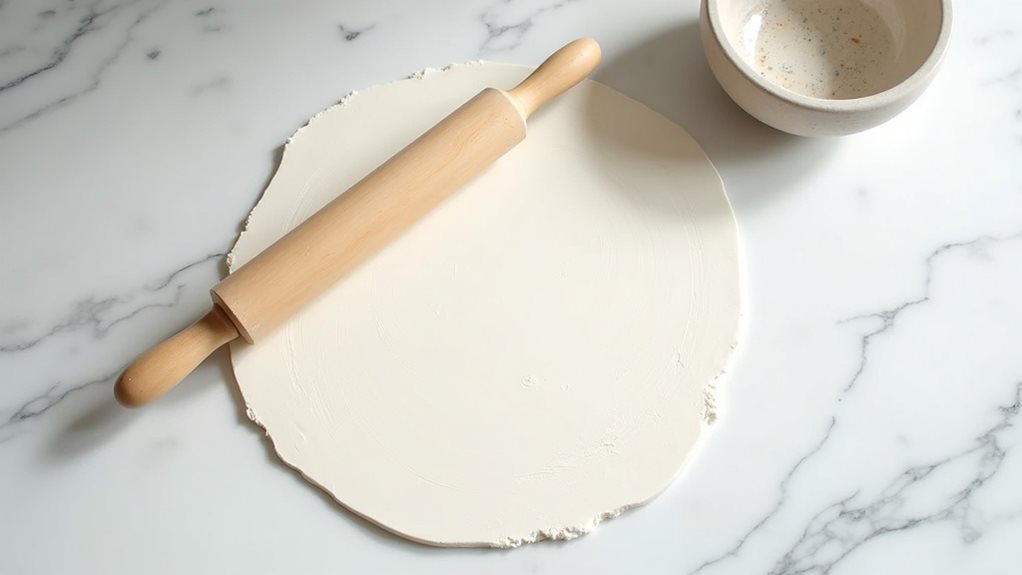
Place your conditioned clay on a smooth, clean work surface, positioning it in the center of your workspace.
Using a rolling pin, begin pressing down gently in the middle of the clay mass, working outward in steady, even strokes. You’ll want to maintain consistent pressure as you roll to achieve uniform thickness throughout your sheet.
Continue rolling until you’ve achieved a sheet that’s approximately 1/4 inch thick, rotating the clay occasionally to ensure even distribution.
If the clay starts sticking to your rolling pin, dust the surface lightly with cornstarch or apply a sheet of parchment paper between the clay and roller.
Check the thickness periodically by gently lifting the edges of your clay sheet, making adjustments as needed until you’ve reached the desired uniformity.
Step 4. Cut Base Shape
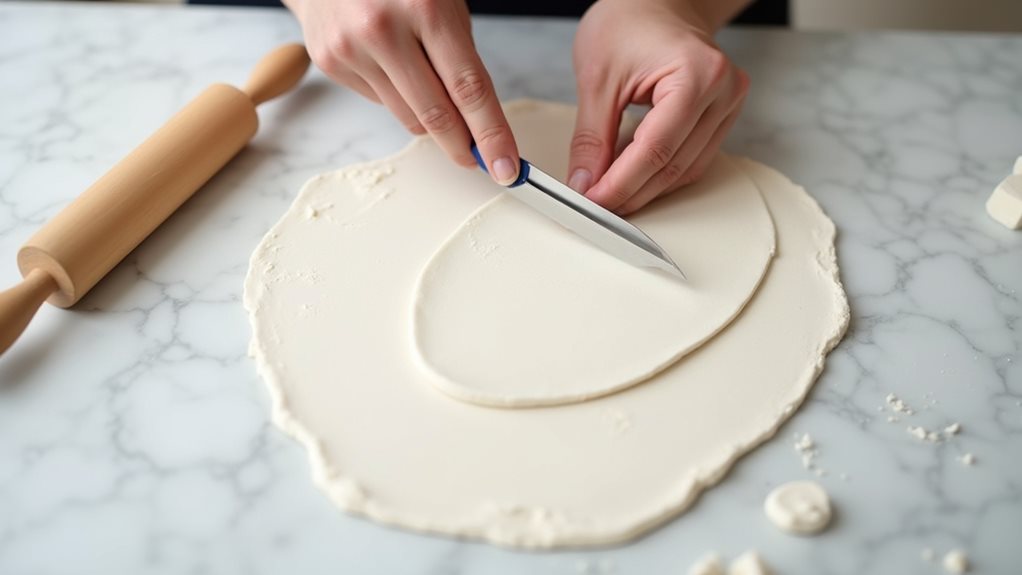
Creating your base shape begins by selecting a template or sketching your desired design directly onto the rolled clay sheet. You’ll want to ensure your design is at least 4 inches long to adequately catch falling ash.
Using your craft knife, carefully cut along your outlined shape with steady, controlled movements. You can choose traditional forms like rectangles or ovals, or experiment with more organic shapes that complement your décor. As you cut, keep your blade perpendicular to the work surface to achieve clean edges.
If you make a mistake, don’t worry – you can smooth out rough spots with slightly damp fingers or start over by re-rolling your clay. Once you’ve completed the cutting, gently lift your shape from the work surface, being careful not to distort its form.
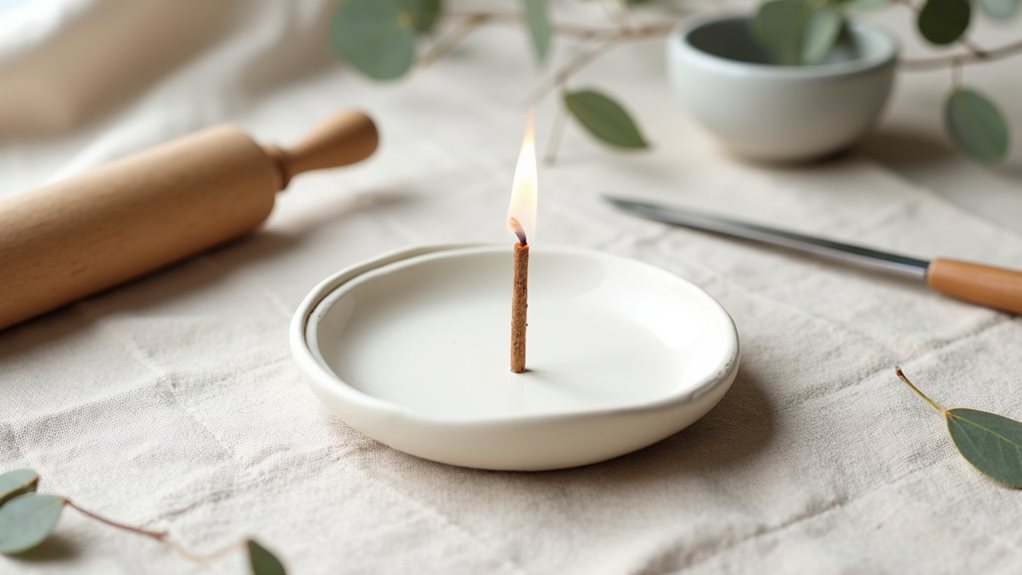
Step 5. Create Holes and Edges
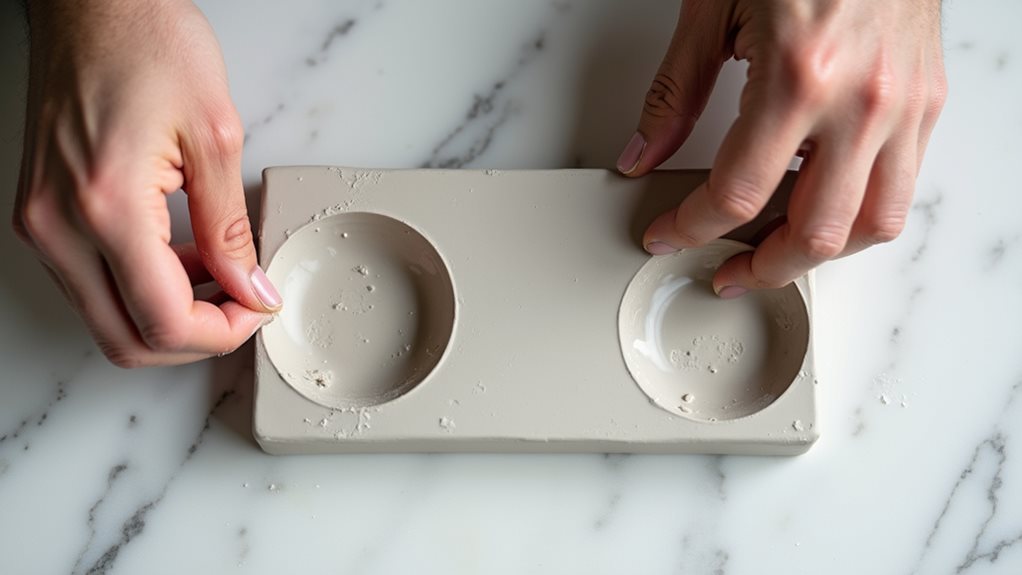
Carefully shape the essential features of your incense holder by forming a raised edge around the perimeter and creating the necessary holes or depressions for your incense.
Using your fingers, gently pinch the clay upward along the outer border, creating a rim about 1/4 inch high to contain ash effectively. Smooth any rough spots with slightly dampened fingertips.
For stick incense, press your craft knife or a pencil straight down to create a hole approximately 1/8 inch deep at one end of your holder.
If you’re making a cone incense holder, use your thumb to form a shallow, bowl-shaped depression in the center, ensuring it’s wide enough to accommodate your preferred cone size. Test the depth and stability before allowing the clay to dry.
Final Thoughts
Although crafting an incense holder might seem like a modest project, it offers a perfect blend of artistic expression and practical functionality for your home.
You’ll find that this handmade piece not only serves its purpose effectively but also adds a personal touch to your space that mass-produced holders can’t match.
Remember to give your creation ample time to dry, and don’t rush the process even if you’re excited to use it.
Consider experimenting with different designs as you become more comfortable with the technique. You can create multiple holders with varying sizes and shapes to accommodate different types of incense or to match different rooms in your home.
Whether you choose to paint, seal, or leave it natural, your handcrafted holder will become a meaningful addition to your incense burning practice.