When you’re ready to explore the art of figurine-making, a fox sculpture offers an ideal starting point that combines both creativity and technical skill. You’ll discover that crafting this woodland creature allows you to master basic sculpting techniques while expressing your artistic vision through details like the pointed ears, alert posture, and signature bushy tail. The process might seem challenging at first, but understanding the fundamental steps will help you transform simple air-dry clay into a charming piece worthy of display.
Key Takeaways
- Fox figurines are decorative sculptures measuring around 3 inches, typically crafted from materials like air-dry clay, ceramics, or resin.
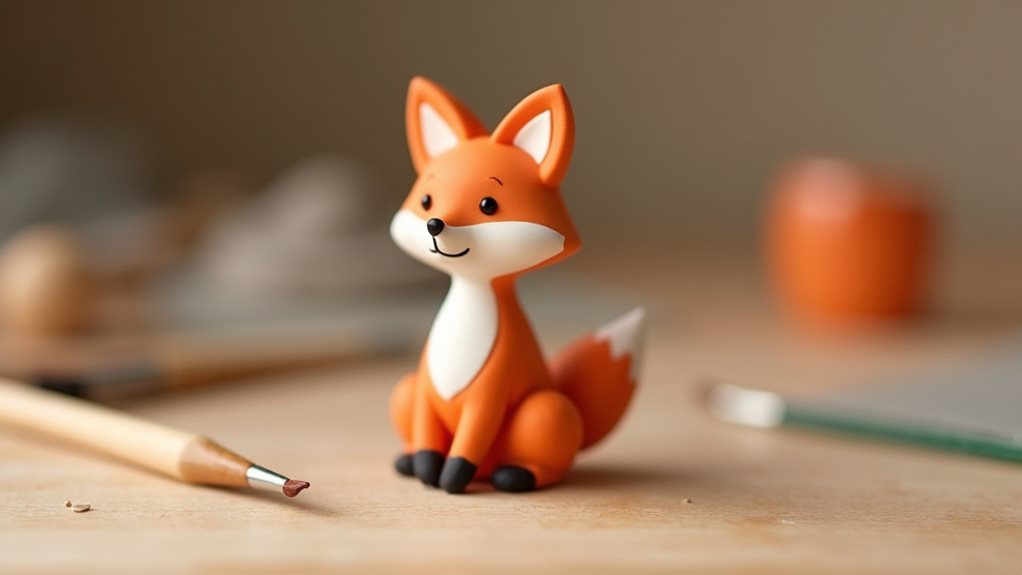
- Traditional fox figurine designs feature pointed ears, bushy tails, and distinctive orange coloring with white and black accents.
- Creating a DIY fox figurine requires basic materials like air-dry clay, sculpting tools, and acrylic paint, taking approximately 2 hours.
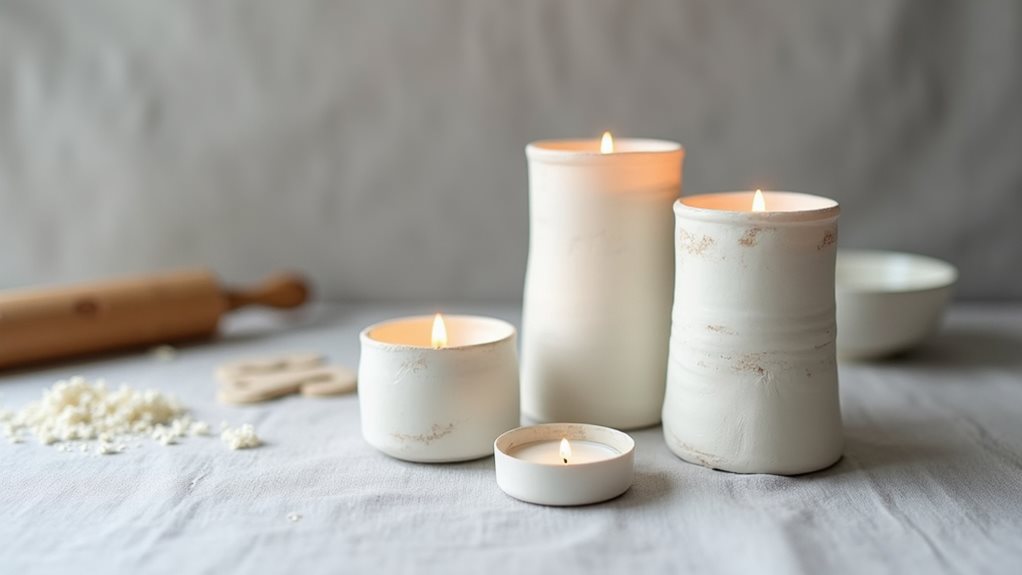
- Fox figurines serve as popular home decorations, often displayed on shelves, desks, or windowsills for rustic woodland charm.
- These sculptures have cultural significance, evolving from ancient ceremonial objects to modern decorative pieces combining traditional and contemporary elements.
History
While clay fox figurines have been crafted for centuries across various cultures, the modern DIY air-dry clay version emerged in the late 20th century with the development of more accessible crafting materials.
You’ll find that ancient civilizations, including the Japanese and Native Americans, created fox sculptures from natural clay as both decorative pieces and spiritual symbols.
The evolution of air-dry clay in the 1980s revolutionized home crafting, allowing you to create fox figurines without the need for kilns or complex firing processes.
This accessibility sparked a renewed interest in small-scale sculpting, particularly among hobbyists and DIY enthusiasts.
Today’s fox figurines often combine traditional design elements with contemporary techniques, and you’ll see them featured prominently in craft forums, social media tutorials, and artisan marketplaces.
Project
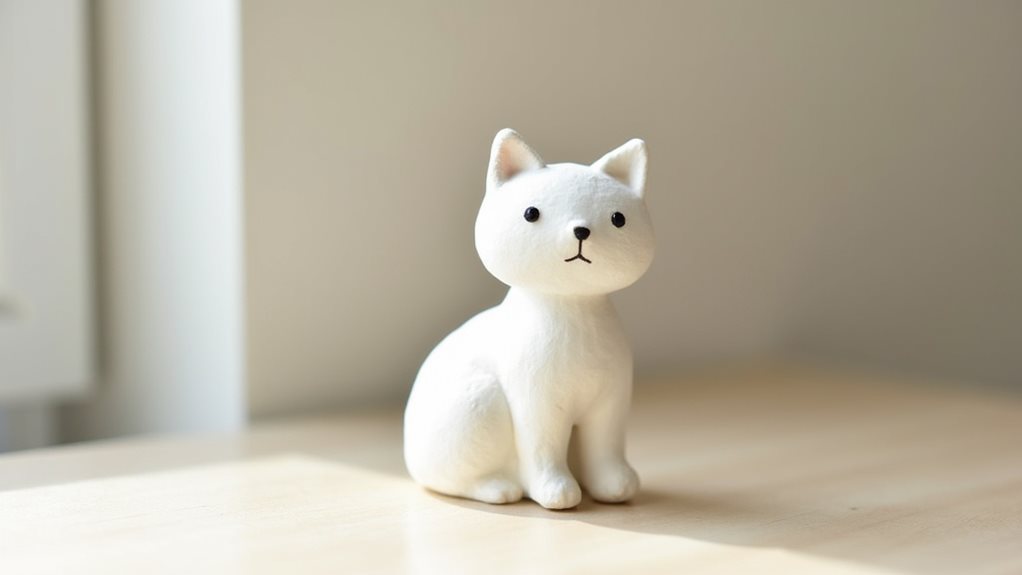
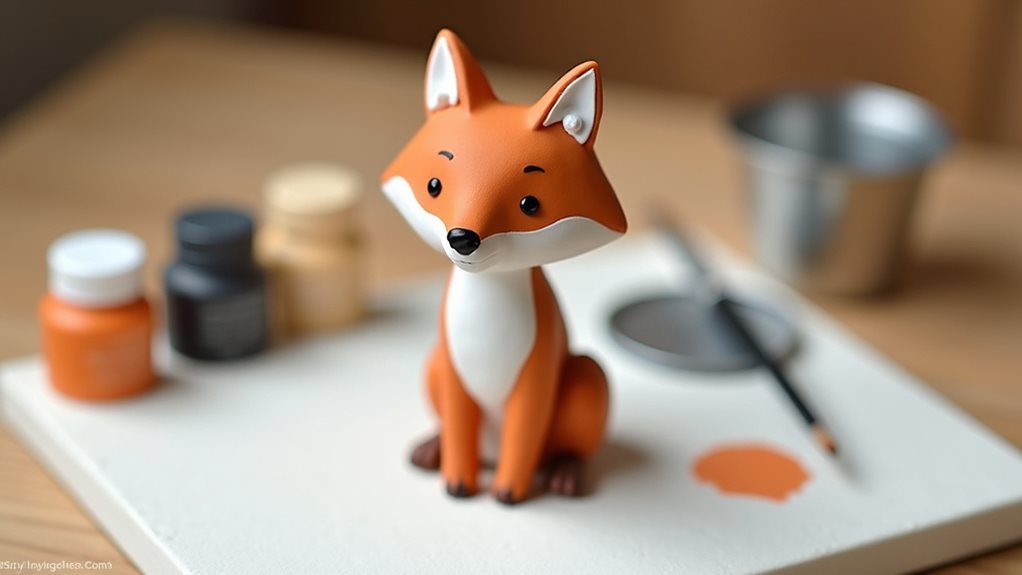
This delightful air dry clay project produces a charming 3-inch fox figurine perfect for home decoration or as a heartfelt handmade gift. The small sculpture combines simple sculpting techniques with creative expression, allowing crafters to customize their fox’s pose and personality while developing fundamental clay-working skills.
The entire project can be completed in approximately two hours, followed by a 24-48 hour drying period. The finished piece features a rustic woodland charm with its pointed ears, bushy tail, and characteristic fox coloring, making it an ideal accent piece for shelves, desks, or window sills.
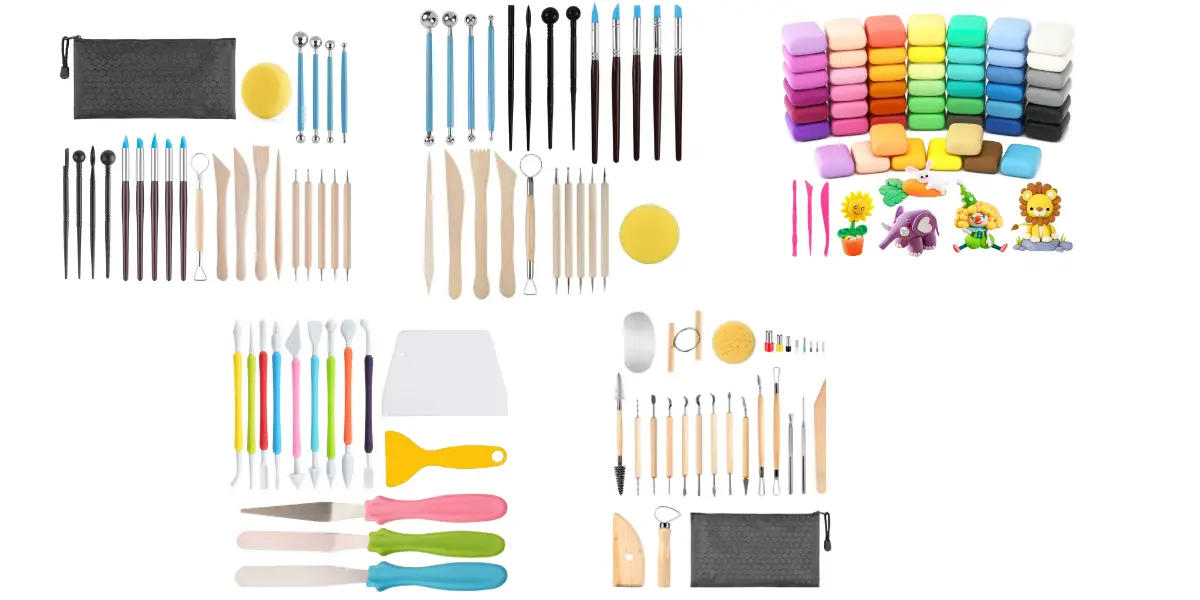
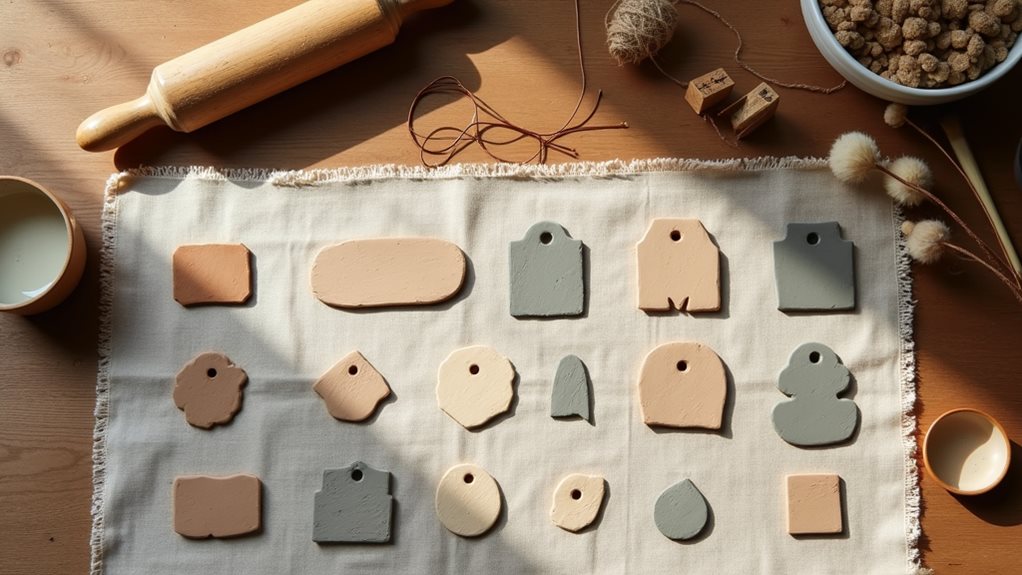
Materials:
- Air dry clay (4 oz / 113g)
- Wooden sculpting tool or plastic knife
- Water (4 oz / 118ml)
- Acrylic paint (orange, white, and black)
- Small paintbrush (size 0 or 2)
Begin by dividing the clay into two portions: a golf ball-sized piece for the body and a marble-sized piece for the head. Shape the body into an elongated teardrop form, then create a triangular head with a pointed snout. Use water to attach the head to the body, then form and attach four small legs and a tail.
Add details such as ears, facial features, and texture marks using the sculpting tool. Once the basic form is complete, allow the fox to dry fully before painting with an orange base coat, white details for the chest and tail tip, and black accents for the nose and eyes.
To ensure the best results, maintain consistent clay moisture during sculpting by keeping a damp paper towel nearby. Work with pieces no thicker than 1/2 inch to prevent cracking during the drying process, and avoid placing the figurine in direct sunlight or near heat sources.
If cracks develop while drying, create a slip by mixing small amounts of clay with water and carefully fill the affected areas. For optimal drying conditions, place the fox in a room with moderate humidity and allow it to dry undisturbed.
Project Steps
To start crafting your fox figurine, you’ll need to shape a golf ball-sized portion of clay into a teardrop form for the body, and then create a triangular head with a pointed snout.
Next, you’ll attach four small legs to the body and add a tail, using water as your binding agent to secure each piece firmly in place.
Once the basic structure is complete, you’ll finish by adding facial features and markings with your sculpting tool before painting the dried figurine with orange, white, and black acrylic paints.
Step 1. Shape Clay Into Teardrop
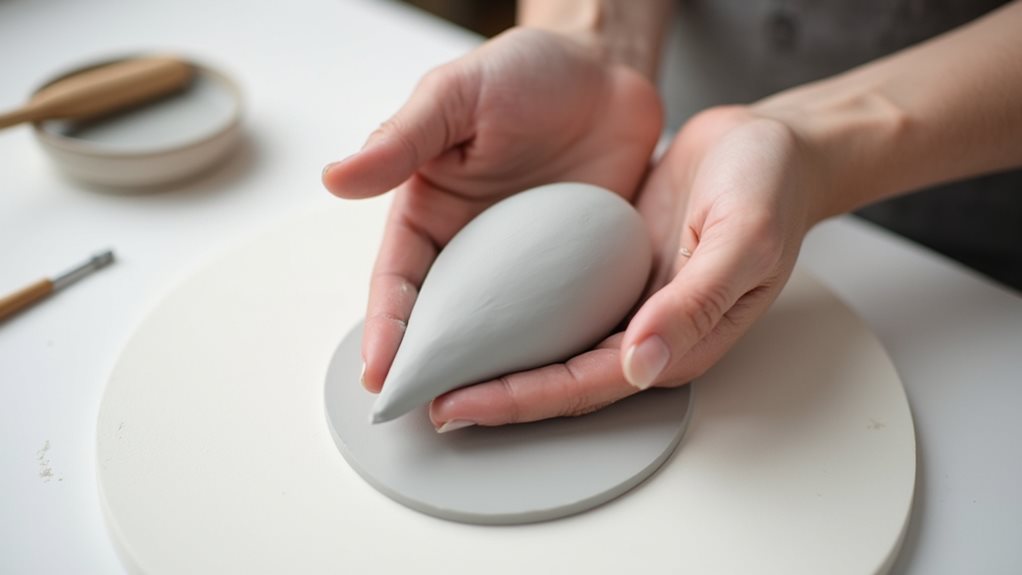
Begin your teardrop shaping process by rolling a golf ball-sized portion of clay between your palms, creating a smooth and consistent sphere.
Once you’ve achieved an even ball shape, apply gentle pressure with your fingers to elongate one end while keeping the opposite end fuller and more rounded.
As you work the clay, you’ll want to maintain consistent pressure to avoid creating unwanted dips or bumps in the surface.
Continue shaping until you’ve formed a teardrop that’s approximately 2 inches long, with one end tapering to a smooth point.
If you notice any imperfections, gently smooth them out with your fingertips.
The teardrop shape will serve as the fox’s body, so ensure it’s stable enough to support additional features you’ll add later.
Step 2. Form Head Into Triangle
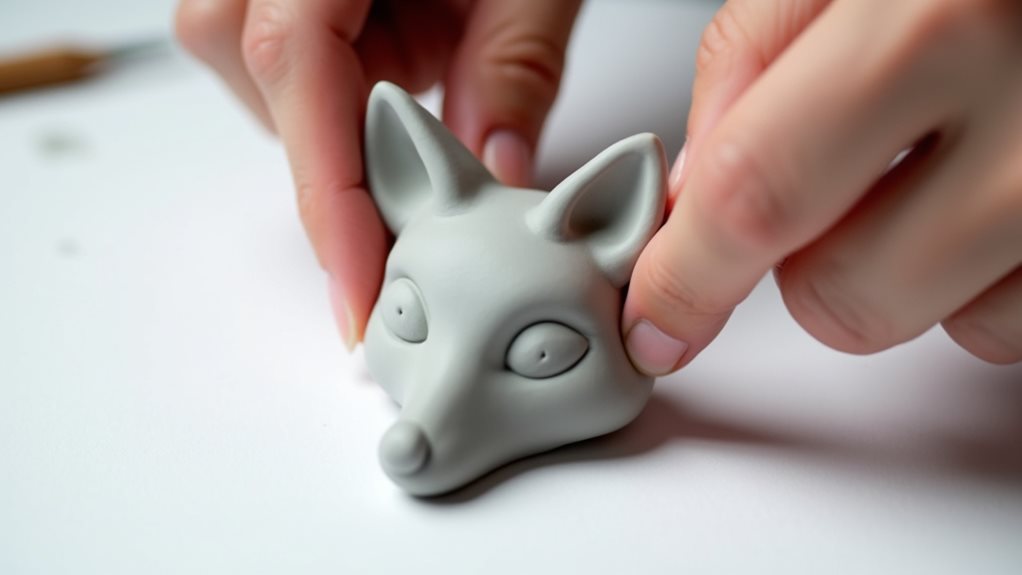
Now that you’ve established the fox’s body, shaping the head requires careful attention to achieve the characteristic triangular form.
Take your marble-sized piece of clay and begin pressing it between your fingers to create a basic cone shape. As you work, focus on forming three distinct points: one for the narrow snout and two at the base where the head will connect to the body.
Using your sculpting tool, refine the angles of the triangle while maintaining a gentle curve along the top. You’ll want to ensure the snout tapers smoothly to a point but isn’t too sharp or fragile.
Keep working the clay until you’ve achieved a balanced triangular shape that’s slightly flattened on the bottom where it’ll attach to the body.
Step 3. Attach Legs to Body
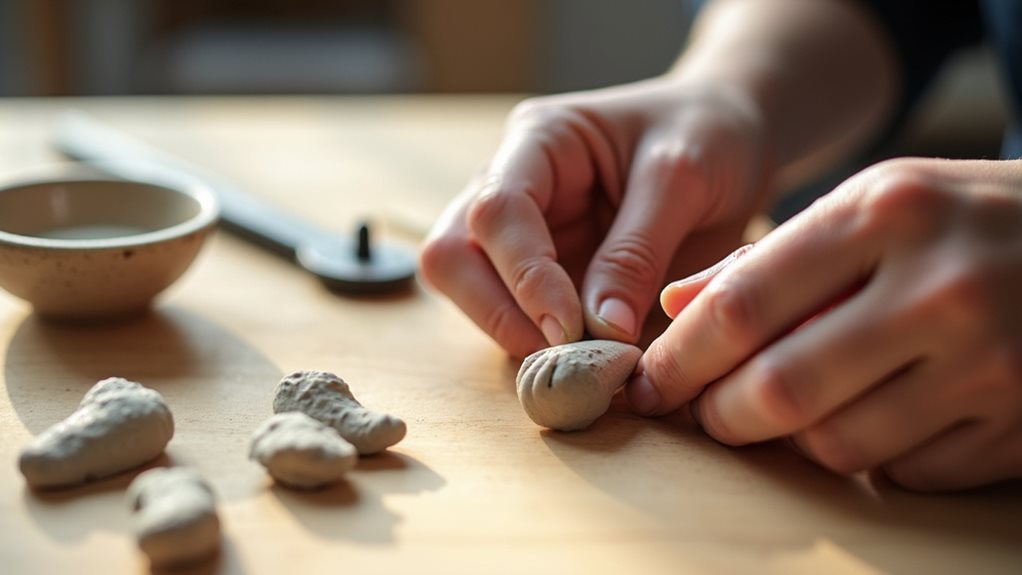
Rolling four small clay spheres marks the beginning of creating your fox’s legs. Shape each sphere into a tapered cylinder, making them slightly thicker at the top where they’ll connect to the body. You’ll want the legs to be approximately 3/4 inch long, ensuring they’re proportional to your fox’s body size.
Position your fox’s body on its side and dip your finger in water to dampen the spots where you’ll attach each leg. Press each leg firmly against the body, one at a time, smoothing the connection point with your sculpting tool.
Once you’ve attached all four legs, gently stand your fox upright and adjust the legs if needed to ensure it’s stable. Remember to maintain equal spacing between the front legs and between the back legs for a balanced appearance.
Step 4. Add Facial Markings
With your fox’s form taking shape and legs firmly in place, distinctive facial markings will bring your sculpture’s personality to life.
Using your sculpting tool, carefully score two curved lines from the outer corners of the eyes down toward the snout, creating the characteristic fox cheek markings. Next, carve a gentle curve above each eye to define the brow ridge, then add small indentations for the eyes themselves.
Press your tool lightly to create a subtle pattern of fur texture around the face, working from the center outward.
Don’t forget to add a small triangular nose at the tip of the snout, and create a thin line beneath it for the mouth. These details will establish your fox’s unique expression and complete its facial features before moving on to painting.
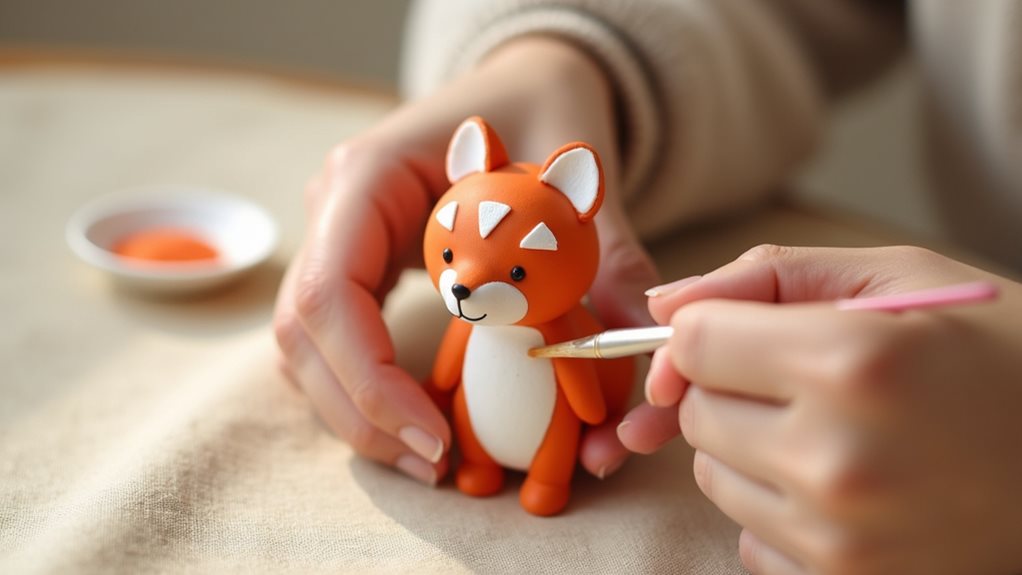
Step 5. Paint and Seal Figurine
Once your fox figurine has completely dried for 24-48 hours, gather your acrylic paints and brushes to begin the final stage of bringing your creation to life.
Start by applying a base coat of orange paint to the entire figure, allowing it to dry for 15 minutes before adding a second coat if needed.
Next, paint the chest area and tail tip with white paint, creating that distinctive fox coloring.
Use black paint to carefully add the nose, eyes, and any additional facial markings you’d like.
Once all the paint has dried, you can apply a thin layer of clear acrylic sealer to protect your work and give it a subtle sheen.
Let the sealer dry completely before handling your finished fox figurine, which will now be ready for display or gifting.
Final Thoughts
Creating a charming fox figurine from air dry clay offers a rewarding introduction to sculpting while providing an opportunity to develop fundamental artistic skills.
As you practice this project, you’ll discover that each fox takes on its own personality through subtle variations in pose, expression, and decorative details.
Don’t be discouraged if your first attempt isn’t perfect – sculpting takes patience and practice.
You’ll find that working with air dry clay becomes more intuitive with each creation, allowing you to experiment with different techniques and styles.
Consider documenting your progress with photos, as you’ll be amazed at how your skills improve over time.