Like ancient artisans who carved stars into temple walls, you’ll discover that embossed star decorations carry timeless appeal in modern home decor. You can transform simple clay into elegant designs that capture both light and attention, creating pieces that work equally well as holiday ornaments or year-round accents. Whether you’re a seasoned crafter or just starting out, these versatile decorations offer endless possibilities for expressing your creative vision through texture and form.
Key Takeaways
- Embossed clay stars serve as versatile decorations for walls, holiday ornaments, and table centerpieces, adding handmade charm to any space.
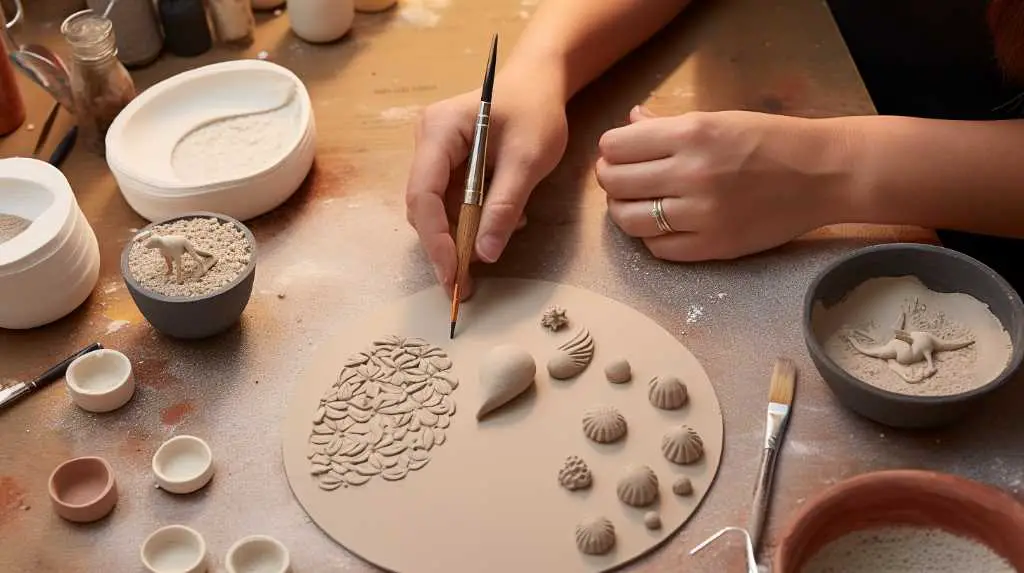
- Create embossed patterns using common materials like lace, doilies, or textured mats pressed into air-dry clay with a rolling pin.
- Basic supplies needed include air-dry clay, a rolling pin, star cookie cutter, textured material, and twine for hanging.
- Allow stars to dry completely for 24-48 hours on a flat surface, using books to prevent warping during the drying process.
- Personalize stars with unique patterns and textures for year-round display options or thoughtful handcrafted gifts.
History
Clay artisans have been crafting decorative stars for centuries, with the earliest examples dating back to ancient Mesopotamian civilizations that pressed celestial symbols into clay tablets.
You’ll find that this tradition evolved through medieval European monasteries, where monks created embossed clay stars to adorn religious manuscripts and architectural elements.
In the 18th and 19th centuries, you’d see these decorative stars gain popularity in folk art movements across Europe and America, where craftspeople began incorporating them into holiday decorations and home furnishings.
The Victorian era brought new techniques for creating detailed embossed patterns, while the Arts and Crafts movement of the early 20th century emphasized handmade clay decorations as a response to industrial manufacturing.
Today’s air-dry clay techniques make this ancient craft more accessible than ever.
Project
Creating embossed star decorations with air dry clay offers a wonderful way to add handmade charm to your home décor. These versatile pieces can be used as wall hangings, holiday ornaments, or elegant table decorations, bringing texture and visual interest to any space.
The beauty of this project lies in its simplicity and adaptability. Using basic clay techniques and common household items for texturing, you can create unique star decorations that reflect your personal style. The natural finish of air dry clay provides a rustic appeal, while the option to paint or seal the finished pieces allows for endless creative possibilities.
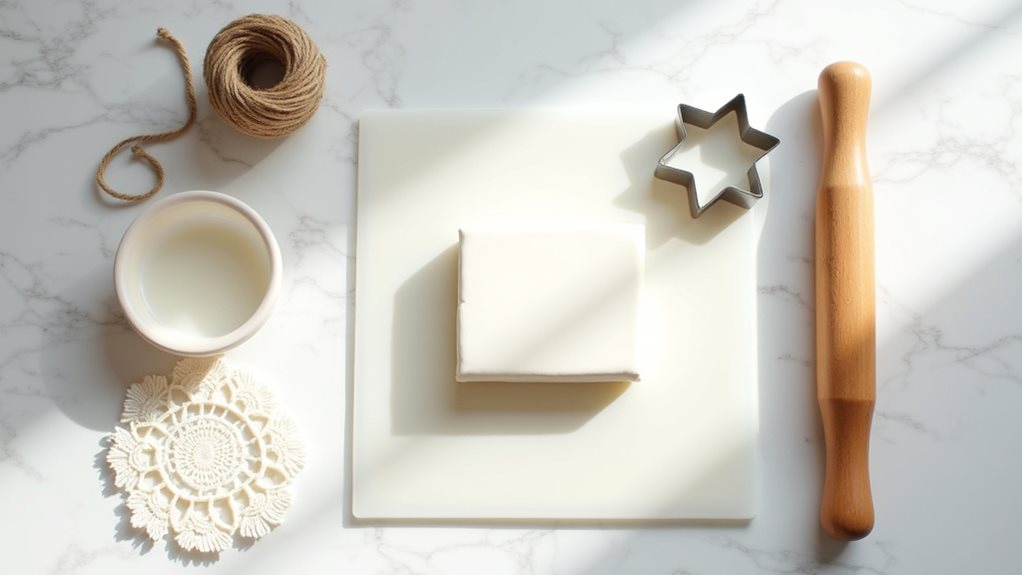
- Air dry clay (16 oz/450g block)
- Rolling pin (8-inch/20cm length)
- Star cookie cutter (3-inch/7.5cm diameter)
- Textured material (lace, doily, or textured mat)
- Twine or string (12-inch/30cm pieces)
Work the clay with your hands until it becomes soft and pliable, then roll it out to a 1/4 inch (6mm) thickness on a non-stick surface. Place your chosen textured material over the clay and press it gently with the rolling pin to create an impression. Use the cookie cutter to cut out star shapes, making sure to create hanging holes with a straw or small tool before the clay begins to dry.
Allow the stars to dry completely for 24-48 hours, ensuring they remain flat during the drying process. For optimal results, keep a small bowl of water nearby to dampen your hands occasionally while working with the clay. If the clay starts to dry while you’re working, wrap unused portions in plastic wrap or store them in an airtight container.
Position the stars on a flat surface during drying, and if any warping occurs, place them between two heavy books. Consider working in small batches to prevent the clay from drying out before you’ve finished creating all your stars.
Project Steps
You’ll want to start by creating a clean workspace and conditioning your clay until it’s smooth and workable.
Next, roll out your clay to a consistent 1/4-inch thickness on a non-stick surface, and carefully press your chosen textured material into the surface to create intricate patterns.
Finally, use your star-shaped cookie cutter to cut out your decorations, making sure to add hanging holes before letting them dry completely for 24-48 hours.
Step 1. Prepare Your Workspace Cleanly
Before diving into the creative process, it’s essential to set up a proper workspace that protects your surfaces and allows for easy cleanup.
Start by covering your table with a smooth plastic mat or wax paper, ensuring you’ve got enough space to roll out the clay and arrange your tools.
You’ll want to keep paper towels, a small bowl of water, and a cleaning cloth within arm’s reach.
Position your rolling pin, cookie cutter, and textured materials on one side of your workspace, leaving the center area clear for clay manipulation.
If you’re working on a wooden table, place a firm board underneath your mat to provide a stable surface for rolling.
Remember to wear clothes you don’t mind getting dirty, and consider using an apron to protect your clothing from clay dust and residue.
Step 2. Condition Clay Until Pliable
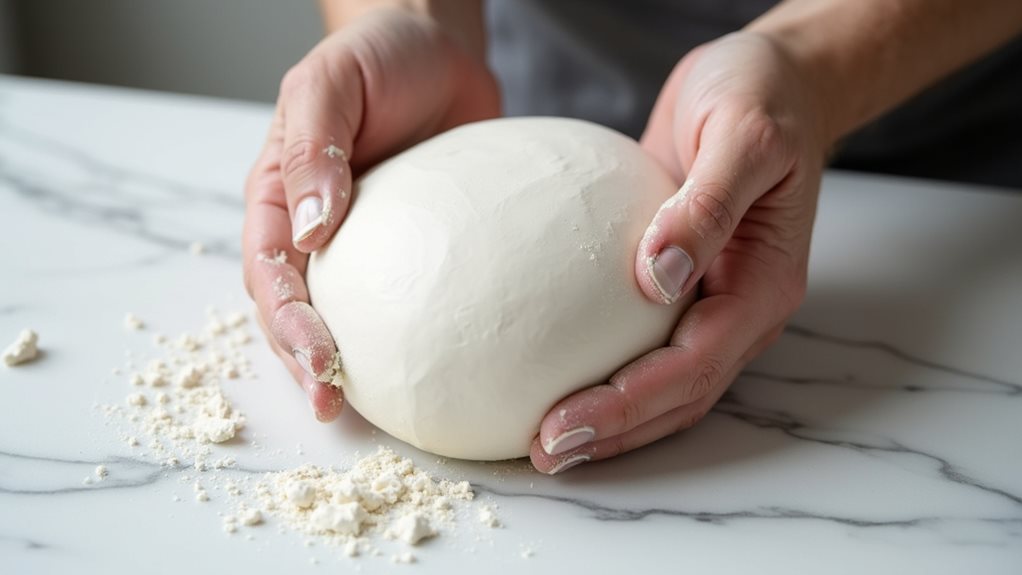
To achieve optimal workability, start by kneading the air dry clay between your palms in a gentle back-and-forth motion, gradually warming and softening the material.
You’ll notice the clay becoming more pliable as you work it, similar to how bread dough responds to kneading.
Continue this process for about 3-5 minutes, pressing and folding the clay repeatedly until it reaches a smooth, consistent texture without any hard spots or air pockets.
If you encounter resistance, divide the clay into smaller portions and work them separately before combining them back together.
When properly conditioned, your clay should feel soft and malleable, easily taking impressions from your fingertips without crumbling or cracking.
This thorough conditioning ensures your embossed stars will have clean, crisp patterns and edges.
Step 3. Roll Clay to Thickness
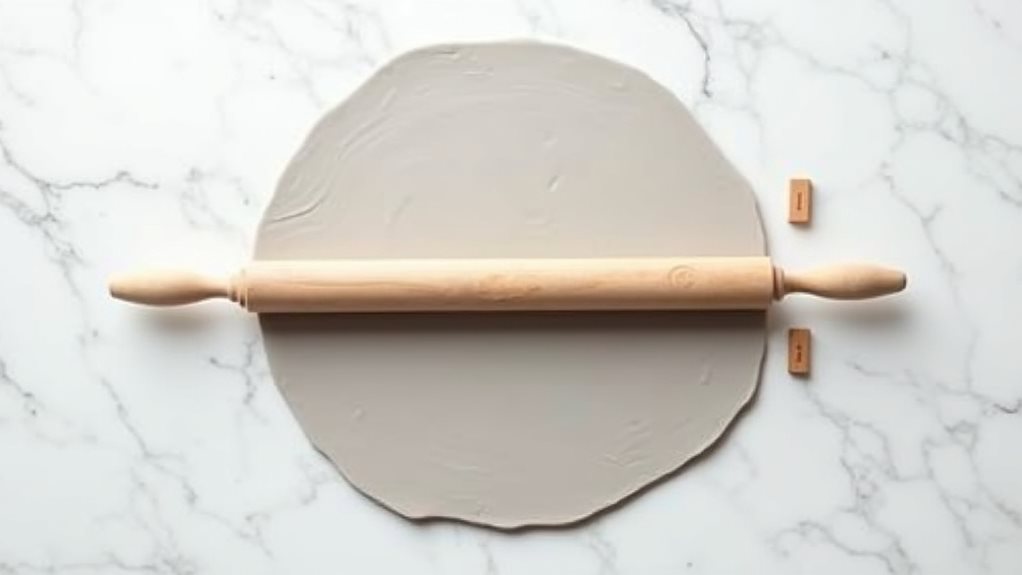
Place your conditioned clay on a smooth, non-stick surface between two wooden dowels or guides measuring 1/4 inch (6mm) in height.
Using your rolling pin, begin rolling the clay from the center outward, maintaining even pressure as you work. Keep rolling until the clay reaches the height of your guides, ensuring a uniform thickness throughout.
As you roll, rotate the clay occasionally to prevent it from sticking to your work surface and to achieve an even distribution. If you don’t have dowels, you can use two stacks of playing cards or rulers as thickness guides.
Check the clay’s consistency by gently running your fingers across the surface – it should feel smooth and level without any bumps or thin spots. You’ll know you’ve reached the right thickness when the rolling pin glides smoothly across your guides.
Step 4. Add Texture With Patterns
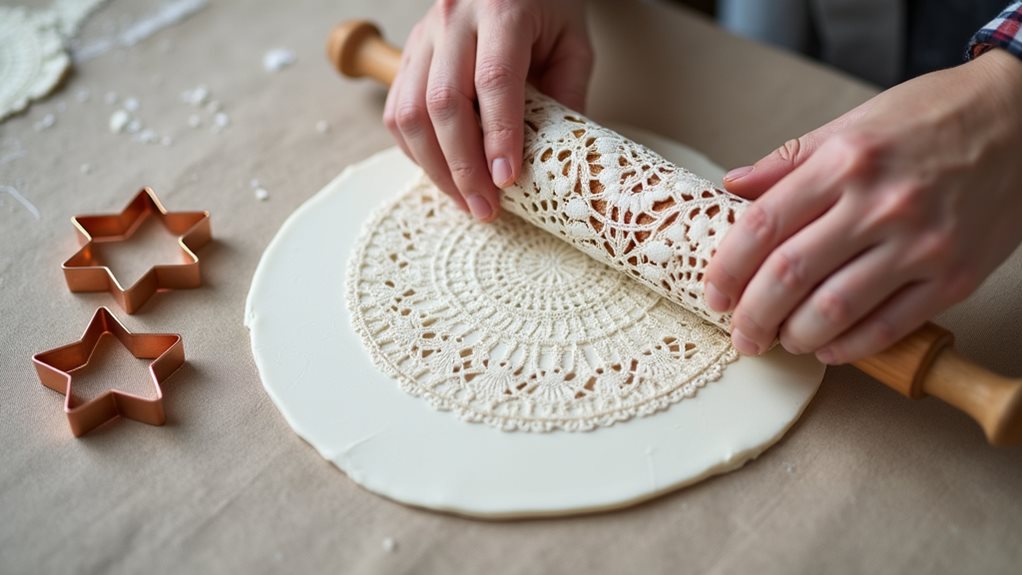
Once you’ve achieved the proper clay thickness, selecting an appropriate texture pattern becomes your next crucial step.
Place your chosen textured material (like lace, a doily, or textured mat) directly onto the clay’s surface, ensuring it lies completely flat without wrinkles or bubbles.
Press the rolling pin gently across the textured material, applying even pressure to create consistent impressions throughout the clay.
Don’t press too hard, as you’ll want the pattern to be visible but not so deep that it compromises the clay’s structure.
If you’re using delicate materials like lace, carefully peel them away from the clay at a slight angle to preserve the crisp details of your pattern.
You can experiment with different textures and combinations to create unique designs that’ll make your stars stand out.
Step 5. Cut and Dry Stars
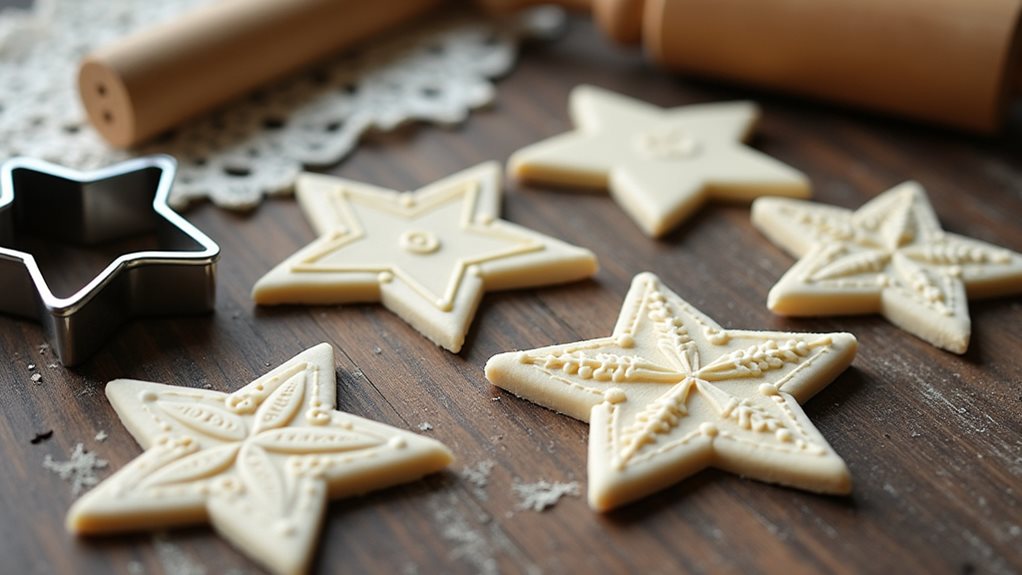
The star-cutting phase marks a pivotal moment in creating your embossed decorations. Once you’ve achieved your desired texture impression, press your star cookie cutter firmly into the clay, ensuring clean, even edges.
Don’t twist the cutter, as this can distort your design. Remove excess clay from around each star carefully.
Before the clay begins to set, use a drinking straw or small tool to punch hanging holes near the top point of each star. You’ll want to position these about 1/4 inch from the edge.
Place your stars on a flat, non-stick surface to dry, and check them occasionally during the first few hours. If you notice any curling, gently press the stars flat.
Allow 24-48 hours for complete drying, depending on your climate’s humidity levels.
Final Thoughts
Creating embossed star decorations offers endless possibilities for personalizing your home decor while developing valuable crafting skills.
You’ll discover that each star’s unique texture tells its own story, whether you’re crafting holiday ornaments, wall art, or table centerpieces.
Don’t be afraid to experiment with different textures and patterns – you can use everything from vintage lace to modern geometric designs.
If you’re planning to make multiple stars, work in small batches to prevent your clay from drying out.
Remember that practice makes perfect, and you’ll develop a better feel for the clay’s properties with each star you create.
Consider making extra stars to keep as gifts or to replace any that might break.
Your handcrafted stars will bring a special warmth and character to any space they adorn.