While many people assume coasters originated in Victorian England, they actually emerged in Germany during the late 1700s as simple bottle stands called ‘untersetzer.’ You’ll find that these humble beginnings have evolved into today’s diverse array of designs, ranging from handcrafted ceramic pieces to laser-cut wood creations. Whether you’re protecting your surfaces or enhancing your home’s aesthetic, understanding the art of coaster-making opens up possibilities for both practical protection and personal expression.
Key Takeaways
- Coasters protect furniture surfaces from water rings, heat damage, and scratches caused by glasses, mugs, and other beverage containers.
- Originally emerging in the late 18th century, coasters evolved from simple drink mats to decorative household items by the 1920s.
- Common materials for coasters include cork, wood, ceramic, metal, plastic, and fabric, each offering different levels of protection and style.
- Modern coasters serve both functional and decorative purposes, often featuring artistic designs, patterns, or promotional content.
- Coasters can be mass-produced or handcrafted, with DIY options like air-dry clay allowing for personalized designs and customization.
History
While the exact origin of coasters remains unclear, their widespread use began in the late 18th century when furniture makers noticed that hot drinks left permanent marks on their prized wooden tables.
Early coasters, known as “drink mats” or “drink rests,” were crafted from silver, wood, or cork, and you’ll find many of these antique pieces in museums today.
In Victorian England, you’d see coasters called “furniture rests” gaining popularity among the wealthy, who’d place them under decorative vases and teapots.
By the 1920s, mass production made coasters accessible to middle-class homes, and you’d commonly find them made from paper, cardboard, and various synthetic materials.
During the mid-20th century, coasters evolved beyond mere functionality, becoming collectible items that you’d often see featuring advertisements, artistic designs, and promotional content.
Project
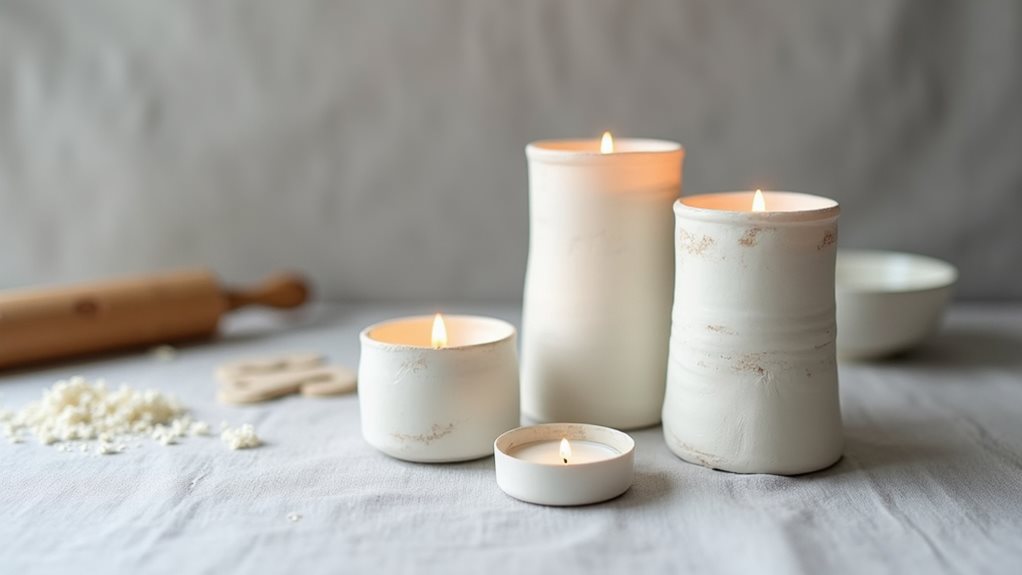
Air dry clay coasters offer a perfect blend of functionality and artistic expression for both beginner and experienced crafters. These decorative pieces protect furniture while adding a personalized touch to any room, making them ideal for home use or as thoughtful handmade gifts.
The process of creating clay coasters is straightforward and requires minimal tools, yet offers endless possibilities for customization through textures, patterns, and designs. This project can be completed in an afternoon, though the drying time extends over a day or two before the pieces are ready for use.
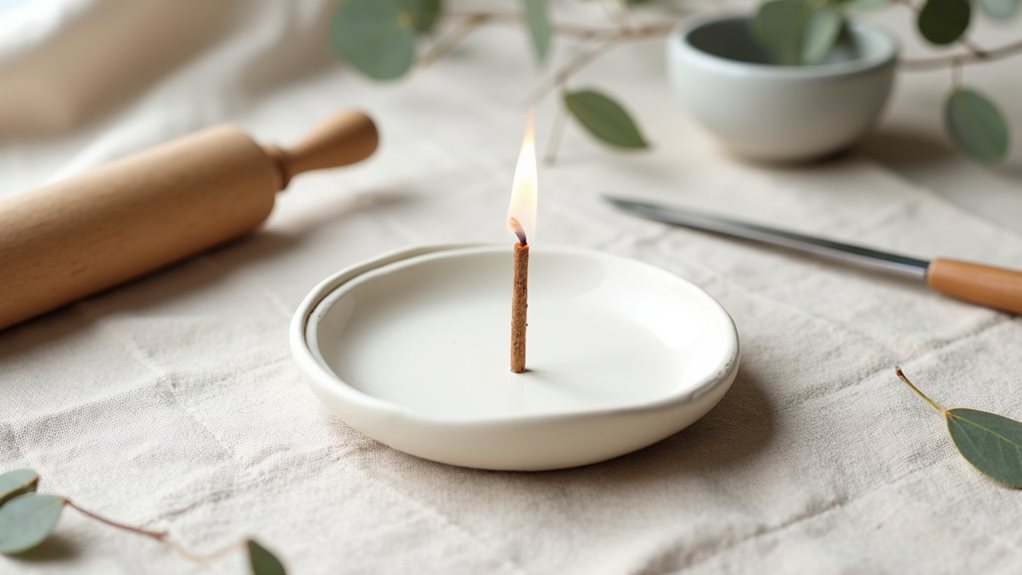
Materials Needed:
- Air dry clay (8 oz / 225g)
- Rolling pin (12 inch / 30cm)
- Circular cookie cutter or cup (4 inch / 10cm diameter)
- Sandpaper (220 grit)
- Clear sealant spray
Begin by kneading the clay until soft and pliable, then roll it out to a 1/4 inch (6mm) thickness on a clean, flat surface. Use the circular cutter to create uniform rounds, smoothing the edges with your fingers.
Add texture if desired by pressing patterns into the surface using household items like lace, leaves, or textured rolling pins. Allow the coasters to dry completely for 24-48 hours, then sand any rough edges and apply two thin coats of clear sealant for protection.
To prevent sticking, dust your work surface and tools with cornstarch before starting. Keep the clay at a consistent thickness while rolling to ensure even drying and prevent warping.
When drying, place coasters on a wire rack and flip them every few hours to maintain their shape. If planning to add color, use acrylic paint after the clay has dried completely but before applying the sealant.
Store any unused clay in an airtight container or plastic wrap to maintain moisture for future projects.
Project Steps
Start your coaster-making journey by gathering all necessary supplies, including air dry clay, a rolling pin, circular cutter, sandpaper, and clear sealant spray.
You’ll begin the hands-on process by rolling your clay into a ball and flattening it to 1/4-inch thickness before using your cutter to create perfect circles.
After cutting your shapes, you can add creative texture with various tools and finish your coasters with two protective coats of clear sealant once they’re completely dry.
Step 1. Begin by Gathering Supplies
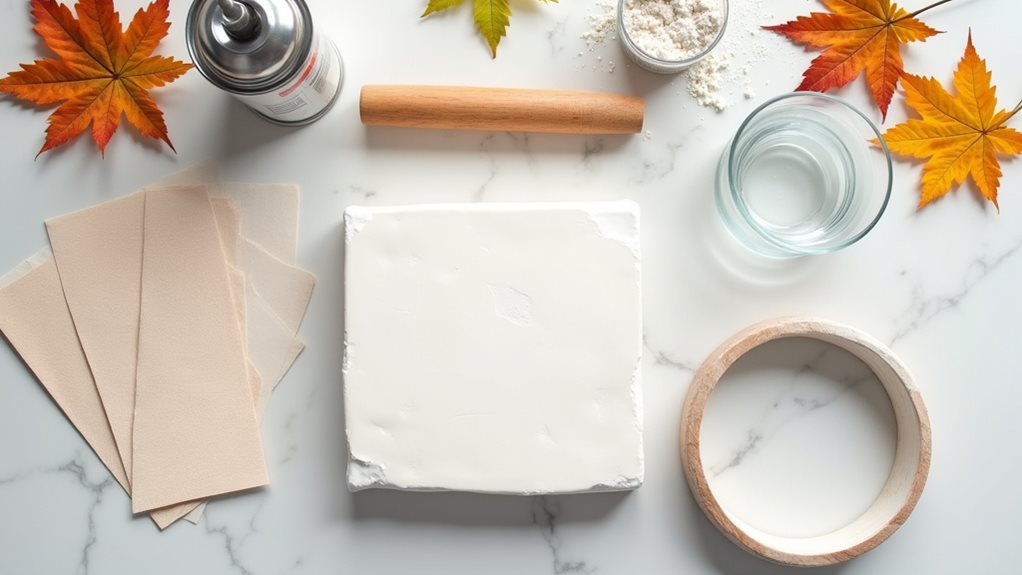
The five essential supplies you’ll need for making clay coasters can be assembled from most craft stores or online retailers.
Start with an 8-ounce package of air dry clay, which provides enough material for four to five coasters. You’ll also need a sturdy rolling pin, approximately 12 inches in length, to achieve even thickness in your clay.
For creating perfectly circular shapes, select a 4-inch cookie cutter or drinking glass to use as your template.
The final two items are equally important: medium-grit sandpaper (220 grit works well) for smoothing rough edges after drying, and a clear sealant spray to protect your finished coasters from moisture damage.
Consider purchasing a few optional texture tools if you’d like to create patterns in your designs.
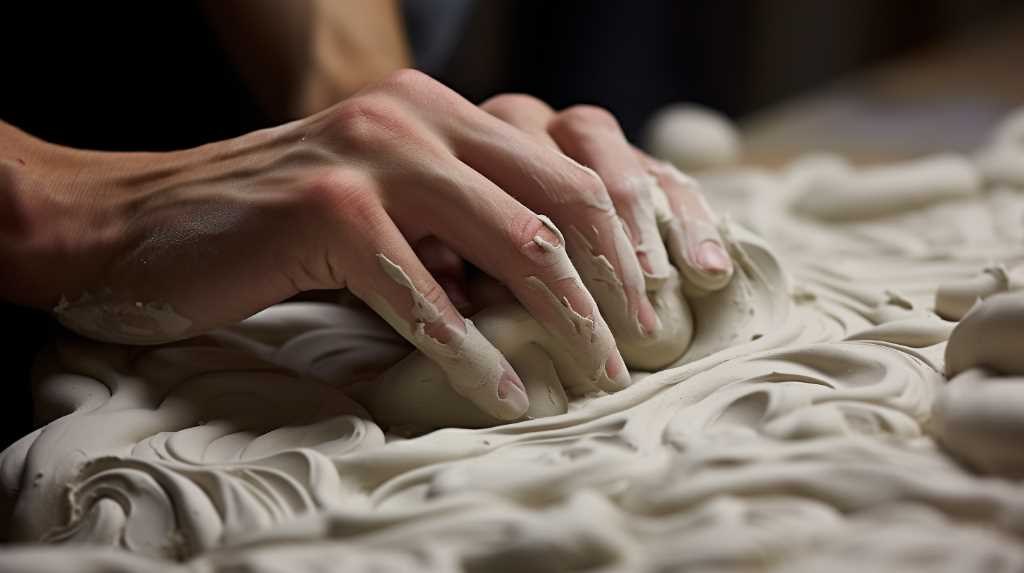
Step 2. Roll Clay Into Ball
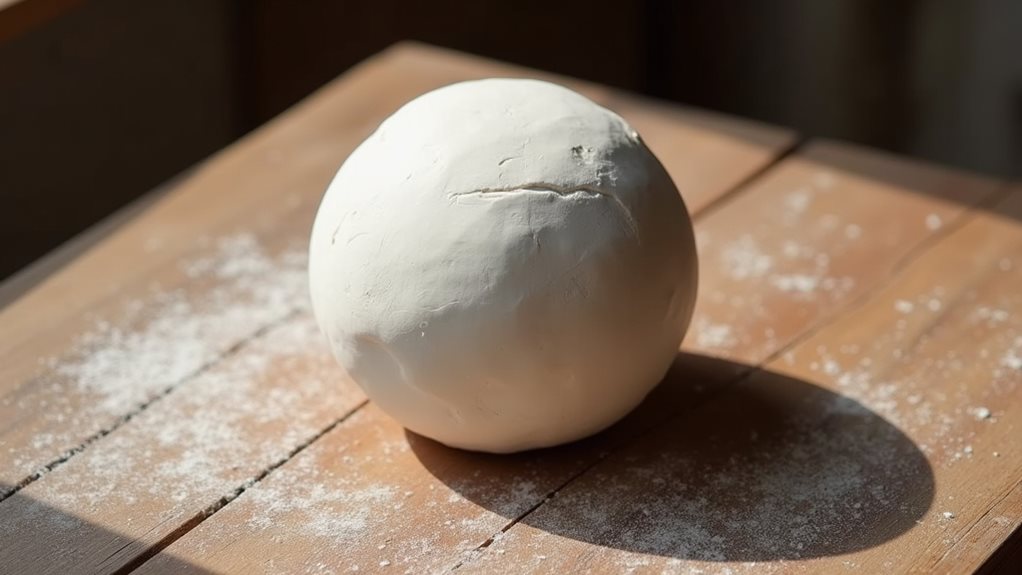
Removing a palm-sized portion of clay from your package, gently press and massage it between your hands to form a smooth, consistent ball about 2-3 inches in diameter.
Work the clay until it’s pliable and free from any air pockets or lumps, which could cause problems during the rolling process.
If you notice any hard spots or inconsistencies, break them up with your fingers and incorporate them back into the ball. The warmth from your hands will help soften the clay to the ideal working consistency.
You’ll know you’ve achieved the right texture when the ball feels smooth and slightly warm to the touch, with no visible cracks or rough patches on its surface.
Don’t overwork the clay, as this can make it too soft and difficult to manage.
Step 3. Cut Circular Shapes
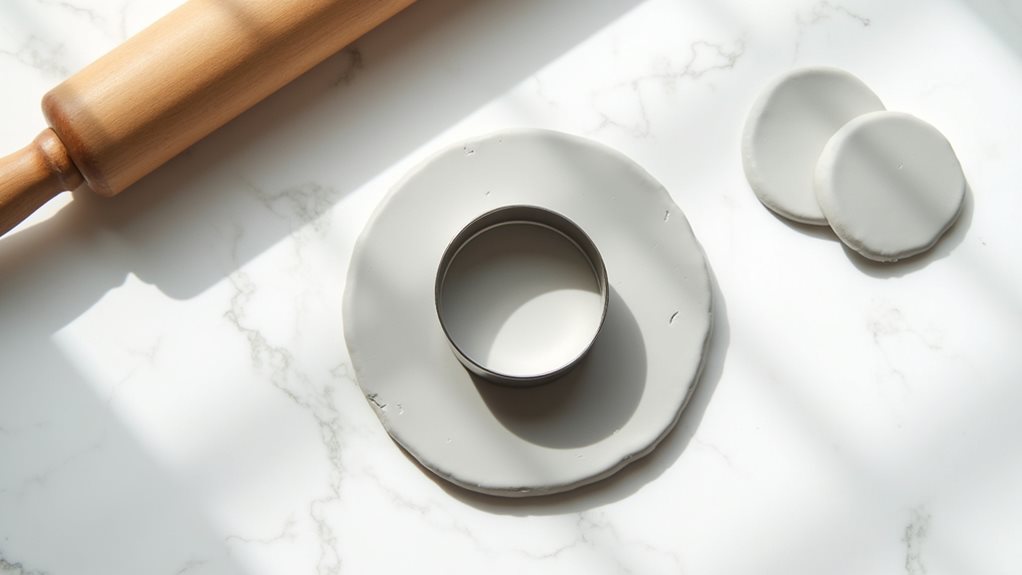
After achieving a smooth clay ball, position your rolling pin at the center and roll outward with firm, even pressure to create a uniform layer approximately 1/4 inch thick.
Make sure your workspace is lightly dusted with cornstarch to prevent sticking, and continue rolling until you have an even surface large enough for multiple coasters.
Place your 4-inch circular cutter or inverted cup firmly onto the clay surface. Press down with steady pressure to create clean, defined edges.
If you’re using a drinking glass, twist it slightly while pressing to ensure a complete cut. You can space the cuts close together to maximize your clay usage, but leave about 1/2 inch between each circle.
Carefully lift away the excess clay, which you can re-roll for additional coasters.
Step 4. Add Texture With Tools
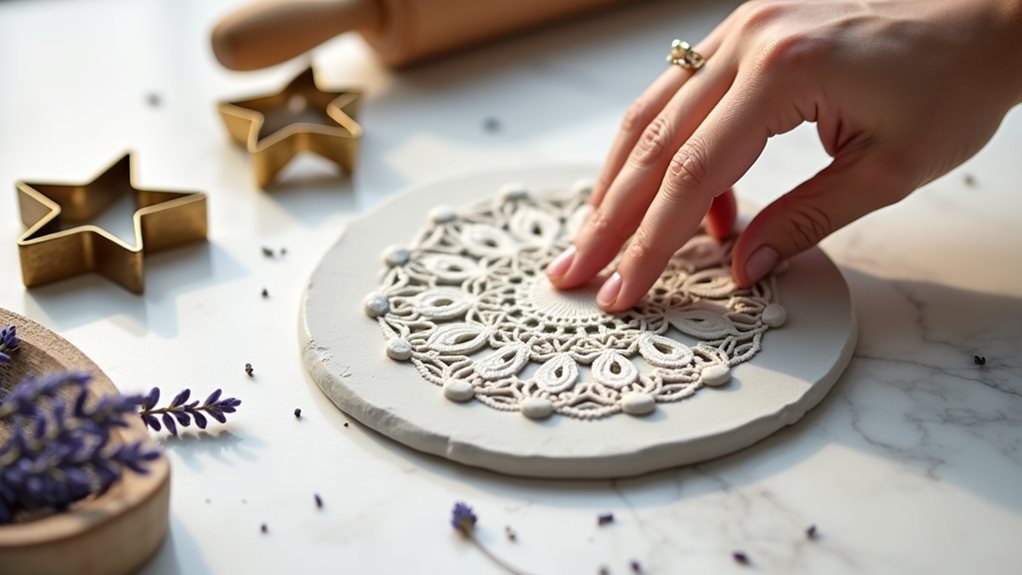
Before your clay coasters fully dry, you’ll want to create engaging surface patterns using readily available tools and objects from around your home.
Consider using a fork to create parallel lines, a piece of lace for delicate impressions, or various textured materials like burlap or bubble wrap for unique effects. Press these items gently but firmly into the clay’s surface to achieve clear, defined patterns.
For more intricate designs, try using a toothpick to draw geometric shapes or natural motifs. You can also experiment with bottle caps, buttons, or small stamps to make repeating patterns across the surface.
Remember to maintain consistent pressure when creating your textures to ensure an even depth throughout the design. Don’t press too deeply – aim for impressions that are about 1/16 inch (1.5mm) deep.
Step 5. Seal With Clear Spray
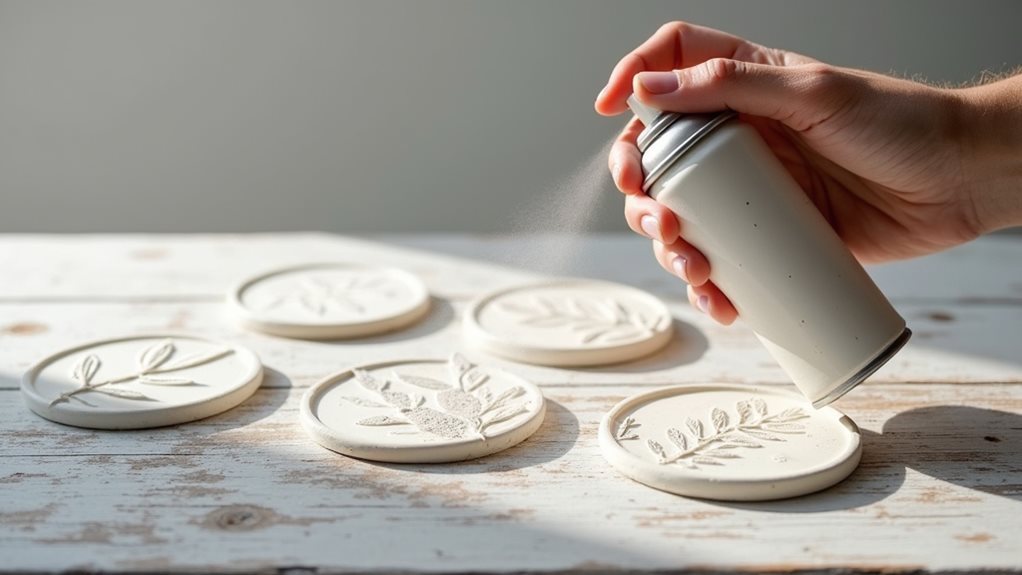
The final protective layer transforms your handcrafted coasters from delicate clay pieces into durable, water-resistant accessories.
Once your coasters are completely dry, take them to a well-ventilated area, preferably outdoors, and place them on a covered surface for spraying.
Hold the clear sealant can about 12 inches away from your coasters and apply a thin, even coat using steady side-to-side motions.
Don’t worry if the first coat looks light – it’s better to build up multiple thin layers than to apply one thick coat.
Let the sealant dry for 30 minutes, then apply a second coat perpendicular to the first.
Allow your coasters to cure for 24 hours before using them, ensuring maximum protection against water rings and heat damage.
Final Thoughts
Making your own coasters brings creative satisfaction while developing practical crafting skills you’ll use for years to come.
As you master working with air dry clay, you’ll discover countless possibilities for customizing these functional pieces to match your home’s aesthetic or create thoughtful gifts for friends and family.
Remember to maintain consistent thickness across your coasters and allow proper drying time before sealing them. While the process requires patience, particularly during the drying phase, the end result is worth the wait.
You’ll have durable, personalized coasters that protect your surfaces while adding a unique decorative element to your space.
Don’t hesitate to experiment with different textures and patterns – each set you create will help refine your technique and expand your creative abilities.