Just as Lewis Carroll’s Cheshire Cat left an indelible mark on literature, you’ll find the Chubby Tabby Cat making its own lasting impression in the world of clay crafting. You’ll discover that this charming creation combines the best elements of feline aesthetics: rounded features, playful expressions, and distinctive tabby markings. Whether you’re a beginner or seasoned artist, mastering this project opens up endless possibilities for personalizing your own plump, purr-fect companion.
Key Takeaways
- Chubby tabby cats are domestic felines with distinctive striped patterns and a plump, rounded appearance due to excess body weight.
- The tabby pattern includes stripes, spots, or swirls in orange, brown, or gray, with characteristic “M” markings on their foreheads.
- Regular veterinary check-ups are essential for chubby tabbies, as excess weight can lead to health issues like diabetes and joint problems.
- Chubby tabbies gained popularity as indoor pets during the 1980s, reflecting changing attitudes toward domestic cat care and feeding.
- Weight management through portion control and regular exercise helps maintain a healthy lifestyle for overweight tabby cats.
History
While clay art has ancient roots dating back thousands of years, the specific craft of creating whimsical tabby cat sculptures gained popularity during the mid-20th century Arts and Crafts movement.
You’ll find that air dry clay, introduced in the 1960s, revolutionized how hobbyists could create cat figurines at home without needing a kiln. This accessible medium allowed crafters to capture the beloved tabby’s distinctive features, from their striped coats to their rounded forms.
The chubby tabby aesthetic emerged in the 1980s as cat sculptures began reflecting the growing trend of indoor pets and their typically plumper physiques.
Today, you’ll see these endearing clay creations everywhere from craft fairs to social media, where artists continue to celebrate the charming rotundity of well-fed felines through their work.
Project
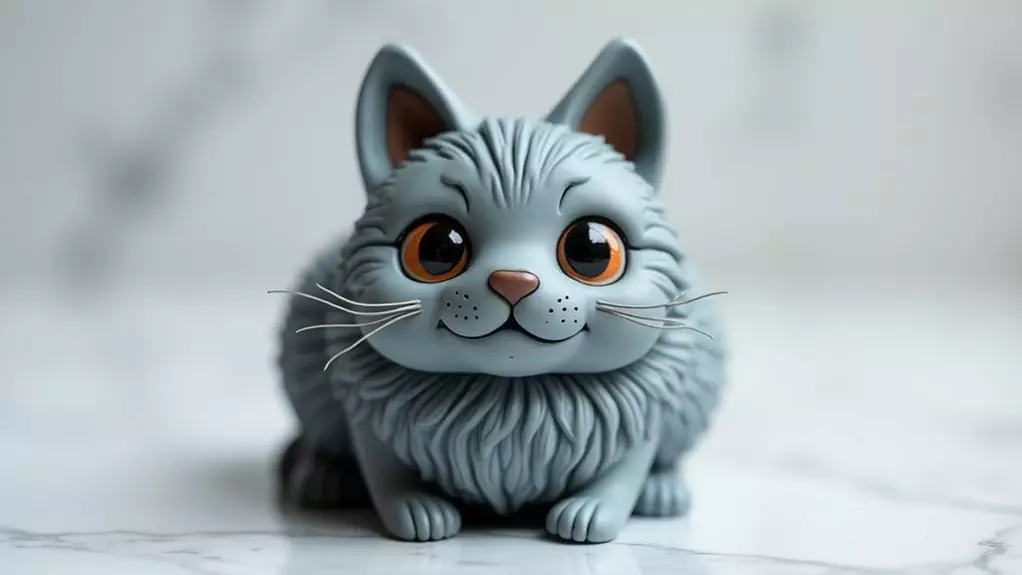
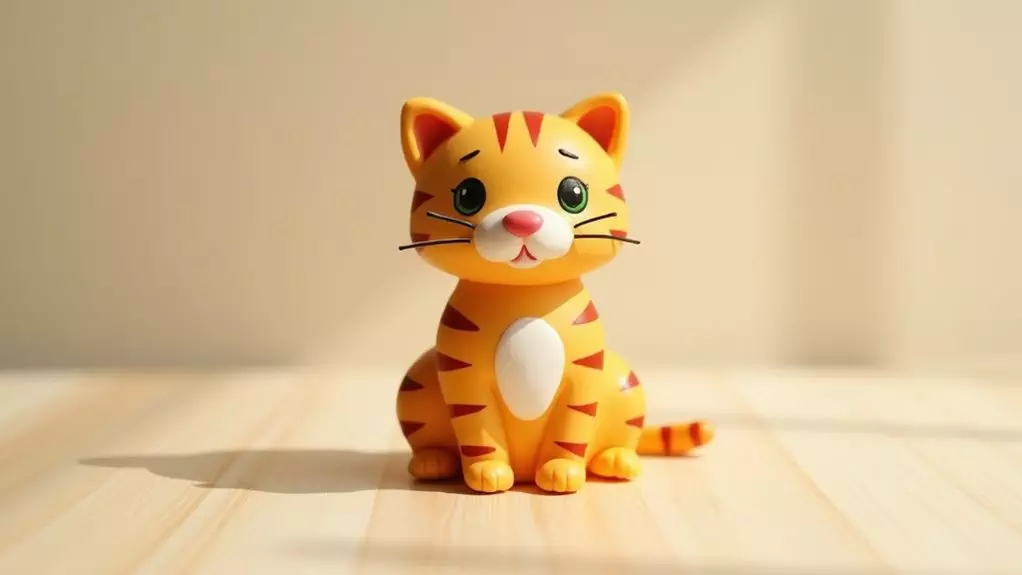
Creating a charming chubby tabby cat from air dry clay transforms a simple crafting session into a delightful artistic endeavor. This beginner-friendly project results in an adorable 3-inch decorative piece that captures the essence of our beloved feline companions, complete with their characteristic rounded forms and endearing features.
The project takes approximately two hours to complete, followed by a 24-48 hour drying period, making it an ideal weekend activity. The finished piece can be customized with various tabby patterns and color combinations to match real cats or create unique designs, serving as a perfect desk companion or thoughtful handmade gift.
- Air dry clay (8 oz / 225g)
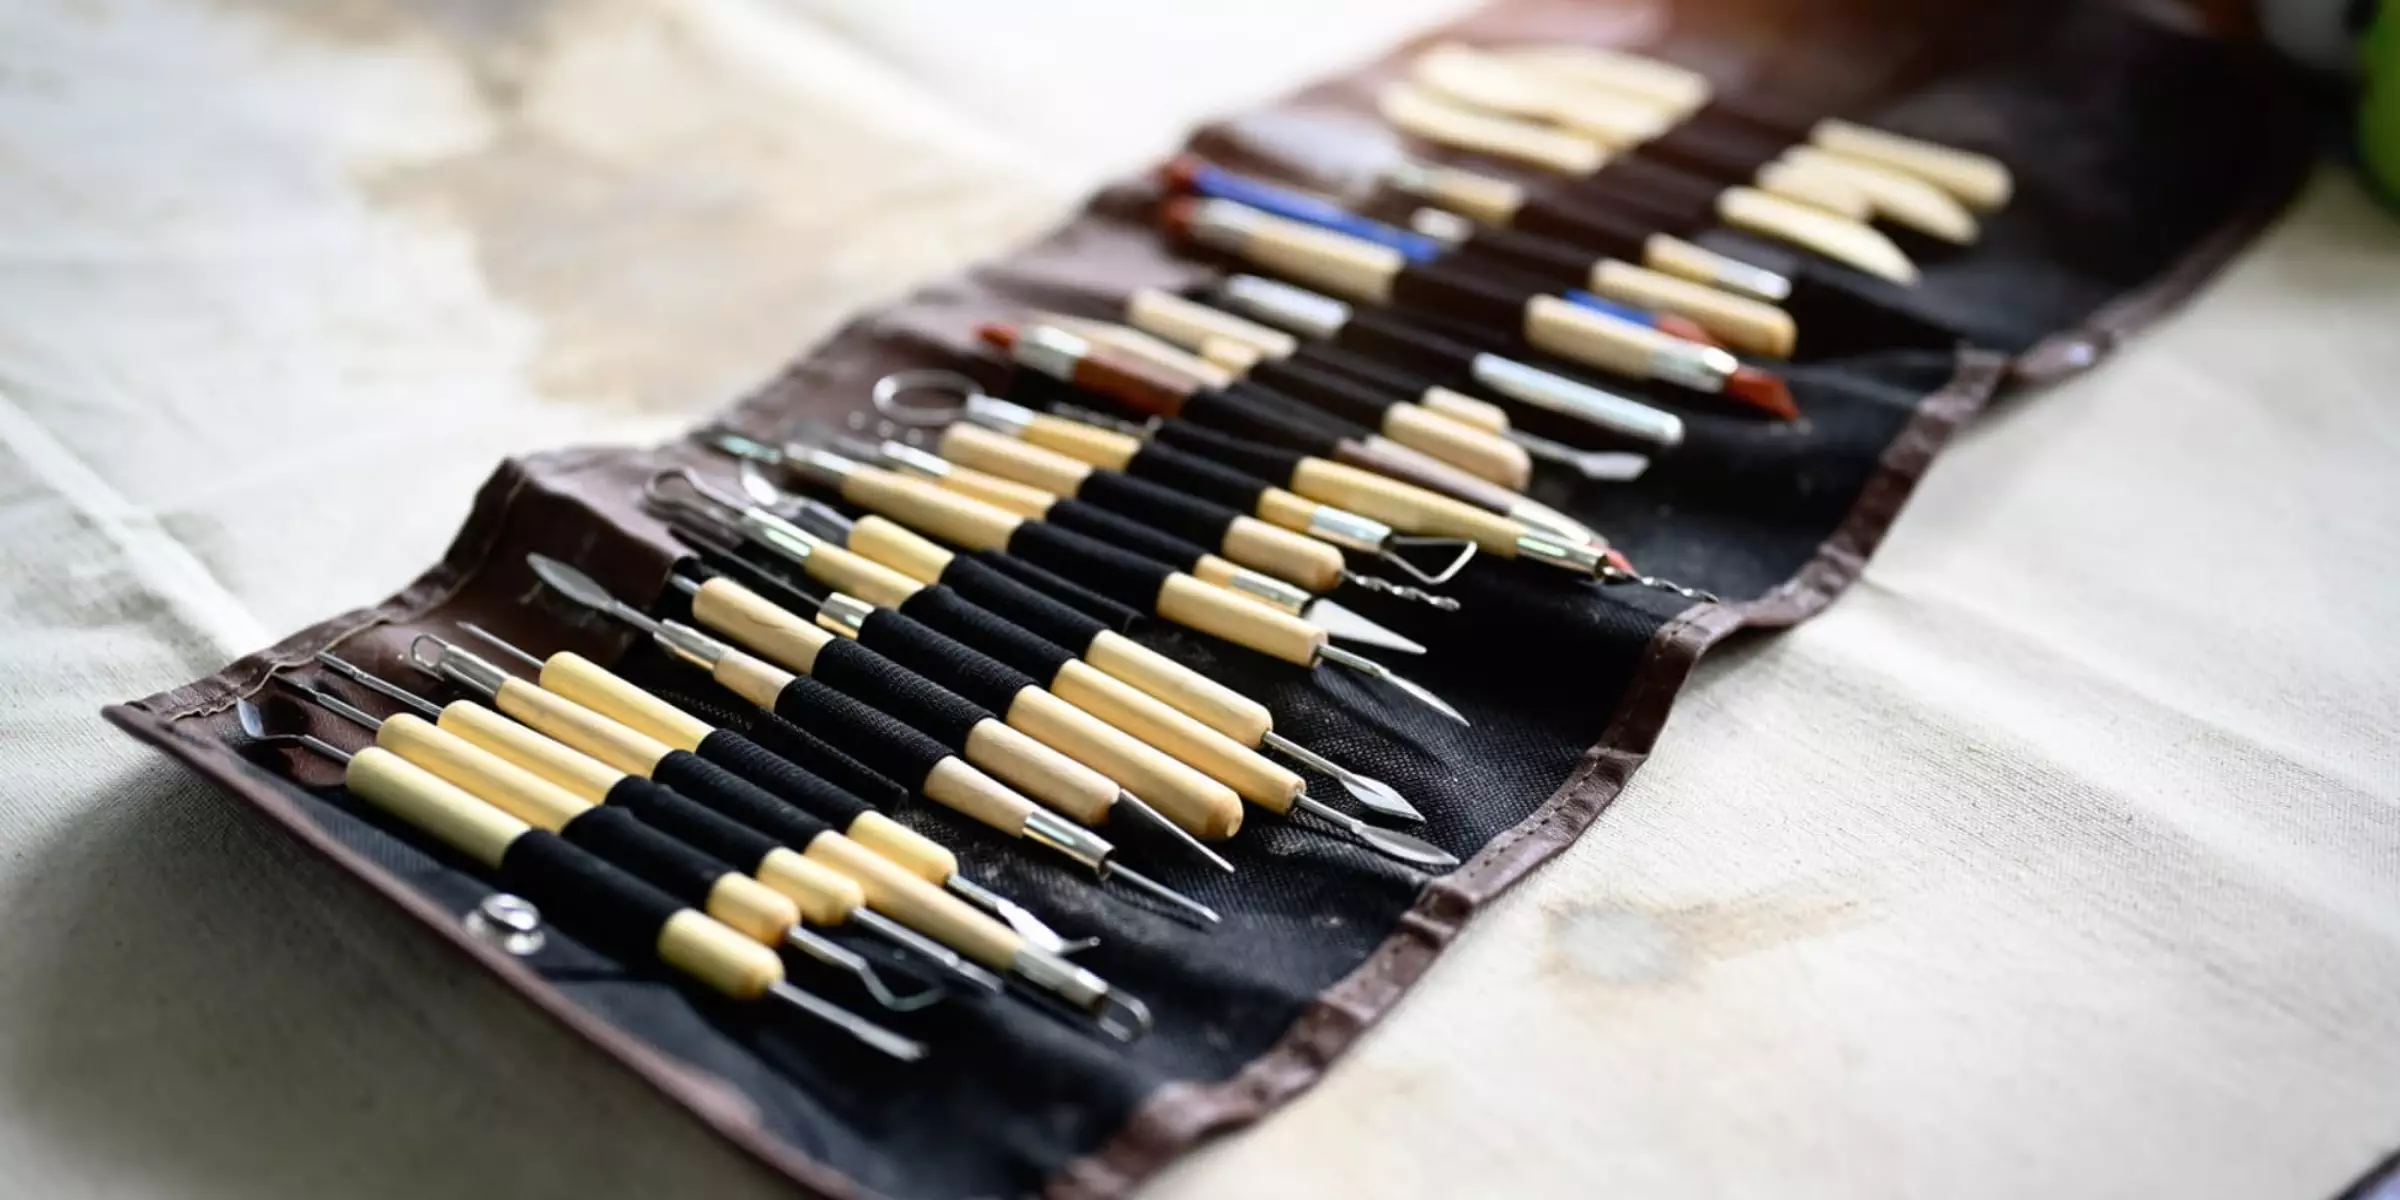
- Wooden sculpting tool or butter knife
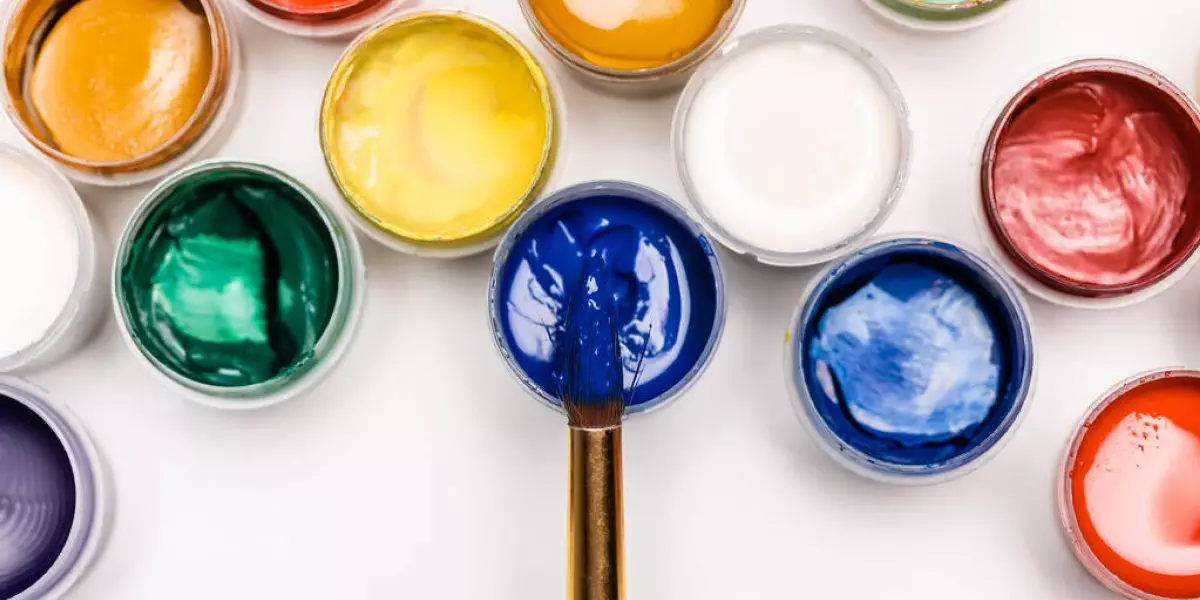
- Acrylic paint (orange, white, black)
- Small paintbrush (size 0-3)
- Clear acrylic sealer (2 oz / 60ml)
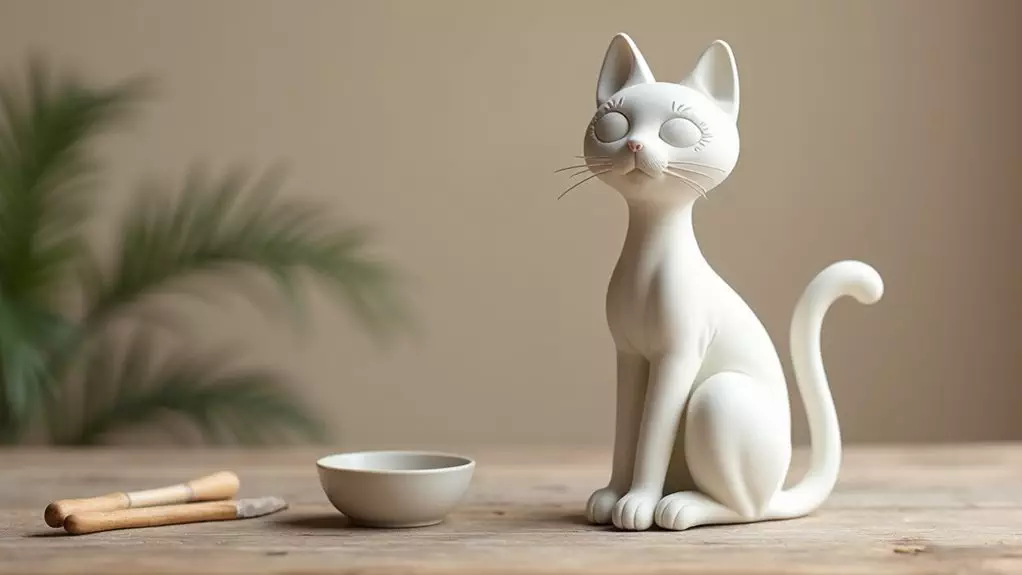
Begin with the body by rolling a golf ball-sized portion of clay into an egg shape, flattening the bottom slightly for stability. Form the head from a marble-sized piece, shaping it into a rounded triangle and attaching it to the body with gentle pressure.
Create four small cylinder legs, a tail, and triangular ears, securing each piece carefully. Add texture using the wooden tool to create fur patterns, whisker marks, and facial features. Once complete, allow the sculpture to dry fully before painting with an orange base coat, adding tabby stripes, a white chest patch, and facial details, then finish with two protective layers of clear sealer.
When working with air dry clay, maintain consistent thickness throughout the piece to ensure even drying and prevent cracking. Keep a small water bowl nearby for smoothing joints and edges, but use water sparingly to avoid creating a muddy texture.
Position the finished piece in a well-ventilated area away from direct sunlight and heat sources while drying, and avoid handling the sculpture until completely hardened to maintain its shape and prevent finger marks or damage.
Project Steps
You’ll begin your chubby tabby cat project by rolling and shaping the clay body into an egg form, followed by creating and attaching the rounded triangle head.
Next, you’ll add the cylindrical legs, tail, and triangle ears before texturing the clay with fur details and facial features using your wooden tool.
Finally, you’ll bring your creation to life by painting the orange base coat, adding tabby stripes and white patches, and sealing the finished piece with clear acrylic for protection.
Step 1. Roll Clay Body Shape

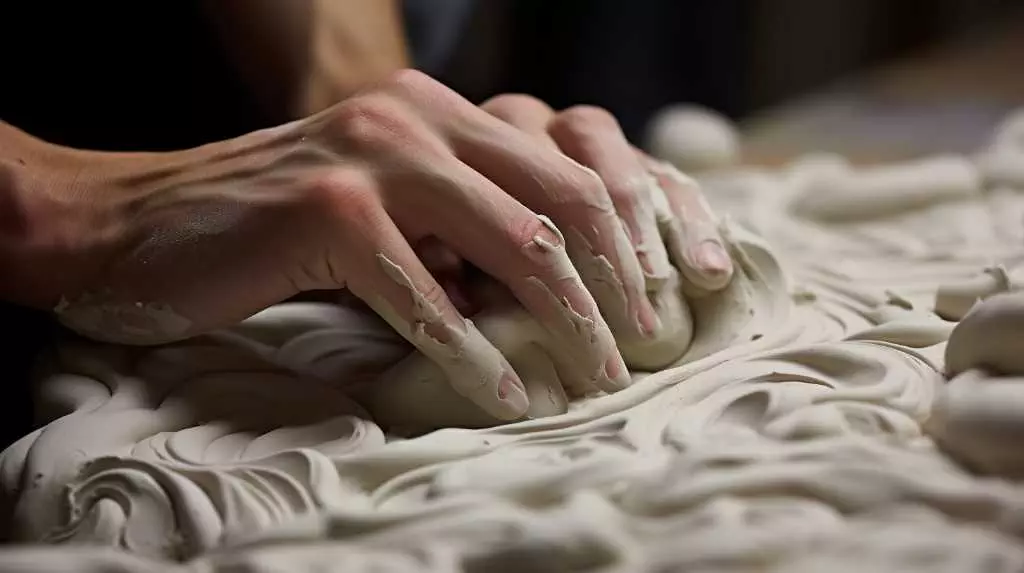
Begin by selecting a golf ball-sized portion of air dry clay between your palms, rolling it gently to form a smooth sphere.
Shape this sphere into an egg-like form by applying slightly more pressure to one end, creating a natural taper that’ll become your cat’s rear. As you work the clay, maintain consistent pressure to avoid creating unwanted dimples or flat spots.
Next, press the bottom portion of your egg shape against your work surface to create a stable base – you’ll want your cat to sit upright without toppling over.
Don’t flatten it too much; aim for just enough surface area to keep your sculpture steady. Check the proportions from all angles, ensuring the body maintains its rounded, chubby appearance that’s characteristic of a well-fed tabby cat.
Step 2. Form Head and Attach

The head of your tabby cat takes shape from a marble-sized portion of clay, which you’ll roll into a rounded triangle form.
Press your thumbs gently into the sides to create subtle cheek indentations, then smooth the surface with your fingertips until it feels even and polished.
To attach the head securely, score both the neck area of the body and the bottom of the head using shallow crosshatch marks.
Apply a small amount of water to these scored surfaces with your finger, then press the pieces together firmly.
Blend the seam where they meet by smoothing the clay with light, circular motions.
Don’t worry if the neck looks slightly thick – this adds to your tabby’s chubby charm and helps ensure the head stays firmly attached while drying.
Step 3. Add Legs and Tail

Moving on to the legs and tail transforms your clay creation from a simple form into a recognizable feline figure.
Roll four small clay cylinders about 1 inch long for the legs, making them slightly thicker than a pencil. Press each leg firmly against the body’s bottom, spacing them evenly to ensure your cat will stand stable.
For the tail, shape a tapered cylinder that’s about 2 inches long, curve it gently, and attach it to the back of the body.
You’ll want to blend the connection points smoothly using your fingertip or sculpting tool, ensuring there aren’t any weak spots where the pieces might separate.
Don’t forget to add slight indentations at the paws and create a gentle curve at the tail’s tip for that characteristic feline flourish.
Step 4. Add Clay Texture Details

Adding distinctive textures brings your chubby tabby to life, transforming smooth clay into a realistic feline friend.
Using your wooden sculpting tool, gently press horizontal lines across the cat’s body, working from head to tail to create the appearance of fur. Make these strokes light and varied in direction, just as a cat’s fur naturally flows.
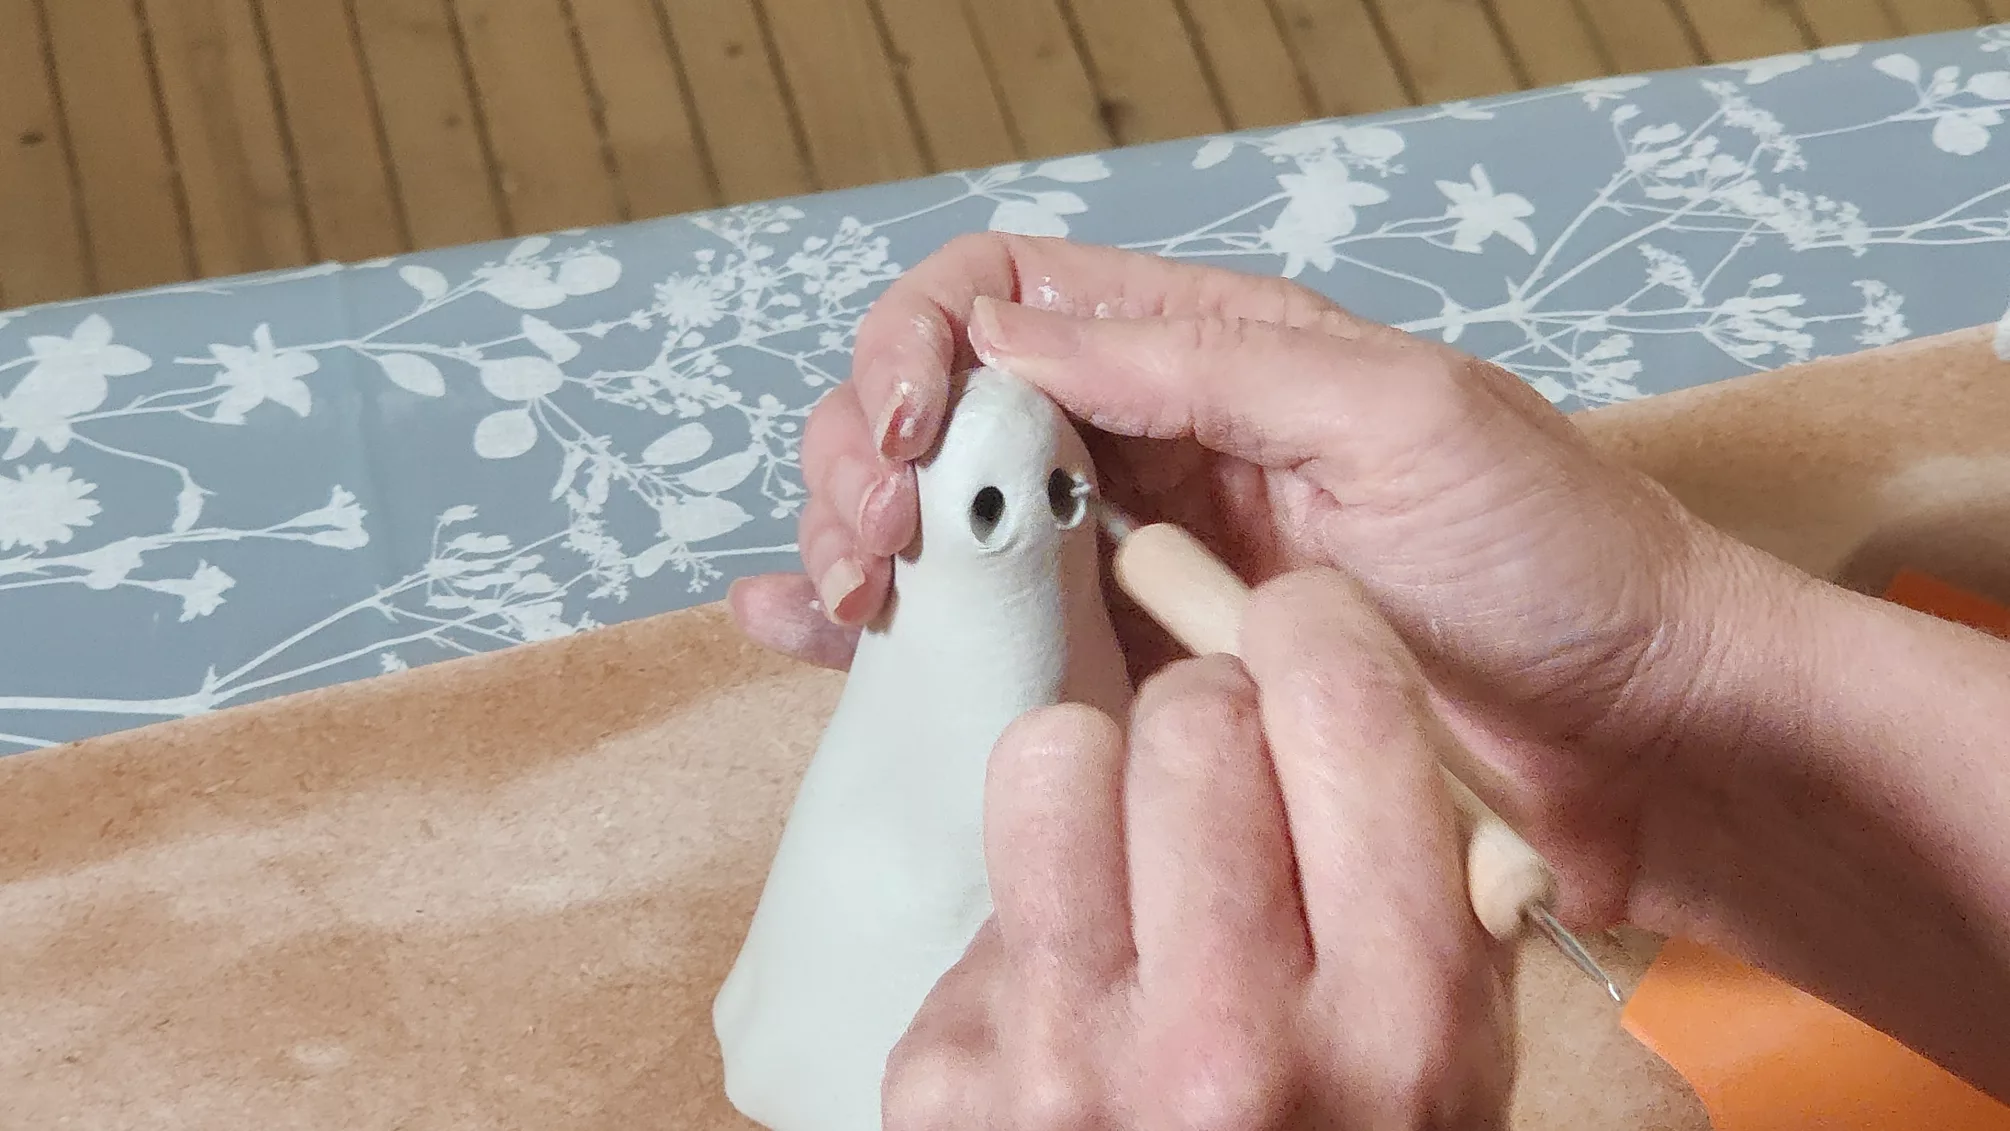
Score delicate whisker marks on each side of the nose using the tool’s pointed end.
Create subtle fur tufts around the ears and neck by making small, upward marks with the tool’s edge. Don’t forget to add gentle texture to the tail with diagonal strokes.
Finally, press tiny dots around the nose area to suggest pores, and smooth any rough edges with your fingertip, ensuring the textures remain visible but natural-looking.
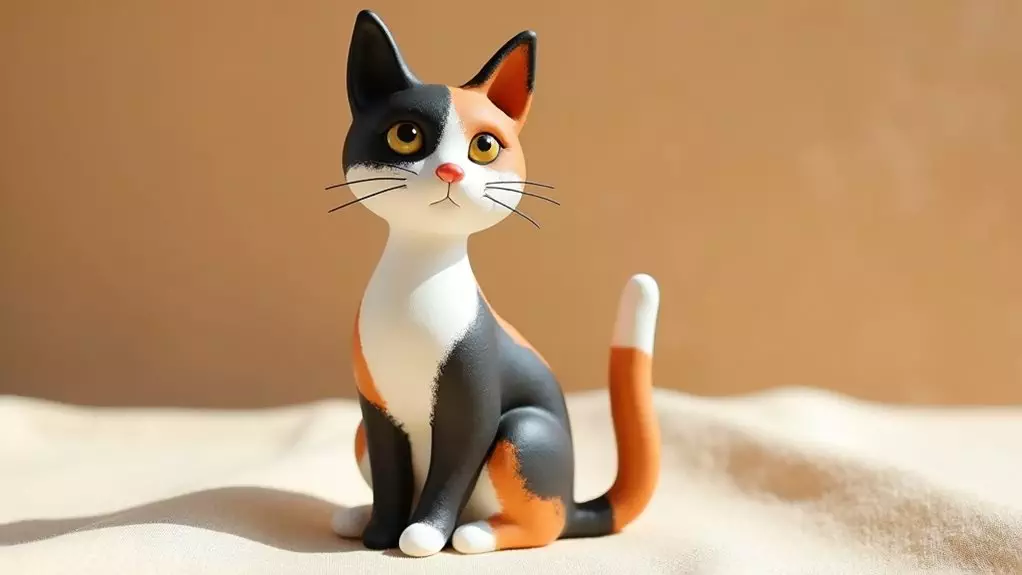
Step 5. Paint and Seal Finish

Once your clay tabby has dried completely, you’ll begin the finishing process with three essential painting steps that transform the plain sculpture into a lifelike feline companion.
Start by applying an even base coat of orange acrylic paint, allowing it to dry for 30 minutes. Next, add tabby stripes using thin black brush strokes, working from the head down to the tail, and paint a white chest patch for that classic tabby look.
Finally, detail the face with black paint to create eyes, nose, and whisker marks, making sure to capture your cat’s personality.
Once all paint layers have dried thoroughly, apply two thin coats of clear acrylic sealer, waiting 15 minutes between applications. This protective finish will preserve your tabby’s colors and prevent paint from chipping or fading over time.
Final Thoughts
While creating a chubby tabby cat from air dry clay requires patience and attention to detail, the end result delivers a charming piece that captures the essence of these beloved pets.
You’ll find that this project offers a perfect introduction to clay sculpting, teaching fundamental techniques you can apply to future crafts.
Don’t be discouraged if your first attempt isn’t perfect – each cat you create will help develop your skills and personal style.
Consider displaying your finished piece on a desk or shelf where it can bring a touch of whimsy to your space, or give it as a thoughtful handmade gift.
Remember to store any leftover air dry clay in an airtight container, and keep your sculpting tools clean for your next creative project.