Just as cats have long been drawn to fish throughout history, you’ll find yourself naturally attracted to this engaging sculpture project. You’re about to discover how air-dry clay transforms into a whimsical piece that captures the eternal chase between feline and fish. Whether you’re new to sculpting or an experienced artist, this design offers endless possibilities for personalization while teaching fundamental techniques. What makes this particular combination so captivating lies in its deeper symbolic significance.
Key Takeaways
- Cats and fish sculptures represent a popular decorative art form combining symbols of grace (cats) and abundance (fish).
- Air-dry clay allows beginners to create a 4-5 inch whimsical cat-and-fish sculpture using basic sculpting techniques.
- The process involves shaping two clay portions: a larger one for the cat’s body and a smaller one for the fish.
- Sculptures typically feature a playful interaction between cat and fish, emphasizing movement and expression through positioning.
- Finishing includes painting the cat gray, the fish orange, adding detailed features, and sealing with acrylic for protection.
History
While the origins of cat and fish sculptures stretch back to ancient civilizations, the modern craft of creating whimsical clay cats with fish gained popularity during the mid-20th century Arts and Crafts movement.
You’ll find that these charming pieces emerged as both decorative items and teaching tools, helping aspiring sculptors learn fundamental clay-working techniques.
In the 1960s, craft magazines began featuring tutorials for creating these playful sculptures, which coincided with the rise of air-dry clay products in home craft markets.
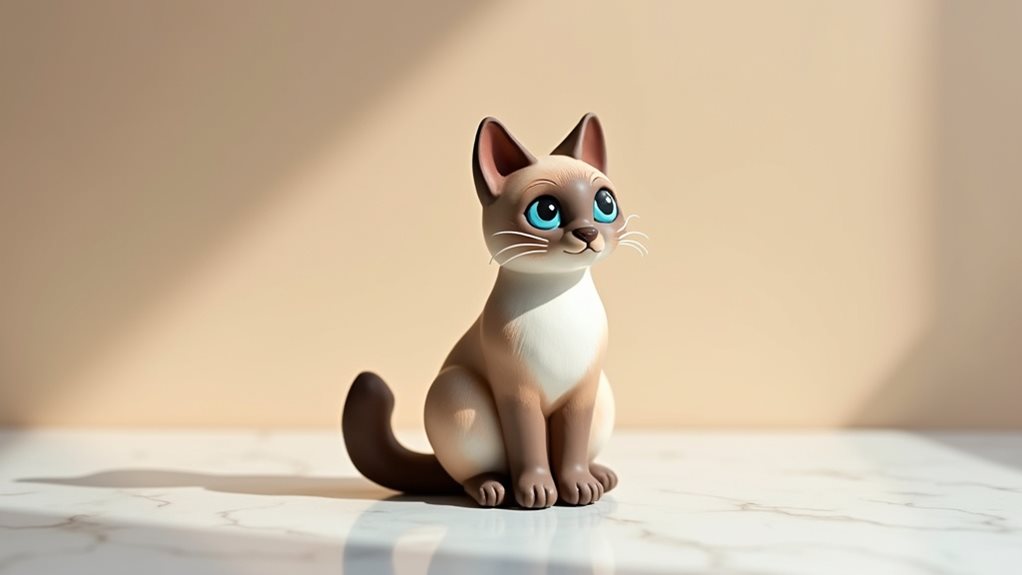
The design’s enduring appeal stems from its combination of two beloved symbols: cats, representing grace and companionship, and fish, symbolizing abundance and prosperity.
Today, you’ll see countless variations of this classic motif, from minimalist interpretations to highly detailed collectors’ pieces that honor this craft’s rich heritage.
Project
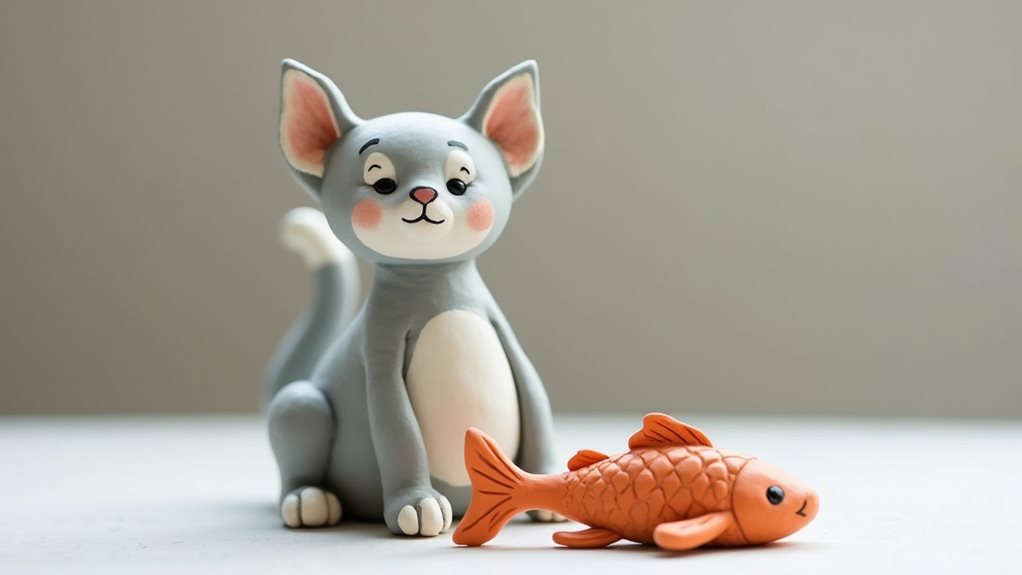
Creating a charming cat and fish sculpture using air dry clay is an ideal project for beginners looking to explore basic sculpting techniques. The finished piece stands 4-5 inches tall and captures the playful relationship between cats and their favorite prey in a whimsical, decorative form.
This single-session project allows crafters to practice fundamental clay-working skills while producing a delightful display piece that maintains its appeal even with minor imperfections. Though the sculpting can be completed in one sitting, the finished piece requires 24-48 hours of drying time before painting and sealing.
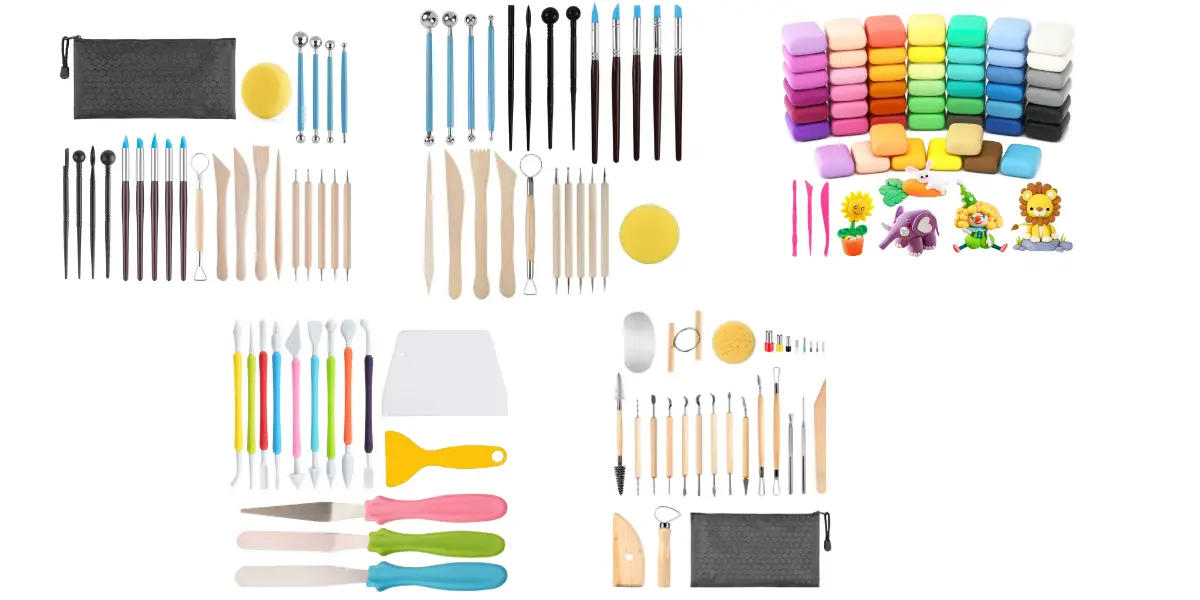
- White air dry clay (8 oz/227g block)
- Wooden sculpting tool set (basic 3-piece set)
- Acrylic paint (2 fl oz/60ml each: gray, orange, white)
- Small paintbrush (size 0-4)
- Clear acrylic sealer (2 fl oz/60ml)
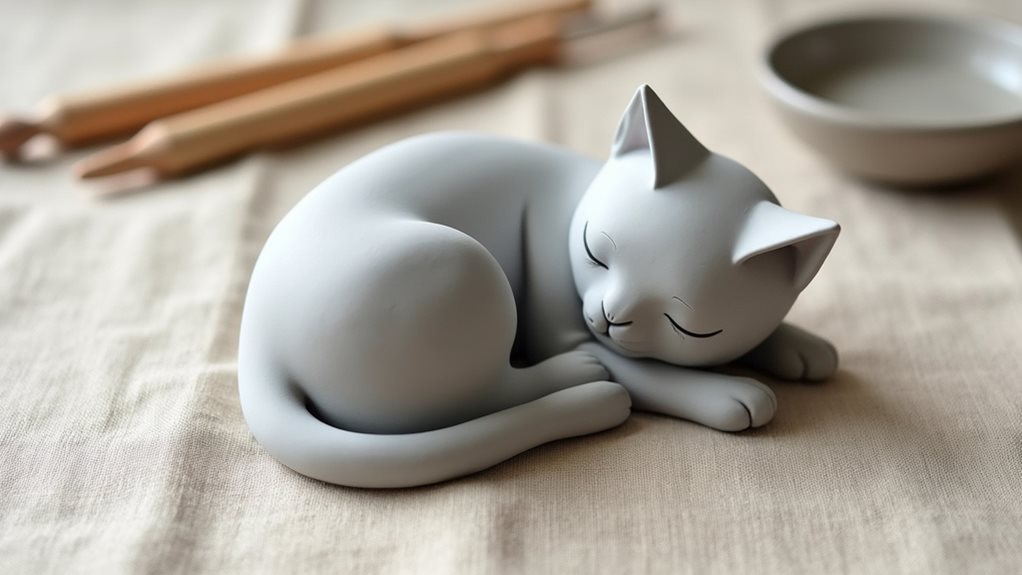
Divide the clay block into two portions: 2/3 for the cat and 1/3 for the fish. Shape the larger portion into an egg-like form for the cat’s body, then create a smaller ball for the head. Join these pieces together and form pointed ears on top. Create the tail and wrap it around the body.
For the fish, shape the remaining clay into a teardrop form, flatten slightly, and use wooden tools to score details like fins and scales. Position the fish near the cat’s paws and allow the entire sculpture to dry completely before painting and sealing.
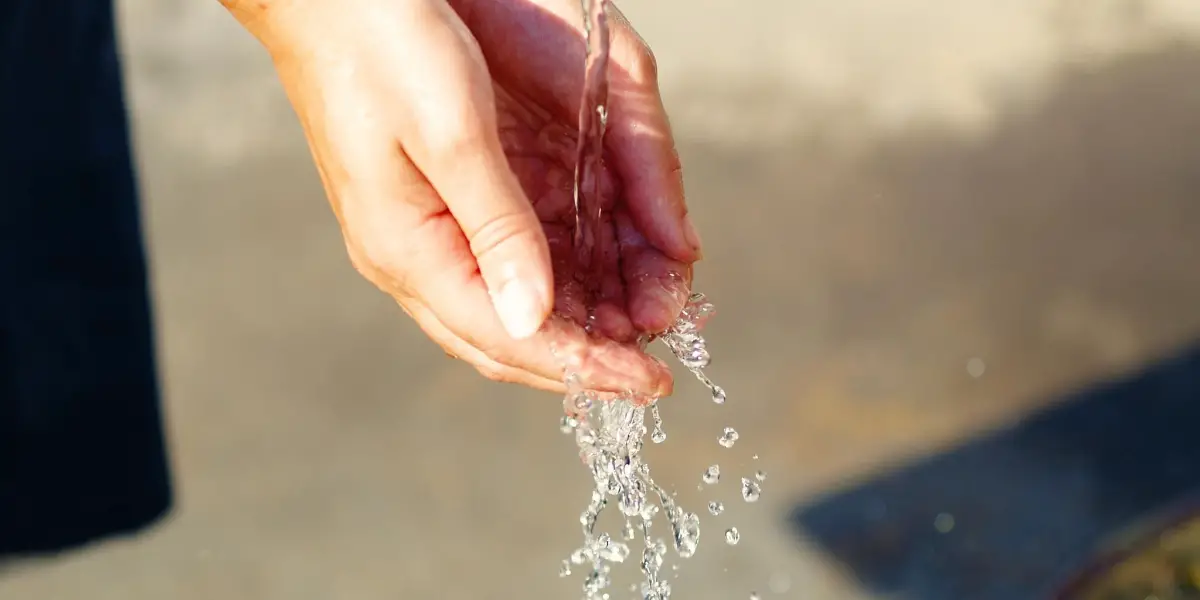
Keep a small bowl of water nearby while working to smooth joints and prevent cracking. Work on a non-stick surface and avoid creating sections thinner than 1/4 inch to prevent breakage after drying. If the clay becomes too dry during sculpting, lightly mist it with water from a spray bottle.
Allow the piece to dry naturally at room temperature, away from direct heat sources or sunlight, and apply two thin coats of sealer after painting to ensure durability.
Project Steps
You’ll start by dividing your clay into two main portions: a larger piece for the cat and a smaller one for the fish, ensuring you have enough material for each component.
Next, you’ll shape the cat’s body parts, including the egg-shaped body, round head, pointed ears, and curving tail, before crafting the fish with its distinctive fins and scales using your wooden tools.
Once your sculpture has dried completely, you’ll paint it with your chosen colors and seal it with a protective coating, optionally adding a flat base for stability and display purposes.
Step 1. Divide Clay Into Portions
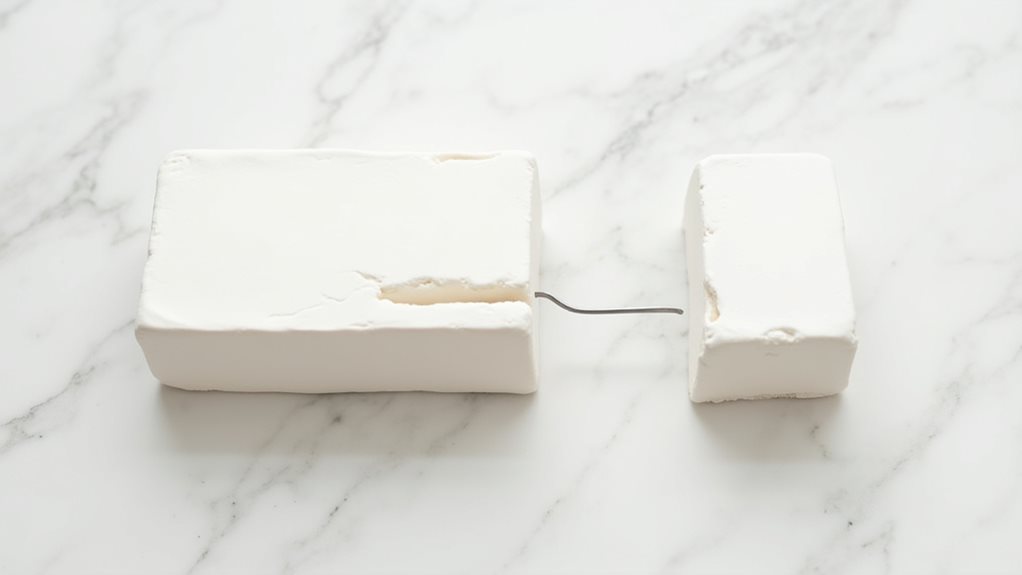
The first crucial step in creating your cat and fish sculpture requires dividing the clay block into two distinct portions.
You’ll need to separate your 8-ounce block into a larger section that’s roughly two-thirds of the total amount for the cat, and a smaller section that’s one-third for the fish.
Before splitting the clay, knead it thoroughly in your hands to ensure it’s pliable and free from air bubbles.
To make the division more precise, you can roll the clay into a log shape and cut it at the appropriate proportions using a wooden sculpting tool.
Once you’ve separated the portions, keep the unused clay wrapped in plastic while you’re working to prevent it from drying out prematurely.
Step 2. Shape Cat’s Body Parts
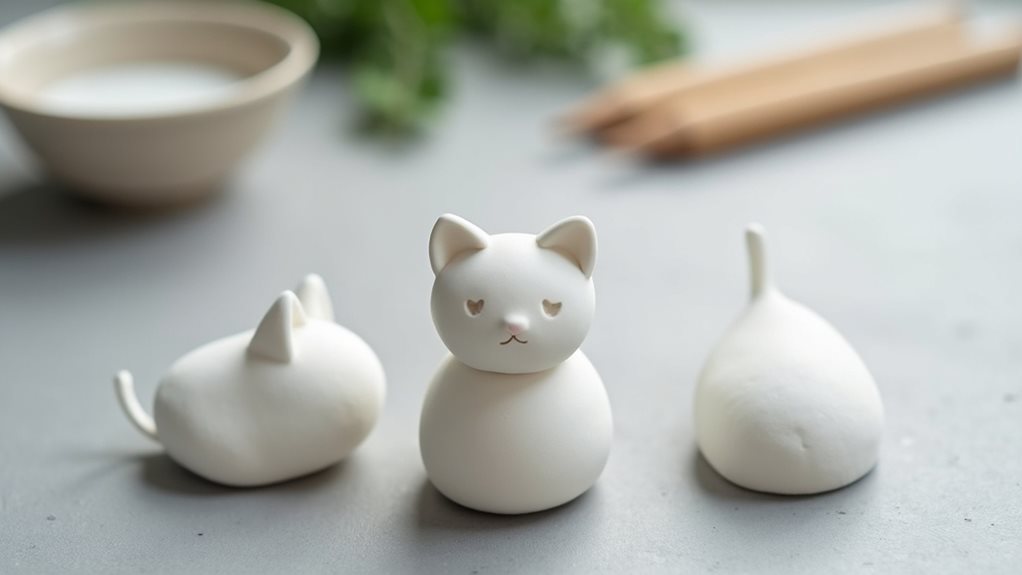
Once you’ve divided your clay portions, begin shaping the cat’s body by rolling the larger section into an elongated egg form approximately 3 inches tall.
Create a smaller sphere about one-third the size of the body for the cat’s head, and smooth it onto the upper portion of the egg shape.
Using your fingers, gently pinch two triangular ears at the top of the head, making sure they’re symmetrical and pointed.
Next, roll a thin cylinder for the tail, tapering it slightly toward the end, and carefully attach it to the back of the body.
Curve the tail around the cat’s side in a gentle arc.
Don’t forget to use a small amount of water on your fingers to blend the connecting areas smoothly, ensuring all parts are securely joined.
Step 3. Create Fish Body Features
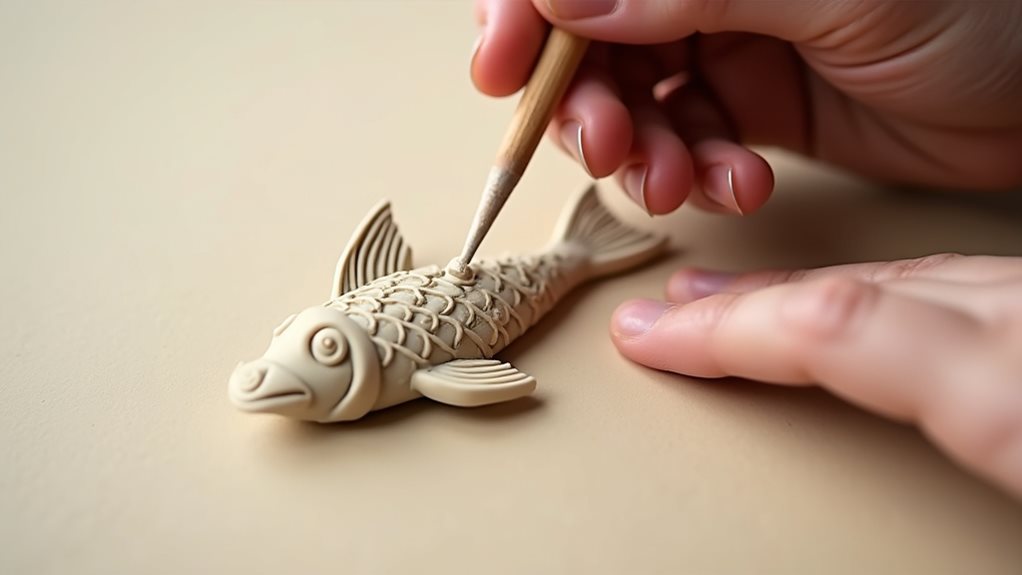
Starting with your prepared fish portion, mold the clay into a teardrop shape approximately 2 inches long, making sure one end tapers to a narrow point while the other remains fuller and more rounded.
Using your sculpting tool, gently press diagonal lines along both sides of the fish to create scale patterns. Next, add the fish’s defining features by carving a small mouth at the narrow end and creating two indented circles for eyes on either side of the head.
Form the tail fin by carefully pinching and flattening the tapered end, then use your tool to create delicate line details.
Add a dorsal fin along the top by attaching a small, thin piece of clay, smoothing the edges where it meets the body with a damp finger.
Step 4. Paint and Seal Sculpture
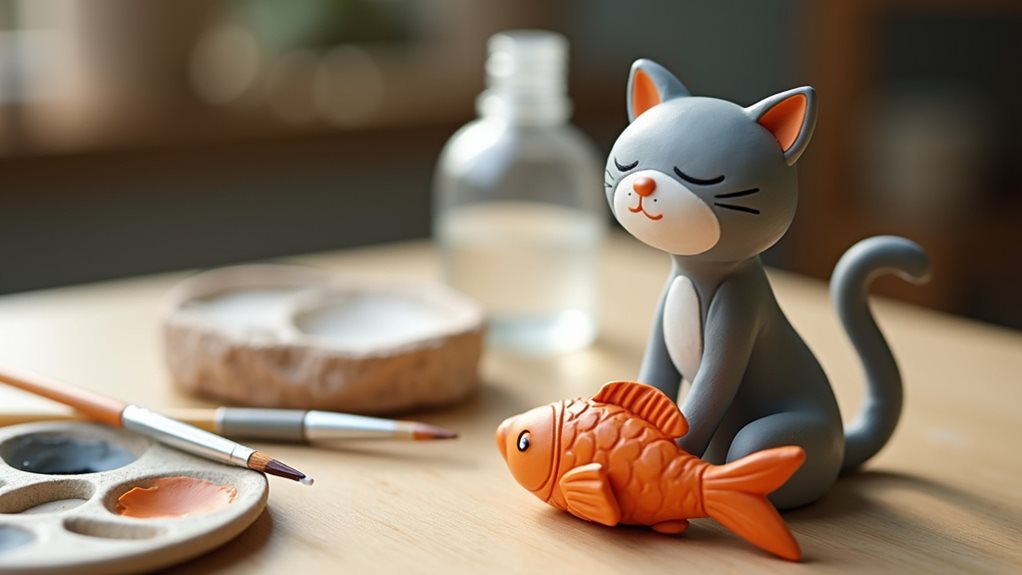
After your sculpture has dried completely for 48 hours, begin the painting process by applying a base coat of gray acrylic paint to the cat’s body, using smooth, even strokes to ensure consistent coverage.
Paint the fish in bright orange, adding white details for scales and fins. Once the base colors have dried, use your small brush to add white whiskers, pink nose, and black eyes to your cat.
Let the paint dry thoroughly for two hours, then apply your first coat of clear acrylic sealer.
Wait 30 minutes between coats, applying three thin layers for maximum protection. Don’t forget to seal the bottom of your sculpture, where it sits on the surface.
Your Cat With a Fish sculpture is now ready for display or gifting.
Step 5. Add Display Stand Base
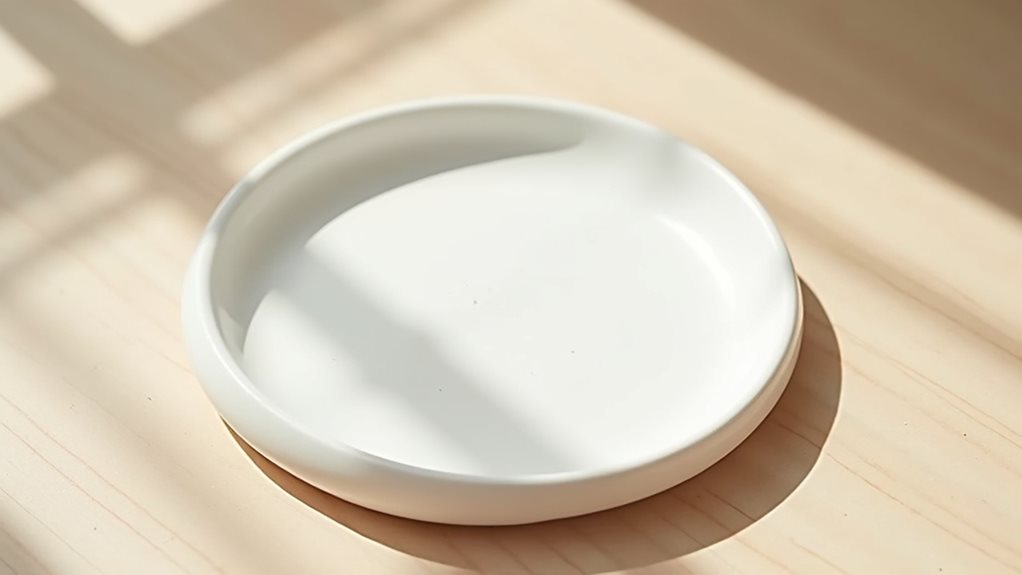
Creating a stable display base for your Cat With a Fish sculpture enhances both its presentation and durability.
Take a portion of your remaining air dry clay and roll it into a circular disc about 4 inches in diameter and ½ inch thick. Press the disc gently onto a flat surface to ensure it’s level, then use your sculpting tool to add texture or simple decorative patterns around the edges.
Before the base dries completely, position your cat sculpture carefully on top, making sure it’s centered and properly balanced.
Score both the bottom of your sculpture and the top of the base where they’ll connect, then add a small amount of clay slip to create a strong bond.
Once everything’s dry, paint the base to complement your sculpture’s color scheme.
Final Thoughts
This whimsical Cat with Fish sculpture offers a delightful introduction to working with air dry clay, allowing you to develop essential sculpting skills while creating a charming decorative piece.
You’ll find that even with minimal experience, you can achieve satisfying results by following the basic techniques and taking your time with each step.
As you gain confidence, don’t hesitate to personalize your sculpture by adjusting the cat’s pose, changing its expression, or adding unique details to the fish.
Remember that air dry clay projects are forgiving, and small imperfections often add character to the finished piece.
With proper drying time and sealing, your sculpture will become a lasting testament to your creativity and serve as inspiration for future clay projects.