Like a blank canvas awaiting inspiration, bunny rabbit sculpture offers you endless possibilities for artistic expression. You’ll discover that this timeless craft combines foundational sculpting techniques with your personal creative vision, whether you’re crafting a whimsical garden ornament or a sophisticated display piece. As you explore the rich history and varied approaches to rabbit sculptures, you’ll uncover techniques that can transform simple clay into captivating works of art.
Key Takeaways
- Bunny rabbit sculptures require 1 pound of air dry clay and basic tools like a wooden skewer for detailing and shaping.
- The project takes 2-3 hours to complete and results in a 6-inch tall decorative rabbit figure.
- Basic hand-building techniques include dividing clay into portions, shaping the body and head, and attaching parts securely.
- Artists can personalize their bunny sculptures through unique poses, facial expressions, and optional paint or sealant finishes.
- Clay bunny sculptures have historical significance dating back to Victorian times and gained popularity during the Arts and Crafts Movement.
History
While clay sculptures have ancient roots dating back thousands of years, the modern craft of creating decorative bunny rabbits gained popularity during the Arts and Crafts Movement of the late 19th century.
You’ll find that Victorian artisans often crafted these whimsical creatures as both functional pieces and purely decorative items, incorporating them into garden sculptures, doorstops, and children’s toys.
In the 1920s, ceramic bunny sculptures experienced another surge in popularity, coinciding with the rise of Art Deco design.
Artists began experimenting with simplified forms and geometric patterns, creating more stylized interpretations of rabbit figures.
Today’s air dry clay techniques draw from these historical influences, though you’ll notice they’ve evolved to accommodate modern materials and tools, making the craft more accessible to home artists and hobbyists.
Project
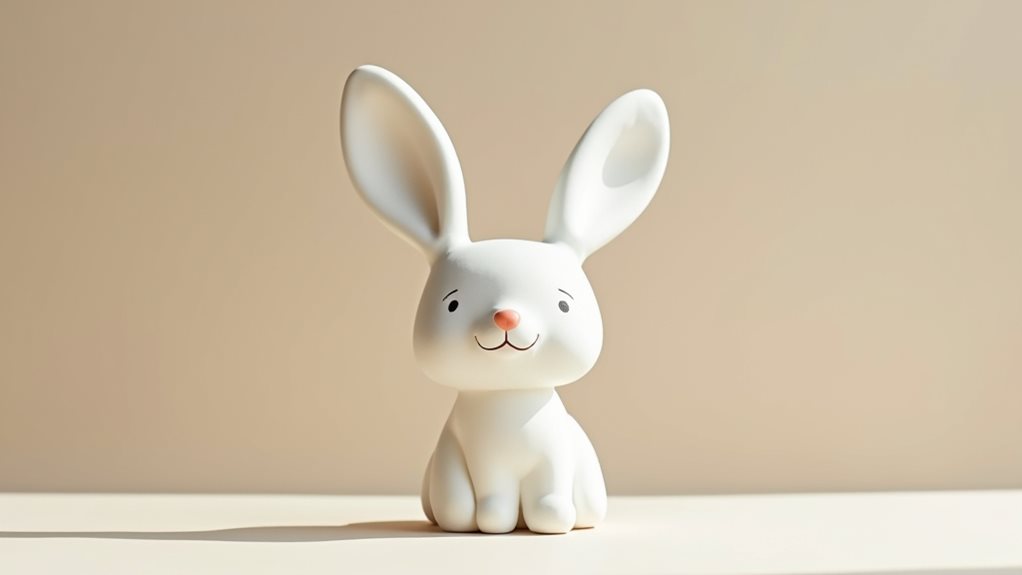
Creating a charming bunny rabbit sculpture from air dry clay provides an excellent introduction to basic hand-building techniques. This beginner-friendly project combines simple sculpting methods with minimal tools, resulting in a decorative piece that stands approximately 6 inches (15 cm) tall when completed.
The project takes roughly 2-3 hours to complete, not including drying time, and allows crafters to express their creativity through personalizing details like the bunny’s pose and facial features. The finished piece can be left natural for a modern aesthetic or painted to match your décor preferences.
Materials:
- Air dry clay – 1 pound (450g)
- Wooden skewer or toothpick
- Small bowl of water
- Plastic knife or clay cutting tool
- Work surface – ceramic tile or plastic mat 12×12 inches (30×30 cm)
Divide the clay into proportions: half for the body, quarter for the head, and two equal smaller portions for details. Form the body by rolling clay into an egg shape and flattening the bottom slightly. Create the head by shaping a ball and pinching one end to form the face. Make two elongated ears from the remaining clay.
Score the joining areas of the head and body, apply water, and connect the pieces. Use the wooden skewer to add facial features and smooth all surfaces with damp fingers.
Keep unused clay wrapped in plastic while working to prevent premature drying. Maintain a minimum thickness of 1/4 inch (6mm) throughout the sculpture to prevent cracking. Work in a draft-free area and avoid moving the piece during the 24-48 hour drying period.
Create a slip mixture from clay and water to repair any small cracks that develop during drying, and apply it before the piece completely dries.
Project Steps
You’ll want to start by dividing your clay into four distinct portions, setting aside the largest piece for the body and the second-largest for the head.
Next, you’ll shape the body into an egg form and create a rounded head with pinched features, before carefully attaching the two pieces using scoring techniques and a small amount of water.
Finally, you’ll add the ears and intricate details with your remaining clay, finishing your sculpture with paint or sealant once it’s completely dry.
Step 1. Divide Clay Into Portions
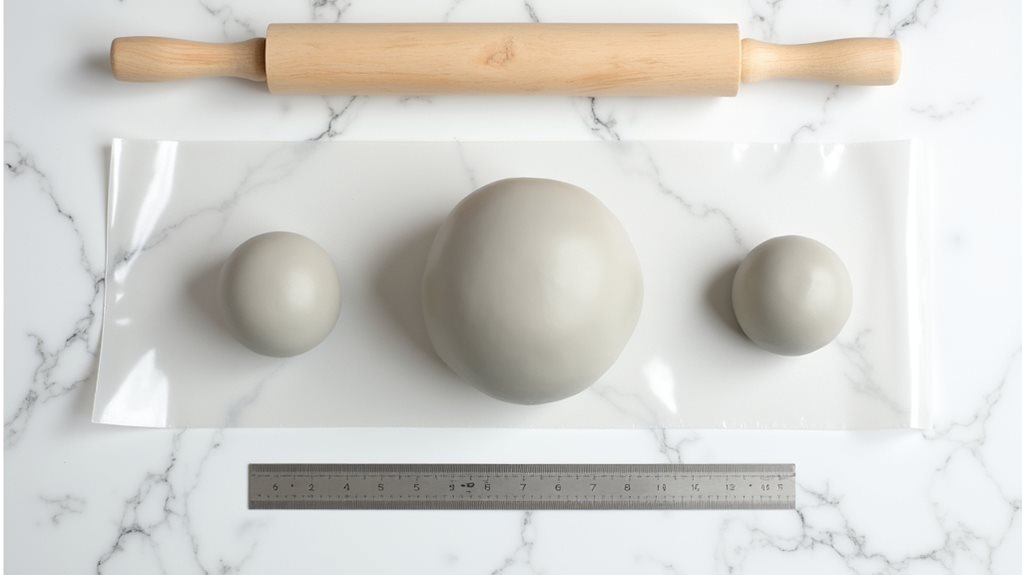
Before diving into the sculpting process, gather your pound of air dry clay and separate it into four distinct portions that will form your bunny’s key features.
Set aside half of your clay (about 8 ounces) for the body, which will serve as the sculpture’s foundation and main support structure.
Next, allocate a quarter of the clay (roughly 4 ounces) for crafting the head, ensuring you’ll have enough material to create expressive features.
Finally, divide the remaining quarter into two equal portions (2 ounces each) – you’ll use these smaller amounts for shaping the ears, paws, and other delicate details that bring your bunny to life.
Keep unused portions wrapped in plastic to maintain proper moisture levels while you work.
Step 2. Sculpt Body Egg Shape
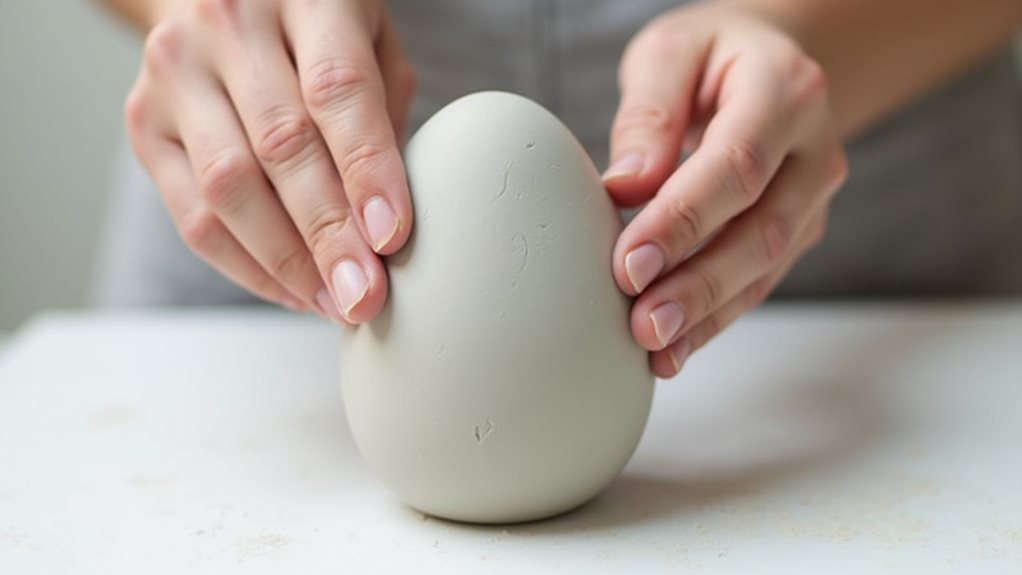
With your largest portion of clay ready, begin shaping the bunny’s body by rolling the clay between your palms into an elongated sphere.
Continue rolling until you achieve a distinct egg shape, with one end slightly wider than the other. The wider end will serve as the bunny’s bottom, while the narrower end will support the head.
Press the bottom gently against your work surface to create a stable base that’ll prevent your sculpture from tipping over.
Using your thumbs, carefully smooth any surface imperfections while maintaining the egg’s overall form. If you notice any air bubbles, pierce them with your wooden skewer and gently press the clay back together.
The body should measure approximately 3 inches tall and 2 inches wide at its fullest point.
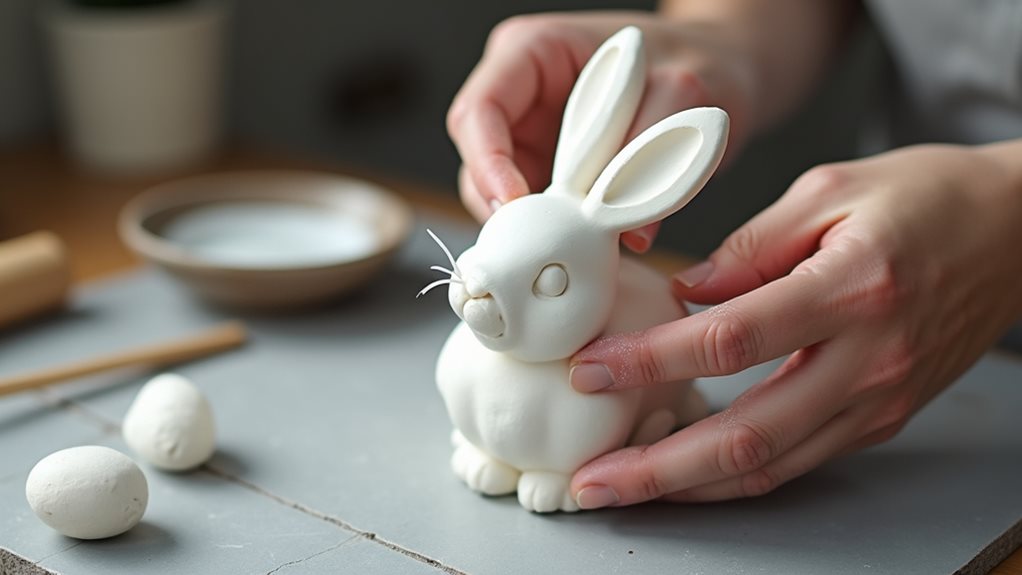
Step 3. Create Head From Clay
Taking your appropriately-sized quarter portion of clay, shape the bunny’s head by rolling it between your palms to form a sphere roughly 1.5 inches in diameter.
Once you’ve achieved a smooth ball, gently pinch one end to create a tapered muzzle area, maintaining symmetry as you work. Press your thumb slightly on the top of the sphere to flatten it subtly, creating a natural contour for the forehead.
Using your fingertips, make small indentations on either side of the head where you’ll later attach the ears.
With your wooden skewer, carefully mark guidelines for the eyes and nose placement, positioning them slightly forward on the face. Don’t press too deeply – these marks serve only as reference points for when you’ll add the final details.
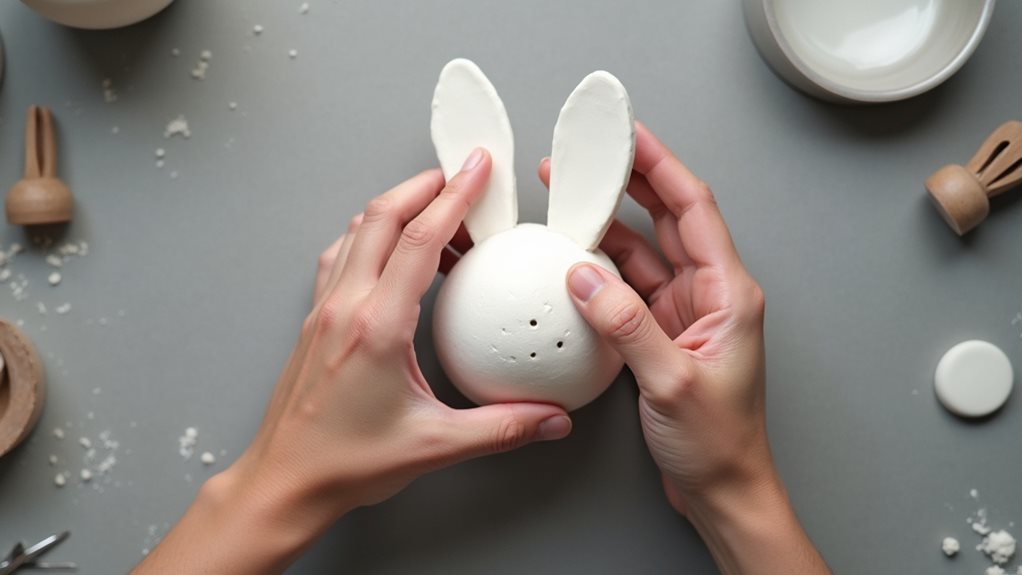
Step 4. Add Ears and Details
Now that your bunny’s head has taken shape, let’s focus on creating and attaching its distinctive ears, which will bring your sculpture’s personality to life.
Take two equal portions of clay and roll them into elongated teardrop shapes, approximately 3 inches long. Gently flatten each ear while maintaining a slight curve, and create subtle indentations along the length to suggest natural folds.
Score the base of each ear and the spots on the head where they’ll attach, then dampen these areas with water. Press the ears firmly into place, angling them slightly backward and outward for a natural look.
Using your wooden skewer, add fine texture lines to the ears’ inner surfaces, and smooth any rough edges with your fingertip. You’ll notice how these finishing touches transform your sculpture’s expression.
Step 5. Paint or Seal Sculpture
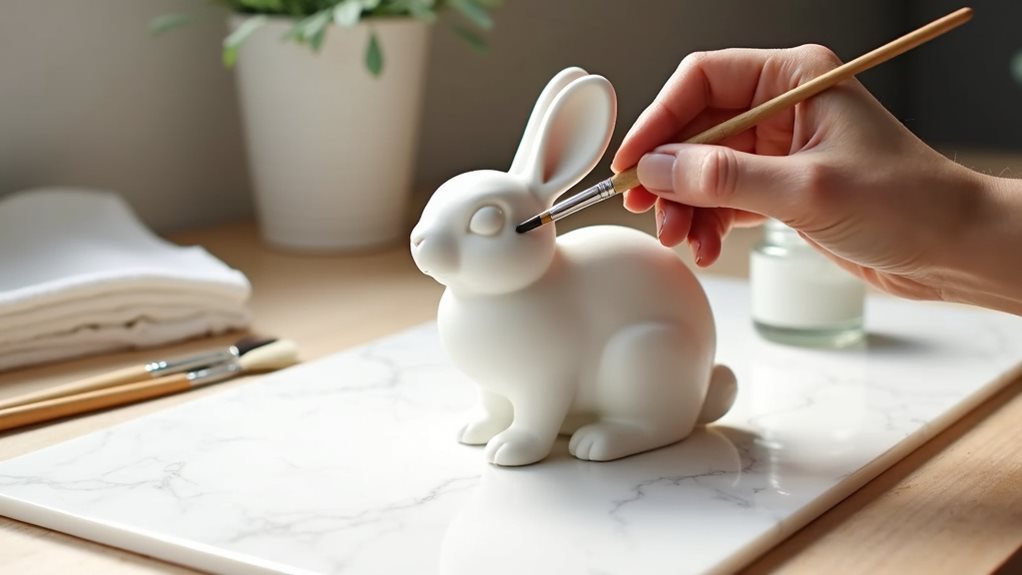
Once your bunny sculpture has dried completely, you’ll need to decide whether to paint it or seal it in its natural state.
For a painted finish, start with a base coat of white acrylic paint, allowing it to dry thoroughly before adding details like pink ears, black eyes, and whiskers. Apply two thin coats rather than one thick layer to prevent drips and ensure even coverage.
If you prefer the natural clay color, seal your sculpture with a clear, water-based sealant to protect it from moisture and dust.
Apply the sealant with a soft brush in smooth, even strokes, making sure to cover all surfaces, including the bottom. Let each coat dry for two hours, then add a second coat for maximum protection and a subtle sheen.
Final Thoughts
As you complete your bunny rabbit sculpture, you’ll discover that crafting with air dry clay offers endless possibilities for creative expression. Each piece you create will have its own unique character, reflecting your artistic choices in posture, facial features, and finishing details.
Remember that patience plays a crucial role in achieving the best results, particularly during the drying process. Don’t rush to handle or paint your sculpture before it’s completely dry.
If you’re planning to make more clay animals, consider documenting your creative process through photos or notes, which will help you refine your technique over time.
You’ll find that the skills you’ve developed while making this bunny sculpture will serve as an excellent foundation for future clay projects, whether you’re crafting more woodland creatures or exploring different sculptural forms.