While ancient civilizations crafted clay birds for religious ceremonies, you’ll find today’s air dry clay versions offer a perfect blend of traditional artistry and modern convenience. You don’t need expensive equipment or a kiln to create these charming sculptures, just your hands and some basic tools from your craft drawer. Whether you’re a seasoned artist or complete beginner, mastering the techniques of shaping and detailing these decorative birds will open up endless creative possibilities.
Key Takeaways
- Air dry clay birds are decorative sculptures that can be created at home without a kiln, requiring only basic materials and tools.
- The crafting process involves dividing clay into body (75%) and head (25%), shaping, texturing, and adding details like wings and beak.
- Sculptures need 24-48 hours to dry completely, followed by painting with acrylics and sealing with clear varnish for durability.
- Basic materials needed include air dry clay, wooden skewer, paintbrush, acrylic paint, and clear sealer for a complete project.
- The craft is beginner-friendly and allows for personal artistic expression through different shapes, sizes, colors, and decorative elements.
History
While clay bird crafting has ancient roots dating back to prehistoric civilizations, the modern use of air dry clay for decorative birds emerged in the mid-20th century as crafters sought alternatives to traditional kiln-fired ceramics.
You’ll find that air dry clay’s popularity soared during the 1960s craft movement, when manufacturers developed new formulas that didn’t require firing. This innovation made bird sculpting accessible to home crafters who couldn’t access pottery studios.
The trend gained momentum through craft magazines and DIY television shows of the 1970s, which featured air dry clay projects as family-friendly activities.
Today, you’re benefiting from decades of formula improvements that have made air dry clay more durable and versatile than ever, allowing you to create increasingly detailed and lasting bird sculptures.
Project
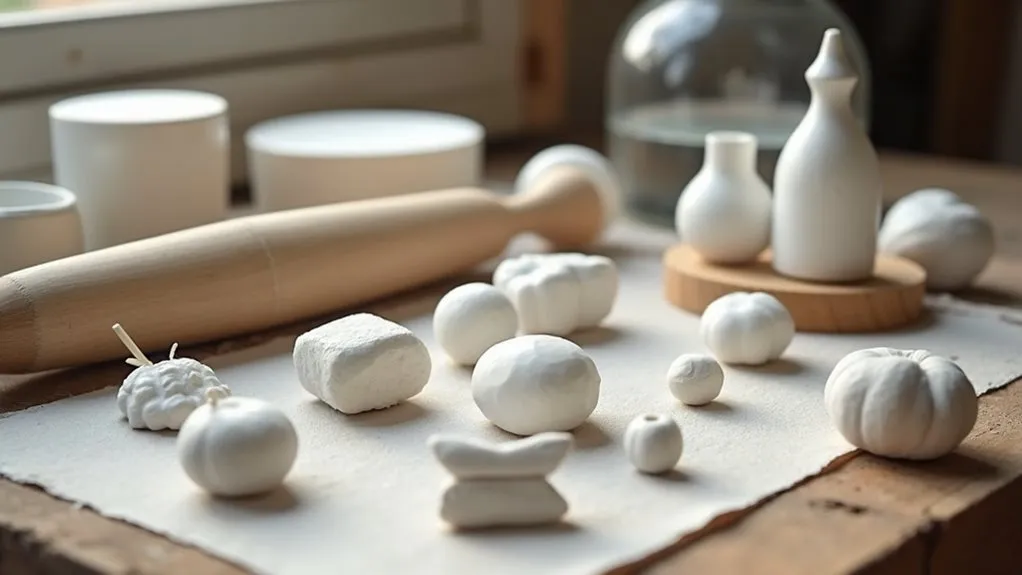
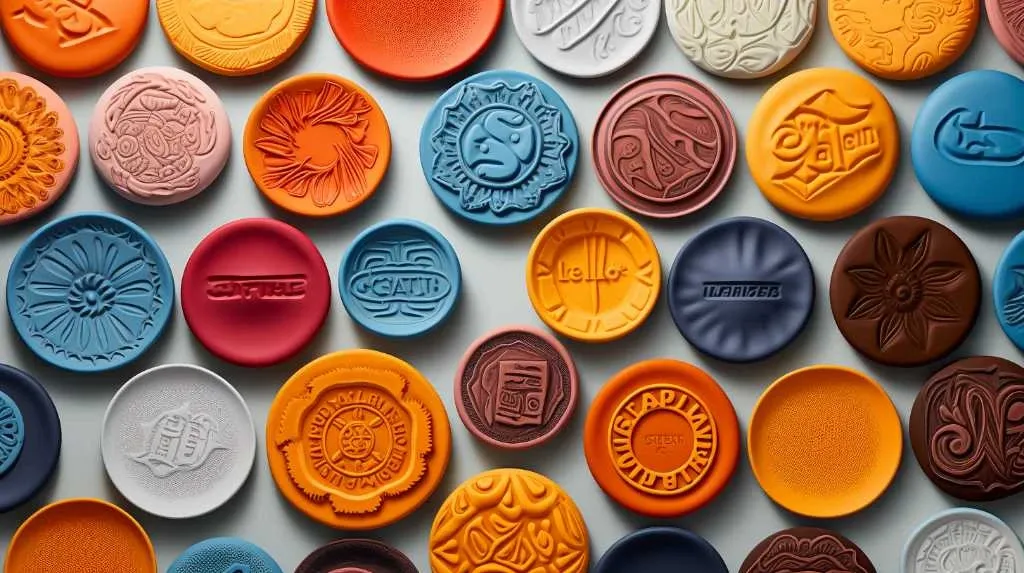
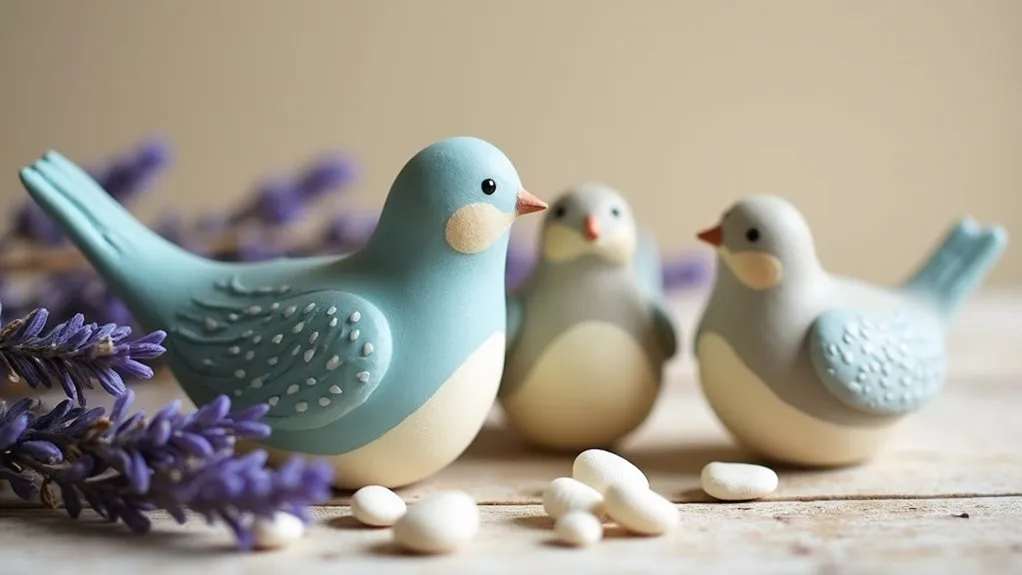
Creating charming bird sculptures from air dry clay allows crafters to produce delightful decorative pieces without specialized equipment or complex techniques. These versatile ornaments can enhance any room’s decor, from mantels to windowsills, bringing a touch of nature indoors.
The process takes approximately one hour to complete the sculpting phase, followed by a 24-48 hour drying period. Once dried, these clay birds can be painted and sealed to achieve a professional finish that captures the beauty and character of our feathered friends.
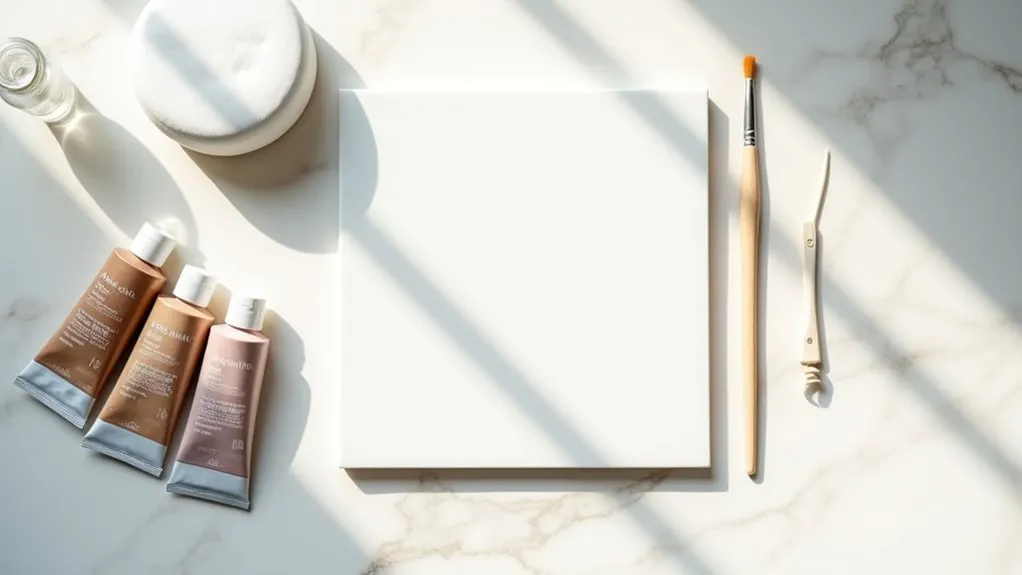
- Air dry clay (8 oz / 225g)
- Wooden skewer or toothpick
- Paint brush (1-inch / 25mm width)
- Acrylic paint (2 oz / 60ml)
- Clear acrylic sealer (4 oz / 120ml)
Divide the clay into two portions: 75% for the body and 25% for the head. Shape the larger portion into an oval, tapering one end to create a tail. Form the smaller portion into a rounded head and attach it to the body by scoring both surfaces with a skewer and pressing gently.
Add texture by creating wing patterns with the skewer, then form small clay balls for eyes and a triangular beak. Allow the sculpture to dry completely before painting with your chosen colors and finishing with a protective sealer.
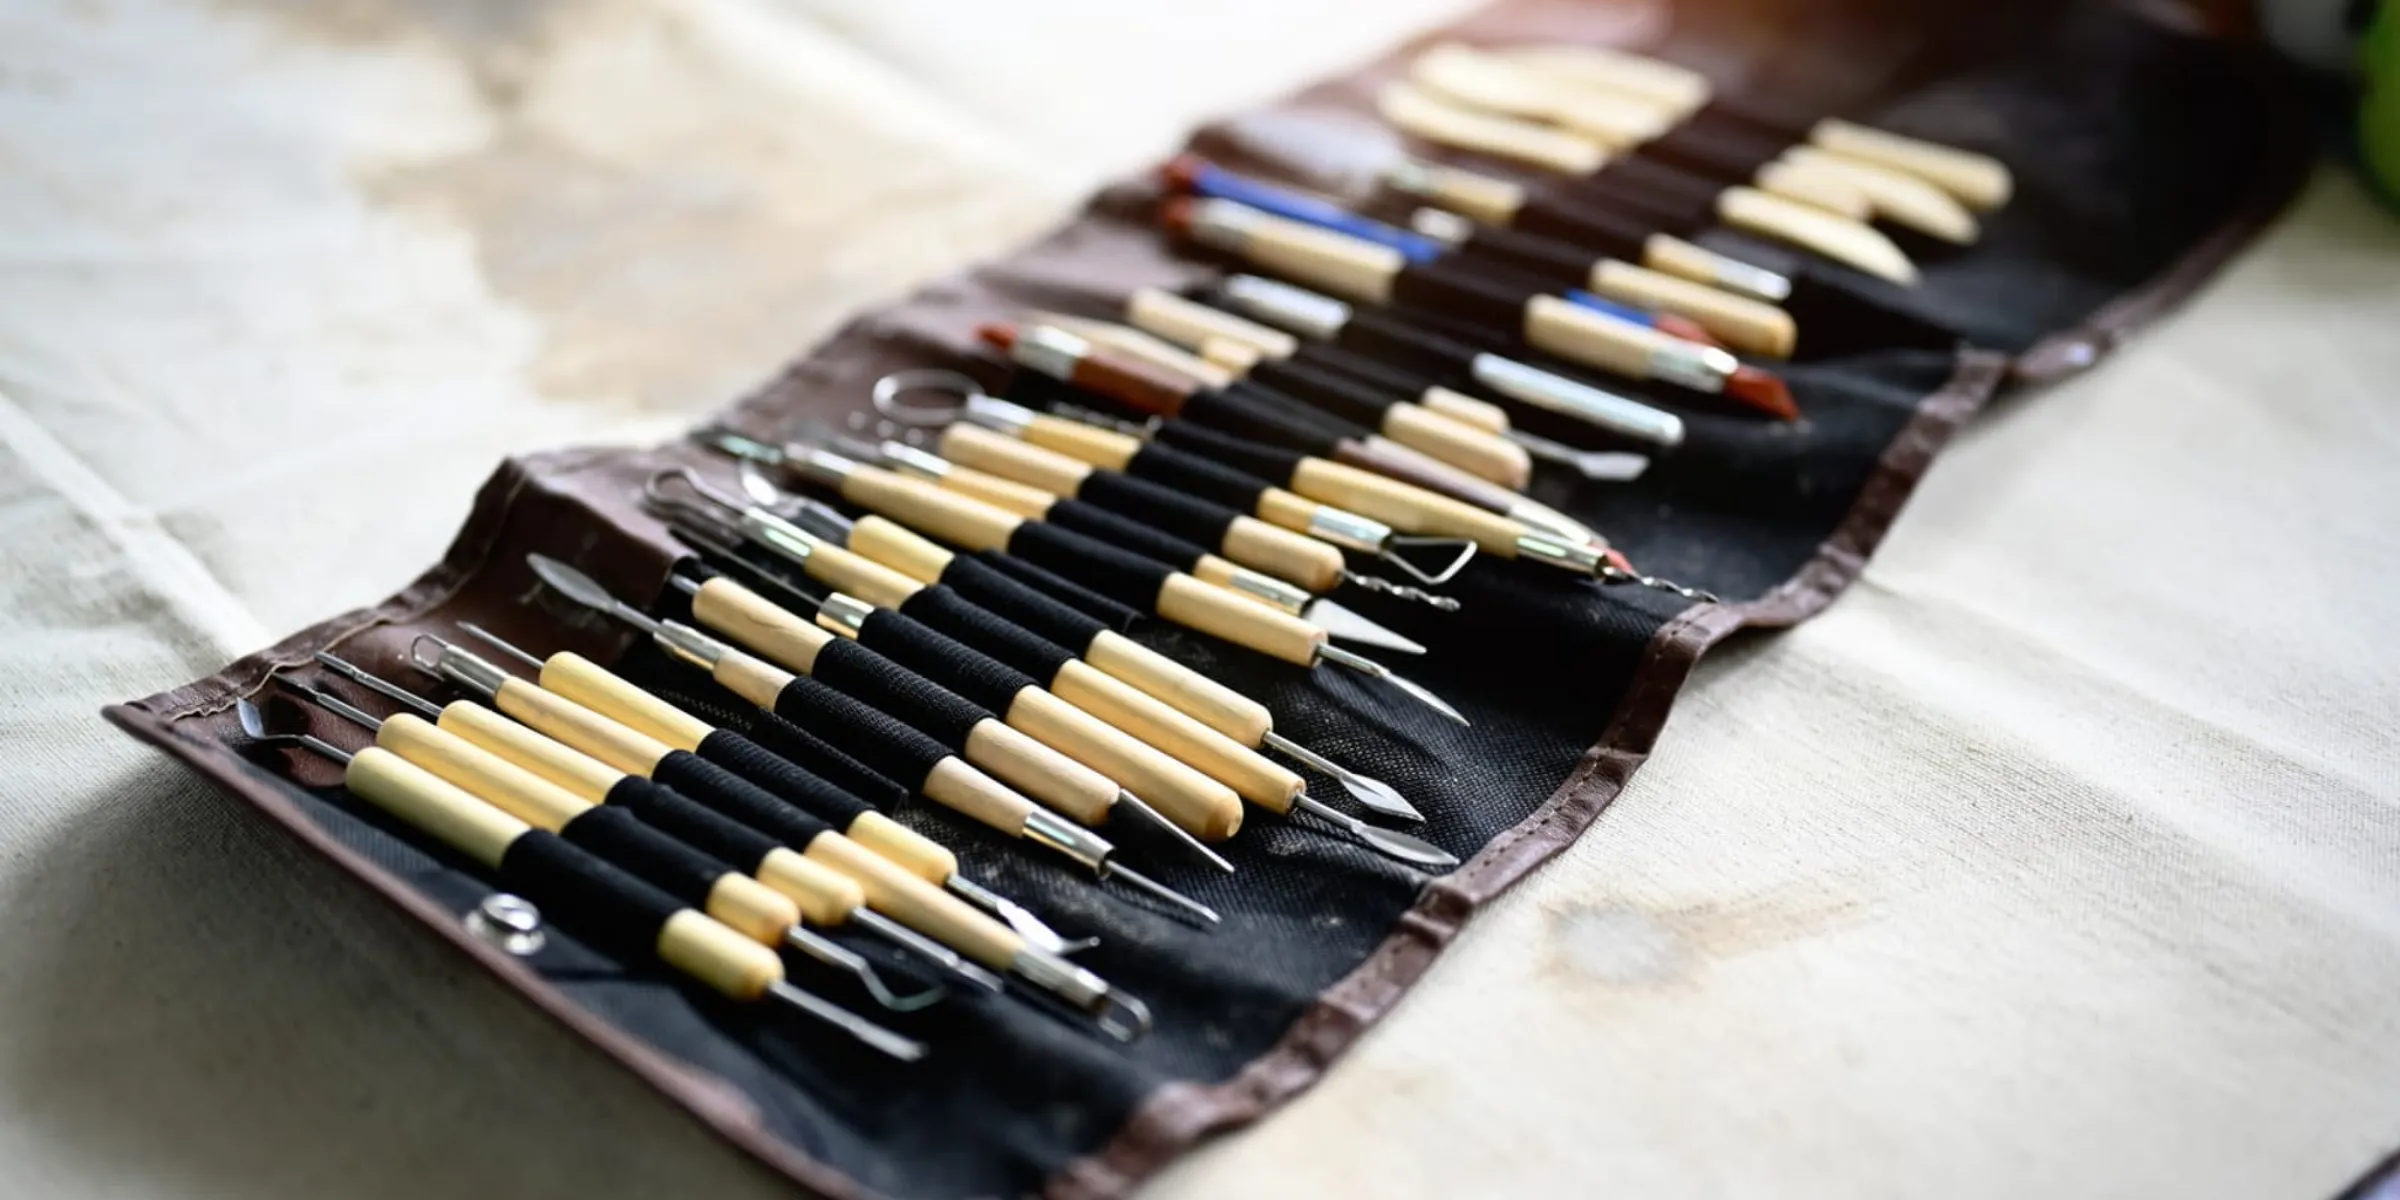
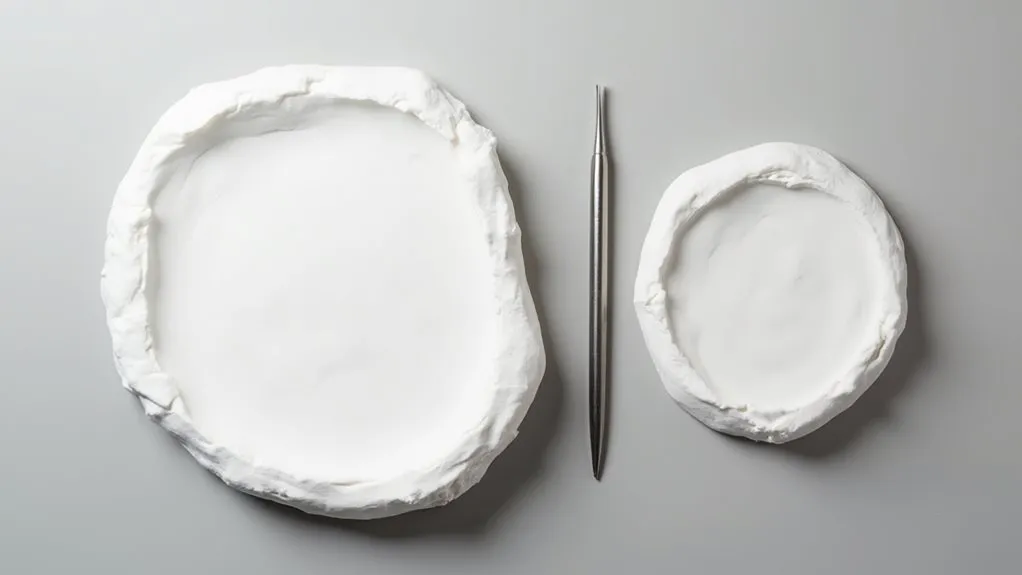
Keep your work surface clean and non-porous, using a plastic mat or ceramic tile as your base. Maintain slightly damp hands while working with the clay, but avoid excess water which can weaken the structure.
Work in a well-ventilated area away from direct sunlight or heat sources that could cause uneven drying. If you notice any cracks forming during the drying process, create a slip mixture using clay and water to fill them before proceeding with paint application.
Project Steps
You’ll want to begin by setting up your workspace with all necessary supplies, including your air dry clay, tools, and a clean work surface.
Next, you’ll divide your clay into two main portions – a larger piece for the body and a smaller piece for the head – and shape the body portion into an elongated oval with a tapered end for the tail.
Finally, you’ll shape the head into a round form, attach it to the body using scoring techniques, and add essential details like wings, eyes, and a beak using your wooden skewer.
Step 1. Prepare Workspace With Supplies
A successful clay bird project begins with a properly organized workspace and readily accessible materials.
You’ll need to cover your work surface with a non-porous mat or ceramic tile, then arrange your supplies within easy reach: air dry clay, wooden skewer, paintbrush, acrylic paint, and clear sealer.
Keep a small bowl of water nearby to dampen your hands as needed while working with the clay.
Before you begin shaping your bird, ensure you’ve measured out the correct amount of clay (8 oz) and separated your tools into distinct work zones: clay handling area, texturing tools, and painting supplies.
Having everything prepared in advance will help you maintain a smooth workflow and prevent the clay from drying out while you search for materials.
Step 2. Divide Clay Into Portions
With your workspace properly organized, begin the hands-on portion of your clay bird project by dividing your measured clay into two distinct sections.
Take your 8-ounce block of air dry clay and separate it into a larger portion that’s roughly 75% of the total (6 ounces) for the bird’s body, and a smaller portion of 25% (2 ounces) for the head and details.
Before splitting the clay, knead it thoroughly in your hands to ensure it’s pliable and free of air bubbles that could cause cracks later.
Once you’ve warmed up the clay, make a clean cut using your fingers or a plastic knife to create your two portions.
Set aside the smaller piece while you begin working with the larger section, keeping both pieces slightly damp under a loose cloth.
Step 3. Shape Body Into Oval
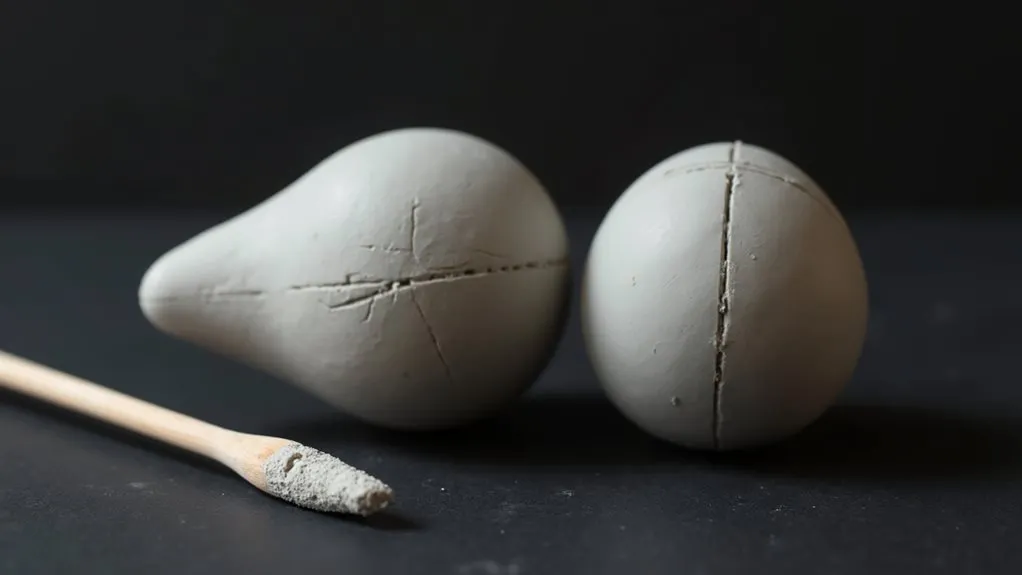
Taking the larger portion of clay, begin shaping it into an elongated oval that will form your bird’s distinctive body shape.
Work the clay between your palms using gentle, rolling motions until you’ve achieved a smooth, even surface. As you roll, apply slightly more pressure to one end to create a natural taper that’ll become your bird’s tail.
Once you’re satisfied with the basic oval shape, use your fingertips to refine the form by gently pinching and smoothing any uneven areas.
The body should be approximately 3 inches long and 1.5 inches at its widest point, though you can adjust these dimensions to suit your preference.
Remember to keep the bottom relatively flat so your bird will sit steadily once it’s complete.
Step 4. Shape and Attach Head
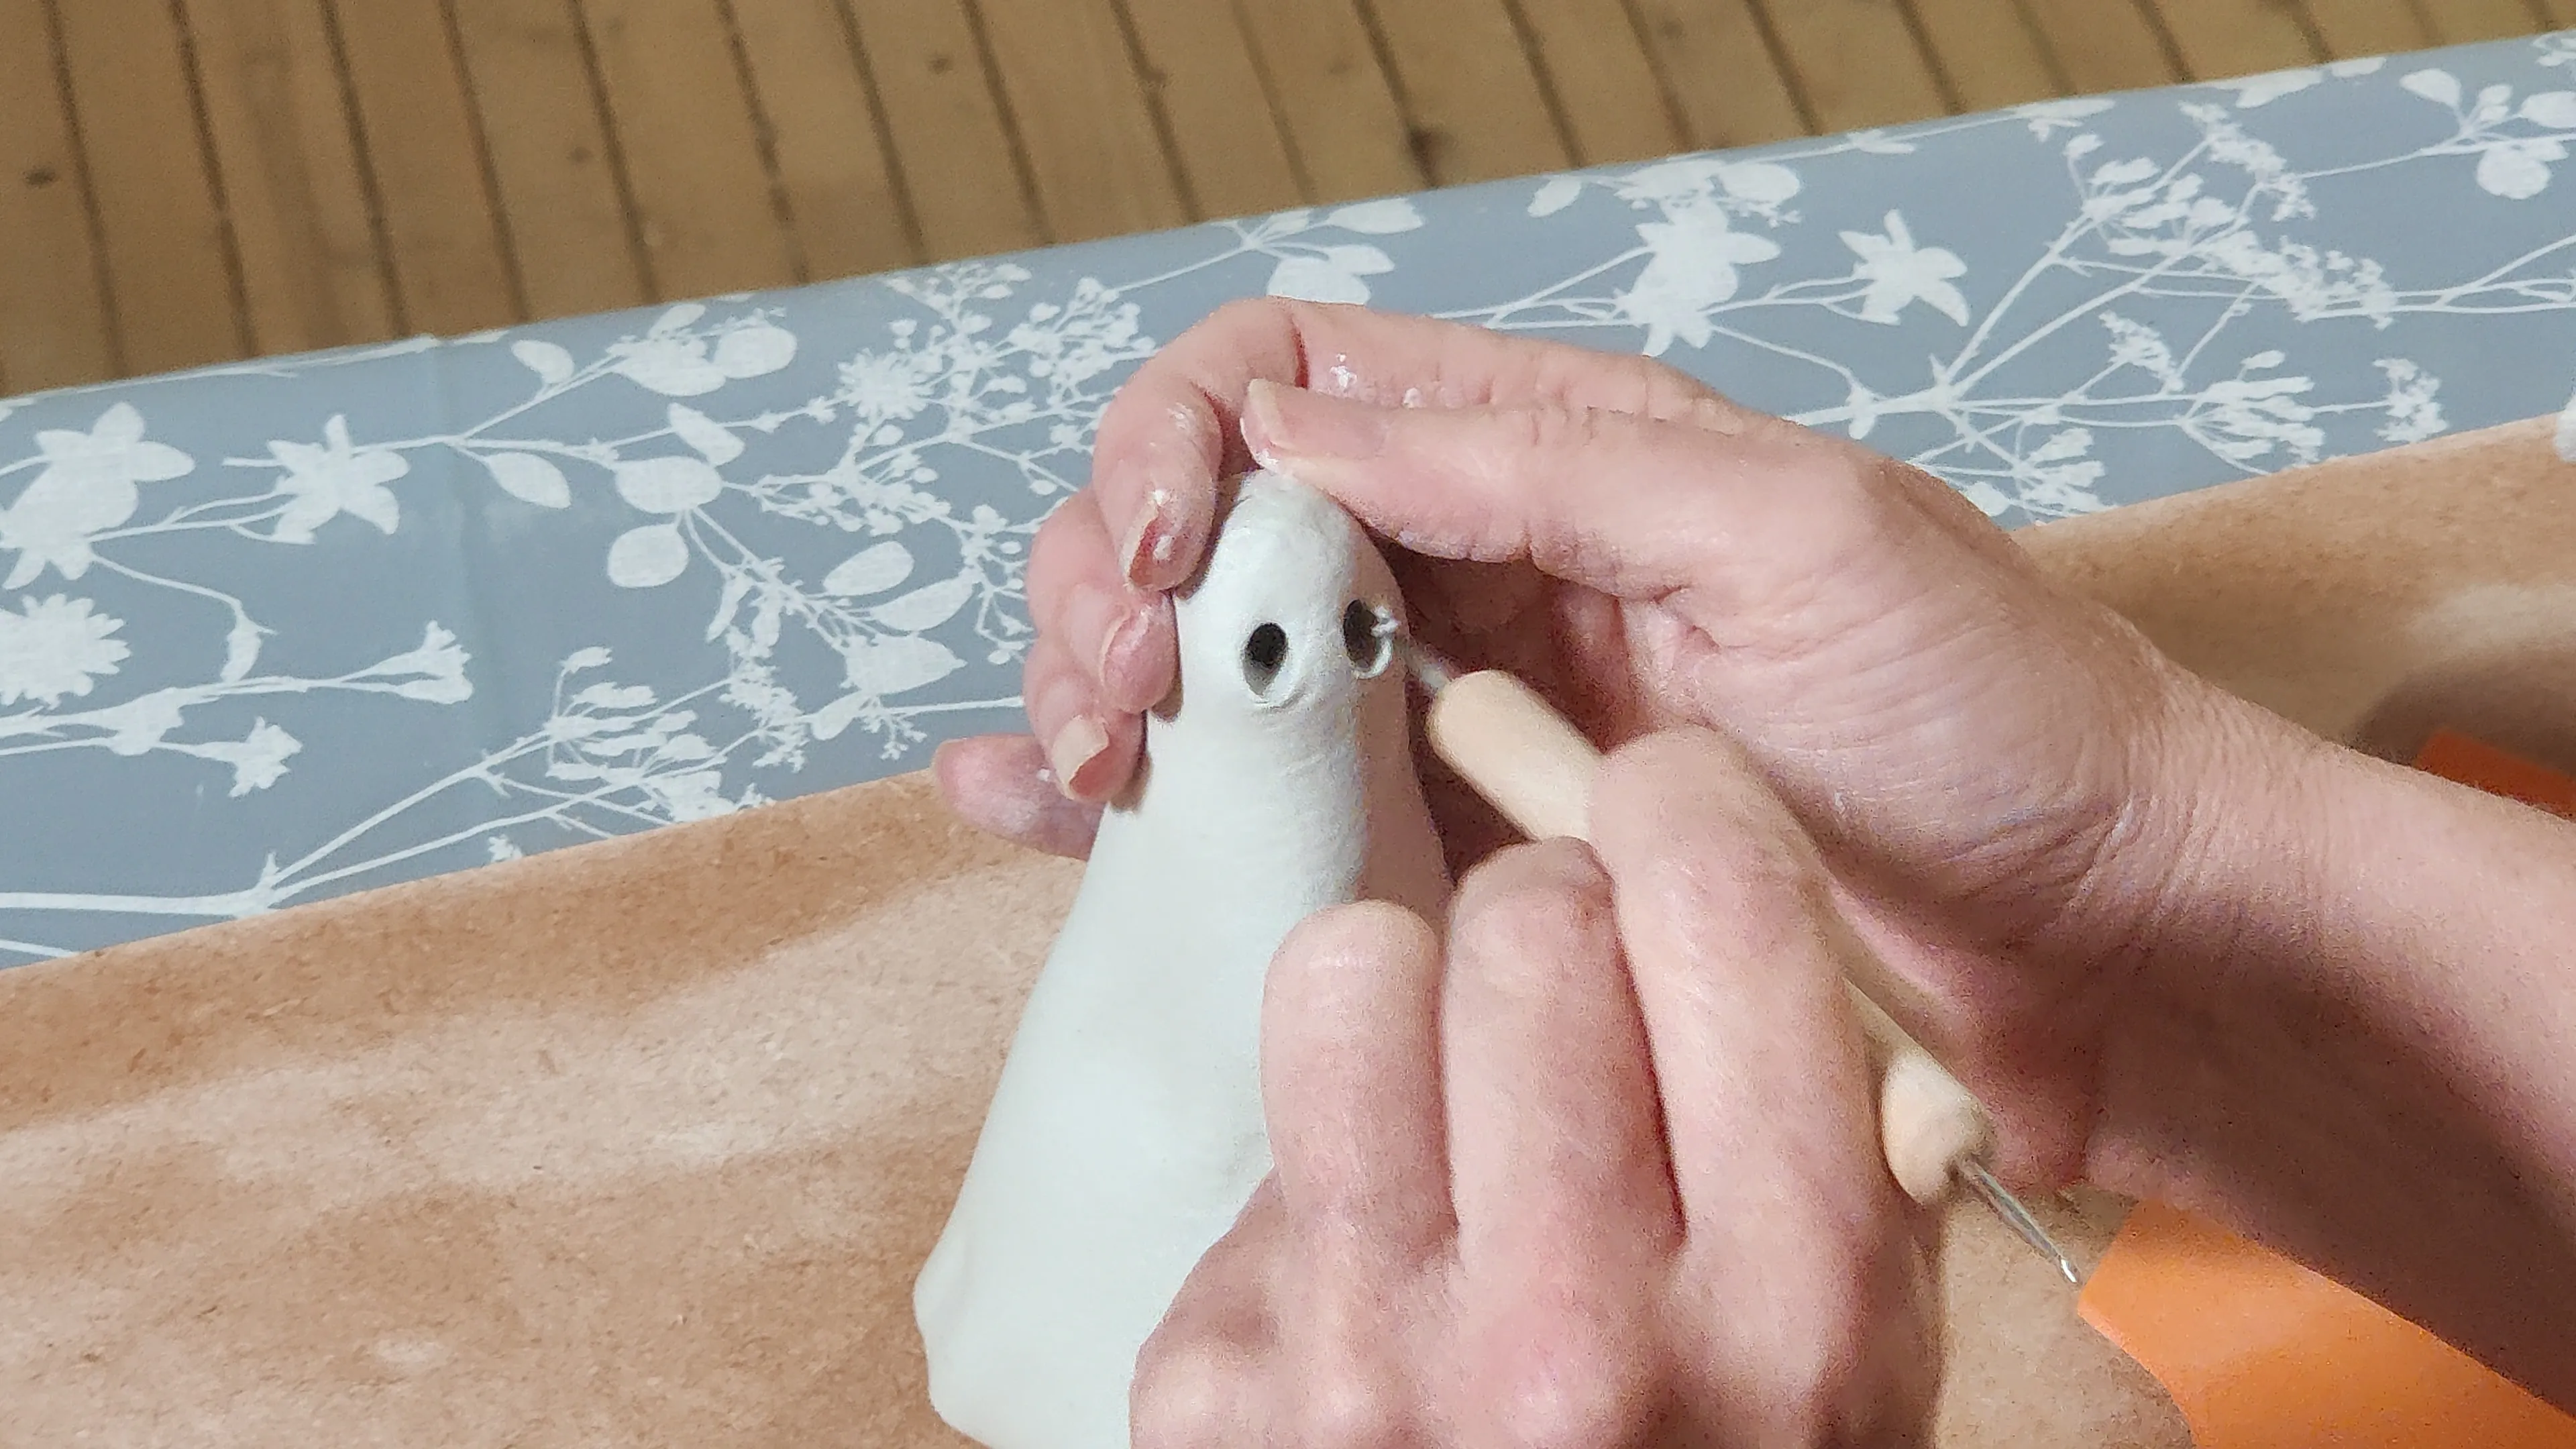
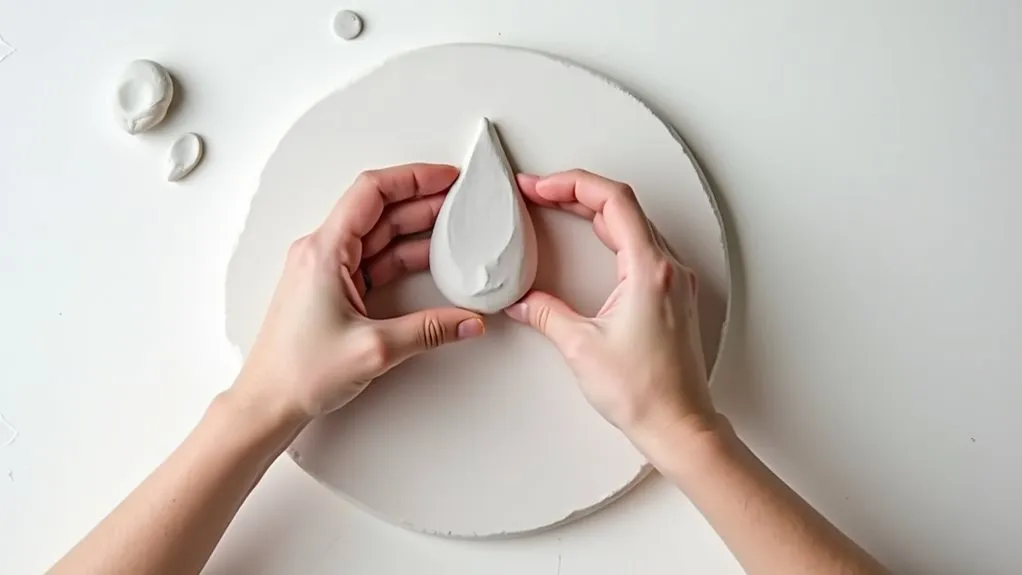
Roll the smaller portion of clay between your palms to create a perfectly round sphere for your bird’s head, aiming for a diameter roughly one-third the size of the body.
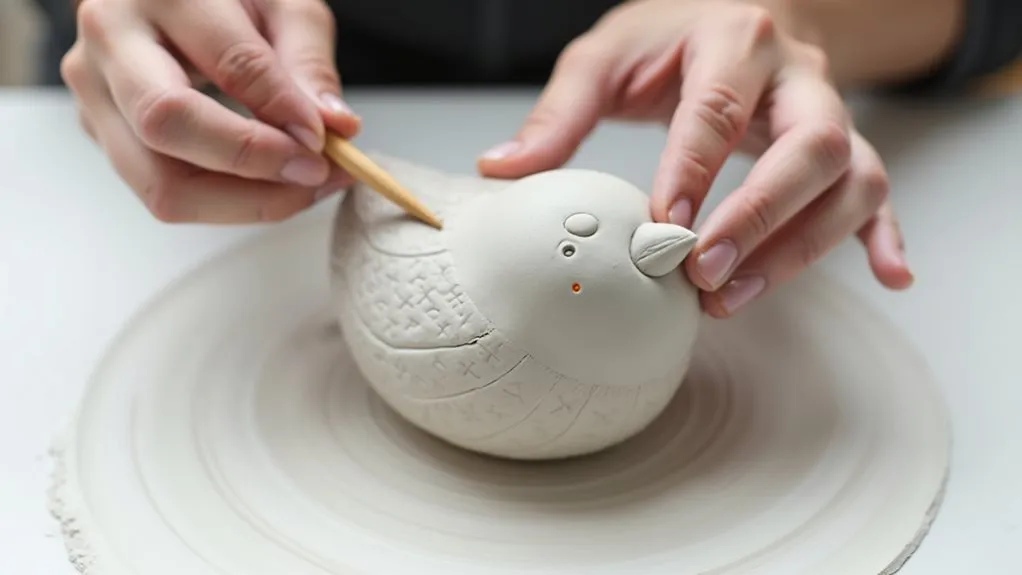
Before attaching the head to the body, you’ll need to score both surfaces where they’ll connect. Use your wooden skewer to make several crisscrossing lines on both the bottom of the head and the front of the body. This scoring creates texture that helps the pieces bond securely.
Once you’ve scored the surfaces, lightly dampen them with water using your fingertip, then press the head firmly against the body at a slight angle. Smooth the joint between the pieces with gentle strokes, blending the clay to create a natural-looking connection where the neck meets the body.
Step 5. Add Texture and Details
Once your bird’s basic form is complete, you’ll want to bring it to life by adding essential textural elements and fine details that capture its avian character.
Using your wooden skewer, carefully create feather patterns by making gentle, overlapping curved lines across the body and wings. Start from the tail and work your way forward, ensuring consistent pressure to maintain uniform depth.
Add texture to the bird’s breast by making small, vertical indentations that suggest downy feathers. Create two small spheres from clay for the eyes, pressing them gently into the head, and sculpt a tiny triangular beak.
Don’t forget to add delicate feet by rolling three thin clay coils for each foot, arranging them in a natural perching position, and using your skewer to create subtle toe impressions.
Final Thoughts
Creativity with air dry clay birds offers endless possibilities for personalization and artistic expression.
You’ll discover that each bird you create develops its own character through your unique artistic choices in shape, texture, and color. While mastering the basic techniques might take practice, you’ll soon find yourself experimenting with different poses, sizes, and decorative elements that reflect your personal style.
Remember that patience during the drying process is crucial for achieving the best results, and don’t be discouraged if your first attempts aren’t perfect.
You can always smooth out imperfections, add more details, or start fresh with a new piece. As you continue crafting these delightful sculptures, you’ll develop your own signature approach to creating these charming decorative elements for your home.