If you’re looking to create a functional and artistic piece using air dry clay, an ashtray project offers the perfect introduction to handbuilding techniques. You’ll discover how simple tools and basic methods can transform a humble ball of clay into a personalized creation that reflects your style. While the process might seem straightforward, mastering the essential skills of rolling, pinching, and texturing will open doors to more complex clay projects you’ll want to explore.
Key Takeaways
- Air dry clay ashtrays require basic materials: 8 oz clay, rolling pin, knife, water, and sandpaper.
- Form a clay sphere, roll into a disc, create indentation with thumb, and add cigarette grooves along rim.
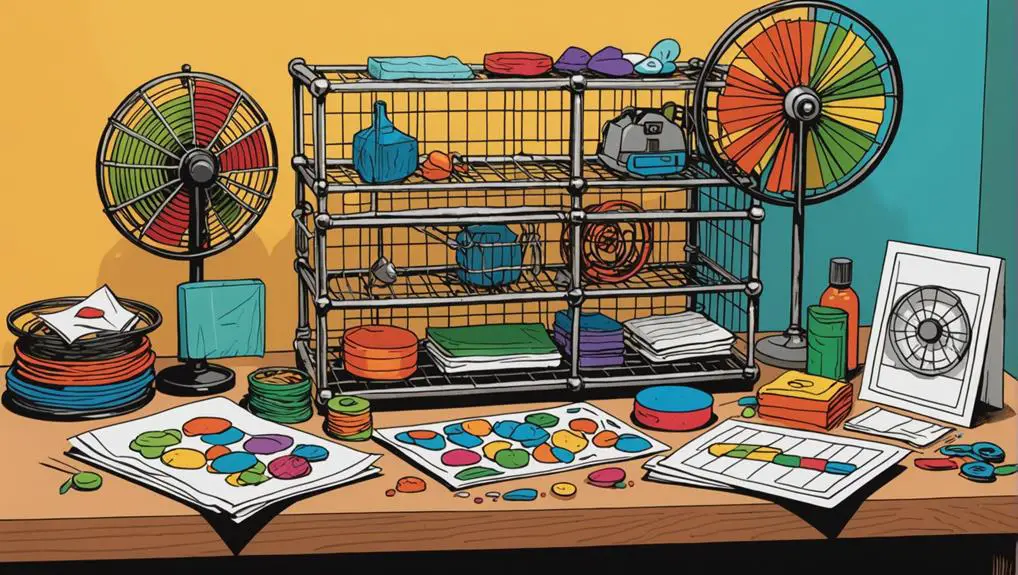
- Allow ashtray to dry naturally for several days without kiln or special equipment.
- Practice proper clay conditioning and even wall thickness for best results and durability.
- Project serves as an ideal introduction to handbuilding with clay and develops essential clay-working skills.
History
Since ancient civilizations first began crafting with clay, artisans have created vessels for both practical and ceremonial purposes, with ashtrays emerging as a distinct form during the widespread adoption of tobacco use in the 17th century.
You’ll find that handmade ashtrays gained significant popularity during the mid-20th century, when smoking became a mainstream social activity.
Artists and craftspeople began experimenting with various designs, from simple circular dishes to elaborate sculptural pieces.
The rise of pottery studios and ceramics classes in the 1960s and 1970s made creating ashtrays a common beginner’s project, as it taught essential hand-building techniques while producing a functional item.
Today, even as smoking rates decline, you’ll notice that handmade ashtrays continue to hold appeal as both decorative objects and practical vessels, with air dry clay offering an accessible medium for modern crafters.
Project
Creating an air dry clay ashtray is an excellent introductory project for those new to handbuilding with clay. The simple design allows crafters to develop essential clay-working skills while producing a functional piece that reflects their personal artistic style.
The beauty of this project lies in its accessibility and straightforwardness, requiring only basic materials and no specialized equipment. Through the fundamental pinch-pot technique, crafters can complete this project in a single session, letting nature handle the drying process over the following days.
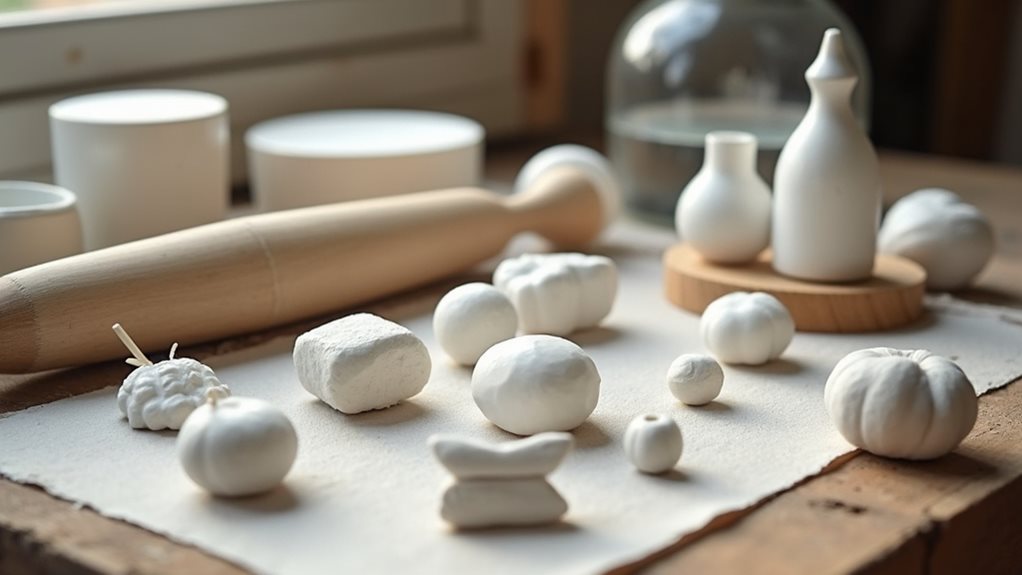
Materials Needed:
- Air dry clay (8 oz / 225g)
- Rolling pin or smooth glass bottle (6-8 inches / 15-20 cm)
- Sharp knife or clay cutting tool
- Small bowl of water
- Sandpaper (220 grit)
Start by kneading the clay until it becomes soft and workable, then form it into a ball. Roll the clay to approximately 1/2 inch (1.3 cm) thickness and create a shallow depression in the center using your thumb. Gradually work the clay outward while rotating the piece, pinching upward to form a rim around the edge.
Smooth all surfaces with slightly dampened fingers, and create cigarette rests by making small indentations along the rim. Allow the piece to dry completely for 24-48 hours.
When working with air dry clay, maintain a clean, non-porous work surface and keep your hands slightly damp to prevent the clay from sticking. Avoid using excess water when smoothing the surface, as this can compromise the structural integrity of the piece.
Once fully dry, sand any rough spots with fine-grit sandpaper, and consider applying a clear, non-toxic sealant to enhance durability and water resistance. Store unused clay in an airtight container to prevent premature drying.
Project Steps
You’ll start by working the clay in your hands until it becomes soft and pliable before shaping it into a round ball and rolling it into a flat disc about half an inch thick.
Next, press your thumb into the center of the disc and gradually work outward to create a bowl shape, pinching and smoothing the edges as you go.
Finally, you’ll add the finishing touch by making shallow grooves along the rim where cigarettes can rest securely.
Step 1. Condition Soft, Pliable Clay
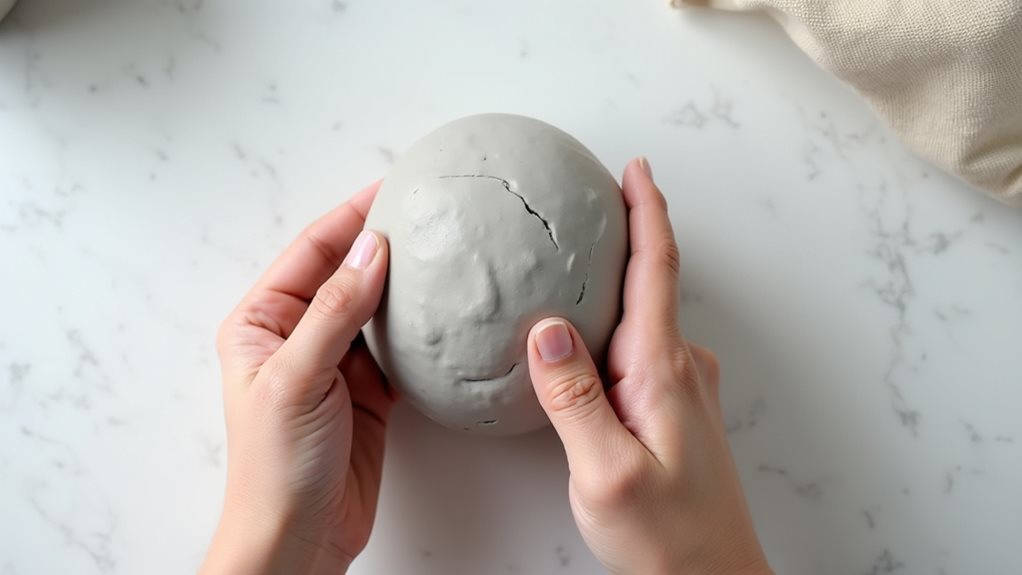
Before shaping your ashtray, proper clay conditioning ensures optimal workability and prevents unwanted cracks or deformities in your final piece.
Begin by taking your 8-ounce portion of air dry clay and kneading it firmly between your palms for 3-5 minutes. You’ll want to press, fold, and roll the clay repeatedly until it feels consistently smooth and pliable throughout.
If you notice the clay is too stiff, warm it gradually with the heat from your hands while working it. Should you encounter any hard spots or air pockets, continue kneading until they’re fully incorporated.
Once your clay feels uniformly soft and maintains its shape when molded, you’ve achieved the right consistency for crafting your ashtray. The clay shouldn’t stick to your hands or feel crumbly when you’re done conditioning.
Step 2. Form Round Clay Shape
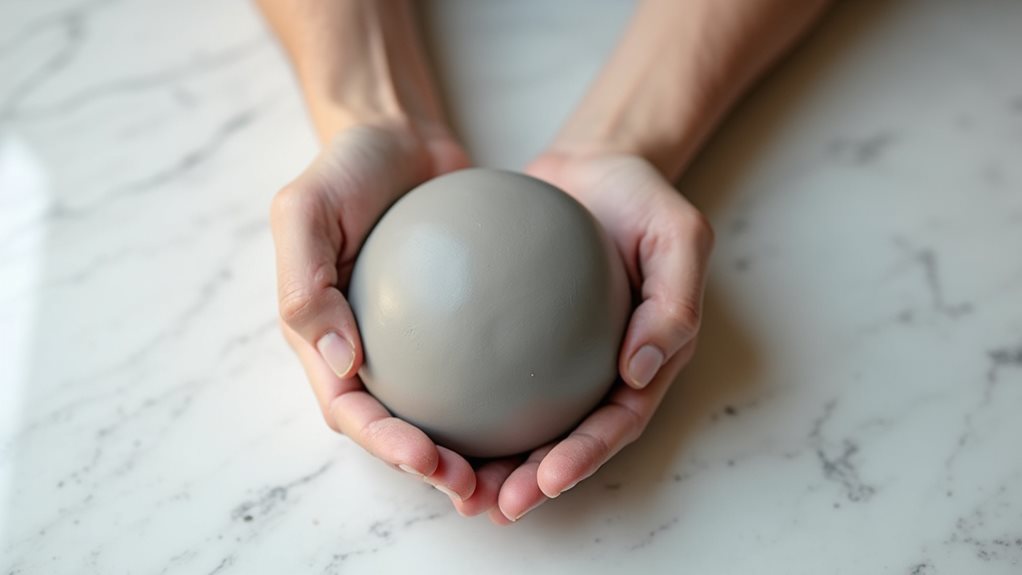
The properly conditioned clay now requires shaping into a uniform sphere to establish the ashtray’s foundation.
Place the clay in your dominant hand and begin rolling it between your palms using firm, circular motions. You’ll notice the clay becoming more spherical with each rotation, but don’t rush this process.
Continue rolling until you’ve achieved a smooth, round ball approximately 3 inches in diameter. If you spot any cracks or irregularities, apply gentle pressure to those areas while maintaining the rolling motion.
You’ll know you’ve reached the right shape when the clay feels evenly distributed and looks symmetrical from all angles. This well-formed sphere will ensure your ashtray has consistent thickness and stability when you begin creating the bowl shape in the next step.
Step 3. Roll Into Flat Disc
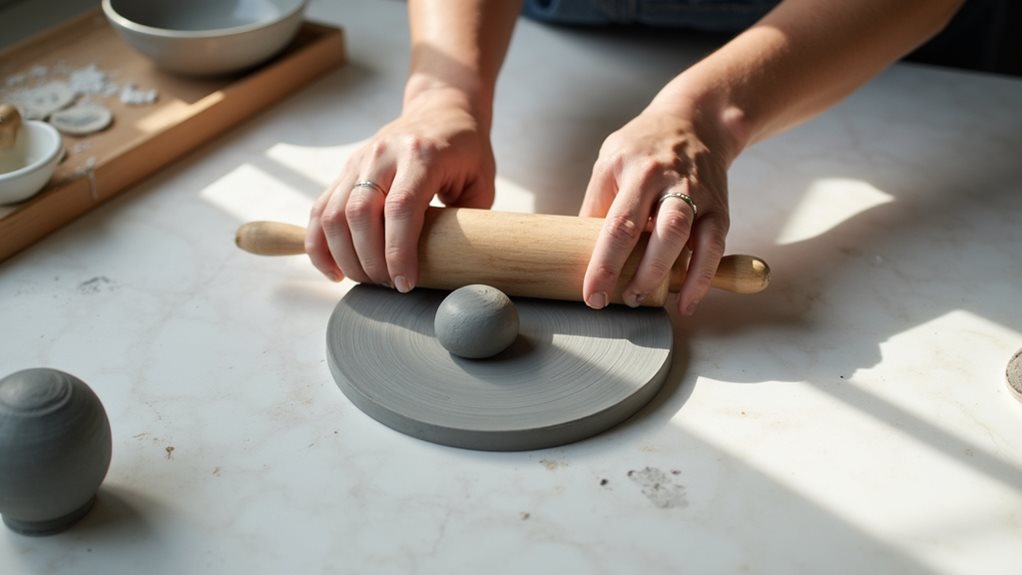
Once the clay ball has achieved its perfect spherical shape, pressing down firmly with a rolling pin transforms it into a uniform disc roughly half an inch thick.
Place your clay on a smooth, non-porous surface and position the rolling pin at the center of the ball. Apply steady, even pressure as you roll outward in all directions.
You’ll want to rotate the clay occasionally to ensure it’s spreading evenly and maintaining a consistent thickness throughout.
If the clay starts sticking to your rolling pin, dust the surface lightly with cornstarch or place a piece of parchment paper between the clay and rolling pin.
Keep rolling until you’ve created a circle approximately 6 inches in diameter, checking the thickness periodically with your fingers to maintain that crucial half-inch depth.
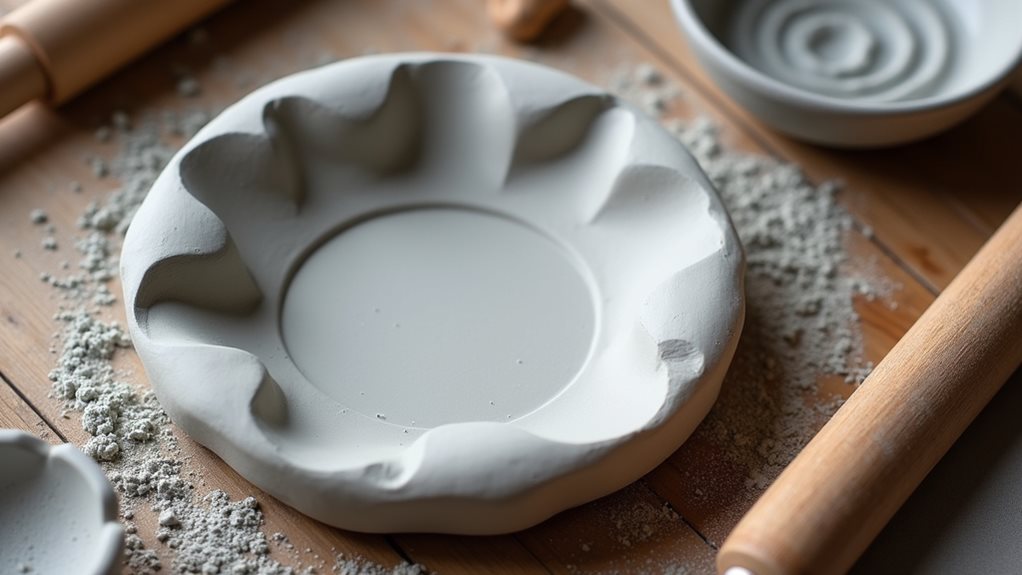
Step 4. Create Bowl Indentation Center
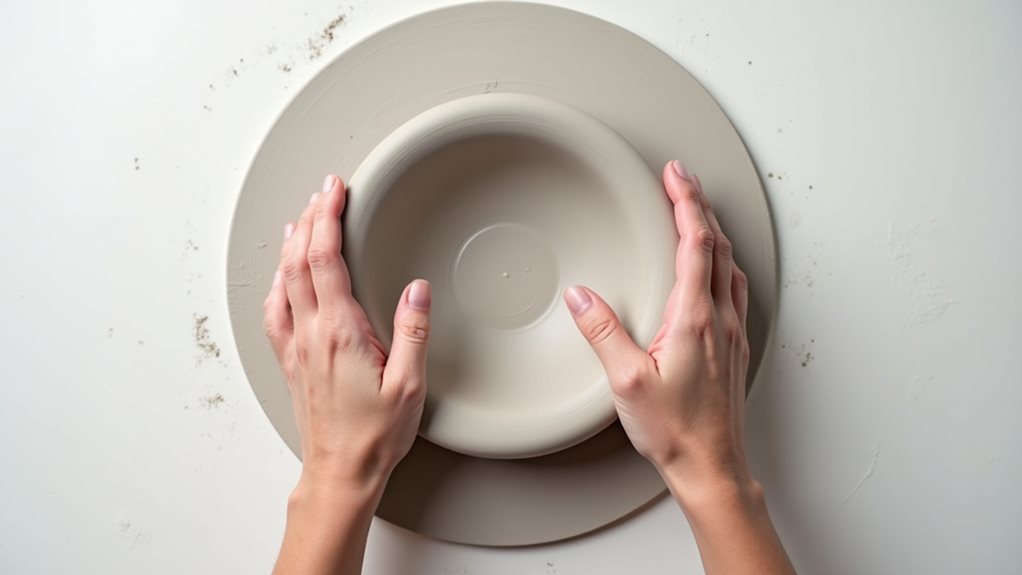
Making your ashtray’s central depression starts with pressing your thumb firmly into the middle of your flattened clay disc, applying steady pressure while keeping your thumb perpendicular to the surface.
As you create this initial indentation, begin rotating the clay with your free hand while maintaining consistent pressure with your thumb.
Continue working the depression wider and deeper, using your thumb and index finger to pinch and shape the walls. You’ll want to achieve a depth of about 1 inch in the center, gradually becoming shallower as you work toward the edges.
Keep your movements slow and deliberate, ensuring the thickness remains even throughout. If you notice any thin spots developing, gently push the surrounding clay toward that area to reinforce it.
The bowl’s shape should form a natural, smooth curve from the center to the rim.
Step 5. Add Cigarette Resting Grooves
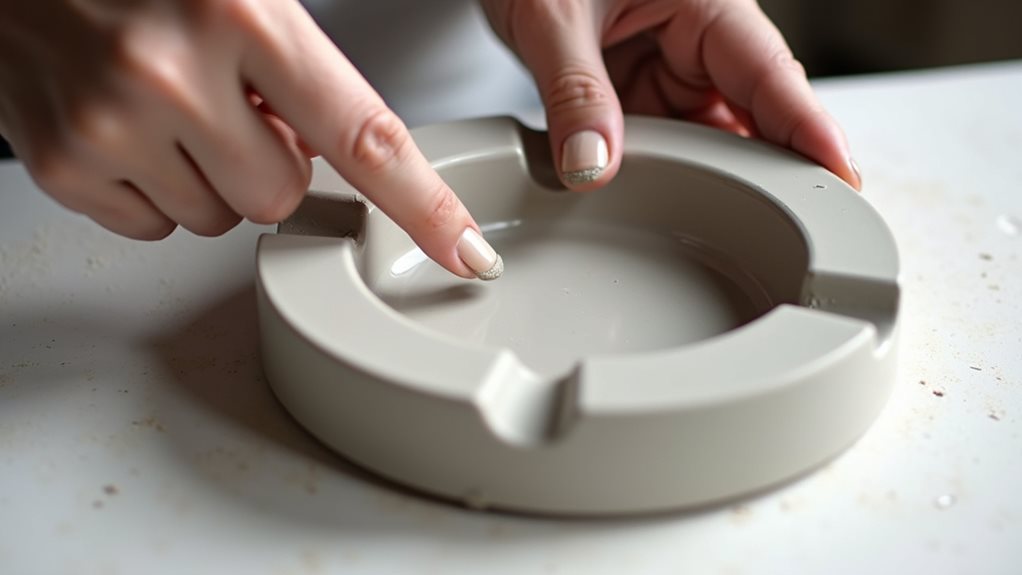
With your bowl’s central depression complete, strategic placement of cigarette resting grooves will enhance both function and visual appeal.
Using your finger or a clay tool, create 3-4 evenly spaced indentations along the rim’s outer edge, each about 1/4 inch (6mm) deep and 1/2 inch (13mm) wide. These grooves should angle slightly downward toward the bowl’s center to prevent cigarettes from sliding off.
Test the depth of each groove with a pencil to ensure it’s sufficient to hold a cigarette securely. You’ll want to smooth the edges of these indentations with slightly dampened fingers, ensuring there aren’t any rough spots that could catch or snag.
If you’re making multiple grooves, rotate your piece as you work to maintain consistent spacing and depth throughout the design.
Final Thoughts
By creating your own handmade air dry clay ashtray, you’ll discover a rewarding blend of artistic expression and functional craftsmanship. Each piece you make will carry your unique fingerprint, reflecting your personal style through its organic curves and thoughtful details.
Remember that practice will improve your technique, so don’t be discouraged if your first attempt isn’t perfect. You can experiment with different rim heights, bowl depths, and groove patterns to find what works best for you.
The skills you’ve learned here – from proper clay conditioning to creating even wall thickness – will serve you well in future clay projects. Consider documenting your process with photos, noting what techniques worked best, and sharing your experience with other crafters who might be inspired by your creative journey.