Just as ancient civilizations used clay vessels to store their treasures, you’ll discover that air dry alphabet containers offer a modern twist on this timeless craft. You’ll find these customizable organizers blend form and function, transforming ordinary storage into personalized art pieces for your space. Whether you’re organizing office supplies or creating unique gifts, these clay letters combine practical storage with creative expression – and you’re about to learn how simple they are to make.
Key Takeaways
- Air dry clay alphabet containers combine decorative letters with functional storage space for small items like jewelry or office supplies.
- Basic materials needed include air dry clay, rolling pin, cutting tool, small bowl template, and sandpaper.
- Letters are formed by attaching uniform clay strips to a circular base, requiring 1/4-inch thickness throughout construction.
- Projects dry naturally without kiln firing, making them accessible for beginners and suitable for home crafting.
- Finished containers can be customized through size variations, letter styles, and decorative elements for personalized organization solutions.
History
While clay containers have been crafted for thousands of years, the modern trend of creating alphabet-shaped vessels emerged during the mid-20th century arts and crafts movement.
You’ll find that this style gained popularity alongside the rise of modernist design, when artists began experimenting with typography as decorative elements in home décor.
During the 1960s and ’70s, you’d often see these containers in creative spaces and classrooms, where they served both practical and educational purposes.
The introduction of air dry clay in the 1980s made this craft more accessible to hobbyists, as you didn’t need a kiln or specialized equipment.
Today’s alphabet containers reflect this rich heritage while incorporating contemporary minimalist aesthetics, and you’ll notice their influence in both handmade marketplaces and major retail collections.
Project
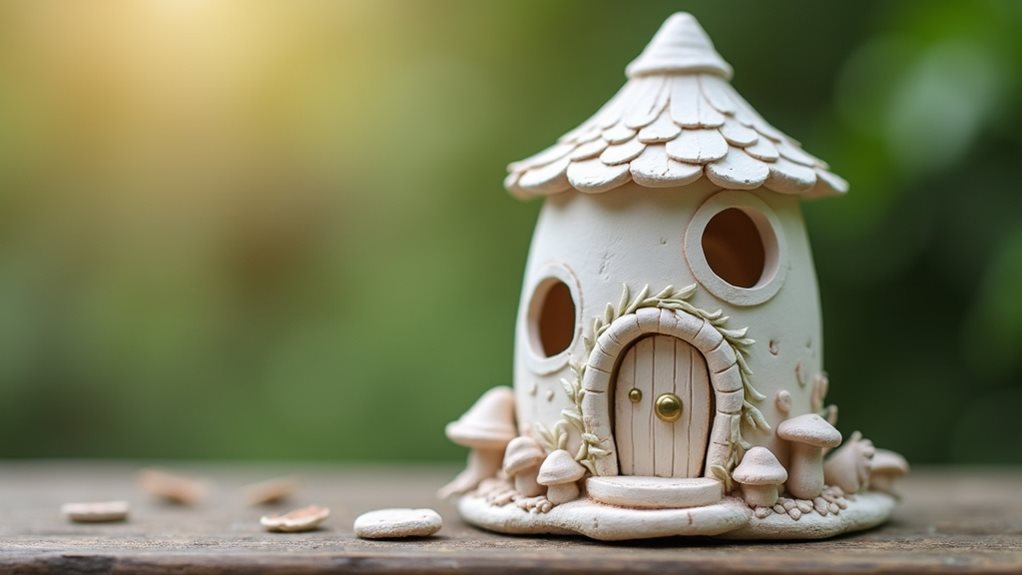
Creating personalized alphabet containers from air dry clay allows you to combine form and function in a stylish storage solution.
These modern, minimalist containers can display your favorite letters or initials while holding small items like jewelry, office supplies, or other treasures.
This beginner-friendly craft project requires basic hand-building techniques and can be completed in a few hours, plus drying time. The versatile design can be customized through size, letter choice, and finishing options, making each piece uniquely yours while maintaining a clean, contemporary aesthetic.
Materials:
- Air dry clay (1 pound/450g)
- Rolling pin (6-8 inches/15-20cm)
- Sharp knife or clay cutting tool
- Small bowl (4-5 inches/10-12cm diameter)
- Sandpaper (220 grit)
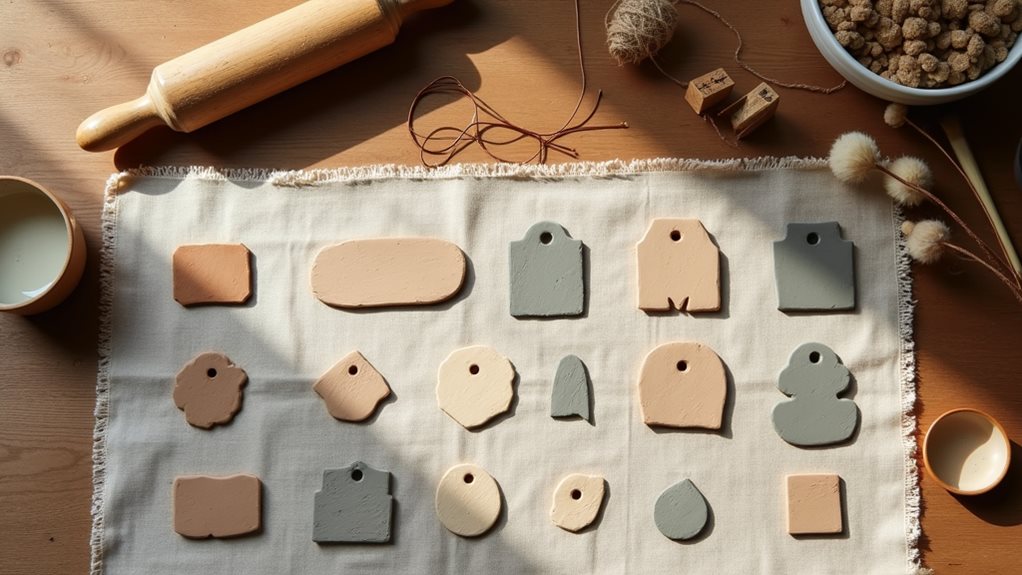
Roll the clay to 1/4 inch (6mm) thickness using the rolling pin. Cut a circle for the base using the bowl as a template, then cut strips for the walls.
Score both the base edge and strips where they’ll connect, then build up the letter shape walls to approximately 2 inches (5cm) height. Press firmly to join pieces, smoothing connections with your fingers. Ensure the letter shape is well-balanced and can stand stably. Allow the piece to dry completely for 24-48 hours.
Work in a moderate temperature environment and keep unused clay tightly wrapped to prevent premature drying. Smooth edges while the clay is still slightly damp, and avoid handling the piece during initial drying.
For best results, work on a non-stick surface and use minimal water when joining pieces. If cracks appear during drying, they can be filled with a clay slip (mixture of clay and water) while still damp.
Consider sealing the finished piece with clear primer before painting for better durability.
Project Steps
You’ll begin by rolling your clay to a uniform 1/4-inch thickness and cutting a precise circle for the base using your small bowl as a template.
Next, carefully cut strips for the walls and form your chosen letter shape, attaching them securely to the base while maintaining clean lines and angles.
Once you’ve shaped your container, let it dry completely before sanding the surfaces smooth with fine-grit sandpaper, paying special attention to any rough spots or seams.
Step 1. Roll Clay to Thickness
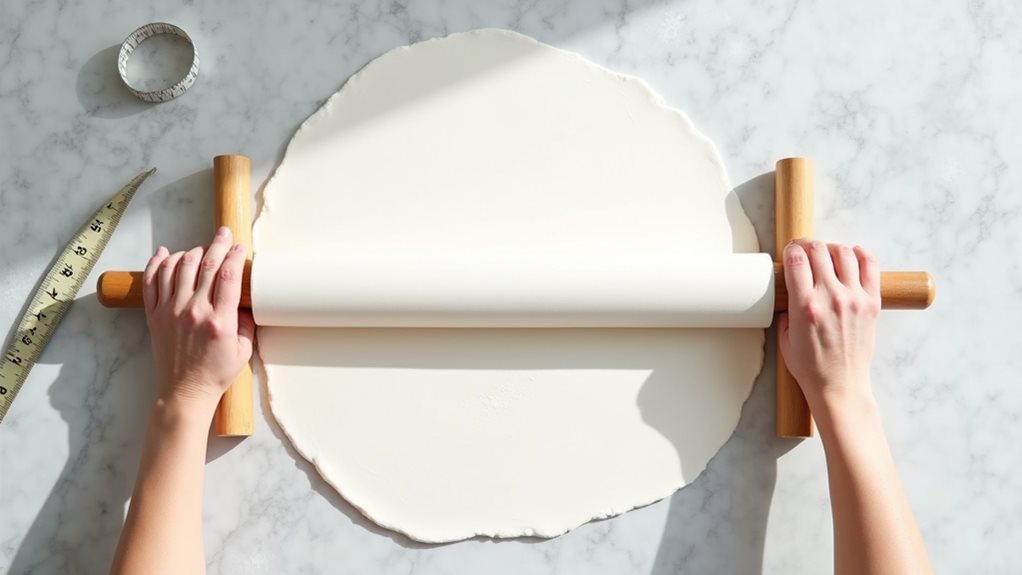
Begin this crucial step by placing your air dry clay on a smooth, clean work surface.
Using your rolling pin, press down firmly and roll the clay outward from the center, maintaining even pressure to achieve a consistent thickness of approximately 1/4 inch. You’ll want to work methodically, turning the clay periodically to ensure uniform distribution.
Check your progress by gently pressing the clay with your fingertip – it should feel equally firm across the entire surface. If you notice any uneven spots, focus your rolling on those areas until they match the surrounding thickness.
Don’t worry if your first attempts aren’t perfect; you can always gather the clay and start again. Remember to keep your rolling pin slightly dusted with cornstarch or clay powder to prevent sticking.
Step 2. Cut Base Circle Shape
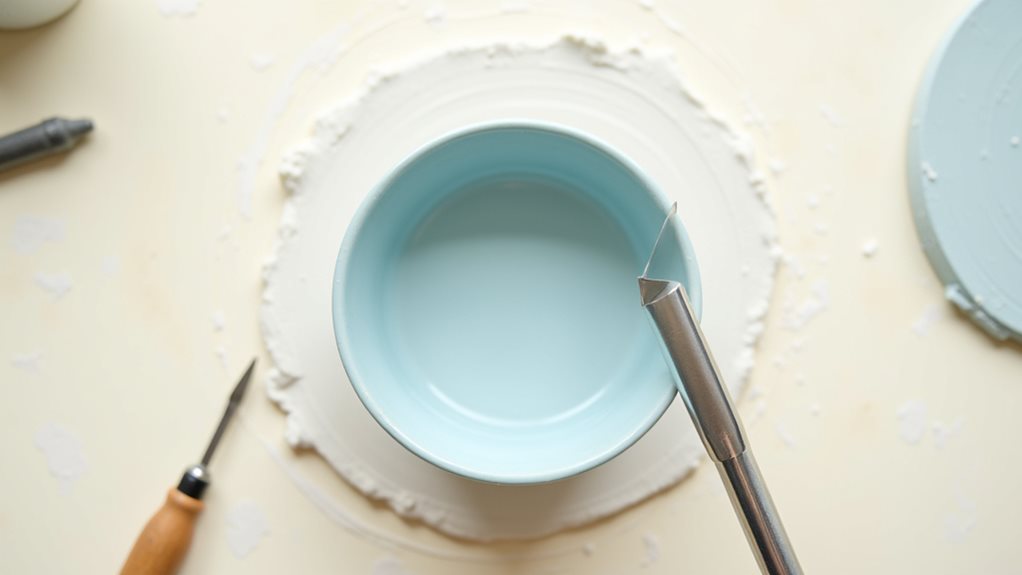
Once your clay reaches the ideal thickness, place your small bowl upside down on the rolled-out surface.
Using your sharp knife or clay cutting tool, carefully trace around the bowl’s circumference, maintaining steady pressure to ensure a clean cut. You’ll want to keep your cutting tool perpendicular to the work surface for precise edges.
After completing your circle, gently lift the excess clay away from your cut shape. If you notice any rough edges or imperfections along the circle’s perimeter, smooth them with your fingertip while the clay is still pliable.
This base circle will serve as the foundation for your letter container, so it’s essential to achieve a clean, even edge that will support your vertical walls securely.
Step 3. Cut Wall Strips Precisely
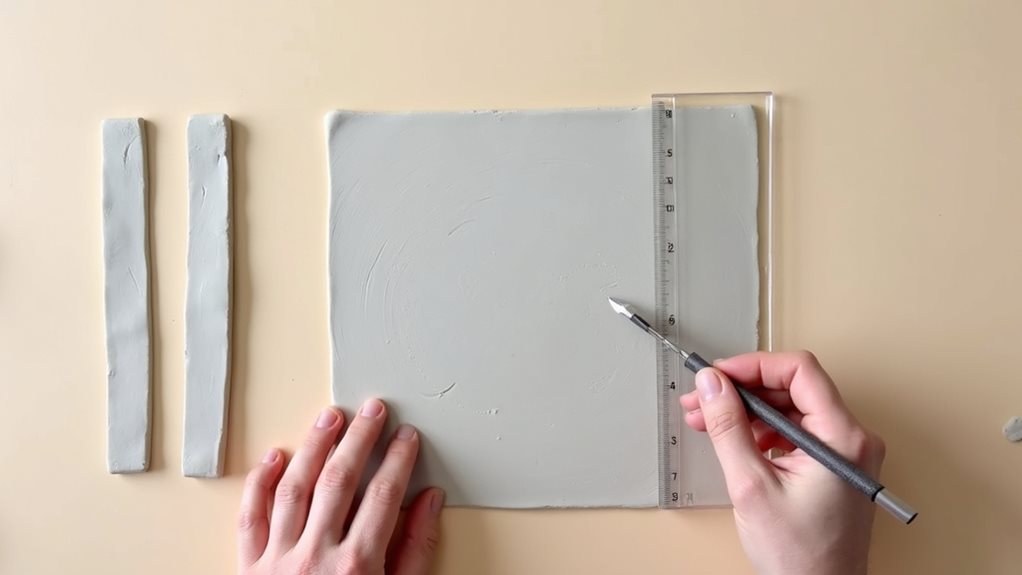
The next critical step involves cutting uniform strips from your rolled clay to create the container’s walls. You’ll need strips that are 2 inches high and long enough to form your chosen letter shape.
Using your sharp knife or clay cutting tool, carefully cut straight lines with firm, steady pressure to ensure clean edges.
For precise measurements, mark your clay with light guidelines before cutting, and maintain consistent width throughout each strip. You’ll want to cut extra strips to account for any mistakes or breaks during the shaping process.
If you’re creating letters with curves, like ‘C’ or ‘S’, cut slightly wider strips to accommodate the bending without compromising structural integrity.
Keep your strips organized on a flat surface, covering them with plastic wrap if you’re not using them immediately.
Step 4. Form Letter Shape Carefully
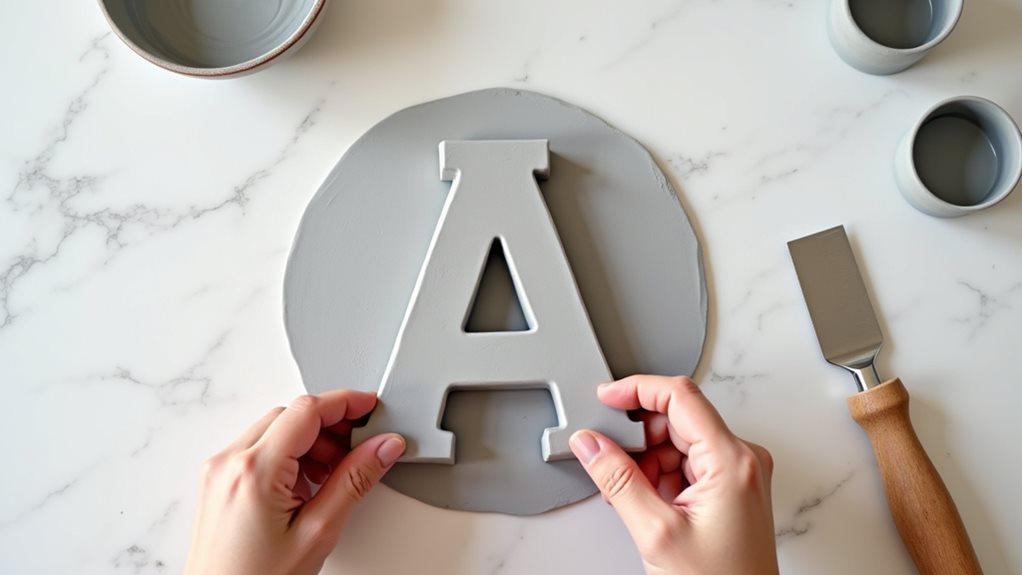
Shaping your chosen letter demands careful attention to maintaining consistent angles and smooth transitions throughout the form. Position your clay strips on the base circle, following the natural lines of your selected letter.
You’ll need to carefully bend and connect pieces at corners, scoring both surfaces before joining them to ensure proper adhesion. For letters with curves like ‘C’ or ‘S’, gradually shape your strips to create smooth arcs without pinching or distorting the clay.
When forming straight segments in letters like ‘E’ or ‘T’, use your fingers to maintain even wall height and thickness. Check your angles frequently to ensure they’re parallel or perpendicular where needed.
If you’re creating letters with multiple connection points, like ‘A’ or ‘M’, work systematically from bottom to top, securing each joint firmly.
Step 5. Sand and Smooth Surfaces

After allowing your clay letter container to dry completely, gentle sanding techniques will transform rough surfaces into a professionally finished piece.
Begin with 220-grit sandpaper, working in small circular motions to smooth any bumps or irregularities along the container’s walls and edges.
Pay special attention to the letter’s corners and joints where the walls meet the base, as these areas often need extra refinement.
You’ll want to sand until you achieve a uniform texture throughout the piece, but don’t apply too much pressure, as air dry clay can be delicate.
Once you’ve finished sanding, wipe away any dust with a slightly damp cloth, and let the container dry completely before applying any finishes or paint.
Final Thoughts
While creating alphabet containers requires patience and attention to detail, you’ll find that mastering this versatile project opens up endless possibilities for personalized storage solutions.
Your finished pieces can serve as thoughtful gifts, office organizers, or decorative accents throughout your home.
As you become more confident with the techniques, don’t hesitate to experiment with different letter styles, sizes, and decorative elements.
You can combine multiple letters to spell out words, create matching sets for organization, or design custom containers for specific items.
Remember that practice will improve your craftsmanship, and each piece you make will help refine your skills.
Whether you’re crafting these containers for practical storage or artistic display, they’ll add a unique, handmade touch to any space.