You’ll discover that clay leaf impressions offer a perfect blend of artistry and natural elements, allowing you to create lasting memories of nature’s most intricate designs. As you explore this timeless craft, which dates back to the Arts and Crafts movement, you’ll learn how simple materials like clay and foliage can transform into stunning decorative pieces. Whether you’re a seasoned artist or a curious beginner, the process reveals surprising details that make each impression uniquely yours.
Key Takeaways
- Create lasting nature-inspired art by pressing fresh leaves into air-dry clay to capture intricate vein patterns and textures.
- Roll clay to 1/4 inch thickness, press leaf vein-side down, cut around edges, and allow 24-48 hours for drying.
- Popular decorative technique celebrating natural forms since Victorian times, now used in modern home decor and artistic pieces.
- Project requires basic materials: air-dry clay, fresh leaves, rolling pin, sharp knife, and paintbrush for optional color embellishments.
- Each handcrafted impression creates unique, one-of-a-kind artwork suitable for indoor display or thoughtful personalized gifts.
History
While clay impressions have been part of human creativity for thousands of years, the specific practice of creating decorative leaf impressions gained popularity during the Arts and Crafts movement of the late 19th century.
You’ll find that Victorian-era artisans embraced this technique as part of their celebration of natural forms and handcrafted objects.
In the early 20th century, you’d see these botanical impressions appearing in architectural elements, garden ornaments, and household decorative items.
The practice gained renewed interest during the 1970s craft revival, when artists began incorporating leaf impressions into their pottery and sculptural works.
Today, you’ll notice this traditional technique has evolved to include modern materials like polymer clay and new applications in contemporary art, while maintaining its connection to nature-inspired design.
Project
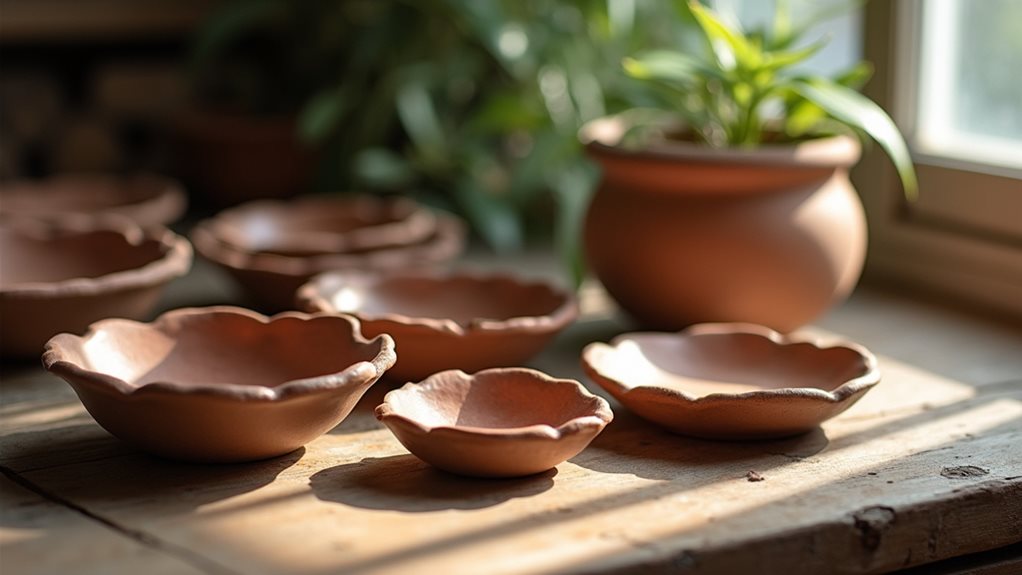
Creating clay leaf impressions is a simple yet rewarding craft that captures nature’s delicate details in a lasting form. This versatile project transforms ordinary leaves into beautiful decorative pieces that can be displayed throughout the year, bringing an organic touch to your home decor.
The process involves pressing fresh leaves into air dry clay to preserve their intricate patterns and textures. Once complete, these botanical impressions can be painted, hung on walls, or used as decorative elements in gardens and on tabletops, making them suitable for both indoor and outdoor displays.
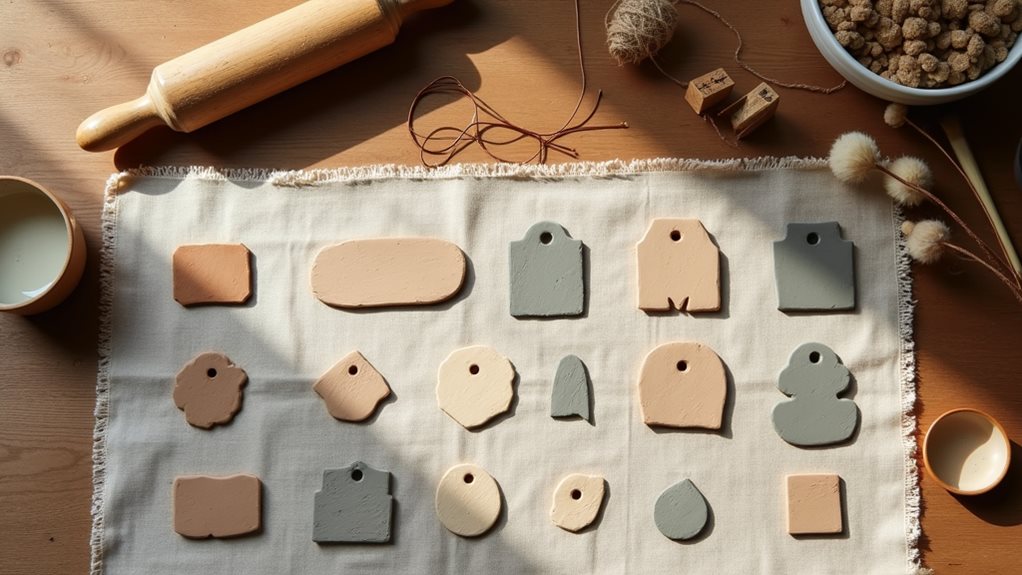
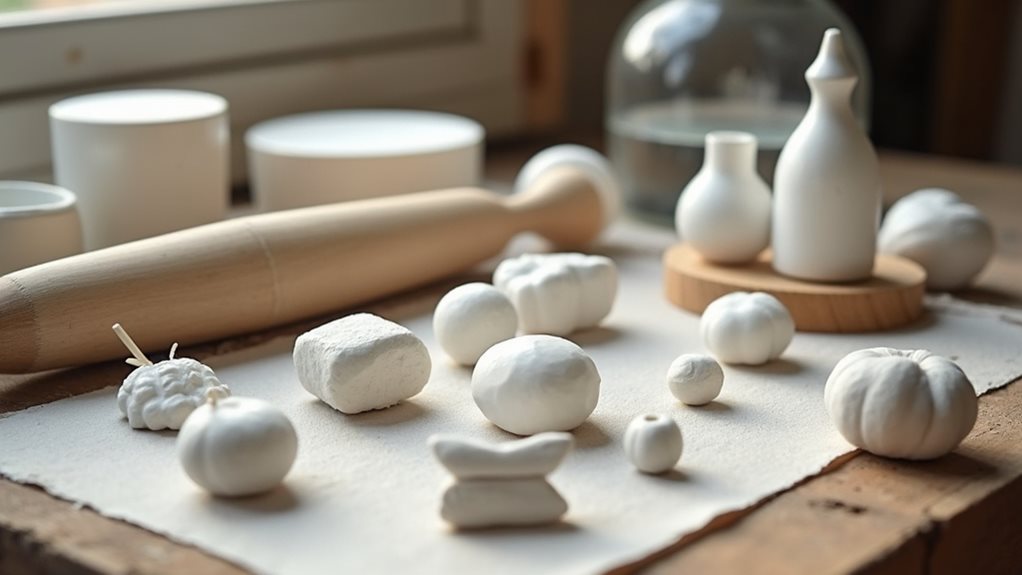
Materials Needed:
- Air dry clay (2 pounds / 907 grams)
- Fresh leaves of various sizes
- Rolling pin (12 inches / 30 centimeters)
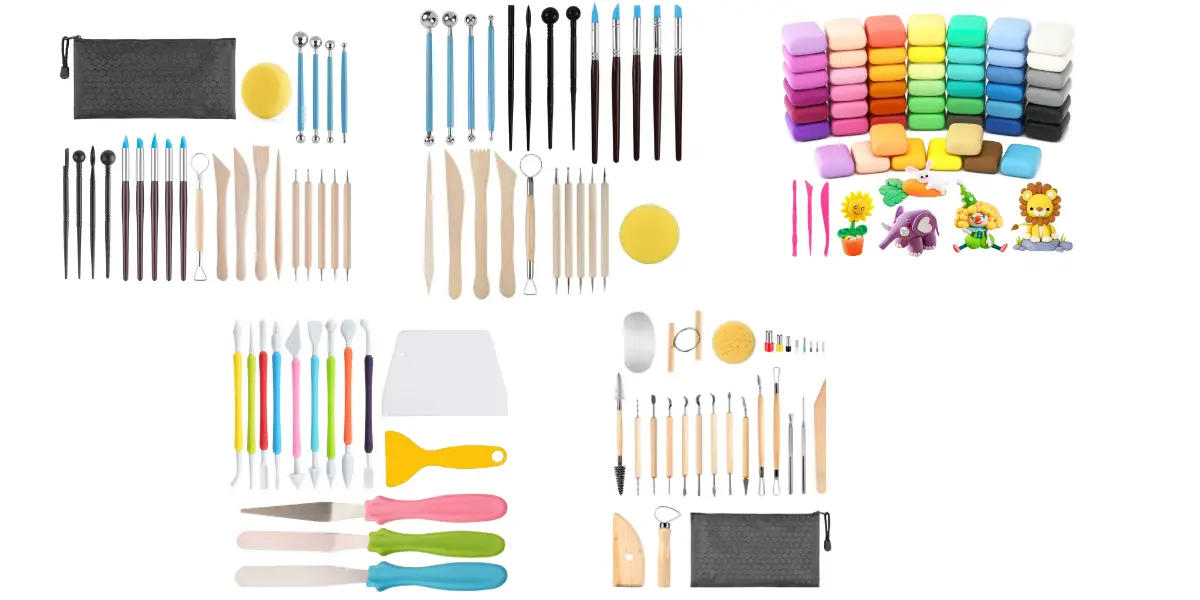
- Sharp knife or clay cutting tool
- Paint brush (1 inch / 2.5 centimeters)
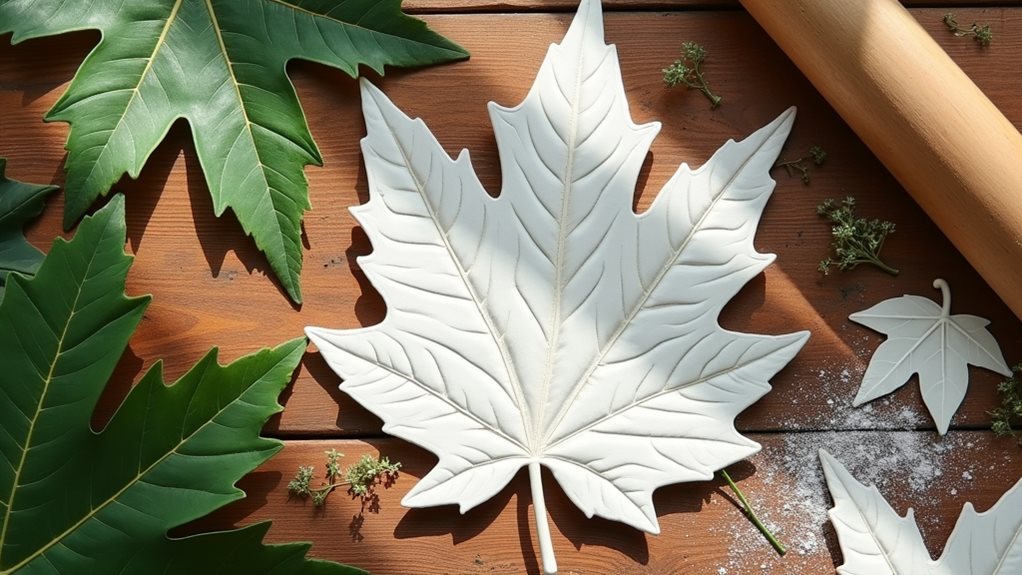
Roll out the air dry clay to a thickness of 1/4 inch (6mm) on a smooth, clean surface. Place your selected leaf vein-side down onto the clay and press gently to ensure good contact. Using the rolling pin, apply firm, even pressure over the entire leaf surface.
Carefully peel the leaf away from the clay, then use the knife to cut around the impression, leaving a small border if desired. Allow the finished piece to dry completely for 24-48 hours.
For optimal results, collect leaves in the early morning when they’re fresh and pliable. Choose leaves with prominent veining and avoid those that are wilted or damaged. If the clay becomes sticky during rolling, dust the surface lightly with cornstarch.
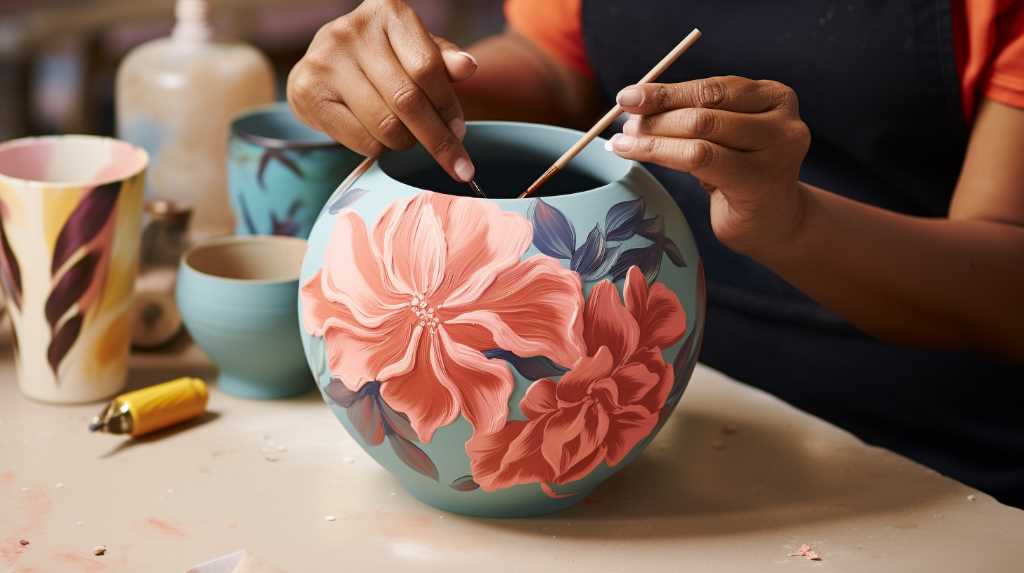
Once dry, the impressions can be enhanced with paint or sealed with clear acrylic spray for protection. Store any unused clay in an airtight container to maintain its workability for future projects.
Project Steps
To begin your leaf impression project, you’ll need to clear and clean your work surface before rolling out the air-dry clay to a quarter-inch thickness.
Next, select a fresh leaf and press it vein-side down into the clay, using your rolling pin to apply firm, even pressure before carefully peeling the leaf away and cutting around the impression with your clay tool.
Once you’ve created your leaf impression, let the clay dry completely for 24-48 hours before handling or decorating your piece.
Step 1. Prepare Clean Work Surface
A proper workspace forms the foundation for successful clay leaf impressions. You’ll need a smooth, flat surface that’s large enough to accommodate your rolling pin’s full range of motion. Cover your work area with a clean plastic sheet or non-stick craft mat to prevent the clay from sticking and to make cleanup easier.
Before you begin, wipe down your workspace with a damp cloth to remove any dust or debris that could get trapped in your clay impressions. If you’re working on a wooden table, ensure there aren’t any deep grooves or patterns that might transfer to your clay.
Position your materials within easy reach: clay, rolling pin, leaves, and cutting tools. Don’t forget to keep paper towels nearby for quick cleanups and a small bowl of water for moistening clay if needed.
Step 2. Roll Clay Flat

With your clean workspace ready, the first major step involves preparing the clay for leaf impressions.
Take a portion of your air dry clay and form it into a manageable ball. Place the clay on your work surface and begin rolling it out with your rolling pin, applying steady, even pressure to achieve a uniform thickness of about 1/4 inch.
As you roll, periodically rotate the clay 90 degrees to ensure it spreads evenly in all directions. If you notice the clay sticking to your rolling pin, lightly dust both surfaces with cornstarch to prevent this issue.
You’ll want to continue rolling until you’ve created a smooth, flat surface that’s large enough to accommodate your chosen leaf’s size while maintaining consistent thickness throughout.
Step 3. Press Leaf Into Clay
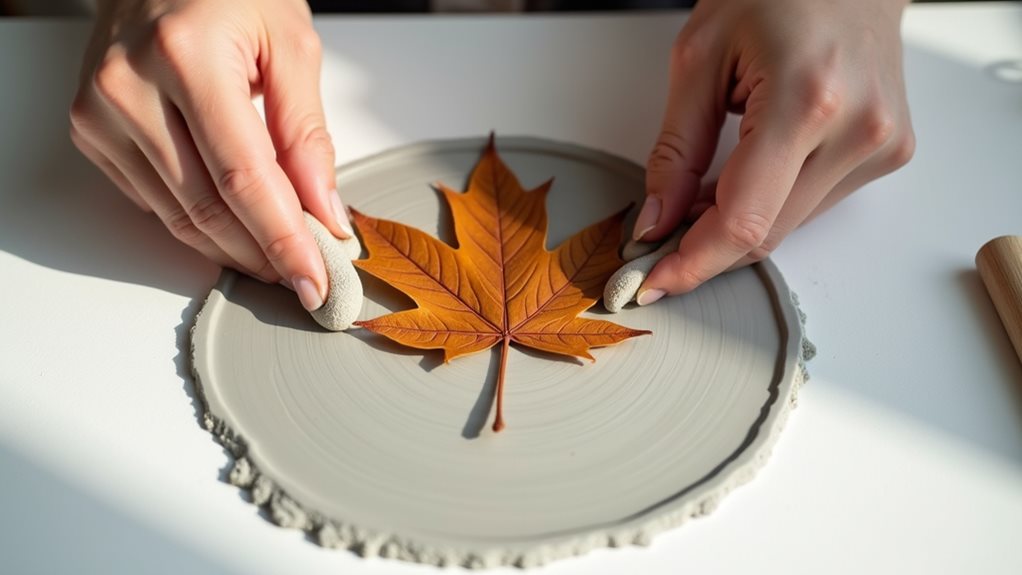
Select your chosen leaf, ensuring the vein side faces downward, and place it carefully onto the prepared clay surface. Press down gently with your fingertips, starting from the leaf’s center and working your way outward to establish initial contact between the leaf and clay.
Using steady, even pressure, roll over the entire leaf with your rolling pin. You’ll want to make several passes, moving from the stem to the tip and from side to side, ensuring you’ve captured every detail of the leaf’s structure.
Don’t press too hard, as this could damage the leaf or create uneven impressions. Once you’ve achieved a clear impression, grasp the leaf by its stem and slowly peel it away from the clay, revealing the detailed venation pattern beneath.
Step 4. Cut Around Leaf Impression
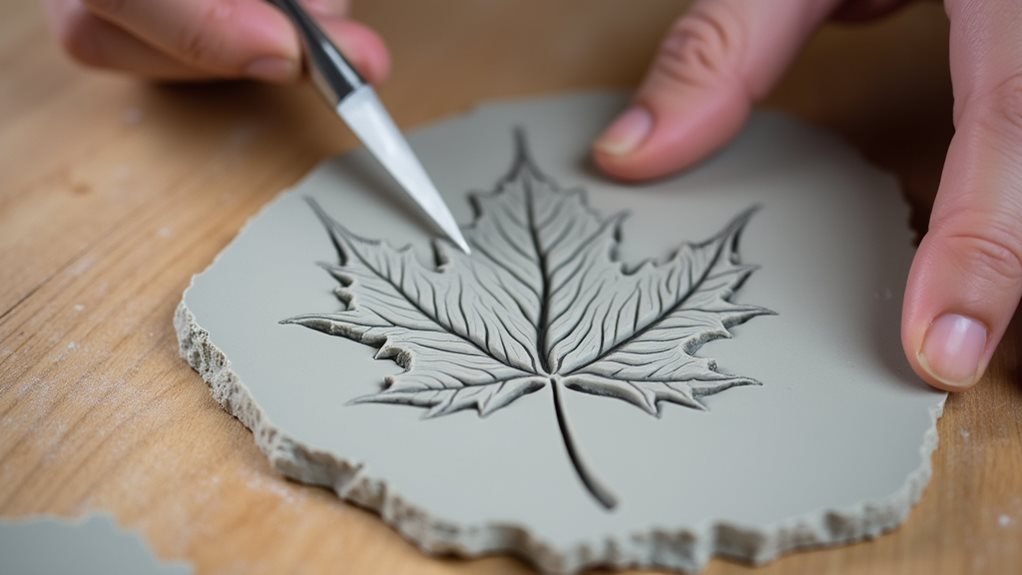
Taking your sharp knife or clay cutting tool, carefully trace around the leaf impression‘s perimeter, maintaining a consistent distance of approximately 1/4 inch from the edge to create an attractive border.
Make smooth, continuous cuts rather than short, choppy ones to ensure clean edges in your final piece. You’ll want to angle your cutting tool slightly inward as you work, creating a subtle beveled edge that’ll give your piece more visual interest.
If you’re planning to hang your finished impression, don’t forget to create a small hole near the top using the tip of your tool. Once you’ve completed the cutting, gently lift away the excess clay, being careful not to disturb or damage the detailed leaf impression you’ve created.
Step 5. Allow to Dry Completely
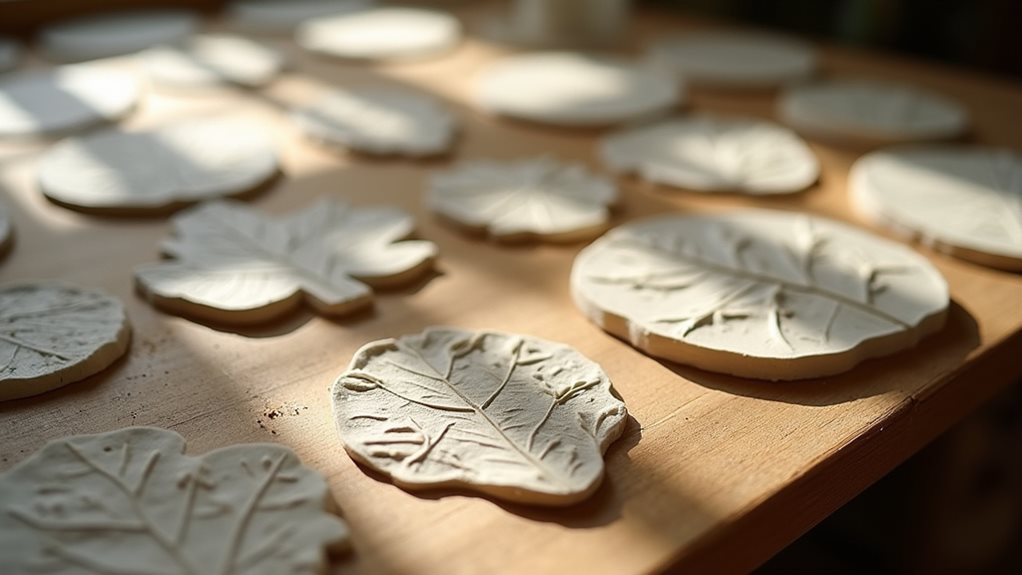
Place your completed leaf impression in a safe, dry location where it won’t be disturbed during the crucial drying period.
You’ll need to allow 24-48 hours for the clay to dry completely, depending on your climate’s humidity levels and the thickness of your piece.
While you’re waiting, resist the urge to move or handle the impression, as this could warp or damage the delicate details.
You’ll know your piece is fully dried when it’s lighter in color and feels firm to the touch.
If you’re working in a particularly humid environment, you might need to extend the drying time.
Don’t try to speed up the process with artificial heat, as this can cause cracking.
Once dried, your leaf impression will be ready for painting or sealing with a clear protective coating.
Final Thoughts
When you’ve created your clay leaf impressions with care and attention to detail, you’ll find these natural art pieces bring lasting beauty to any space.
They’ll serve as unique conversation pieces while preserving the intricate details of nature’s designs throughout the seasons.
Consider creating multiple impressions in different sizes and leaf varieties to build an engaging wall collection, or use them as distinctive decorative elements in your garden.
You can also experiment with various painting techniques to enhance the natural textures, from subtle washes of color to metallic finishes.
Remember that each impression you create captures a moment in nature that’s truly one-of-a-kind, making these pieces special additions to your home or thoughtful gifts for friends and family who appreciate handcrafted botanical art.