Have you ever wondered if air dry clay can get wet? This age-old craft material has been around for centuries, and its properties have remained relatively unchanged throughout that time. With the recent surge in popularity of crafting with this unique medium, many people are wondering what happens when air dry clay gets wet.
Air dry clay can get wet, but it is not recommended to expose it to excessive moisture or water for prolonged periods of time. This can cause the clay to soften, become mushy, and eventually break down. It is best to keep air dry clay in a dry environment to ensure its longevity.
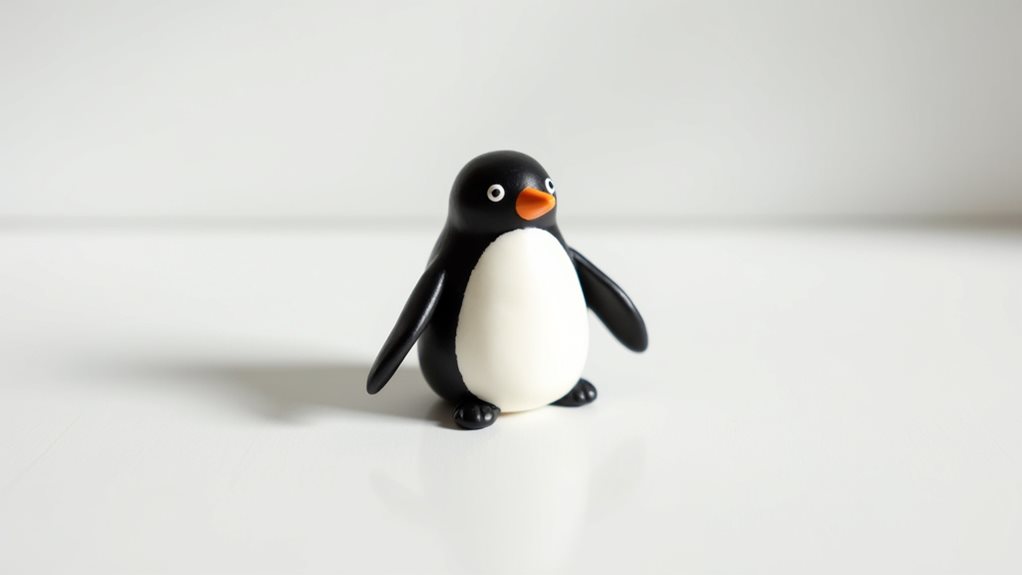
Air dry clay is a versatile crafting material that, as the name suggests, dries and hardens upon exposure to air. Unlike traditional clay that requires a kiln to harden, air dry clay is a more accessible and practical alternative for hobbyists and craft enthusiasts. However, its convenience also comes with a downside – it’s not waterproof.
Once dry, air dry clay creations can be painted, varnished, or sealed to achieve the desired finish. Its affordability and accessibility make it a popular choice for both children’s crafts and professional sculptors. So let’s explore the question of whether air dry clay can get wet and how to protect your creations.
What Happens When Air Dry Clay Gets Wet?
Air dry clay is a versatile medium that hardens when exposed to air, eliminating the need for baking or firing. However, what happens when air dry clay gets wet? The answer lies in the drying process.
When air dry clay gets wet, it softens and becomes malleable again. This makes it easier to join separate pieces, allowing for more intricate designs and seamless connections. By adding small amounts of water to the clay, you can easily blend or smooth out any imperfections.
However, it’s important to note that adding too much water to air dry clay can cause cracking. Excess water weakens the structure of the clay and can lead to unwanted fissures as it dries.
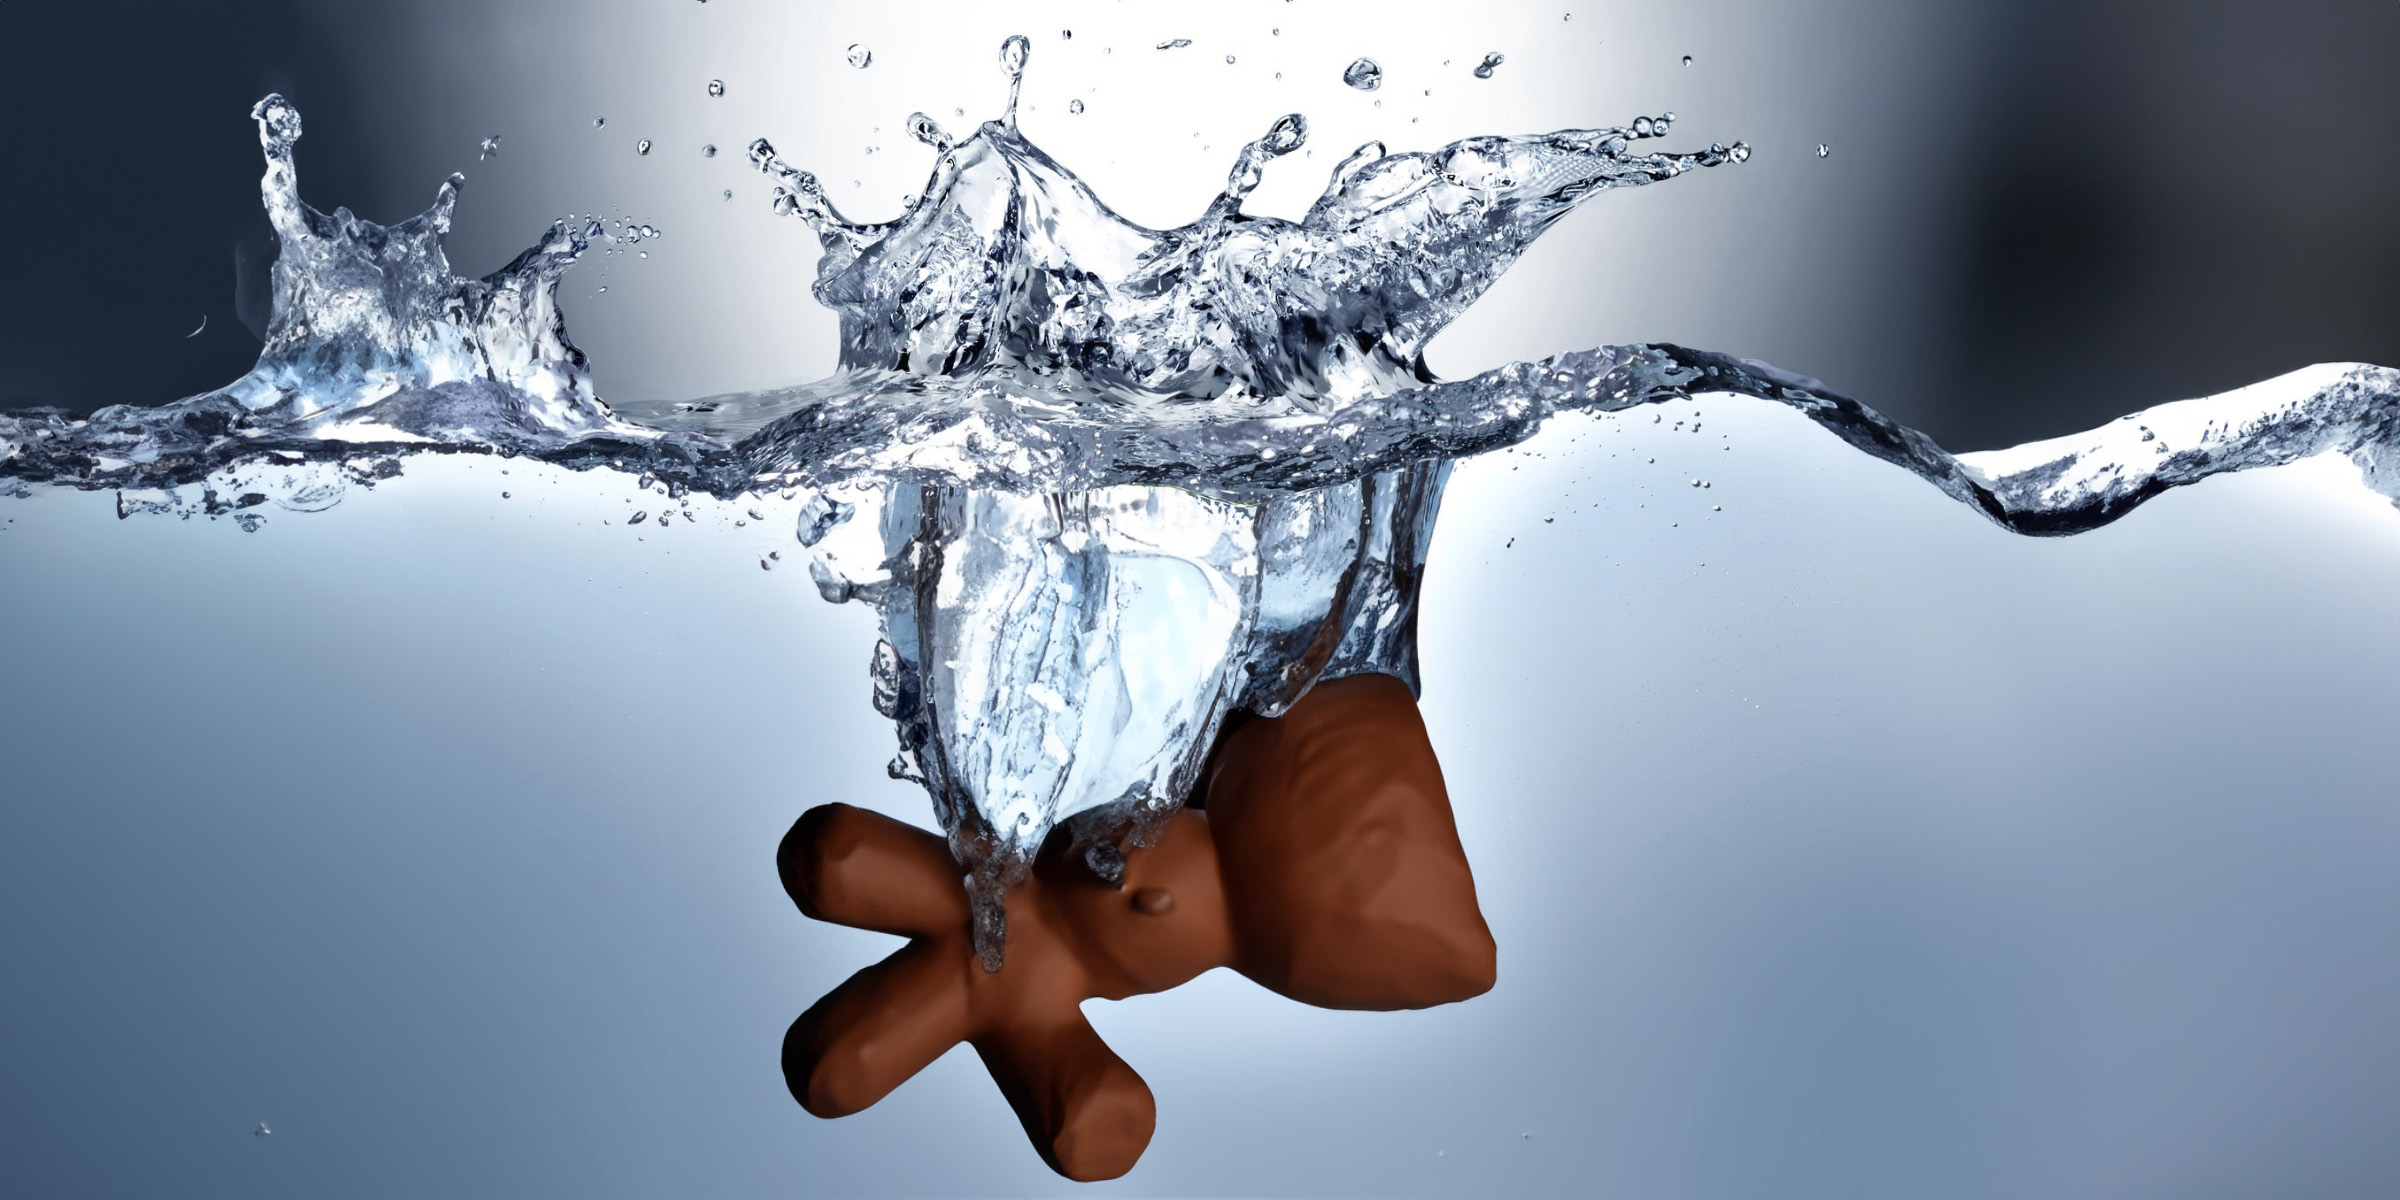
It’s important to be careful with finished items as if air dry clay is exposed to water or moisture, it can soften and dissolve over time. This is because the clay is water-soluble. If your clay creation gets wet, it may lose its shape and detail, and in extreme cases, it may even disintegrate completely. Therefore, it’s crucial to keep air dry clay pieces in a dry environment.
Drying Process for Air Dry Clay
The drying process for air dry clay is fairly simple, as the name suggests. After creating your clay project, allow it to sit and air dry.
This process typically takes anywhere from 24 to 48 hours, depending on the thickness of the clay and the humidity of the environment.
It is important to ensure that the clay is completely dry before moving or handling it to avoid any distortions or cracks.
Once the clay is dry, it can be painted or sealed with acrylic paint or sealer to achieve the desired finish. It is important to note that air dry clay does not require baking or firing in a kiln, making it a convenient and affordable option for crafters and artists.
How Long Does it Take for the Clay to Dry?
When working with air dry clay, the drying time can vary depending on several factors. The thickness of the clay, humidity levels, and air circulation all contribute to how long it takes for the clay to dry.
Thicker pieces of clay will naturally take longer to dry compared to thinner ones. This is because the moisture needs to evaporate from the entire piece, and thicker clay absorbs more moisture during the drying process.
Humidity also plays a significant role in the drying time. In a humid environment, the clay will take longer to dry due to the increased moisture content in the air. It is advisable to work in a well-ventilated area with low humidity to speed up the drying process.
Proper air circulation is essential for drying air dry clay. Placing the clay in an area with good air flow allows for the moisture to evaporate more quickly, reducing the drying time.
Other factors that can influence the drying time include the type of clay used, the presence of additives such as acrylic sealer or paint, and the size of the clay piece. Some types of clay may take longer to dry than others, and additional additives can slow down the drying process.
If you are looking to speed up the drying time, there are a few techniques you can employ. You can use a fan or a dehumidifier to reduce humidity levels in the drying area. Additionally, placing the clay pieces in an oven set to a low temperature can also accelerate the drying process. However, be cautious with this method and closely monitor the temperature to avoid over-drying or cracking.
What Factors Affect the Drying Time?
The drying time of air dry clay can be influenced by several factors. One of the main factors is the thickness of the clay piece. Thicker or larger pieces of clay naturally take longer to dry compared to thinner ones. This is because moisture needs to evaporate from the entire piece and thicker clay absorbs more moisture during the drying process.
Another factor that affects drying time is the humidity and temperature of the environment. In a humid environment, the clay will take longer to dry due to the increased moisture content in the air. On the other hand, low humidity and higher temperatures can speed up the drying process.
Proper storage also plays a role in maintaining the moisture content of air dry clay. To prevent the clay from drying out too quickly, it is important to store unused clay in airtight containers. This helps to maintain its pliability and prevents it from becoming overly dry.
Can You Speed Up the Drying Process?
Yes, you can definitely speed up the drying process for air-dry clay. There are a few techniques you can use to expedite the drying time and achieve faster results.
Increasing airflow is key when it comes to drying air-dry clay. You can try using fans or turning on a ceiling fan in the room where your clay pieces are drying. This will help circulate the air and remove moisture, which will ultimately speed up the drying process.
To ensure that all areas of the clay piece receive sufficient airflow, consider flipping it over periodically. This will expose the underside of the clay to the airflow and help it dry more evenly.
However, it is important to avoid using heat to dry the clay, such as placing it in an oven or using a heat gun. Although these techniques can work, they can also cause cracks and deformities in the clay. It’s best to allow the clay to air dry naturally in a well-ventilated area.
By following these techniques and allowing for adequate airflow, you can speed up the drying process for your air-dry clay creations. Just remember to be patient and allow the clay to dry thoroughly before handling or painting it.
Achieving a Glossy Finish with Air Dry Clay
Achieving a glossy finish with air-dry clay adds a beautiful and professional touch to your creations. While the clay itself may have a matte finish when it dries, there are several techniques and materials you can use to achieve a glossy effect.
One option is to apply an acrylic sealer or varnish to the dried clay. This will not only give it a glossy sheen but also help protect it from moisture and scratches.
Another method is to use acrylic paint to add color and shine to the clay. You can apply the paint directly to the dry clay, or mix it with a bit of water to create a glaze-like consistency.
For a truly glossy and durable finish, you can also try using a liquid epoxy resin to coat your clay creations. This will give them a glossy and waterproof surface that will last for years to come.
Whichever method you choose, make sure to let the clay dry completely before applying any finishes, and always follow the manufacturer’s instructions for the products you are using. With these techniques, you can turn your air-dry clay creations into stunning pieces with a glossy finish.
Acrylic Sealer or Paint?
When it comes to sealing air dry clay, you have a few options to choose from, including using acrylic sealer or acrylic paint. While both options can provide some level of protection for your clay creations, there are a few differences to consider.
Acrylic sealer offers better water resistance compared to acrylic paint. This means that if your air dry clay piece comes into contact with water, it is less likely to get damaged if sealed with acrylic sealer. Additionally, acrylic sealer is easy to apply and dries clear, allowing the natural beauty of your clay piece to shine through.
However, it’s important to note that acrylic sealer may yellow over time when exposed to sunlight. If you’re concerned about this, you may want to consider using acrylic paint as a sealant. While it may not provide the same level of water resistance as acrylic sealer, it can still offer some protection for your clay creations.
Using acrylic paint as a sealant is a good option if you don’t have access to a varnish or liquid epoxy resin. Simply brush on a thin layer of acrylic paint using a paint brush, allowing it to dry completely. Keep in mind that the drying time may vary depending on the thickness of the clay and the type of paint you use.
In summary, both acrylic sealer and acrylic paint can be used to seal air dry clay. Acrylic sealer offers better water resistance, while acrylic paint can be a suitable alternative if other sealants are not available. Consider your needs and preferences when choosing the right option for your clay projects.
Is it Possible to Achieve a Glossy Finish without Acrylic Products?
Yes, it is possible to achieve a glossy finish on air dry clay without using acrylic products. There are several alternative methods available that can give your clay creations a beautiful shine.
One option is to use epoxy resin. Epoxy resin is a versatile medium that can provide a glossy, durable finish. It is typically applied in multiple layers, allowing each layer to cure before adding the next. This process creates a glossy, glass-like finish that enhances the appearance of your clay piece.
Another alternative is gloss varnish. Gloss varnish is specifically designed to provide a high-shine finish to surfaces. You can simply brush on a thin layer of gloss varnish onto your dry clay sculpture and allow it to dry completely. It will create a glossy finish that protects your piece from moisture and adds depth to its appearance.
If you prefer a more subtle shine, matte varnish is an option. Matte varnish adds a soft sheen to the surface of your clay creation while maintaining a natural-looking finish. It can be applied in the same way as gloss varnish, with multiple thin coats for optimal results.
For a quick and easy alternative, you can use gloss finish powder. This product is typically sprinkled onto the surface of your dry clay piece and then gently heated with a heat gun or a torch to melt and set it in place. The result is a glossy finish that enhances the colors and textures of your artwork.
Lastly, liquid polymer clay can also be used to achieve a glossy finish. You can apply a thin layer of liquid polymer clay to your dry clay creations and then bake them according to the manufacturer’s instructions. This method not only adds a glossy finish but also provides protection and durability to your pieces.
By using these alternative methods, you can achieve a glossy finish on your air dry clay creations without relying on acrylic products. Experiment with different techniques to find the one that suits your artistic vision and desired level of shine.
Making Your Creations Waterproof with Air Dry Clay
To make your air dry clay creations waterproof, one effective method is to use liquid epoxy resin. Epoxy resin creates a strong and durable protective coat that can permanently repel water.
Firstly, ensure that your dry clay piece is completely dry and free of any dust or debris. Then, prepare the epoxy resin according to the manufacturer’s instructions. Apply a thin layer of the resin onto the surface of your clay creation, using a paintbrush or a spatula to spread it evenly.
Allow the resin to dry and cure completely, which typically takes 24 to 48 hours. During this time, make sure the piece is placed on a non-stick surface and protected from dust or any other potential contaminants.
Once the resin has completely cured, it will create a strong waterproof barrier, ensuring that your clay creation is protected from moisture and other liquids. This allows you to confidently display your piece both indoors and outdoors without worrying about water damage.
Please note that this method is specifically for creating waterproof air dry clay. If you only need water resistance, you can use other materials such as white glue, acrylic paint, acrylic sealer, or varnish. However, for a permanent and truly waterproof finish, liquid epoxy resin is the most effective option.