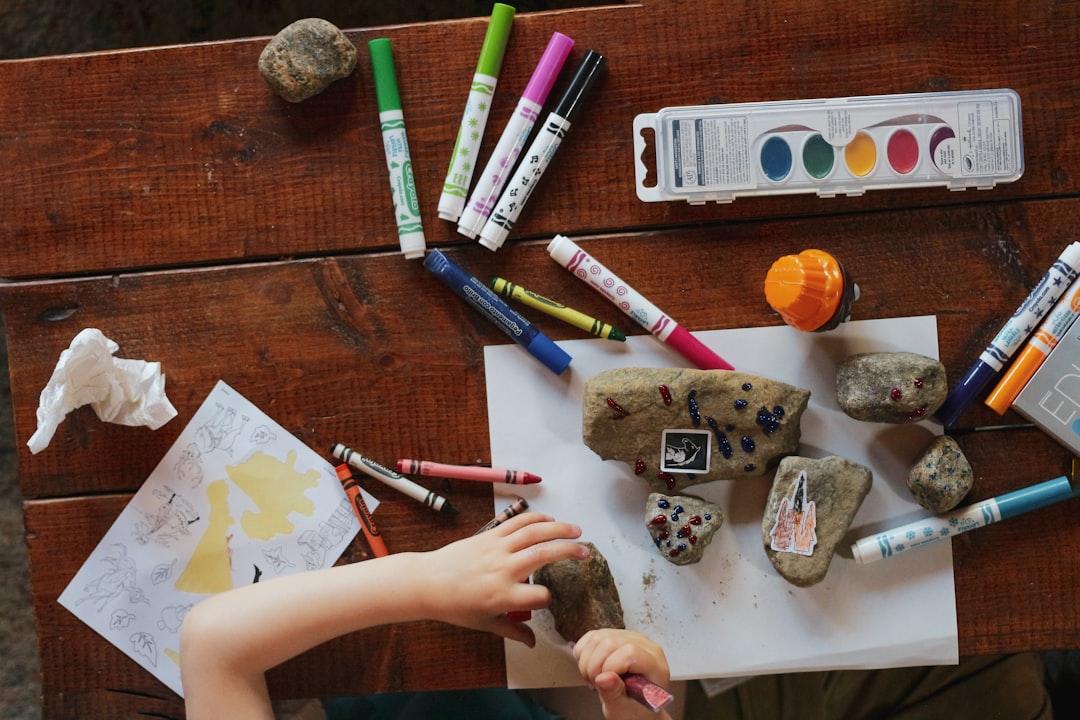
For the green thumbs and craft enthusiasts out there, the idea of creating your own plant pots can be an exciting prospect. One of the materials that often comes to mind for this purpose is air dry clay. But can air dry clay be used for plant pots?
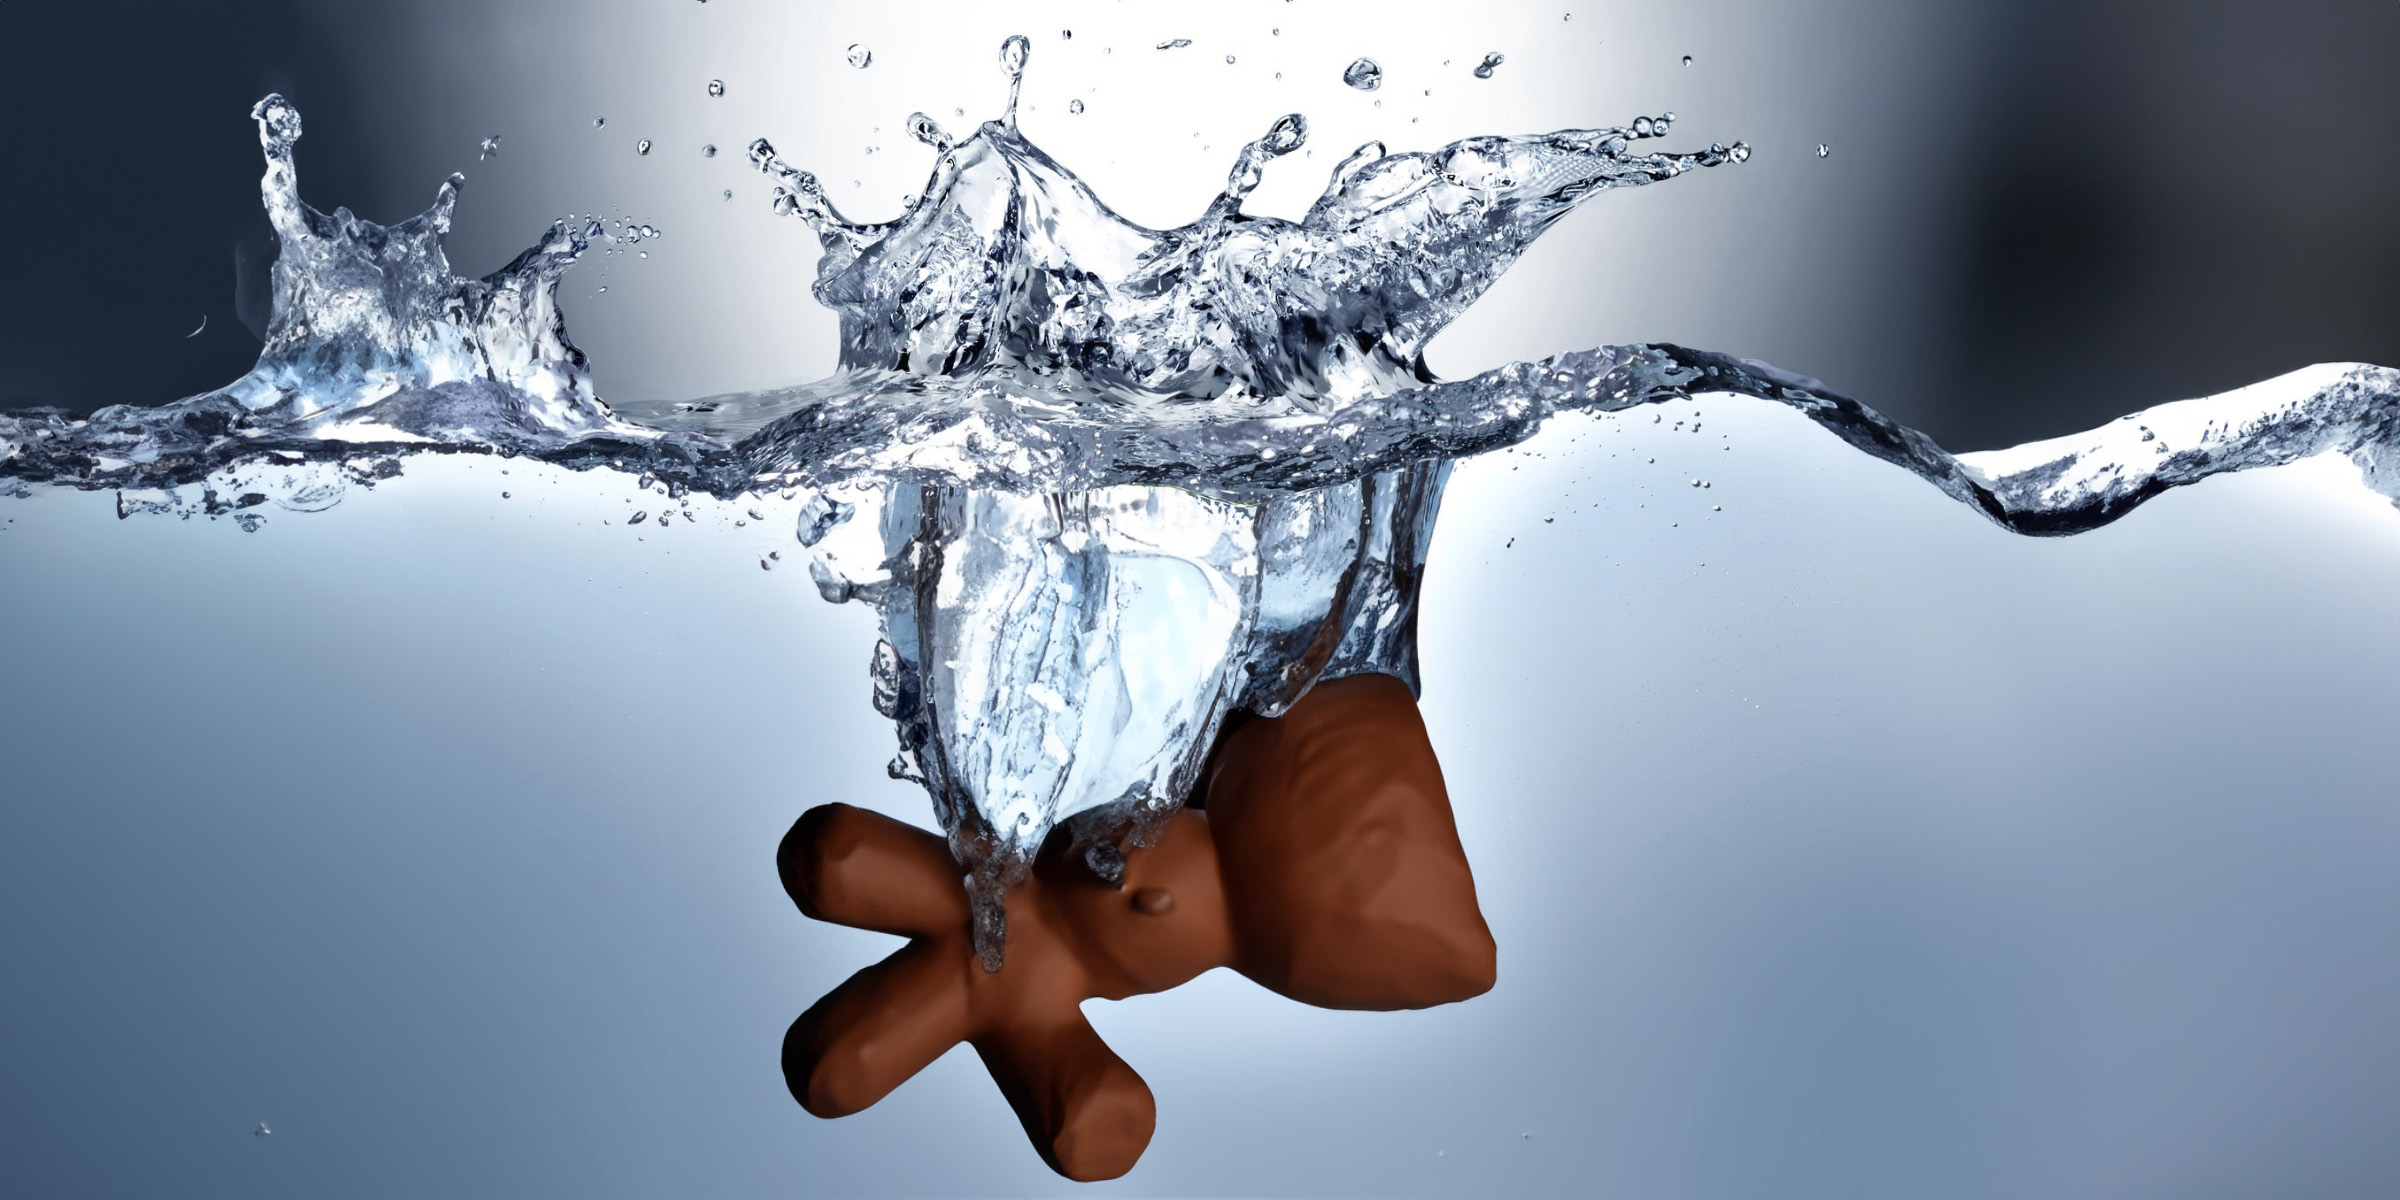
Air dry clay can be used for plant pots. However, it is important to note that air dry clay is not as durable or waterproof as other types of clay. Therefore, it is recommended to use a sealant or waterproofing agent to protect the clay and prevent water damage.
With air dry clay, you can create a wide range of items, from decorative pieces like candle holders and plant pots to functional items like pencil holders and desk organizers. It is less suited to plan pots as it isn’t waterproof unless it has been correctly sealed.
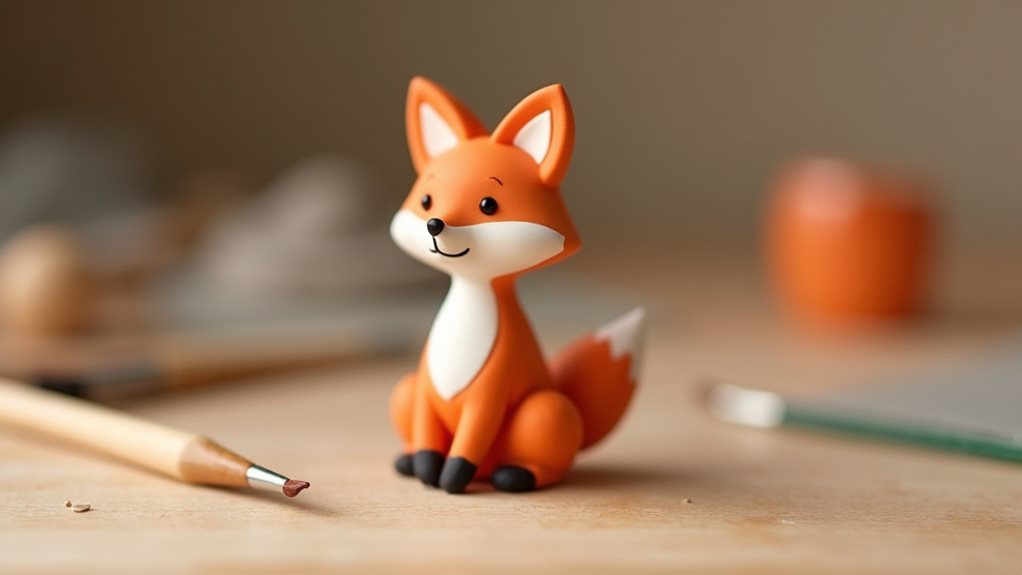
The flexibility of air dry clay allows for endless possibilities in creativity and design. Whether you are looking to make a handmade gift or decorate your own space, air dry clay is a fantastic material to work with.
Benefits of Using Air Dry Clay for Plant Pots
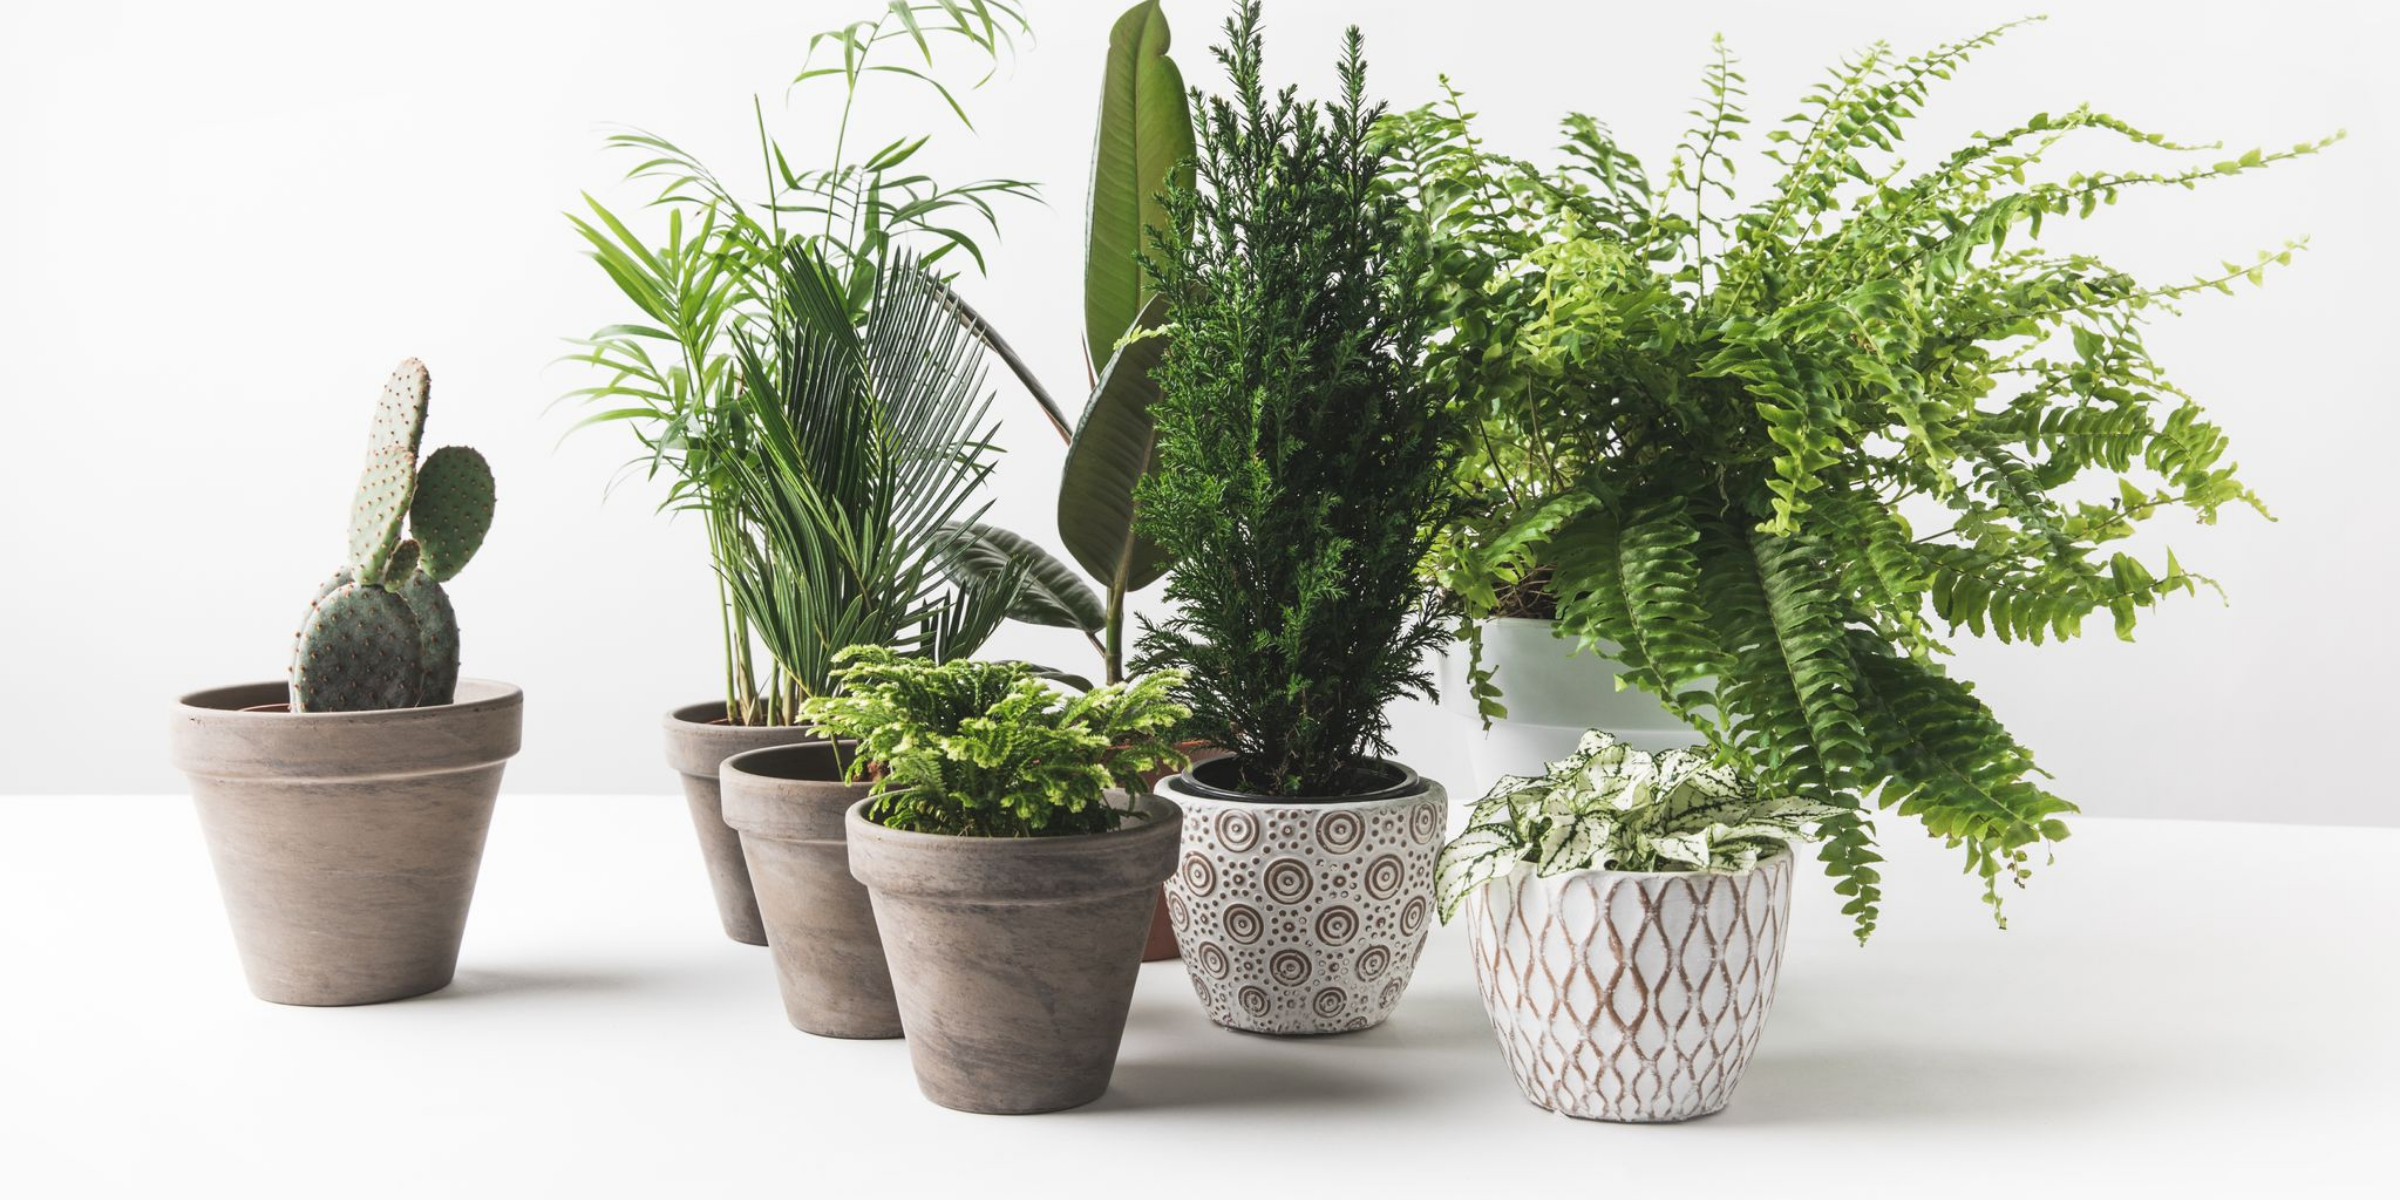
Air dry clay is a versatile and popular choice for creating a variety of crafts, including plant pots. Here are some benefits of using air dry clay for plant pots:
- Easy to Use: Air dry clay is user-friendly and requires no kiln or firing process. Simply shape and let it dry naturally in the air.
- Lightweight: Compared to traditional ceramics, air dry clay is lightweight, making it ideal for creating larger or multiple plant pots without adding excessive weight.
- Customizable: Air dry clay can be easily molded into various shapes and sizes, allowing you to create unique and personalized plant pots that align with your style and preferences.
- Cost-effective: Air dry clay is an affordable option compared to other types of clay. It enables you to make multiple plant pots without incurring extra costs.
- Decorative Possibilities: Although air dry clay is not waterproof, it can still be used to create decorative plant pots. By wrapping the clay around a plastic container, you can achieve the desired shape and design while ensuring the clay stays dry.
Using air dry clay to create plant pots is a great way to add a touch of creativity and personalization to your indoor or outdoor space.
Though not suitable for direct contact with water, this method allows you to enjoy the decorative benefits of air dry clay while using a plastic container to provide the necessary moisture for your plants. So go ahead and explore the endless possibilities of air dry clay for your plant pot projects!
Preparing the Air Dry Clay for a Plant Pot Project
Before you start creating your plant pots with air dry clay, it’s important to properly prepare the clay to ensure the best results.
To begin, gather all the necessary materials, including the air dry clay, a plastic container or workspace, and a bit of water.
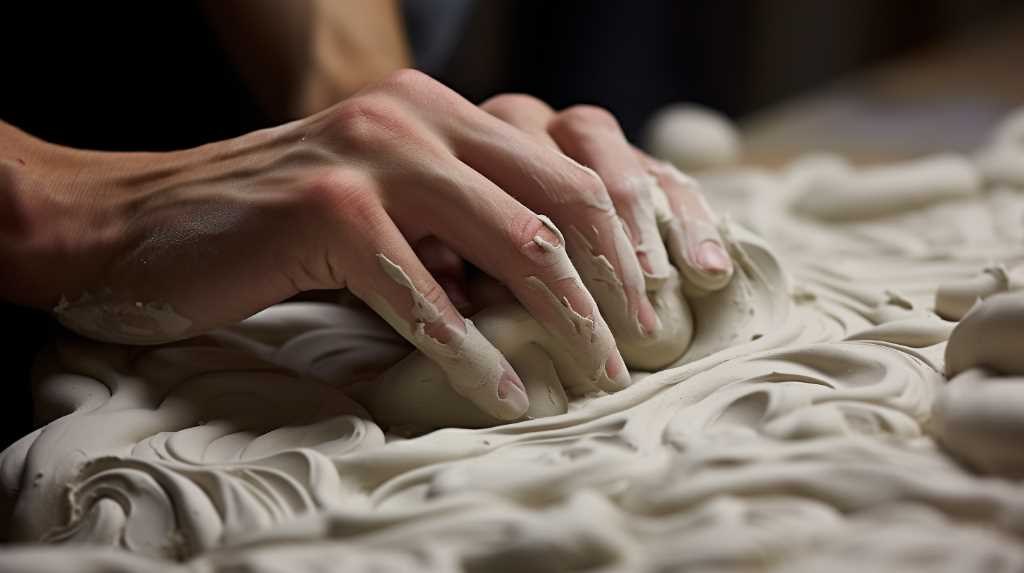
Start by kneading the clay to soften it and make it more pliable. This will make it easier to shape and mold into your desired pot design.
If the clay feels dry, you can add a bit of water to moisten it and make it more workable. However, be careful not to add too much water, as this can make the clay too wet and difficult to handle. Once the clay is soft and ready, you can move on to shaping and molding it into your desired pot design.
Gathering Materials and Supplies Needed
To create your own unique and stylish plant pots using air dry clay, you will need a few key materials and supplies. The first item on your list is, of course, air dry clay. This type of clay is perfect for crafting projects as it does not require firing in a kiln like traditional ceramics.
Next, you will need acrylic paints in your desired colors to add a personal touch to your plant pots. These paints are easy to work with and come in a wide range of vibrant shades.
To protect your workspace and prevent the clay from sticking, have some wax paper on hand. This will make the rolling and shaping process much smoother.
A plastic container will be useful for mixing and storing your air dry clay. It’s important to keep the clay fresh and moist until you’re ready to work with it.
Lastly, you will need a rolling pin to flatten the clay and a cookie cutter to create the desired shape of your plant pot. These will help you achieve a professional and polished look.
With these materials and supplies, you are well on your way to creating stunning plant pots using air dry clay. Let your creativity run wild and enjoy the process of making your own unique pieces of art for your indoor plants.
How to mold Pieces of Clay Into a Pot Shape
- Start by preparing your work area and gathering all the necessary tools and supplies. Make sure your workspace is clean and organized.
- Take a piece of air dry clay that is appropriate for your project. Begin by rolling the clay into a ball between your hands to soften it and make it more pliable.
- Once the clay is softened, flatten it into a disc shape using your hands or a rolling pin. This will provide a base for the pot.
- Gently press and shape the clay disc to form the desired pot shape. Use your fingers to smooth out any creases or bumps, ensuring a uniform appearance.
- As you shape the clay, keep in mind the size and depth you want for your plant pot. Ensure that it will be able to accommodate the size of your plant’s roots.
- Pay attention to the walls of the pot, making sure they are thick enough to provide stability and support for the plant. You can use your fingers or tools to reinforce the walls and create a defined shape.
- Once the pot shape is achieved, carefully set it aside to air dry. The drying time will vary depending on the brand of clay used, so follow the manufacturer’s instructions. It is important to allow the clay to dry thoroughly to ensure its strength and durability.
Molding air dry clay into a pot shape is a fun and creative way to make unique planters for your air plants or succulents. With these simple instructions, you can easily create beautiful and functional clay pots for your green companions.
Letting the Pot Set and Drying Out Completely
After shaping your air dry clay pot, it is important to let it set and dry out completely to ensure its strength and durability. To do this, you will need to follow a few simple steps.
Firstly, find a dry and well-ventilated area where you can place the pot. It is important to choose a location away from direct sunlight or excessive heat, as this can cause the clay to dry too quickly and lead to cracking.
After finding the right spot, carefully set the pot down and leave it undisturbed for the recommended drying time. The drying time can vary depending on the thickness and size of the pot, so it is important to refer to the manufacturer’s instructions for guidance.
During the drying process, it is important to resist the temptation to touch or move the pot, as this can disrupt the drying process and lead to structural issues. Allow the pot to air dry naturally.
As the pot dries, you may notice slight color changes or shrinkage, which is normal. The pot should gradually become lighter and firmer as the moisture evaporates.
Once the pot is completely dry, you can proceed with painting or sealing it, if desired. This can be done using acrylic paints or an acrylic sealer to protect the surface and achieve the desired look.
By following these steps and allowing your air dry clay pot to set and dry out completely, you can ensure that it is strong, durable, and ready for use as a beautiful plant pot.
Adding Decorative Elements to the Pot if Desired
Once your air dry clay pot is completely dry, you can add decorative elements to customize its appearance. There are various ways to achieve this:
- Texturizing: You can create interesting textures on the surface of the pot by gently pressing fabric onto the clay or using the end of a paintbrush handle to create patterns.
- Rubber Stamps: Another option is to use rubber stamps to imprint designs onto the clay surface. Simply press the stamp firmly onto the clay to transfer the design.
- Cutting out Shapes: If you prefer a more intricate design, you can cut out shapes from additional air dry clay and attach them to the pot using slip (a mixture of clay and water). This allows you to create unique patterns or even personalize the pot with initials or names.
When adding these decorative elements, it’s important to be gentle and avoid altering the shape of the pot. Press the fabric or stamp evenly onto the clay, and when attaching additional clay shapes, smooth the edges carefully to ensure a seamless integration.
Once you’re satisfied with the decorative elements, allow the pot to air dry again to ensure all the added components are fully dry and secure. Finally, you can paint or seal the pot using acrylic paints or an acrylic sealer to protect the surface and achieve the desired finish.
Get creative and have fun making your air dry clay pots unique and eye-catching with these decorative techniques!
Adding a Sealer to Waterproof the Pot
Working with air dry clay is a fun and creative activity that allows you to create a wide range of crafts and sculptures. However, once your masterpiece is complete, it’s important to seal it properly to ensure its durability and longevity. In this article, we will walk you through the process of sealing air dry clay.
Why Seal Air Dry Clay?
Air dry clay is a wonderful medium to work with, but it’s not waterproof. Over time, exposure to moisture can cause it to soften and crumble. Sealing air dry clay helps to protect it from moisture and gives your piece a finished, professional look. It can also enhance the colors and details of your creation.
Choosing the Right Sealer
There are several types of sealers you can use on air dry clay, including acrylic sealers, varnish, or resin. The choice of sealer depends on the look you want to achieve. Acrylic sealers provide a clear, protective coating, while varnish can give your piece a glossy or matte finish. Resin provides a thick, glossy coating that can give your piece a glass-like finish.
Step-by-Step Guide to Sealing Air Dry Clay
Step 1: Let Your Piece Dry Completely
Before you begin the sealing process, it’s crucial to let your piece dry completely. This can take anywhere from 24 hours to several days, depending on the size and thickness of your piece.
Step 2: Apply the Sealer
Once your piece is completely dry, you can apply your chosen sealer. Use a paintbrush to apply a thin, even coat of sealer to your piece. Be sure to cover all surfaces, including any nooks and crannies.
Step 3: Let the Sealer Dry
After you’ve applied the sealer, let your piece dry completely. This can take anywhere from a few hours to a full day, depending on the type of sealer you used.
Step 4: Apply Additional Coats (If Necessary)
Depending on the type of sealer and the look you want to achieve, you may need to apply additional coats. If so, be sure to let each coat dry completely before applying the next.
Final Thoughts
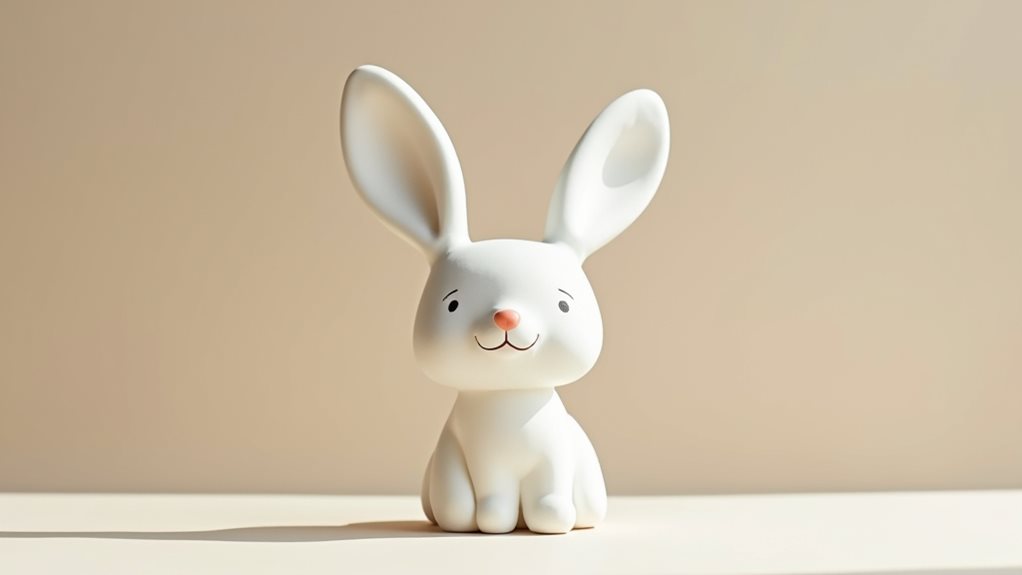
Air dry clay is a great medium for making unique and eye-catching planters. Whether you’re creating a pinch pot or attaching additional clay pieces, the possibilities are endless when it comes to your clay projects.
For air plants and succulents, be sure to include a drainage hole in your pot and consider adding artificial plants if you want an evergreen look.
With the right sealer, your creations will be long-lasting and beautiful. So go ahead and get creative with your dry clay planter projects!