Understanding the Core Differences
When you embark on a creative journey with modeling clay, one of the first and most crucial decisions you’ll face is choosing between air-dry clay and oven-bake clay. This isn’t merely a matter of preference; it fundamentally impacts your project’s process, durability, and ultimate outcome. Understanding the inherent distinctions between these two popular mediums is the bedrock of making an informed choice that aligns with your artistic goals.
The Self-Hardening Nature of Air-Dry Clay
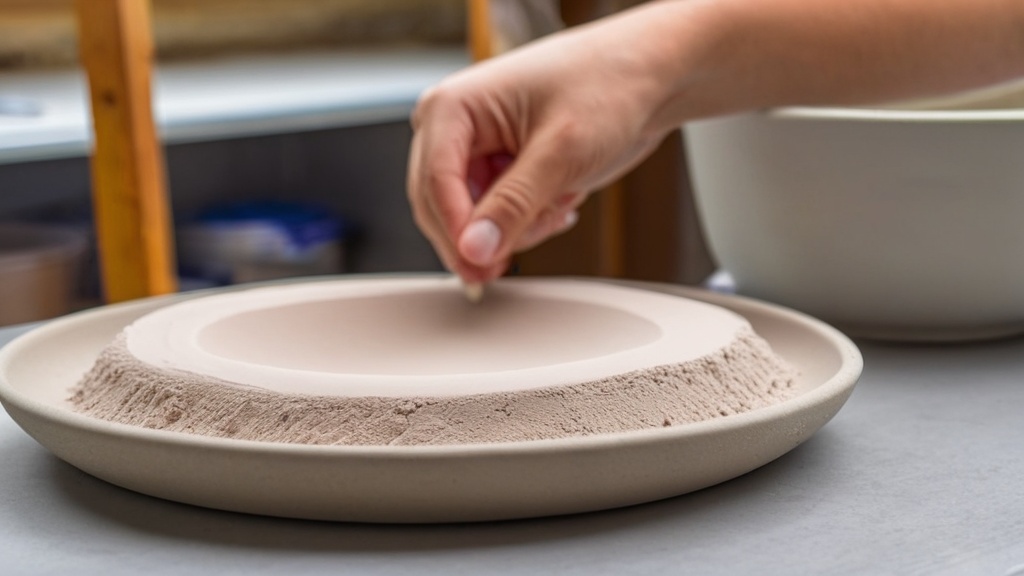
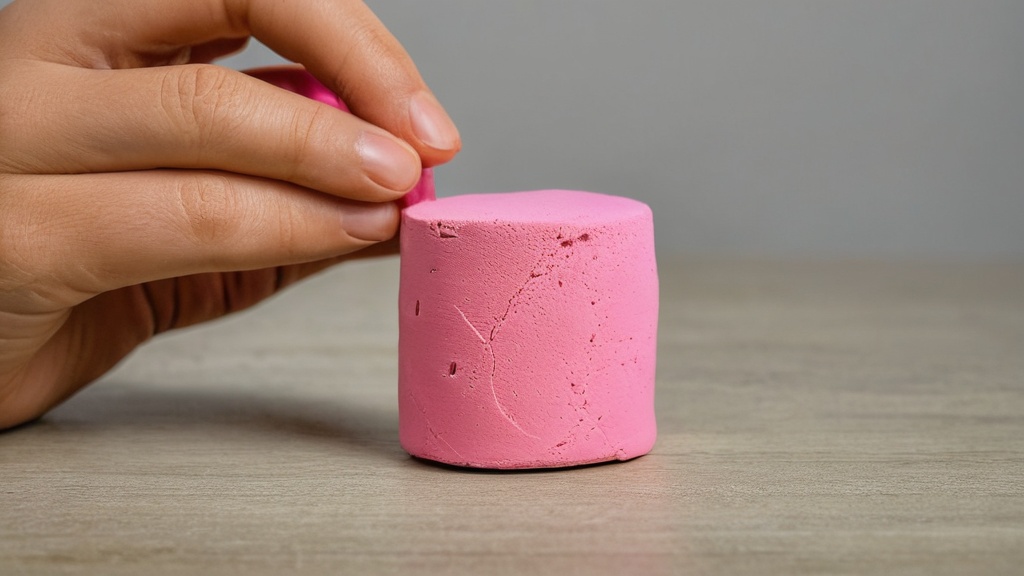
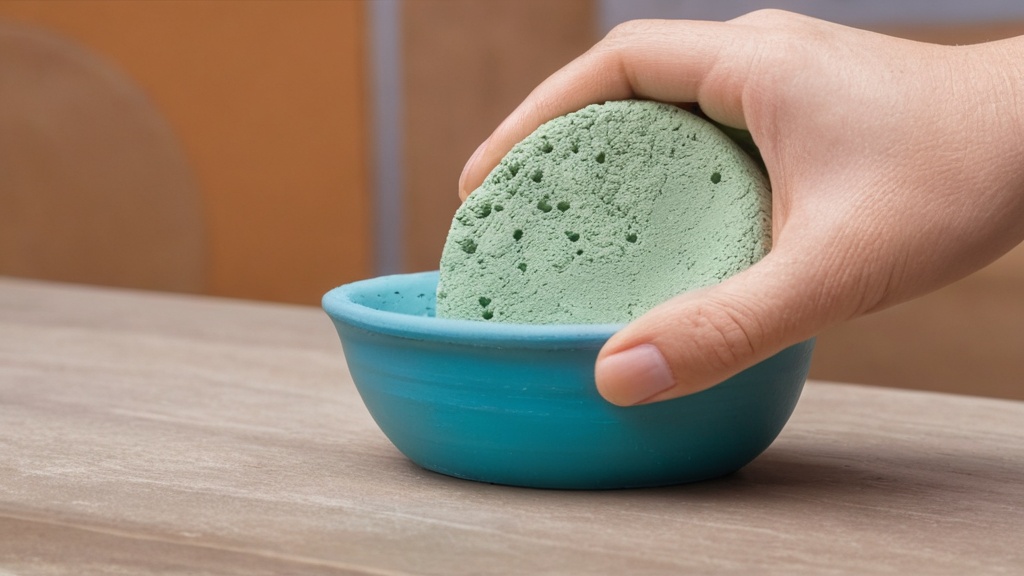
Imagine a material that, once sculpted, simply hardens on its own, without any external heat source. That’s the beauty of air-dry clay. You mold it, shape it, and then simply leave it at room temperature to do its magic. This characteristic makes it incredibly accessible, especially for beginners and those working in environments where ovens are unavailable or impractical.
Air-dry clay typically takes about 24 to 72 hours to fully dry, a timeframe that can fluctuate based on the thickness of your creation and the ambient conditions like humidity and temperature. Thicker pieces, naturally, will demand more time to harden completely. This self-curing process eliminates the need for specialized equipment, making it a budget-friendly and user-friendly option. You don’t need a kiln, nor do you need to worry about specific baking temperatures or times. Just sculpt, set it aside, and let nature take its course.
The Polymer Power of Oven-Bake Clay
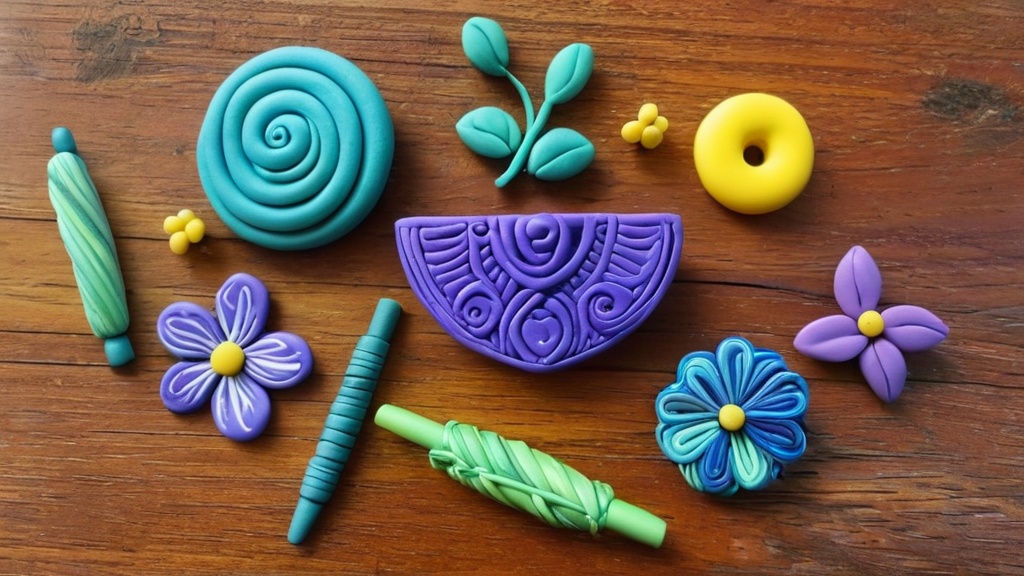
In contrast, oven-bake clay, almost invariably, refers to polymer clay. This material is a remarkable synthetic medium that requires heat to cure. Unlike air-dry clay, it won’t harden simply by sitting out. Instead, you’ll need to expose it to specific temperatures in a conventional oven to transform it from a pliable substance into a rigid, durable object.
The magic happens when the polymer chains within the clay cross-link under heat, creating a strong and stable structure. This curing process bestows several significant advantages upon oven-bake clay. Once baked, your creations become remarkably more durable than their air-dried counterparts. They also typically gain water-resistant or even waterproof properties, making them suitable for items that might encounter moisture, such as jewelry, decorative pieces, or even small functional objects. This inherent strength and water resistance are key differentiators that often guide experienced crafters towards polymer clay for projects demanding longevity and resilience.
Navigating the Curing Process
The method by which your clay hardens is perhaps the most significant divergence between these two types. Your choice here will dictate not only the tools you need but also the timeline and safety considerations of your project.
Air-Drying Clay: Patience and Environment
For air-dry clay, the “curing process” is essentially a waiting game. After you’ve meticulously sculpted your piece, your primary task is to find a suitable, undisturbed location for it to dry. This typically means a stable surface, away from direct sunlight or extreme temperatures, which could cause uneven drying and cracking.
As mentioned, complete drying usually takes 24 to 72 hours. You’ll often notice the clay lightening in color as it dries, and it will become firm to the touch. The key is to allow for even air circulation around your piece. Flipping it gently once one side has partially dried can help prevent warping. While it’s tempting to try and speed up the process, patience is truly a virtue here. Rushing the drying can lead to surface cracks or internal stresses that compromise the integrity of your finished product.
Oven-Bake Clay: Precision and Safety
With oven-bake clay, the curing process is far more active and requires a domestic oven. You’ll need to preheat your oven to the temperature recommended by the clay manufacturer – usually found on the clay’s packaging. It’s crucial to follow these guidelines precisely, as under-baking can leave your piece brittle, while over-baking can cause scorching, discoloration, or even a breakdown of the material.
Once the oven reaches the correct temperature, you carefully place your sculpted items on a baking sheet, often lined with parchment paper or foil. The baking time will also be specified by the manufacturer, typically varying based on the thickness of your piece. It’s not uncommon for smaller, thinner items to bake for 15-30 minutes, while thicker creations might require longer. After baking, you’ll allow your pieces to cool completely before handling them. This cooling period is essential as the clay continues to harden as it returns to room temperature.
An important safety note: always ensure good ventilation when baking polymer clay. While generally safe, some people are sensitive to the faint odors produced during baking.
The Misconception of Baking Air-Dry Clay
Here’s a critical point to internalize: baking air-dry clay is generally not recommended. This is a common misconception, and attempting to accelerate the drying process of most air-dry clays in an oven can lead to disastrous results. You risk your beautiful creation cracking, warping, melting, or even burning.
Why? Because traditional air-dry clays are formulated to dry through evaporation, not heat-induced chemical changes. The rapid, intense heat of an oven can cause the water content within the clay to turn to steam too quickly, leading to internal pressure that results in cracks or explosions. Unless the manufacturer explicitly states that their specific air-dry clay formulation is safe for low-heat baking, you should absolutely avoid putting it in an oven.
While a few newer articles have indeed noted that some modern air-dry formulations might tolerate low-temperature baking to speed drying, this is a product-specific exception, not the standard rule. Always check the packaging carefully if you are considering this. Otherwise, err on the side of caution and let your air-dry clay dry naturally.
Durability and Application
Beyond the drying process, the inherent characteristics of the cured clay play a significant role in determining what types of projects each material is best suited for. You’ll want to consider the longevity and strength you desire for your finished pieces.
The Nature of Cured Air-Dry Clay
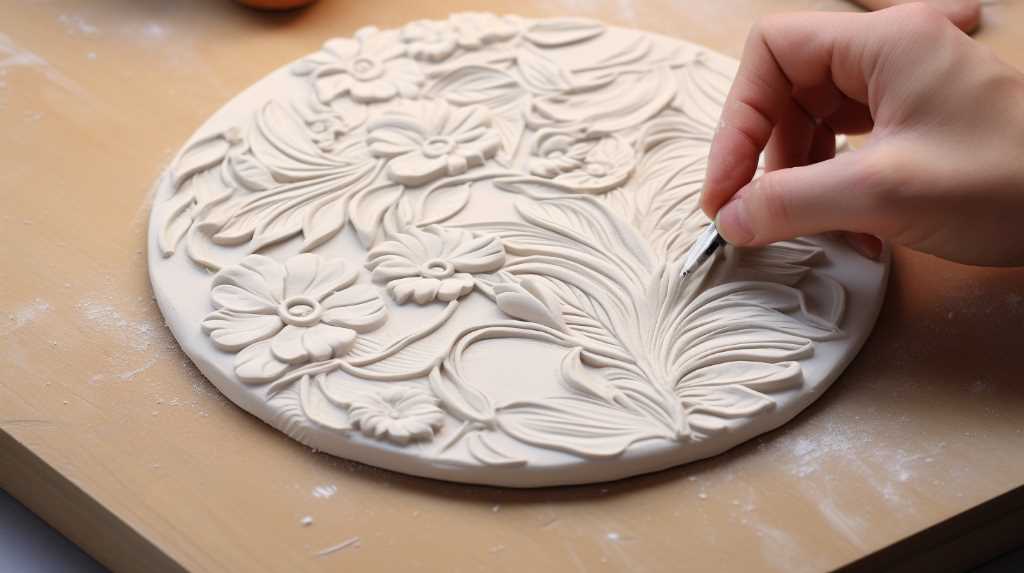
Once air-dry clay is fully hardened, it becomes a relatively brittle material. It’s firm and stable, making it excellent for decorative items that won’t experience much handling or stress. Think of sculptures, decorative bowls, wall hangings, or simple figurines.
However, air-dry clay is not typically water-resistant or waterproof. If exposed to moisture for extended periods, it can soften, degrade, or even dissolve. This limits its use for items that need to withstand the elements or regular washing. While you can seal air-dry clay with varnishes or sealants to provide some protection, it will never achieve the same level of water resistance as baked polymer clay. Furthermore, cured air-dry clay can be prone to chipping or breaking if dropped or subjected to significant impact. Its strength is sufficient for static display, but not for high-wear items.
The Robustness of Cured Oven-Bake Clay
The durability of baked oven-bake clay is a major selling point. Once cured, polymer clay becomes significantly stronger and more resilient than air-dry clay. It’s less prone to chipping, cracking, or breaking, even if dropped. This makes it an ideal choice for items that will be handled frequently or need to withstand a bit more wear and tear.
Crucially, baked polymer clay is typically water-resistant, if not fully waterproof. This opens up a world of possibilities for projects like jewelry (beads, pendants, earrings), functional small art pieces, miniature food, dollhouse accessories, and intricate figurines that might need occasional cleaning. The color also tends to be more vibrant and stable after baking, resisting fading over time. The increased strength and water resistance mean that projects made with oven-bake clay generally have a longer lifespan and can be enjoyed in a wider range of applications.
A Note on True Pottery Clay
It’s essential to distinguish between air-dry clay and true pottery clay (earthenware, stoneware, porcelain). Do not treat true pottery clay like air-dry clay. These traditional ceramic clays require kiln-level temperatures, far exceeding what a household oven can provide. Attempting to “bake” pottery clay in a home oven will not fire it properly; it will merely dry it out, leaving it brittle and unfired, or in some cases, can even damage your oven. Kilns reach temperatures upwards of 1,000°C (1,832°F) to vitrify the clay, transforming it into a durable, often food-safe, and waterproof ceramic. Your home oven simply cannot achieve this. Always be clear about the type of clay you are using to ensure you’re employing the correct curing method.
Equipment and Cost Considerations
Your choice between air-dry and oven-bake clay will also influence the initial investment in tools and the overall cost of your crafting endeavors. Each type has its own set of requirements.
Minimal Requirements for Air-Dry Clay
One of the most attractive aspects of air-dry clay, especially for beginners, is its minimal equipment requirements. You essentially need the clay itself, your hands, and perhaps a few basic sculpting tools like plastic knives, dental tools, or even toothpicks. Since it hardens at room temperature, you don’t need an oven, specialized baking surfaces, or even a timer for the curing process beyond simply checking its firmness.
This low barrier to entry makes air-dry clay an excellent choice for casual crafters, classroom projects, or anyone wanting to experiment with sculpting without a significant financial outlay. The cost is primarily for the clay itself, and perhaps some acrylic paints and sealant for finishing.
Additional Needs for Oven-Bake Clay
Oven-bake clay, while offering superior durability, does come with a few more equipment demands. The most obvious is access to a functional oven, whether it’s your kitchen oven or a dedicated craft oven. While a regular baking sheet and parchment paper or foil will suffice, some crafters invest in dedicated baking surfaces to prevent odor transfer to food or to achieve specific effects.
You’ll also need to pay closer attention to temperature and time, often requiring an oven thermometer to ensure accuracy, as home ovens can have hot spots or inaccurate thermostats. While not strictly necessary, many polymer clay artists also use pasta machines for conditioning and flattening the clay, or specialized tools for intricate detailing and texturing. These additional tools can add to the initial investment, though many can be gradually acquired as your skills and interest grow. The cost of oven-bake clay itself can also be slightly higher per ounce compared to some air-dry clays, reflecting its more complex polymer formulation.
Making Your Informed Decision
| Feature | Air Dry Clay | Oven Bake Clay |
|---|---|---|
| Drying/Curing Method | Air dries naturally at room temperature | Baked in an oven at specified temperature |
| Drying Time | 12-72 hours depending on thickness | 15-30 minutes depending on thickness and oven temperature |
| Durability | Moderate; can be brittle and prone to cracking | High; stronger and more resilient after baking |
| Flexibility Before Drying | Soft and pliable | Soft and pliable |
| Finish | Matte, porous surface | Smoother, less porous surface |
| Paintability | Can be painted after fully dry | Can be painted after baking |
| Water Resistance | Not water resistant; can dissolve or soften with water | Water resistant after baking |
| Weight | Lightweight | Generally lightweight but can be denser |
| Common Uses | Crafts, modeling, kids’ projects | Detailed sculptures, jewelry, miniatures |
| Storage | Keep sealed to prevent drying out | Keep sealed to prevent drying out |
Ultimately, the choice between air-dry clay and oven-bake clay boils down to your project’s specific needs, your personal preferences, and the resources you have available. There isn’t a universally “better” option; rather, there’s the right option for your particular creation.
When to Choose Air-Dry Clay
You should lean towards air-dry clay if:
- You are a beginner or working with children. Its ease of use, lack of complex equipment, and non-toxic nature make it incredibly user-friendly.
- Your project is purely decorative. For sculptures, ornaments, or display pieces that won’t endure much handling or moisture, air-dry clay is an excellent, cost-effective choice.
- You don’t have access to an oven or prefer not to use one for crafting. This is a significant practical consideration for many hobbyists.
- You want to minimize initial costs. Air-dry clay typically requires very few additional tools.
- You enjoy the texture and feel of natural clay. Many air-dry clays mimic the feel of traditional earthen clays.
Think of projects like: simple decorative bowls, handmade ornaments for a holiday tree (not exposed to weather), small non-functional sculptures, or school art projects.
When to Choose Oven-Bake Clay (Polymer Clay)
You should opt for oven-bake clay (polymer clay) if:
- You need a durable and long-lasting finished product. If your creation will be handled frequently, worn, or needs to withstand minor impacts, polymer clay’s strength is unparalleled.
- Your project requires water resistance or waterproof properties. For jewelry, keychains, small functional items, or anything that might encounter moisture, baked polymer clay is the clear winner.
- You desire intricate details and fine craftsmanship. Polymer clay often holds fine details exceptionally well, and its workability over extended periods (it doesn’t dry out until baked) allows for meticulous sculpting.
- You want vibrant, consistent colors that won’t fade or bleed significantly. Polymer clay colors are often very stable and true after baking.
- You are creating wearable art like jewelry. The strength and water resistance make it ideal for beads, pendants, and earrings.
Consider projects such as: personalized jewelry (earrings, necklaces, bracelets), detailed figurines, miniature food for dollhouses, game pieces, or small charms.
In conclusion, both air-dry clay and oven-bake clay offer unique opportunities for artistic expression. By understanding their distinct properties, curing processes, durability, and equipment needs, you can confidently choose the medium that best empowers you to bring your creative visions to life. Take a moment to consider what you want to achieve with your project, and let that guide your decision. Happy sculpting!
FAQs
1. What is the main difference between air dry clay and oven bake clay?
Air dry clay dries and hardens when exposed to air, while oven bake clay requires heat to cure and harden.
2. Which type of clay is more convenient for beginners to use?
Air dry clay is generally more convenient for beginners as it does not require any special equipment or additional steps for curing.
3. What are the advantages of using air dry clay?
Air dry clay is easy to work with, does not require baking, and is generally more affordable than oven bake clay.
4. What are the advantages of using oven bake clay?
Oven bake clay typically results in a stronger and more durable finished product compared to air dry clay. It also allows for more intricate details and smoother finishes.
5. Are there any specific projects that are better suited for air dry clay or oven bake clay?
Air dry clay is ideal for projects that do not require a lot of fine details or need to be completed quickly, while oven bake clay is better for projects that require precision and durability, such as jewelry making or sculptures.