To dry modeling clay jewelry like a pro, you'll want to start by preparing a clean, dust-free workspace with good ventilation and a consistent temperature between 70°F and 75°F. Choose a high-quality clay brand, and consider the type of clay best suited for your project. Minimize cracking risks by drying in thin layers, using foam mats, and flipping pieces regularly. Monitor thickness, avoid direct sunlight, and varnish your finished pieces to protect them from moisture damage. By following these essential tips, you'll be well on your way to creating strong, durable, and visually stunning jewelry – and there's even more to discover to take your skills to the next level.
Prepare Your Workspace
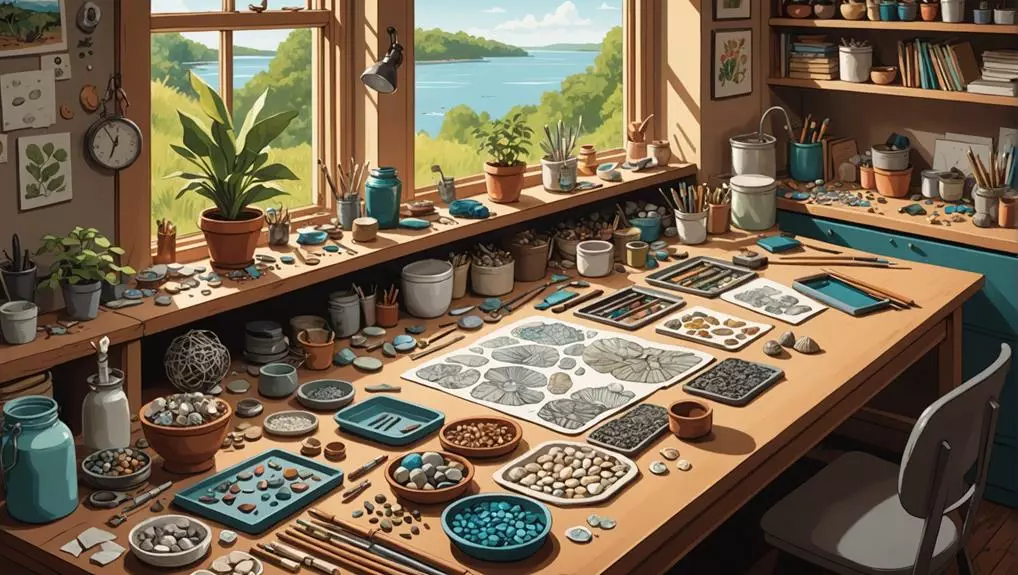
As you prepare to dry your modeling clay jewelry, start by claiming a clean, dust-free surface as your workspace. This is crucial to prevent debris from sticking to your clay pieces during the drying process.
Ensure good ventilation in your workspace to aid in faster drying times and reduce humidity levels that can cause cracking. Utilize foam mats or sponges as drying surfaces to enhance air circulation around the clay pieces.
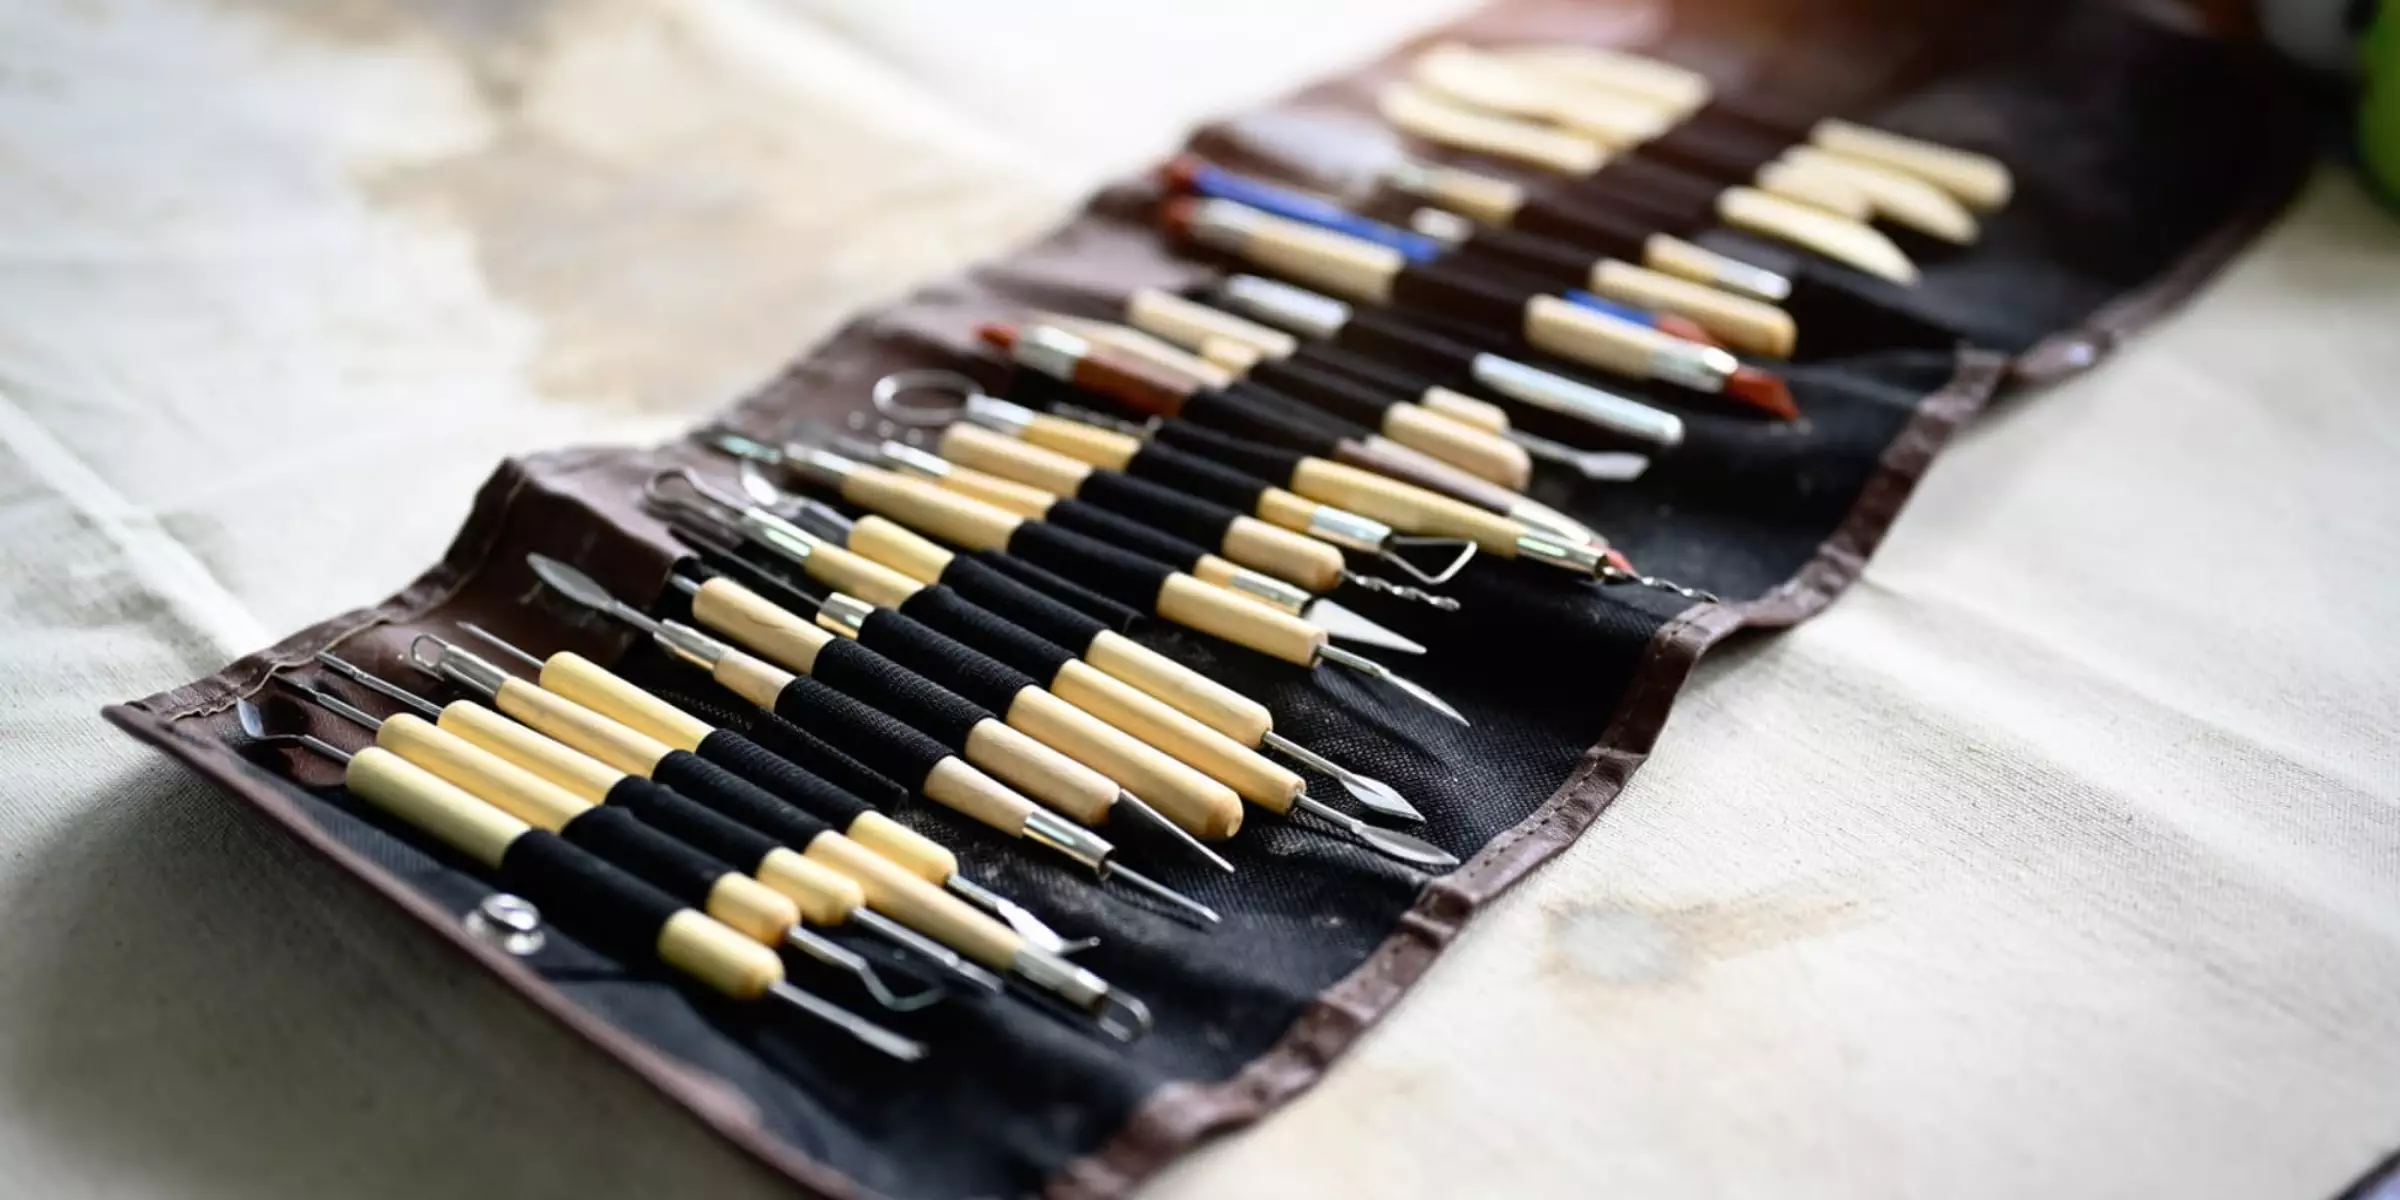
Gather all necessary tools and materials before starting to avoid interruptions that may allow the clay to dry prematurely in certain areas.
Keep your workspace at a consistent temperature, ideally between 70°F and 75°F (21°C to 24°C), as extreme fluctuations can affect drying times and the integrity of the clay.
By following these tips and tricks, you'll be well on your way to a successful drying process.
Choose the Right Clay
When choosing an air-dry clay for your jewelry-making project, you'll want to select high-quality brands like La Doll or Creative Paperclay, as they'll enhance detail and durability in your final pieces.
Avoid cheaper alternatives that can lead to issues like stiffness or crumbliness.
Clay Quality Matters
Selecting the right clay is crucial to achieving high-quality, long-lasting jewelry pieces. You'll want to opt for high-quality air-dry clay options like Premier, Sculpey Model Air, or Creative Paperclay for better durability and detail retention in your jewelry pieces.
Avoid cheap, generic clays that may lead to stiffness, crumbliness, or unsatisfactory results, particularly for intricate designs. Instead, choose clays that provide a smooth finish and are less prone to cracking, such as DAS Air Dry Clay.
Consider using higher-grade clay for detailed areas such as facial features or fine embellishments, while more affordable clay can be utilized for larger, less intricate sections. Conduct tests of different brands to determine the best fit for your specific project needs, as clay quality can significantly impact the final outcome of your creations.
Air Dry Clay Types
You'll encounter various air dry clay types, each with its unique characteristics, advantages, and purposes.
When making jewelry, understanding the differences between these types can significantly impact your design's durability and aesthetic.
Paper clay, for instance, has fibers that provide added strength and allow for carving once dry, making it ideal for detailed designs.
Flower clay, on the other hand, remains flexible after drying, making it perfect for items that require pliability.
Cold porcelain, which can be made at home using various recipes, offers a smooth finish, making it suitable for intricate jewelry pieces.
When selecting an air dry clay type, consider the techniques to help you achieve your desired outcome.
For example, if you want to create jewelry with intricate textures, cold porcelain might be the best choice.
If you need flexibility in your design, flower clay could be the way to go.
Selecting Best Brands
High-quality air dry clay brands like La Doll, Premier, Creative Paperclay, Sculpey Model Air Dry, and Hearty White Air Dry are your best bet for achieving professional-looking jewelry pieces with intricate details and textures.
When selecting air dry clay for jewelry making, you'll want to opt for specific types that cater to your needs. For instance, paper clay offers added strength and flexibility, while flower clay provides a more pliable medium post-drying. Cheaper alternatives may lead to unsatisfactory results, such as stiffness and crumbliness, which can ruin your clay jewelry.
Investing in reputable products is crucial, especially for detailed areas like faces and hands in modeling. Higher quality clay holds intricate details better and significantly enhances the overall durability and visual appeal of your clay jewelry pieces.
Minimize Cracking Risks
To minimize cracking risks when drying modeling clay jewelry, a few simple strategies can make all the difference.
When working with air dry clay, it's essential to allow your pieces to dry in thin layers instead of thick chunks. This approach greatly reduces the likelihood of cracks forming during the drying process.
Utilize foam mats or sponges for even air circulation while drying, as they help promote uniform moisture levels in the clay and minimize cracking.
Keep your clay pieces out of direct sunlight and away from heat sources, as rapid drying can lead to warping or cracking.
Regularly flip your projects during the drying stage to ensure all sides dry evenly, further helping to prevent cracks from developing.
If cracks begin to form, applying a PVA glue and water mixture can help strengthen and mend delicate areas before the piece is fully dried.
Even Drying Is Key
To achieve even drying, it's essential to sculpt in thin layers, which allows for controlled moisture retention and quicker drying times.
Regularly flipping your clay pieces during the drying process also helps to distribute moisture uniformly, expediting the overall drying time.
Depending on the thickness of your piece, it can take anywhere from 2 days to a week for the clay to dry fully.
Monitor Thickness Carefully
When working with modeling clay, you need to be mindful of the thickness of each piece to prevent cracking during the drying process.
Thicker pieces can take longer to dry and are more prone to damage, which is why it's crucial to monitor thickness carefully.
Here are some tips to keep in mind:
- Keep it thin: Ensure each piece of modeling clay is no thicker than 1/2 inch to promote even drying and minimize the risk of cracks.
- Sculpt in layers: Break down your design into thinner layers, allowing for better control and shaping while also facilitating even drying.
- Measure up: Use a ruler or measuring tool to check the consistency of the thickness of your clay pieces, aiming for uniformity across similar items for optimal drying.
Avoid Direct Sunlight
You'll want to steer clear of direct sunlight when drying your modeling clay jewelry, as it can wreak havoc on the drying process. Direct sunlight can cause uneven drying, leading to cracking and warping due to temperature fluctuations.
Instead, make sure to dry your air dry clay in a shaded area with good airflow. This will ensure a more consistent drying process and help maintain the integrity of the clay's color and texture, preventing fading or discoloration during the drying phase.
When drying indoors, consider using a fan to enhance air circulation instead of relying on sunlight, which can create hot spots. You'll want to avoid leaving your jewelry in a spot that's still hot from direct sunlight, as this can cause the excess clay to dry too quickly, leading to cracks and imperfections.
Use a Foam Mat for Support
When you place your modeling clay jewelry on a foam mat, you're ensuring even air circulation around the piece, which minimizes the risk of cracking.
The foam mat's cushioned support also reduces pressure on the clay, particularly for intricate designs, preventing distortion as it dries.
Air Circulation Matters
Proper air circulation is crucial to preventing uneven drying and cracking in your modeling clay jewelry, and utilizing a foam mat during the drying process is an effective way to achieve this.
By using a foam mat, you can ensure that air circulates evenly around your clay pieces, reducing the risk of uneven drying and cracking.
Here are three key benefits of using a foam mat for air circulation:
- Even air circulation: The porous nature of foam mats helps absorb excess moisture, promoting even air circulation around your clay jewelry.
- Quicker drying time: Foam mats aid in faster drying times by absorbing excess moisture, allowing your clay pieces to dry more efficiently.
- Support and stability: The cushioning properties of foam mats provide support and stability for delicate clay jewelry, minimizing the chance of deformation during the drying period.
Even Drying Essential
How effectively do you dry your modeling clay jewelry? One crucial step in achieving professional-looking results is ensuring even drying. This is where a foam mat comes in – an essential tool for supporting your jewelry during the drying process.
By placing your clay pieces on a foam mat, you allow for improved air circulation around the modeling clay, reducing the risk of cracks and promoting even drying. The foam mat absorbs moisture and provides a supportive surface, preventing the clay from distorting as it dries.
Make sure to maintain adequate spacing between pieces on the mat to prevent them from sticking together and ensure consistent drying. Regularly monitor the clay's progress on the mat, and you'll be able to identify any areas that require additional drying time or adjustments.
Varnish for Protection
To ensure your air dry clay jewelry stays protected and looks its best, you'll need to get familiar with varnishing. This step is crucial for preventing moisture damage and enhancing the overall durability and appearance of your creations.
When it comes to choosing a varnish, opt for a water-based polyurethane, which provides a clear finish and won't yellow over time.
Here are three key things to keep in mind when varnishing your air dry clay jewelry:
- Wait until the clay is fully dry: Applying varnish too soon can lead to smudging or compromise the structural integrity of your piece.
- Apply a light coat: Use a brush or spray to achieve even coverage and a smooth finish.
- Be prepared for reapplication: Regular maintenance may require reapplying varnish to restore the protective layer, especially for pieces that are frequently handled or exposed to the elements.
Seal With Water-Based Polyurethane
Now that you've chosen a water-based polyurethane, it's time to apply it to your air dry clay jewelry. This sealant provides a durable protective layer against moisture damage, ensuring your piece lasts longer.
When applying the polyurethane, use a brush to coat the jewelry evenly, making sure to cover all surfaces without pooling in crevices. This helps maintain color vibrancy and prevents yellowing over time. Remember to work in a well-ventilated area, as the fumes from water-based polyurethane can still be irritants.
After application, let the jewelry dry fully for 24 hours to ensure complete adhesion and protection. This allows the polyurethane to form a strong bond with the clay, providing a reliable barrier against the elements.
Store in Airtight Containers
You've successfully sealed your air dry clay jewelry with water-based polyurethane, and it's now time to turn your attention to preserving the unused modeling clay for future projects.
To prevent drying out and maintain the pliability of your clay, always store it in airtight containers immediately after use. This helps retain moisture, which is essential for keeping clay workable and preventing cracks during the drying process.
Here's how to store your air dry clay effectively:
- Wrap the clay in plastic wrap before placing it in a container to provide an additional layer of protection against air exposure.
- Ensure the container is tightly sealed and free from any air gaps to prevent even small amounts of air from drying out the clay.
- Label and date the container to keep track of how long the clay has been stored, as even in airtight conditions, clay can degrade over time.
Final Thoughts
You've carefully crafted your modeling clay jewelry, and now it's time to dry it to perfection. Remember, patience is a virtue – don't rush the process or you'll end up with a brittle, cracked mess. By following these 10 essential tips, you'll be on the right track to creating stunning, long-lasting pieces. Take it one step at a time, and when you're done, you'll be sitting pretty with a collection of beautiful, professionally finished jewelry that's truly the icing on the cake.